Last Minute Pumpkin Carving Patterns
Looking for last minute pumpkin carving patterns? You're in the right place. Print at 100% scale, tape it to your pumpkin, and poke through the lines with a pin.
Beginner or pro, there's something on this page for you.
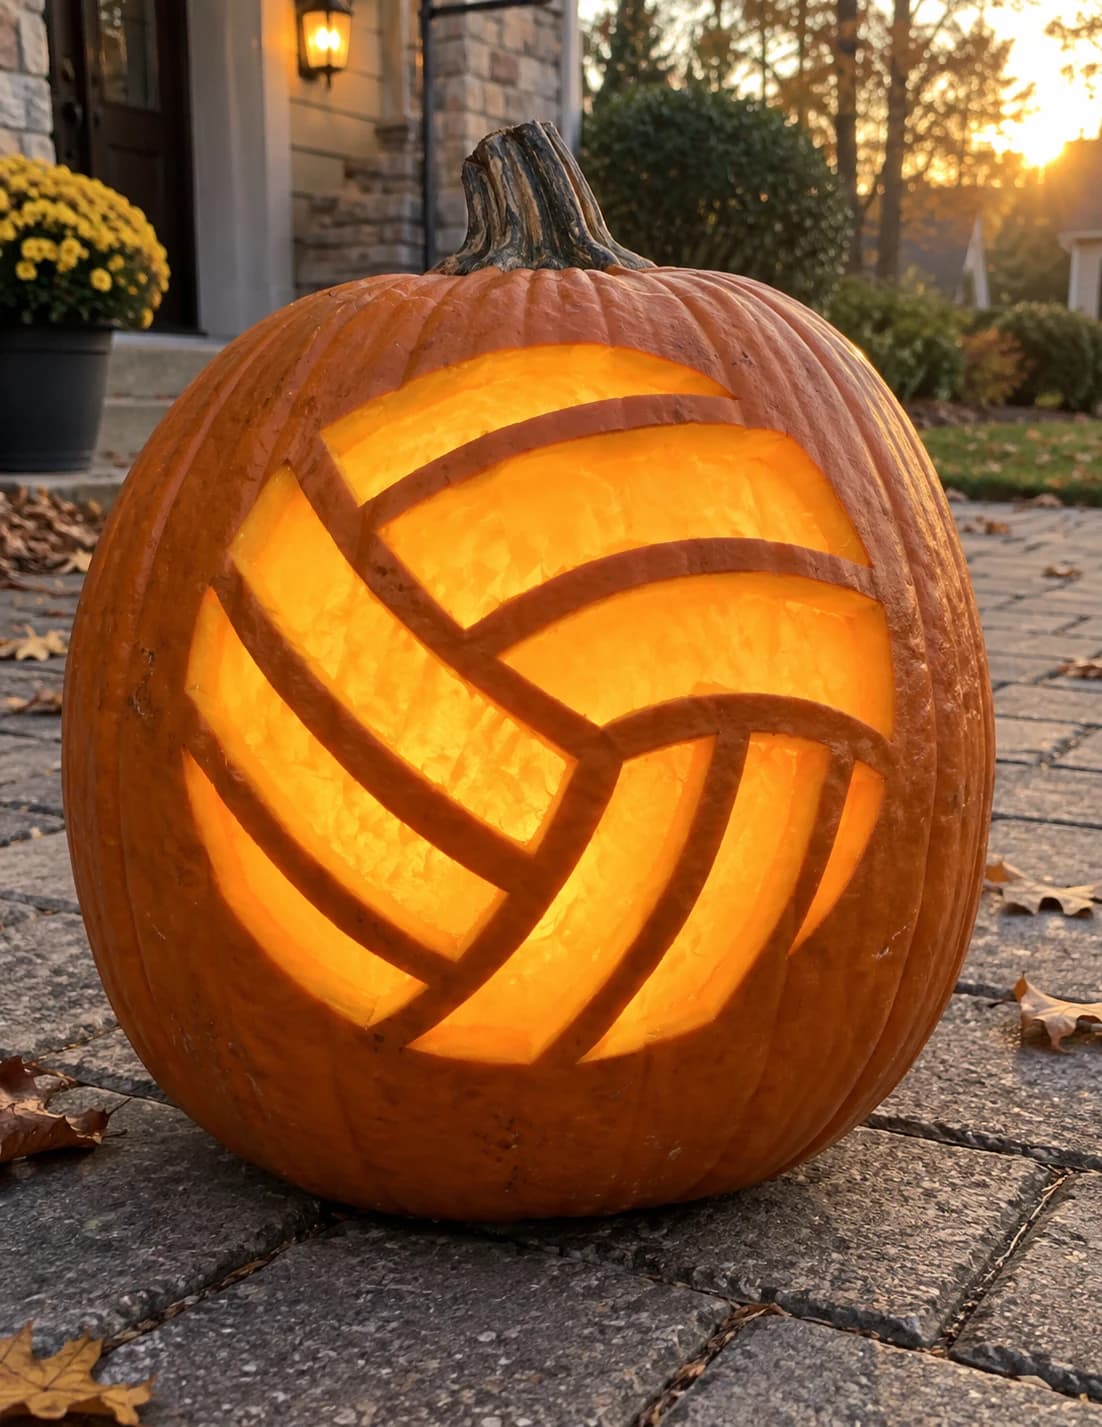
Volleyball Pumpkin Stencil
A volleyball fills this easy pumpkin stencil from edge to edge, its circular outline and internal panel lines rendered in the classic three-curved-line pattern that divides the ball into panels. The wide panel sections are cut away, leaving the curved dividing strips as solid pumpkin flesh that forms the seam lines. When lit, the jack-o-lantern glows through the large open panels while the seam lines stay dark. Score along each curved seam line with a detail tool before cutting to keep the thin curved strips from tearing under the blade.
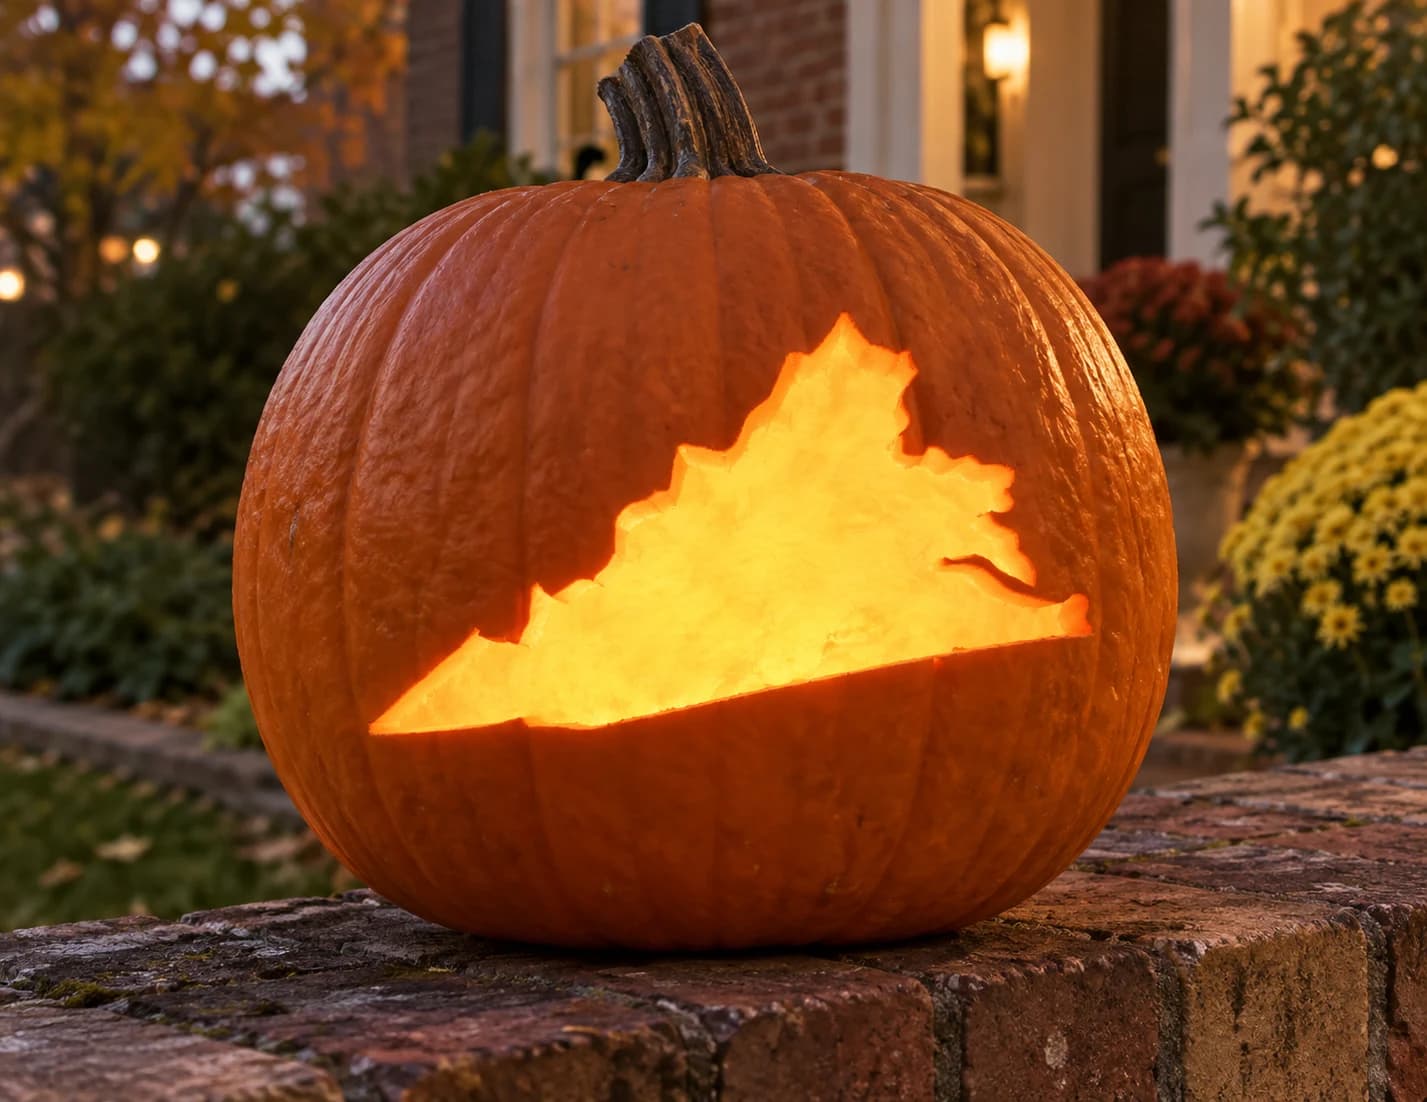
Virginia Pumpkin Stencil
Virginia's wide, wedge-shaped state outline fills this easy pumpkin stencil, showing the long straight northern border, the ragged mountainous western edge, the sweeping diagonal southern coastline, and the distinctive narrow Eastern Shore peninsula extending to the right. The entire shape is cut as a single open silhouette. The thin Eastern Shore tip is the most fragile point in this carving, so cut toward that peninsula from the main body first and finish with the very tip to prevent it from snapping off mid-cut.
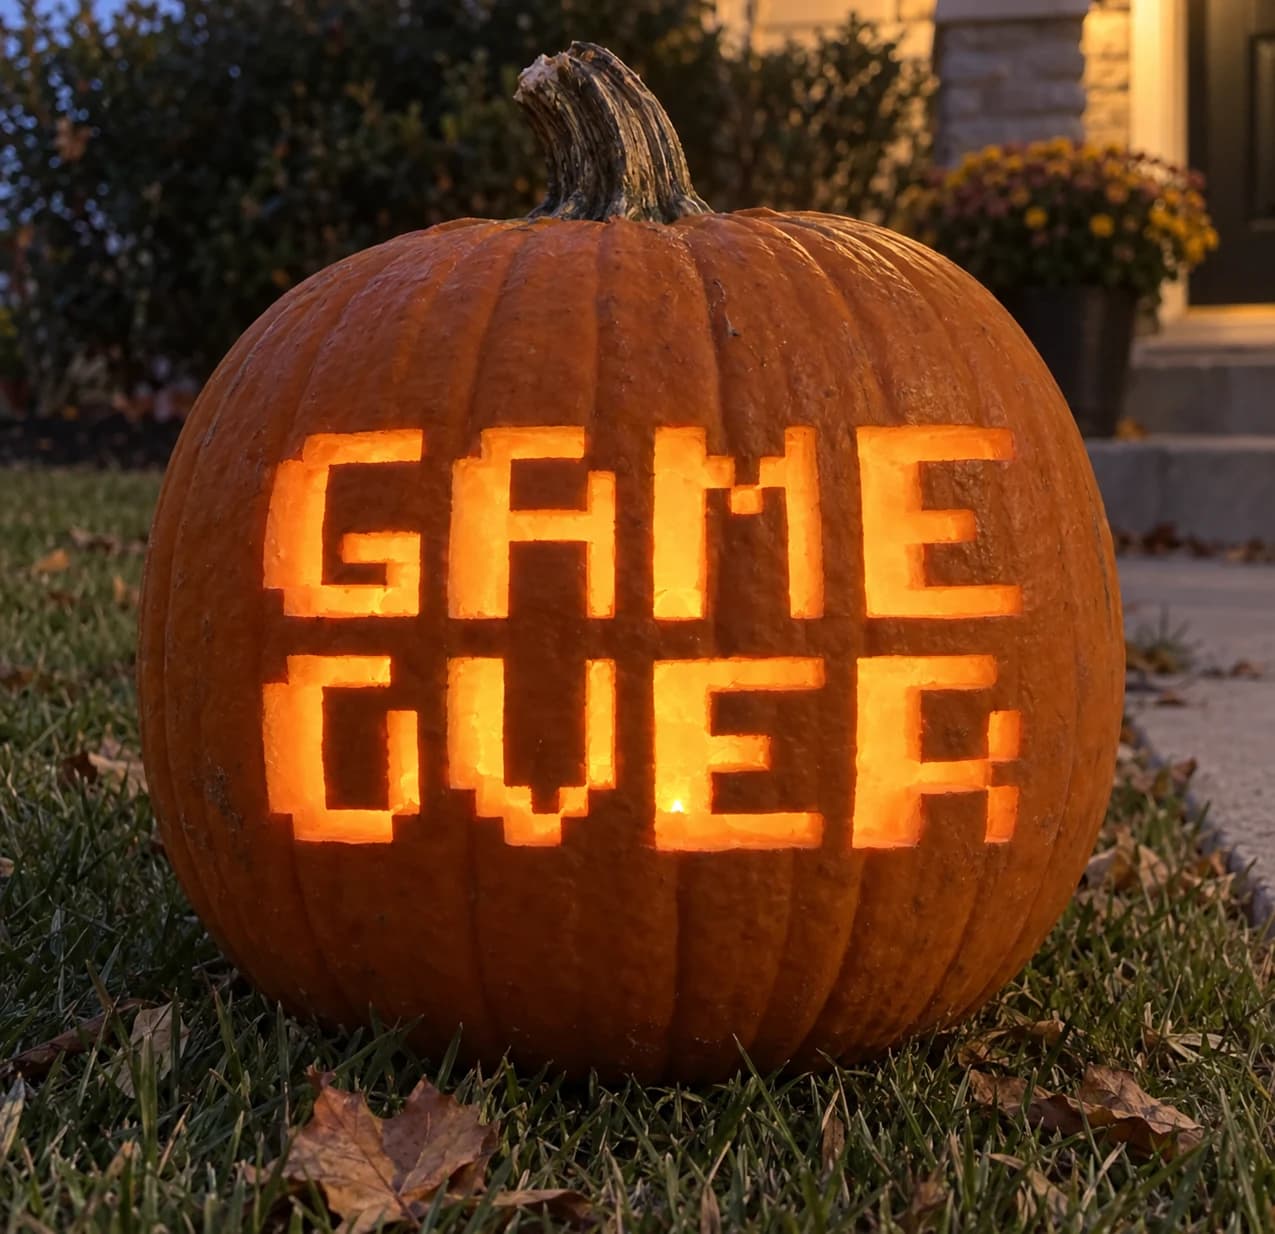
Game Over Pumpkin Stencil
"GAME OVER" fills this easy pumpkin stencil in two stacked rows of chunky 8-bit pixel font lettering, each character built from squared-off rectangular blocks with notched corners that read unmistakably as retro video game text. Every letter interior is cut through, and the negative space between characters is narrow but distinct. The squared notches at the corners of each letter are the trickiest spots to keep clean; use the tip of a narrow blade to score those inside corners before opening the main letter body.
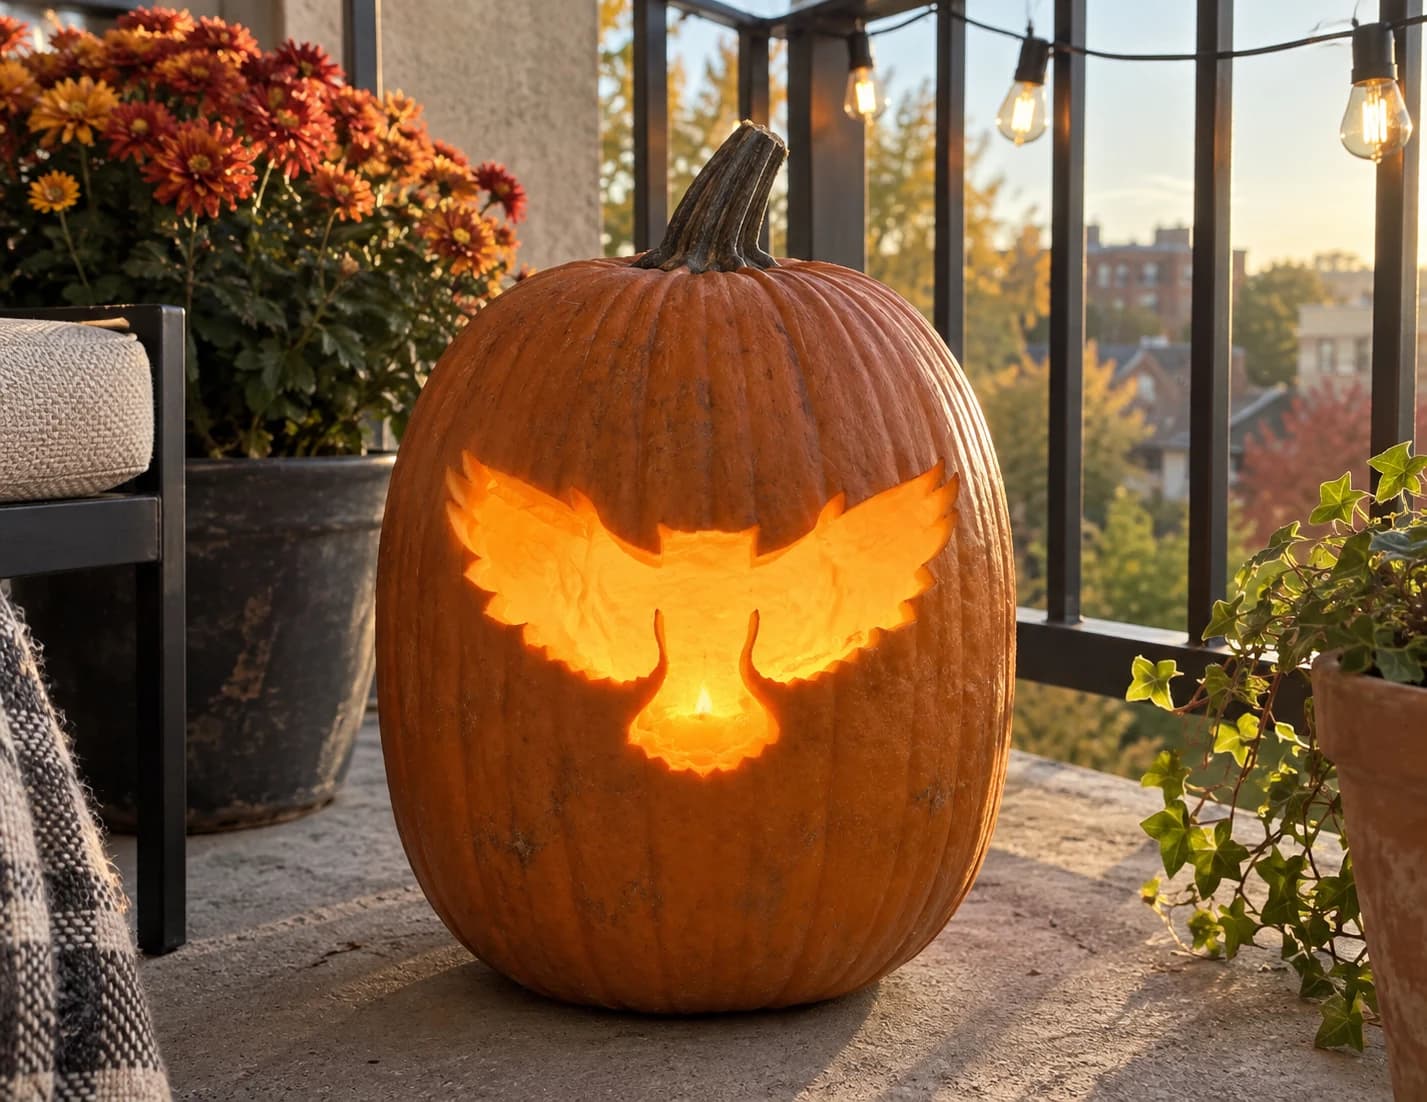
Flying Owl Pumpkin Stencil
A front-facing owl in full wing spread fills this easy pumpkin stencil, the entire bird rendered as a single solid silhouette with ear tufts visible at the top of the head and feathered wingtips fanning wide on both sides. The whole shape is pierced as one large cutout, so the lit jack-o-lantern throws a bold bright owl outline with no interior detail to worry about. Thin the pumpkin wall evenly behind the wing tips before cutting, since the long feather edges can crack if the wall is too thick when you remove the large central section.
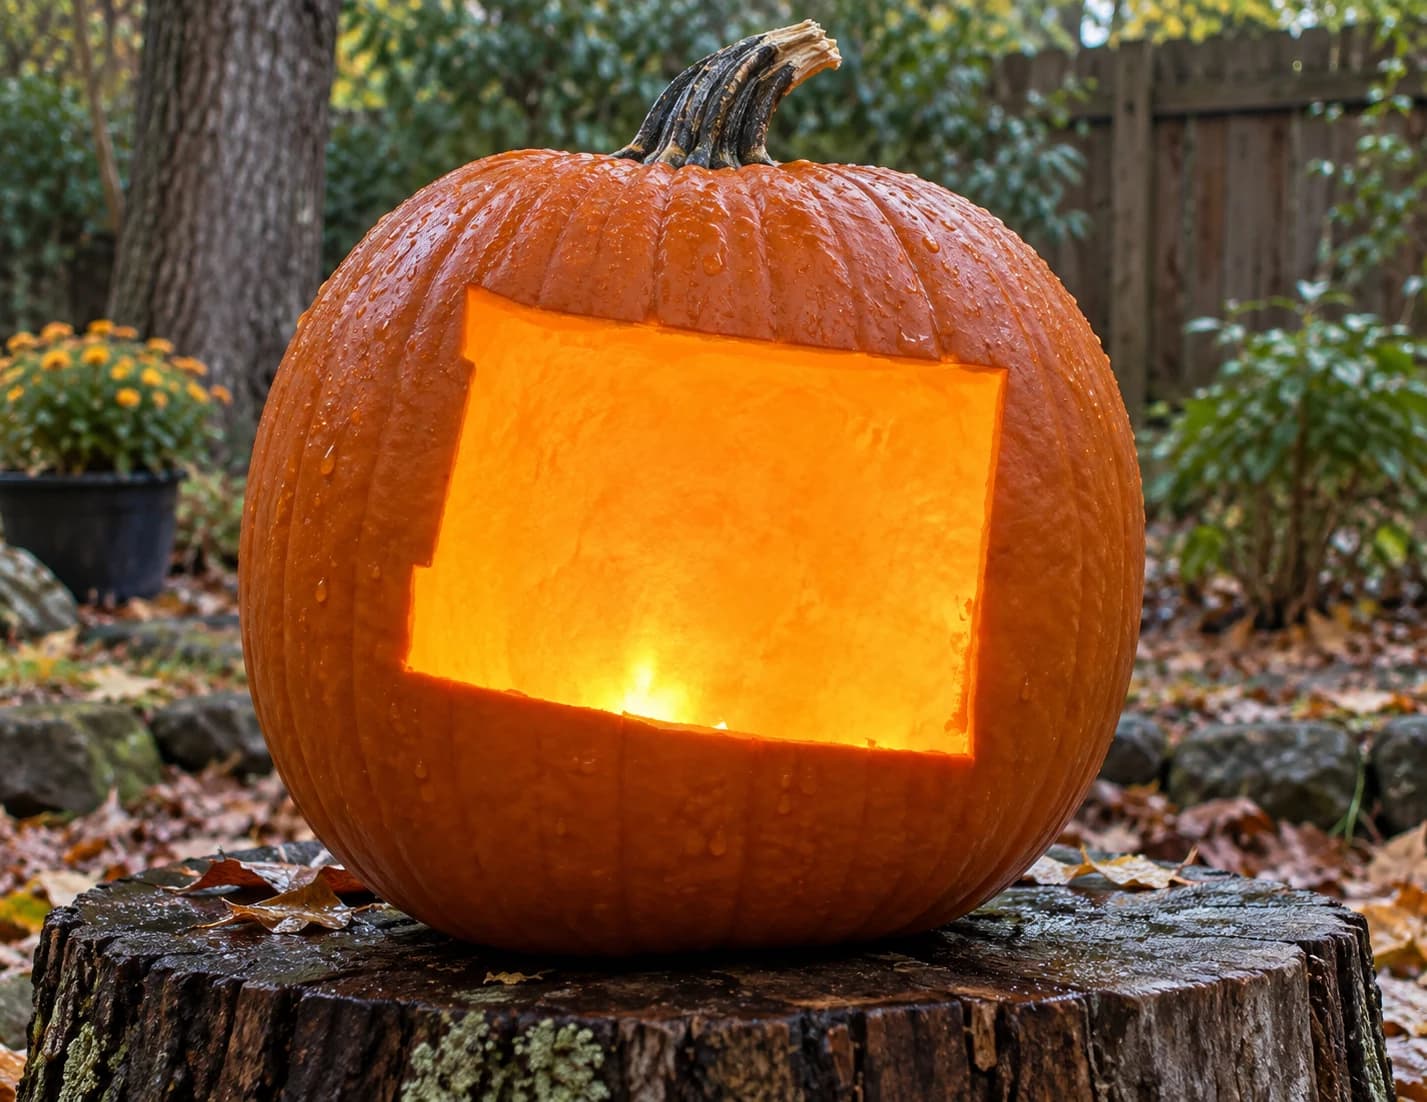
Wyoming Pumpkin Stencil
Wyoming's nearly rectangular outline is the entire design in this easy pumpkin stencil, its flat top and bottom edges contrasting with small notches at the upper left and lower left corners that mark the state's actual border jogs. The whole interior is pierced as a single open cutout, producing a bright rectangle of light with just those two characteristic corner indentations to identify the Cowboy State. Score slowly through each interior corner notch: the blade naturally wants to skip past the short jog, so pause and reposition rather than trying to cut both sides of the notch in one stroke.
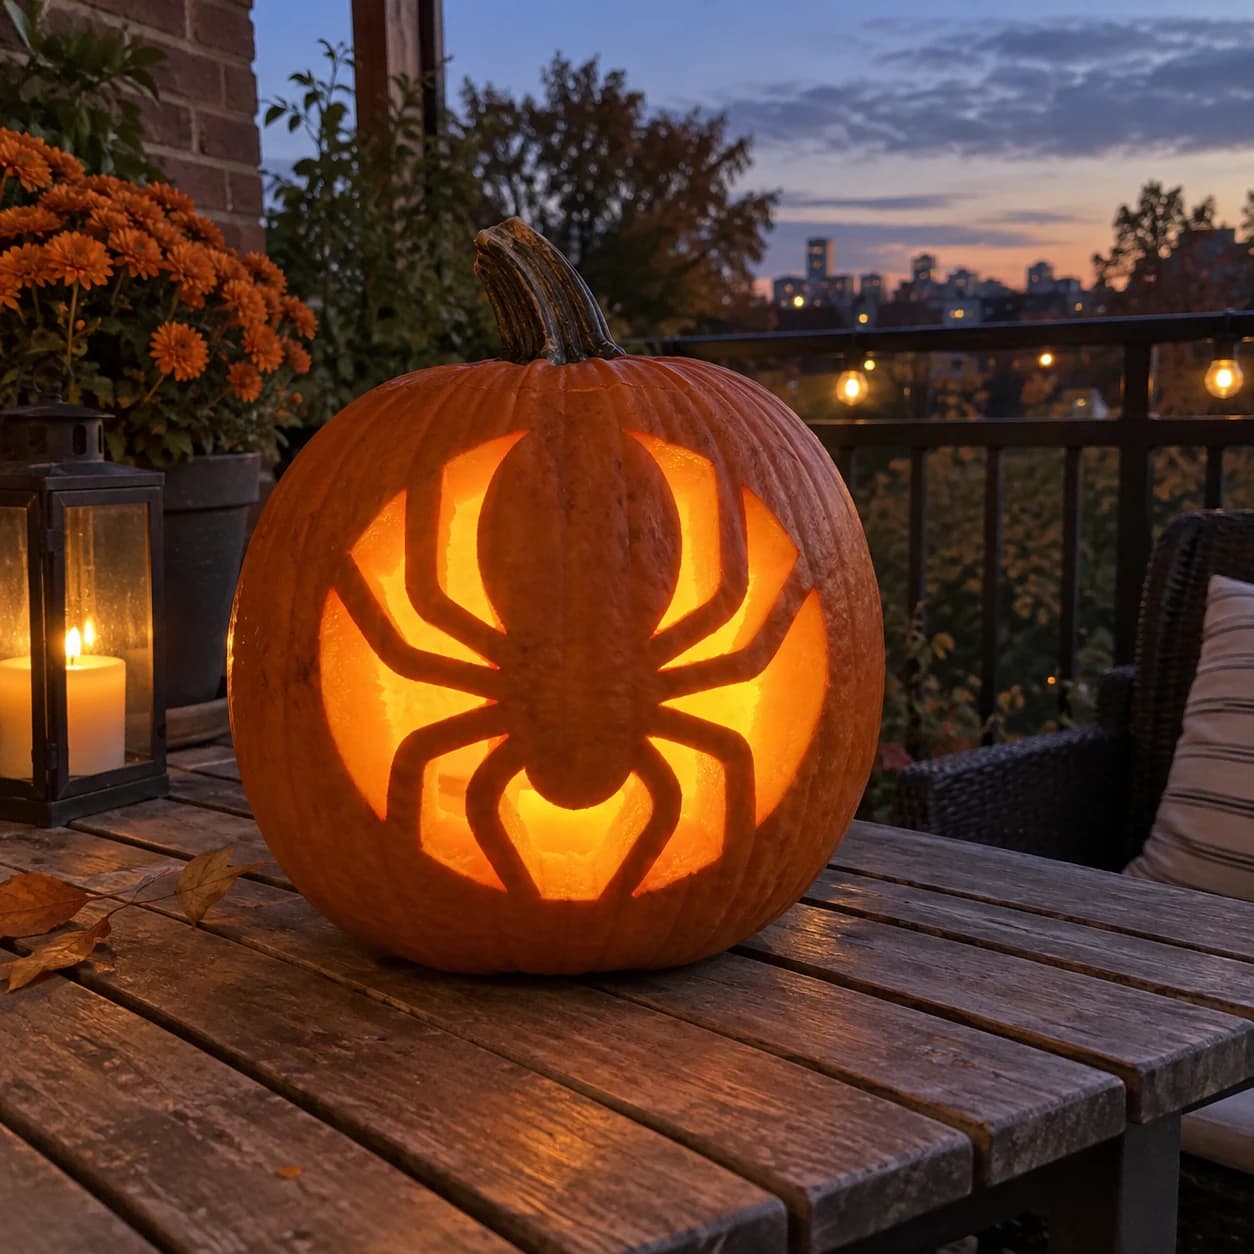
Spider Emblem Pumpkin Stencil
A stylized spider rendered as a graphic emblem fills this easy stencil: the body is split into a large oval abdomen and a smaller rounded head kept solid as orange pumpkin, while the eight legs radiate outward as broad curved blades that taper to sharp points, all backed by cut-out negative space. The overall silhouette has a bold, almost logo-like quality that glows dramatically when lit. Leave the narrow waist bridge connecting the head to the abdomen until last, since removing adjacent leg gaps early can put stress on that small connector.
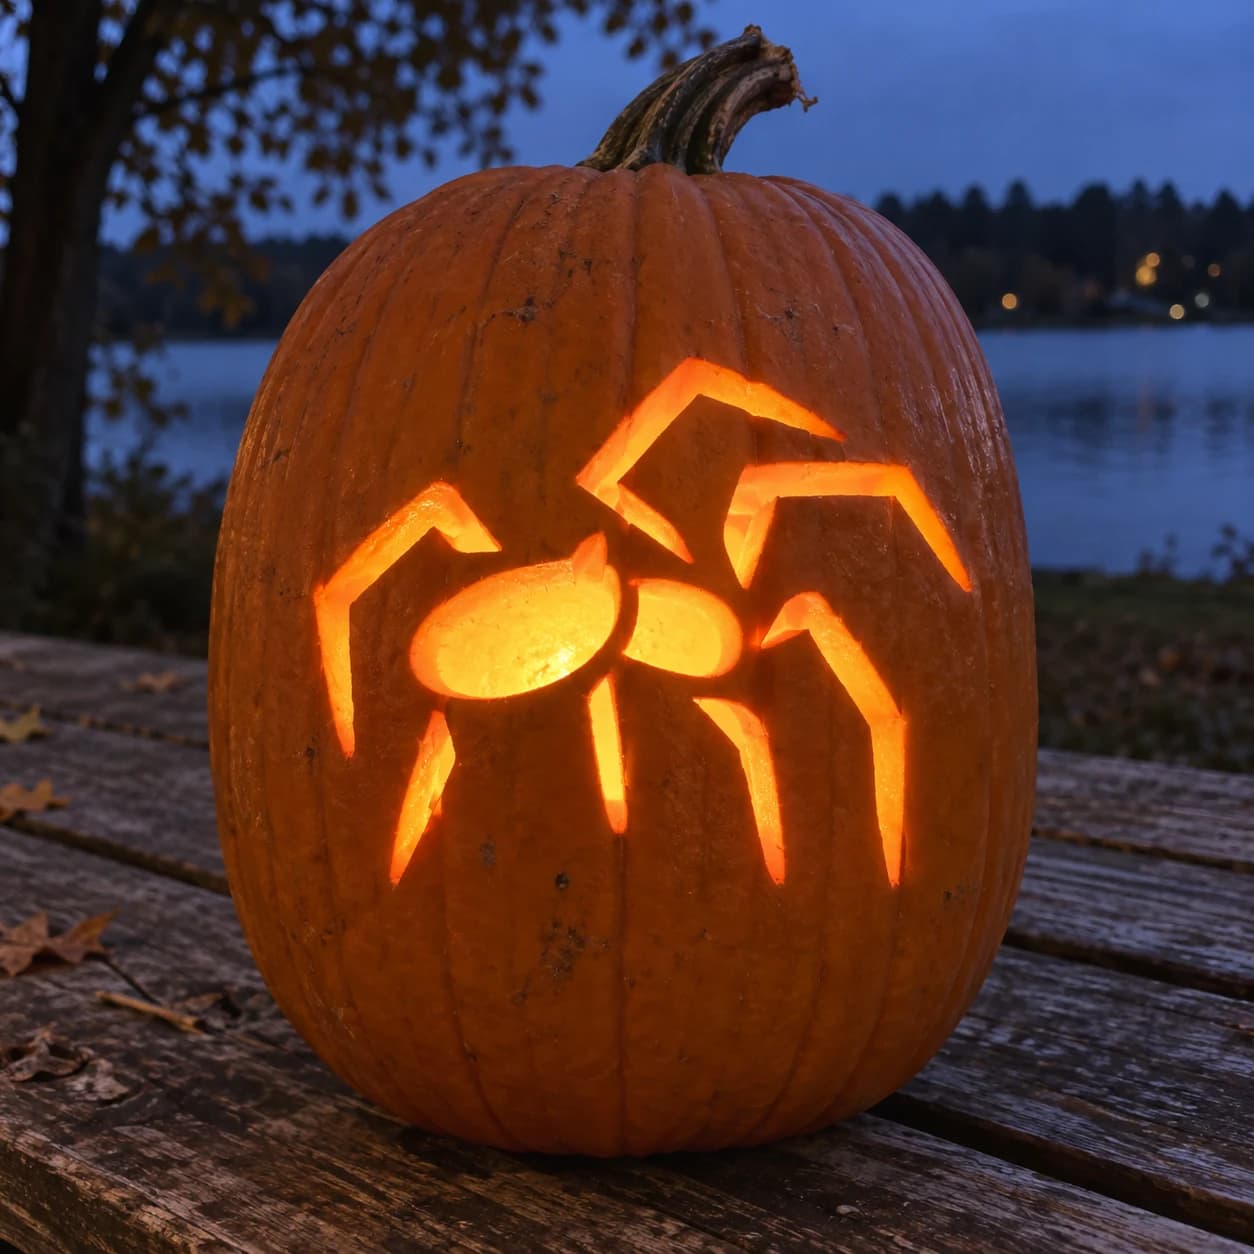
Spider Pumpkin Stencil
A large eight-legged spider crouches in full top-down view on this easy Halloween pumpkin stencil, its oval abdomen and round cephalothorax left as solid orange while all the space between the angled legs is pierced through. Eight legs radiate outward and slightly downward from the body, each tapering to a point. The gaps between legs are the cut areas, so work around the spider methodically to avoid accidentally snapping any single leg at its thinnest point near the body junction.
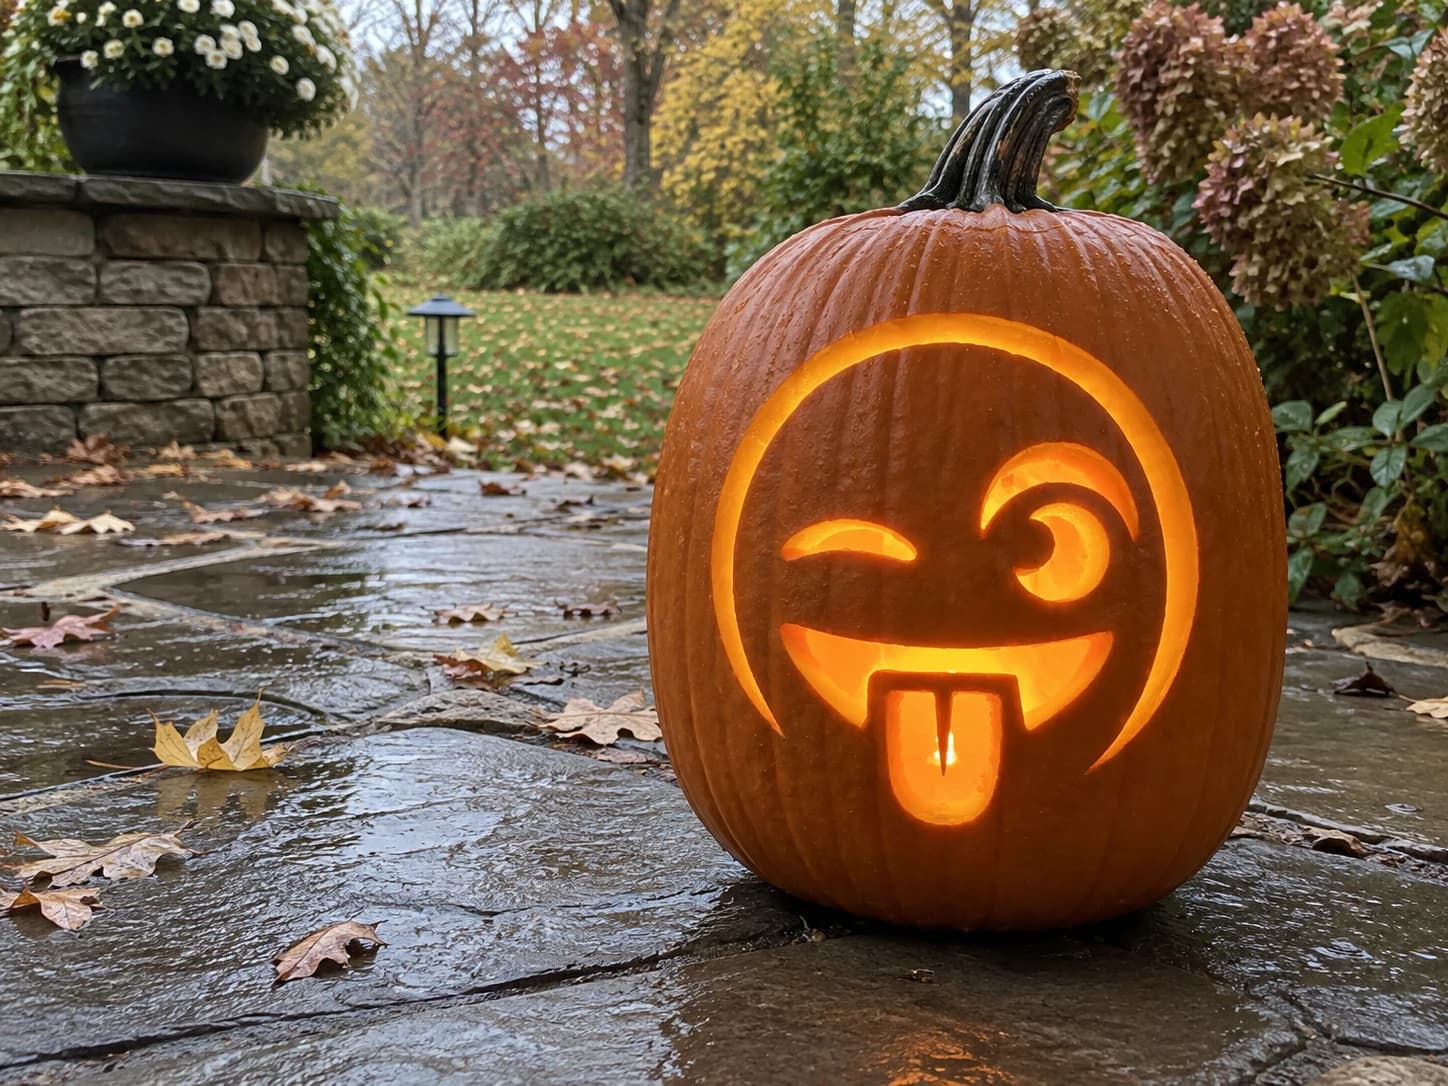
Winking Face Emoji Pumpkin Stencil
A round emoji face with one eye winking shut and the other squinting in a spiral, a wide grin, and a tongue sticking out fills this easy pumpkin stencil. The large circular face outline, the wink line, the spiral eye, the smile strip, and the tongue are all solid orange wall, while the areas around them are pierced so the whole face glows from within. Carve the tongue's narrow center notch before removing the wide background cuts, since the notch is the tightest detail and easiest to slip on with excess pumpkin removed around it.
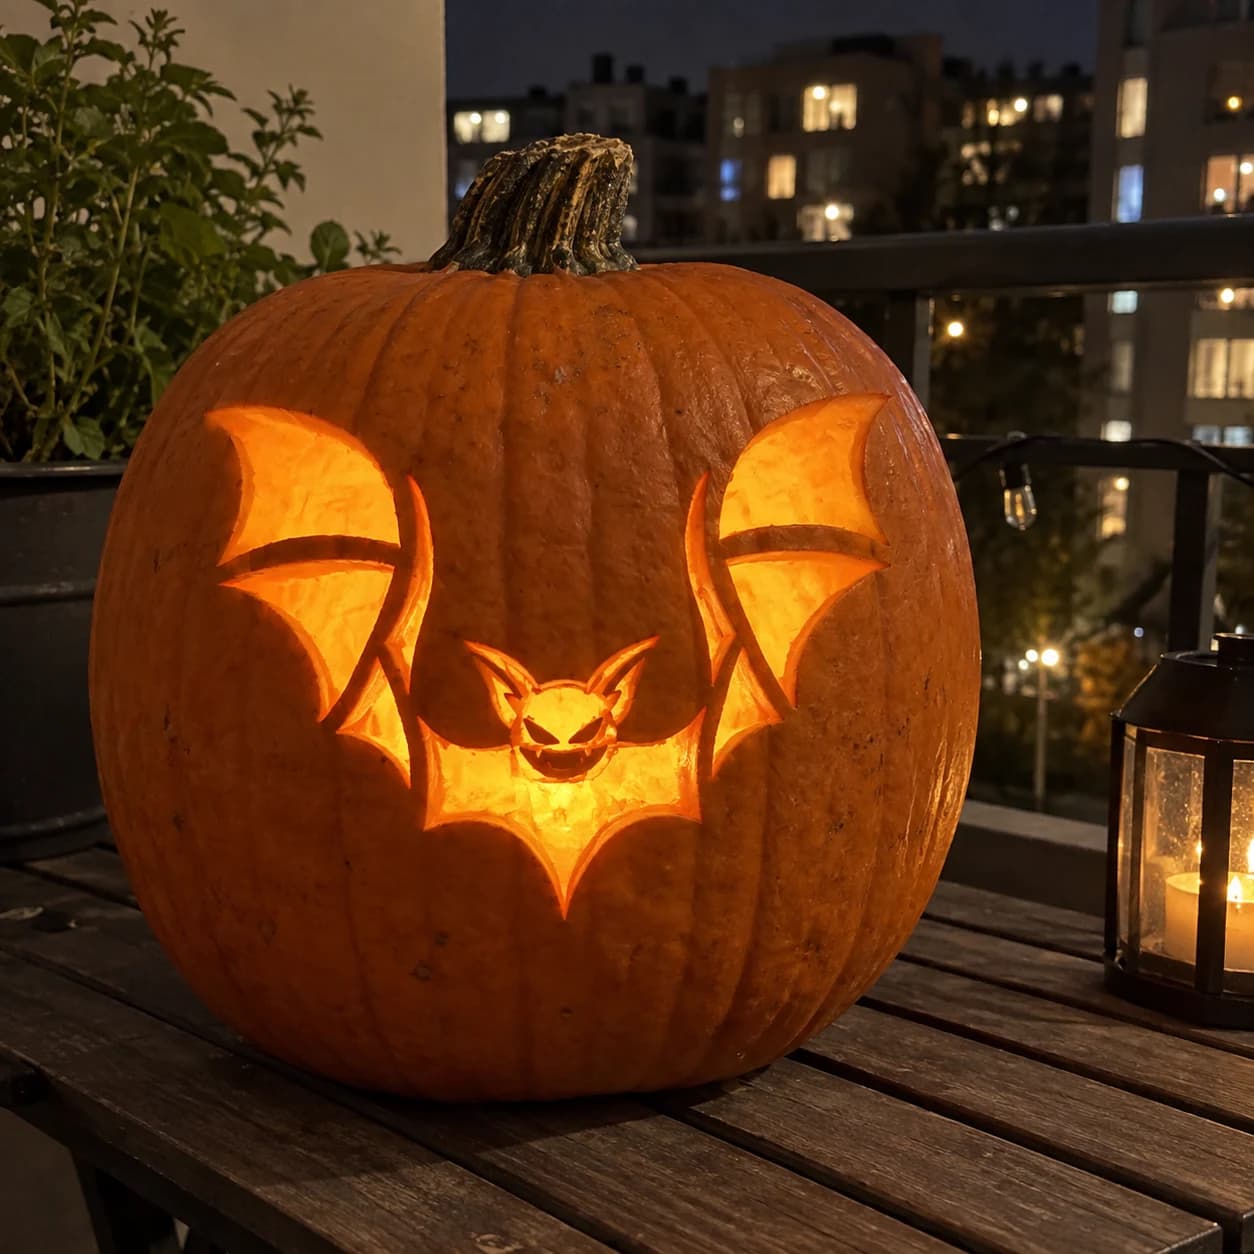
Snarling Bat Pumpkin Stencil
A wide-winged bat stretches nearly edge to edge in this easy bat pumpkin stencil, its wing panels divided by bold vein lines and a snarling cartoon face centered in the body. The wings are the large pierced areas that glow brightest, while the vein lines and the face details remain as solid orange strips inside the cutout. Carve the small pointed fangs in the face before tackling the big wing panels, so the blade has firm pumpkin wall support when making those fine cuts.
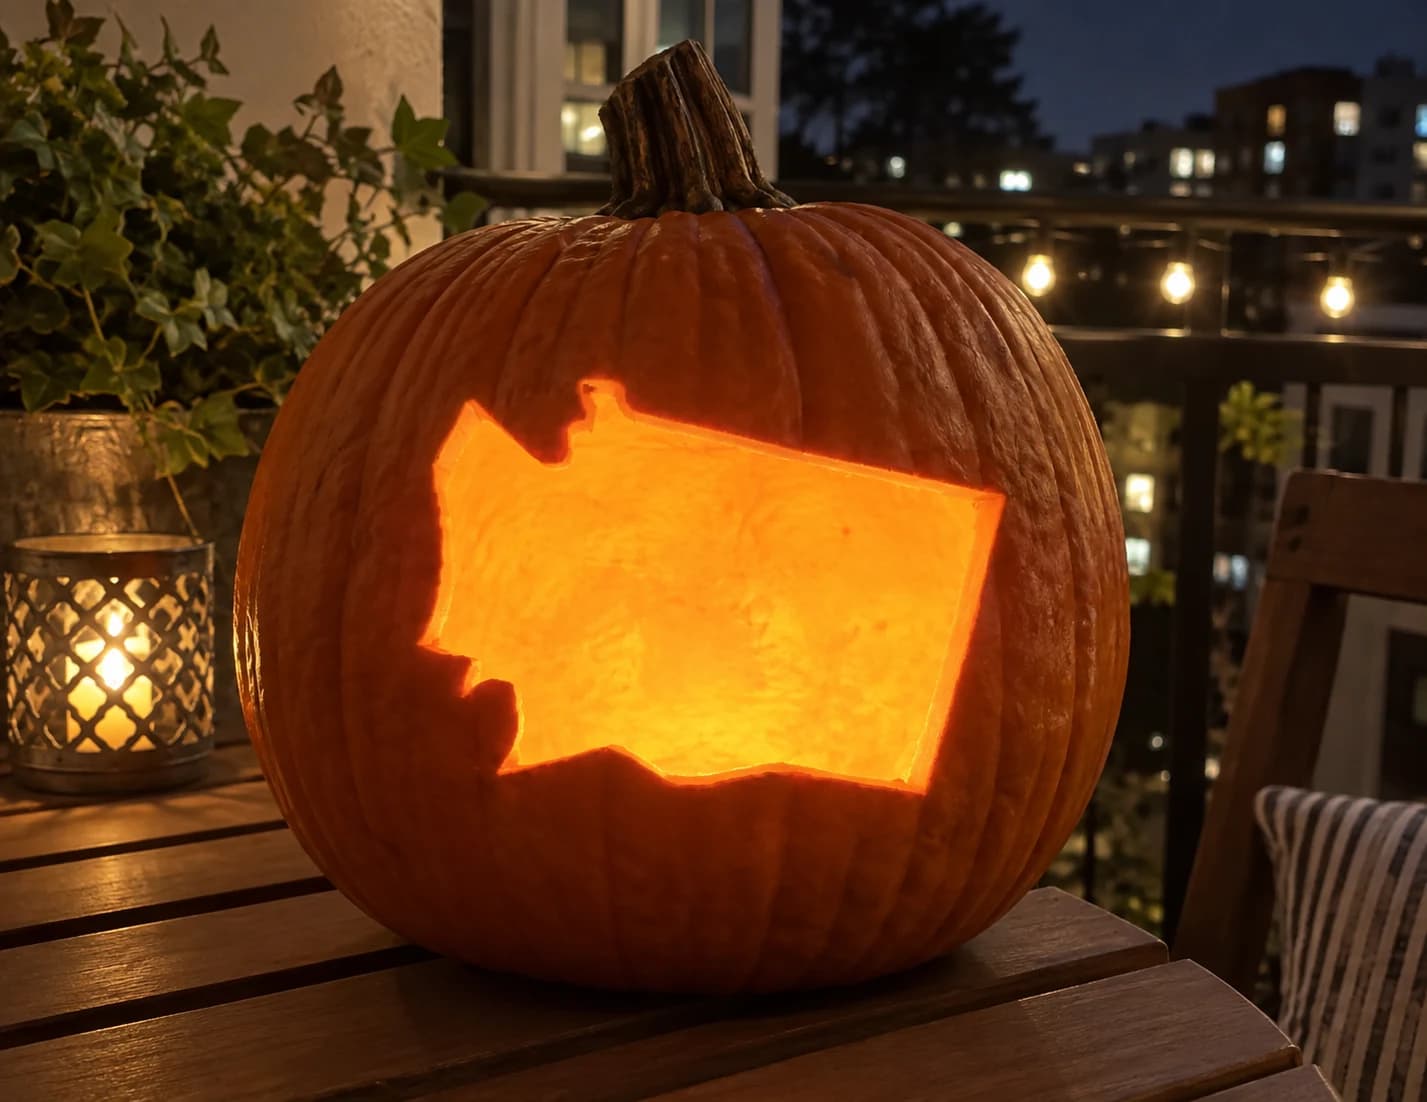
Washington State Pumpkin Stencil
Washington state's broad, nearly rectangular outline is cut as a single open shape on this easy pumpkin stencil, showing the slightly notched upper-left corner where the Olympic Peninsula juts north, the ragged lower-left coastline, and the otherwise straight eastern and southern borders. Lit, it produces a wide glowing window that is instantly readable as the Evergreen State. Because the shape is nearly as wide as it is tall, center it horizontally on the pumpkin face before tracing so the coastline notch does not run off either edge.
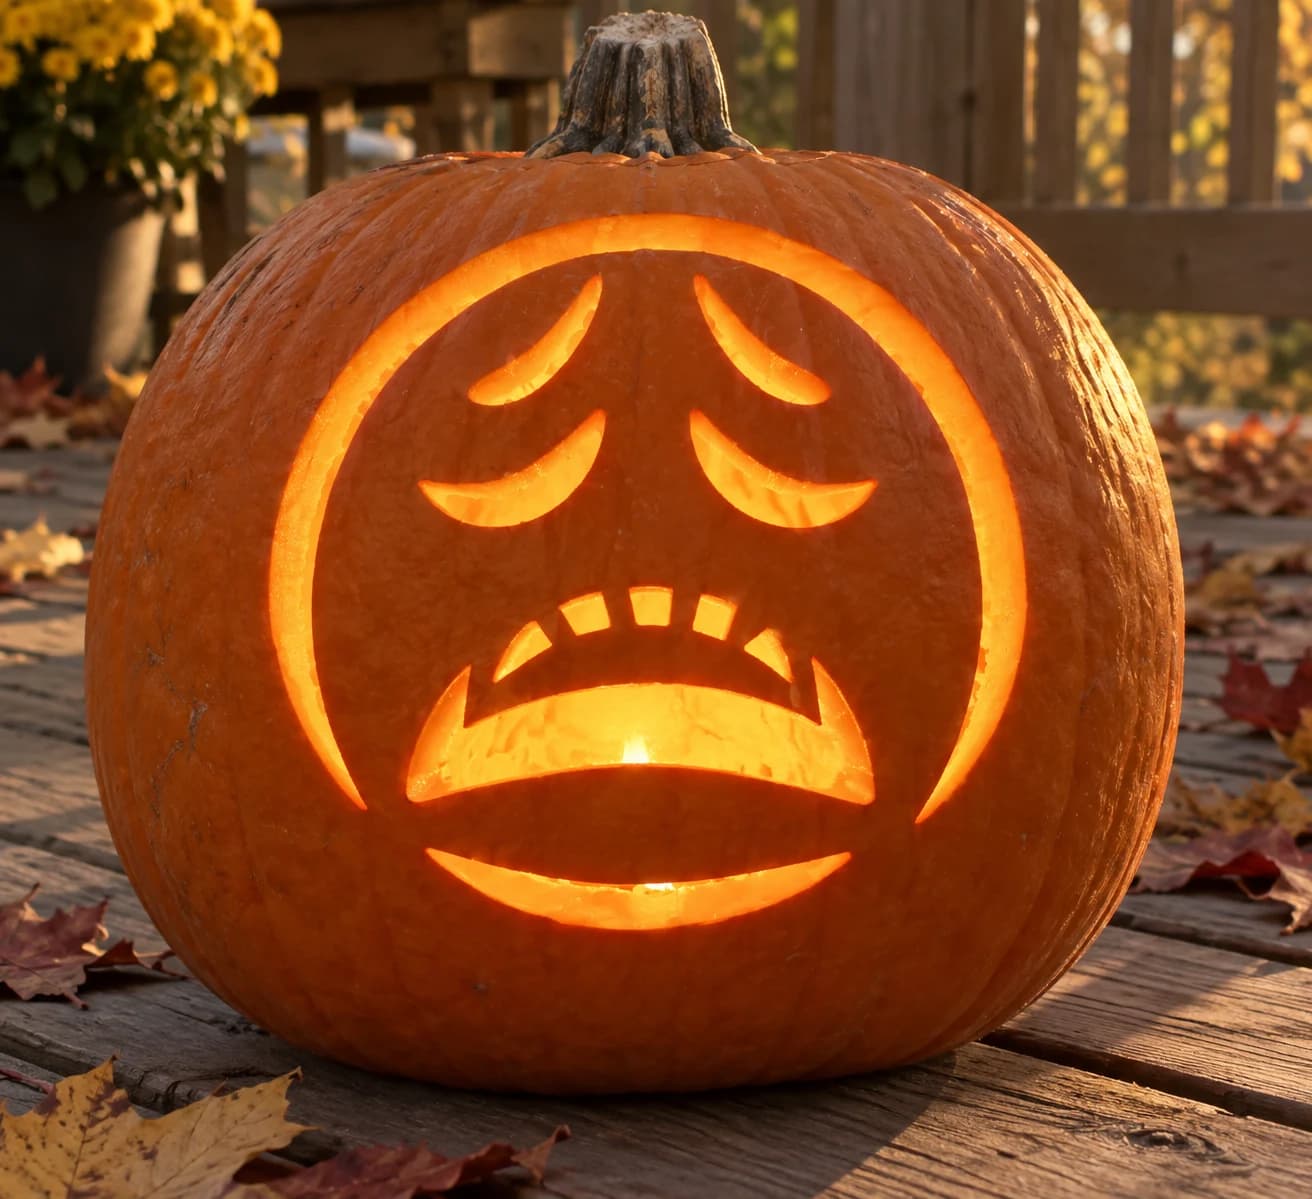
Weary Face Emoji Pumpkin Stencil
The weary face emoji is recreated here as a jack-o-lantern pumpkin stencil: a large circular face outline holds two sets of drooping curved eyebrow-and-eyelid pairs that express exhaustion, a wide open mouth with squared-off upper teeth, and a small chin sweat drop below. All the interior shapes are cut through as separate pieces nested inside the face circle. Carve the tiny sweat drop below the chin first since it is isolated and easy to lose track of, then work upward through the teeth, mouth, and finally the eye arcs.
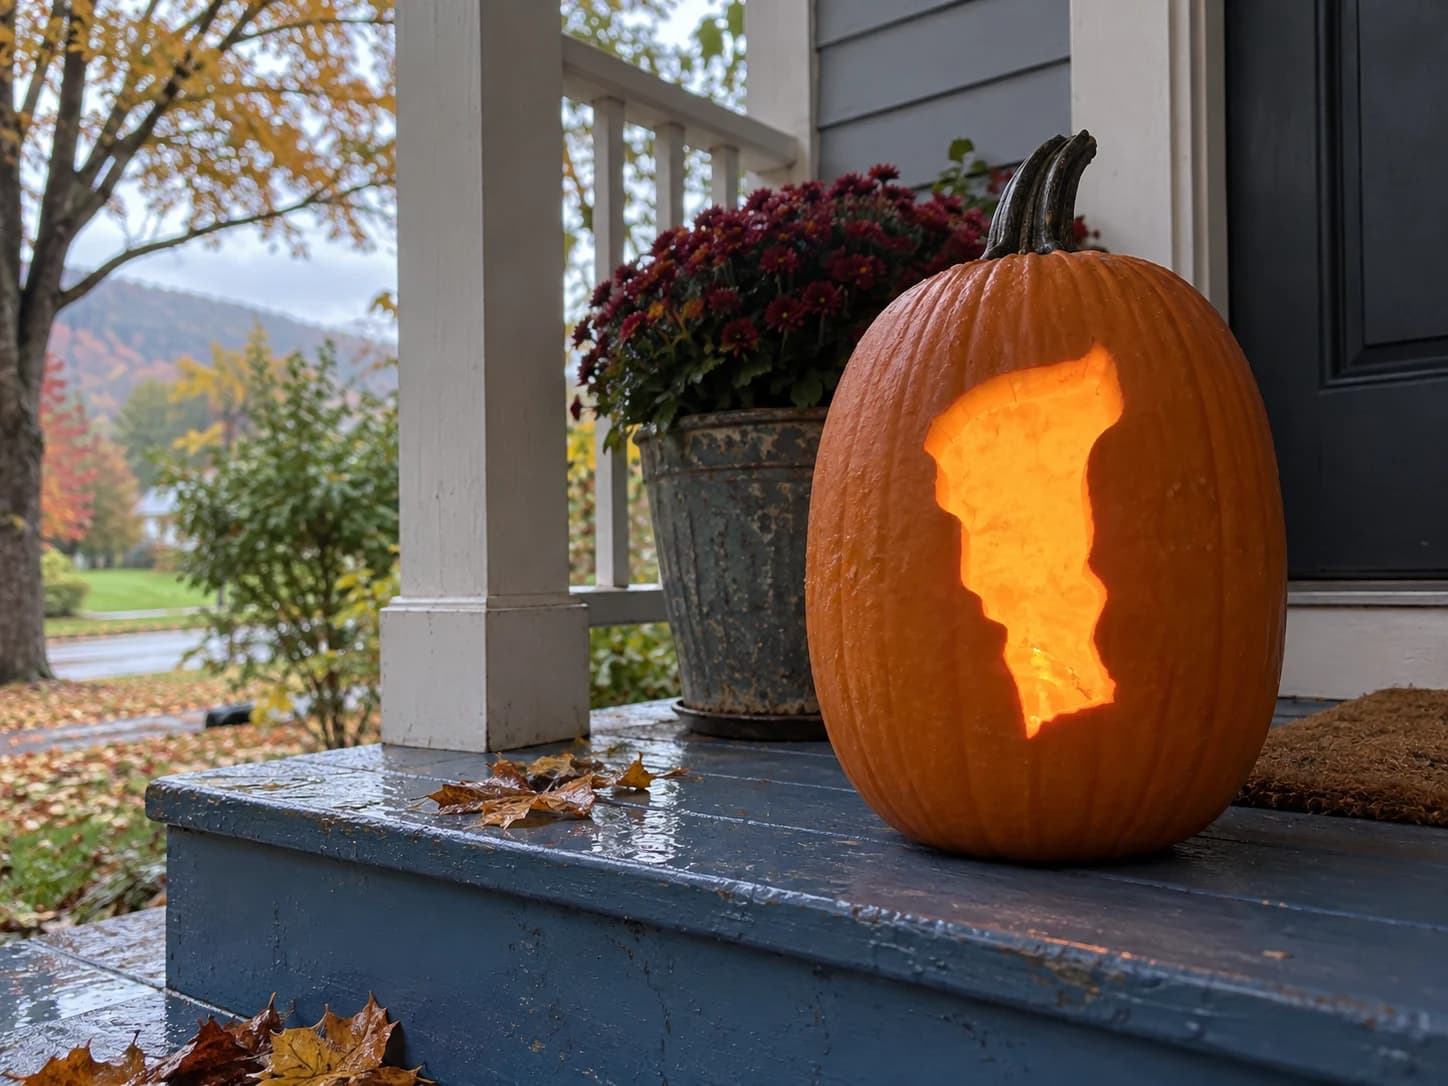
Vermont Pumpkin Stencil
Vermont's narrow, elongated state outline is pierced as a single open shape on this easy pumpkin stencil, showing the slightly irregular wavy eastern border, the smoother western edge along Lake Champlain, and the small northern bump where the Northeast Kingdom juts upward. Lit, it glows as a tall vertical window of light. Because Vermont's outline runs close to the top of a typical pumpkin curve, tape the stencil with the northern bump positioned at least an inch below the stem base to leave enough wall thickness.
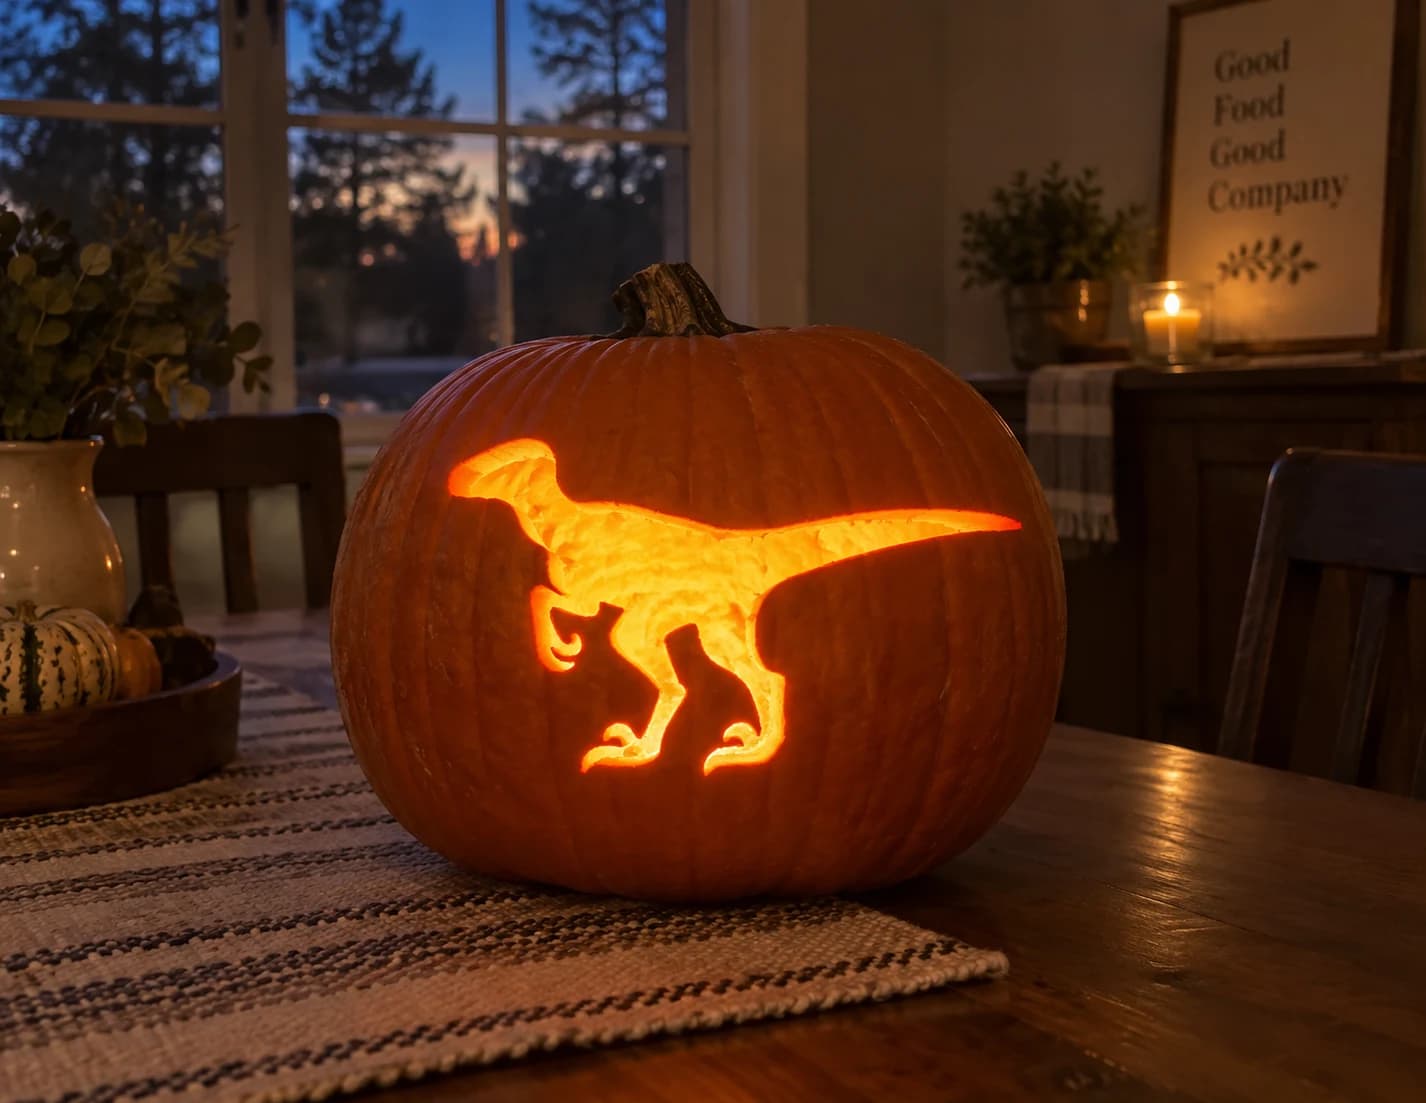
Velociraptor Pumpkin Stencil
A velociraptor in full stride dominates this easy pumpkin stencil, shown in profile with its distinctive upright neck, narrow head, small forelimbs, and long stiffened tail extended behind it. The entire dinosaur silhouette is cut as a single open shape, and a small inner detail near the chest is removed separately to show the bent arm. Lit from behind, it reads instantly as a raptor shadow against the glowing pumpkin. Trace the tail outline before cutting because the long thin tail tip can run outside the pumpkin's curve if not centered.
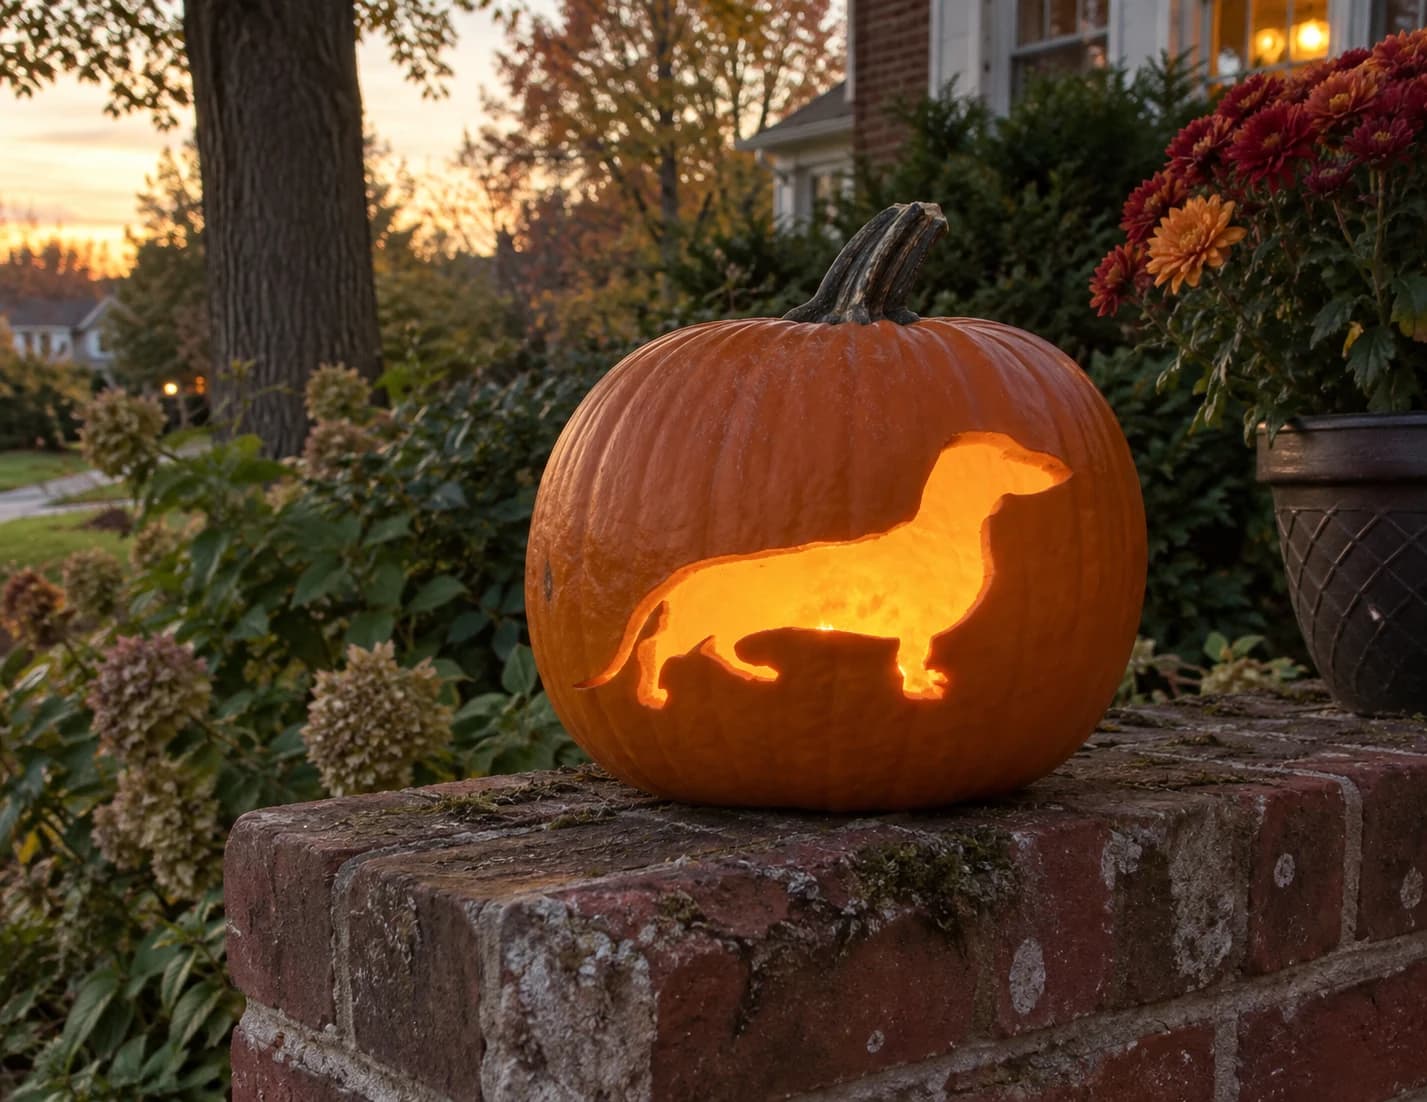
Dachshund Pumpkin Stencil
A dachshund in profile fills this easy dog pumpkin stencil, its long low body, short front and back legs, small rounded head, and thin tail all rendered as a single clean silhouette. The entire dog shape is cut away as one open piece, so the lit jack-o-lantern casts a bright dachshund outline against the orange pumpkin wall. The tail tapers to a fine point at the top, so finish that cut last with a single smooth stroke rather than sawing back and forth, which can tear the thin tip.
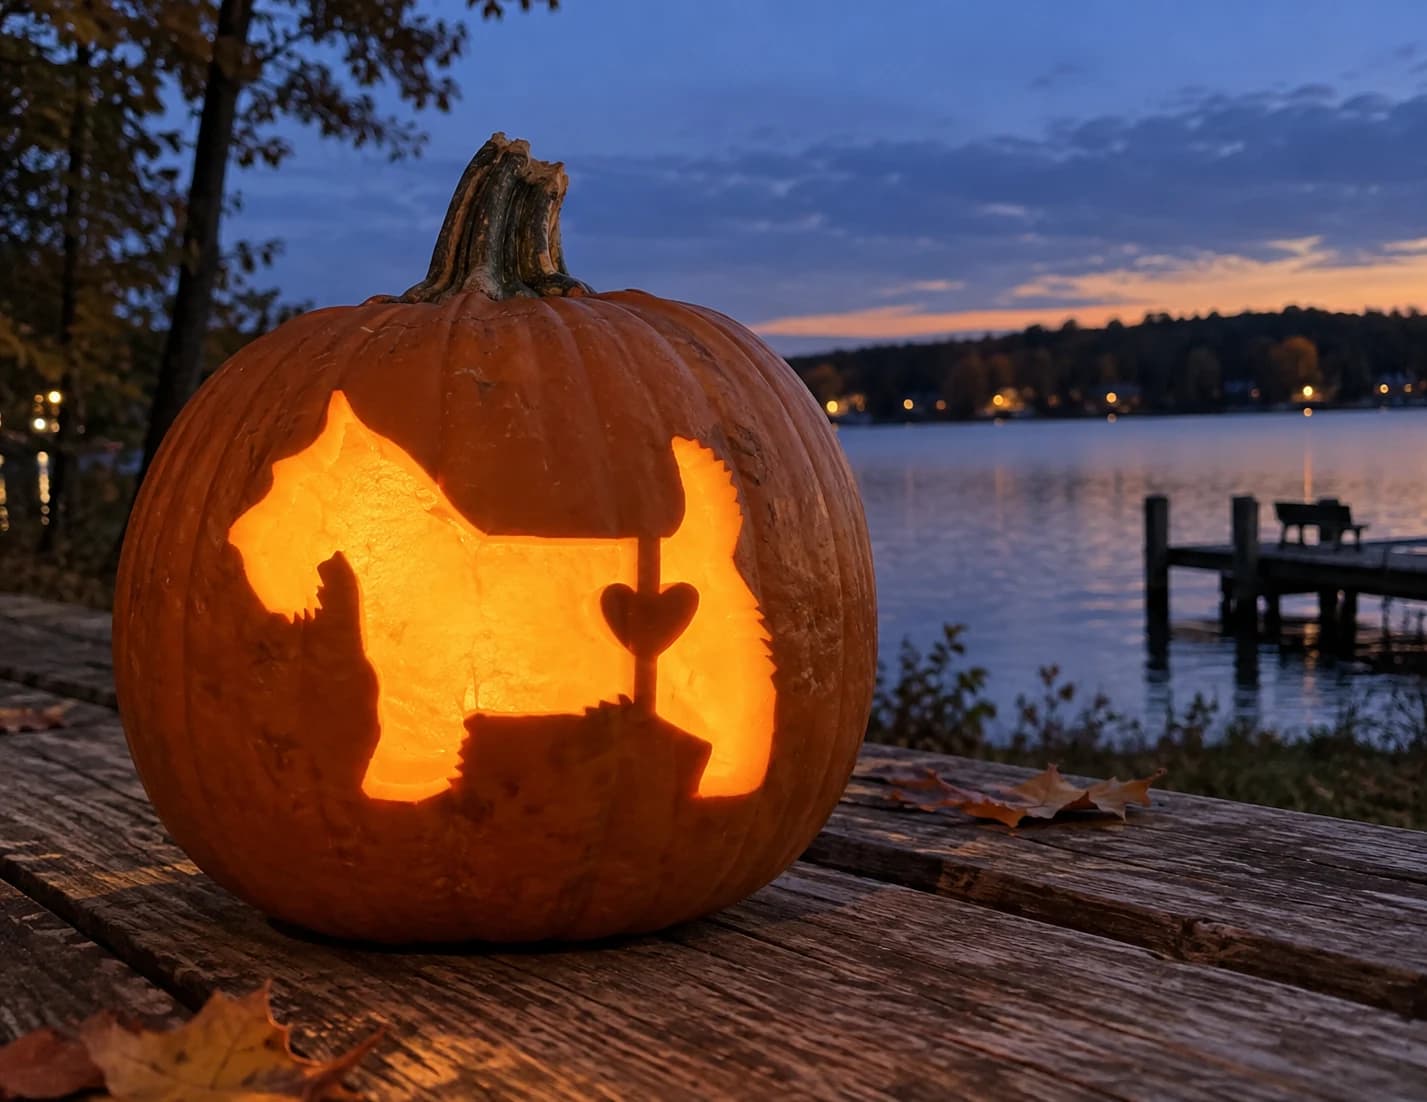
Schnauzer Pumpkin Stencil
A side-profile schnauzer silhouette with a beard, bushy eyebrows, and perky ears stands as the main cut-through shape in this easy dog pumpkin stencil. A separate tail piece and a small heart cutout on the dog's side complete the design; the heart stays as solid pumpkin wall inside an open negative-space frame. The carved pumpkin shows the schnauzer in bold orange relief against a dark background. Cut the heart outline early while the pumpkin is still firm, since the thin wall forming the heart border is the most fragile element in the design.
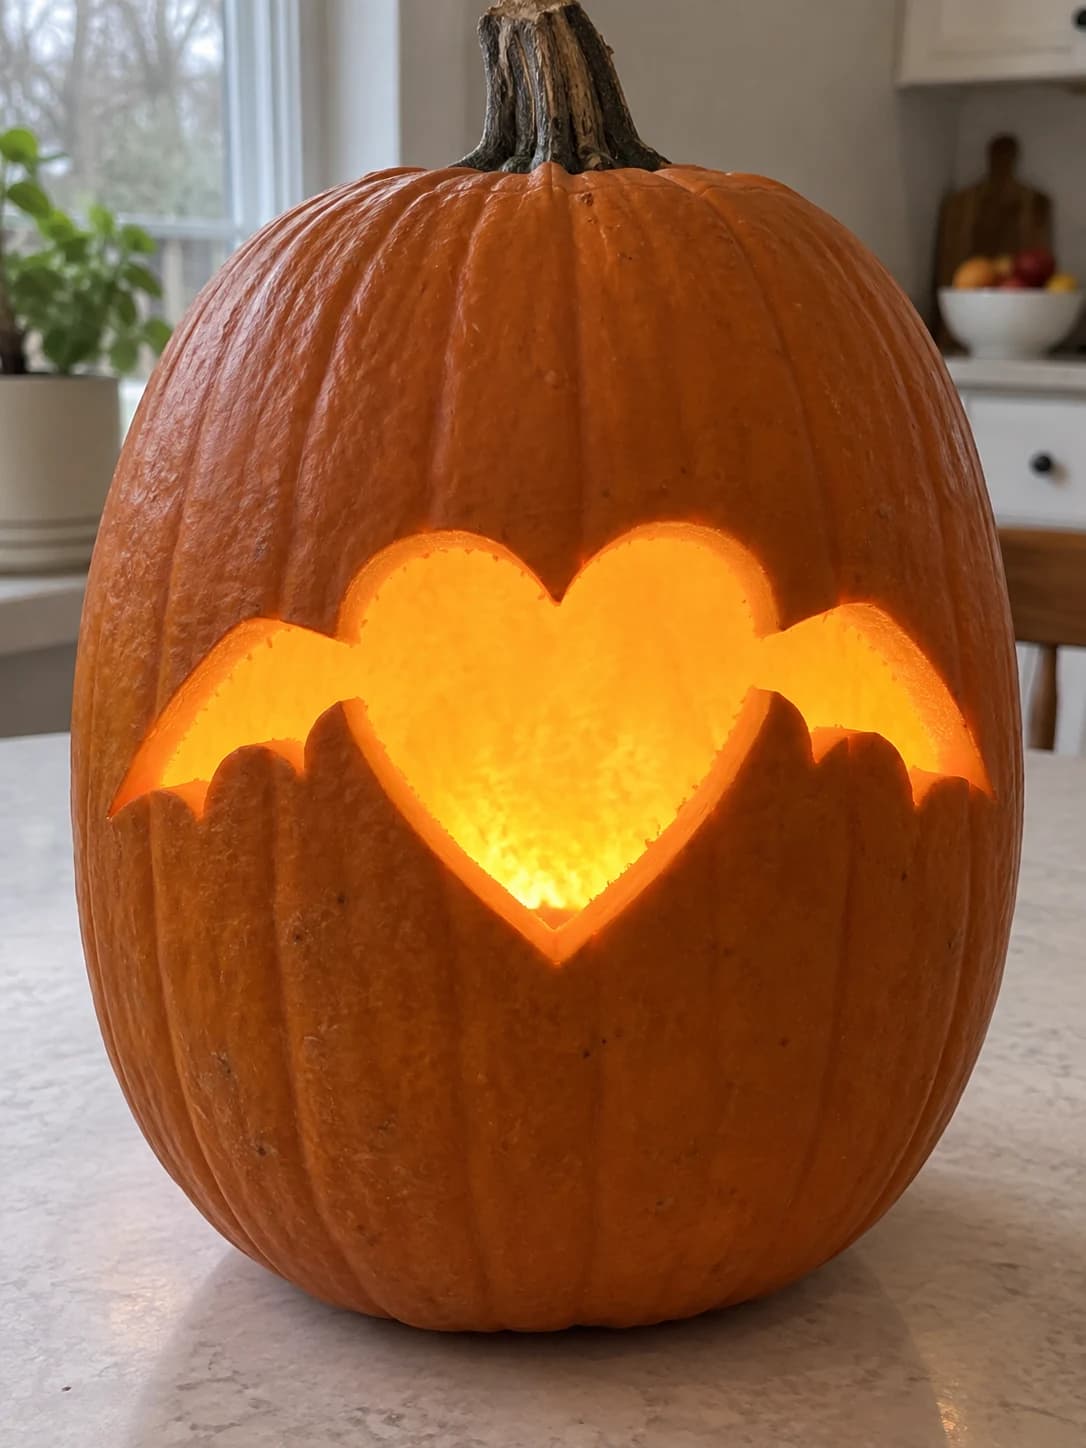
Bat Heart Pumpkin Stencil
A large heart with two bat wings spread wide forms this simple pumpkin stencil: the entire shape is a single solid silhouette to be cut away as one connected piece, leaving a bold heart-with-wings opening in the pumpkin face. The pointed wing tips extend on each side and have small secondary notches along the trailing edges. Because the whole design is one cut, work around the heart curves first, then trace out each wing tip slowly so the narrow notches do not tear before the main body of the shape drops free.
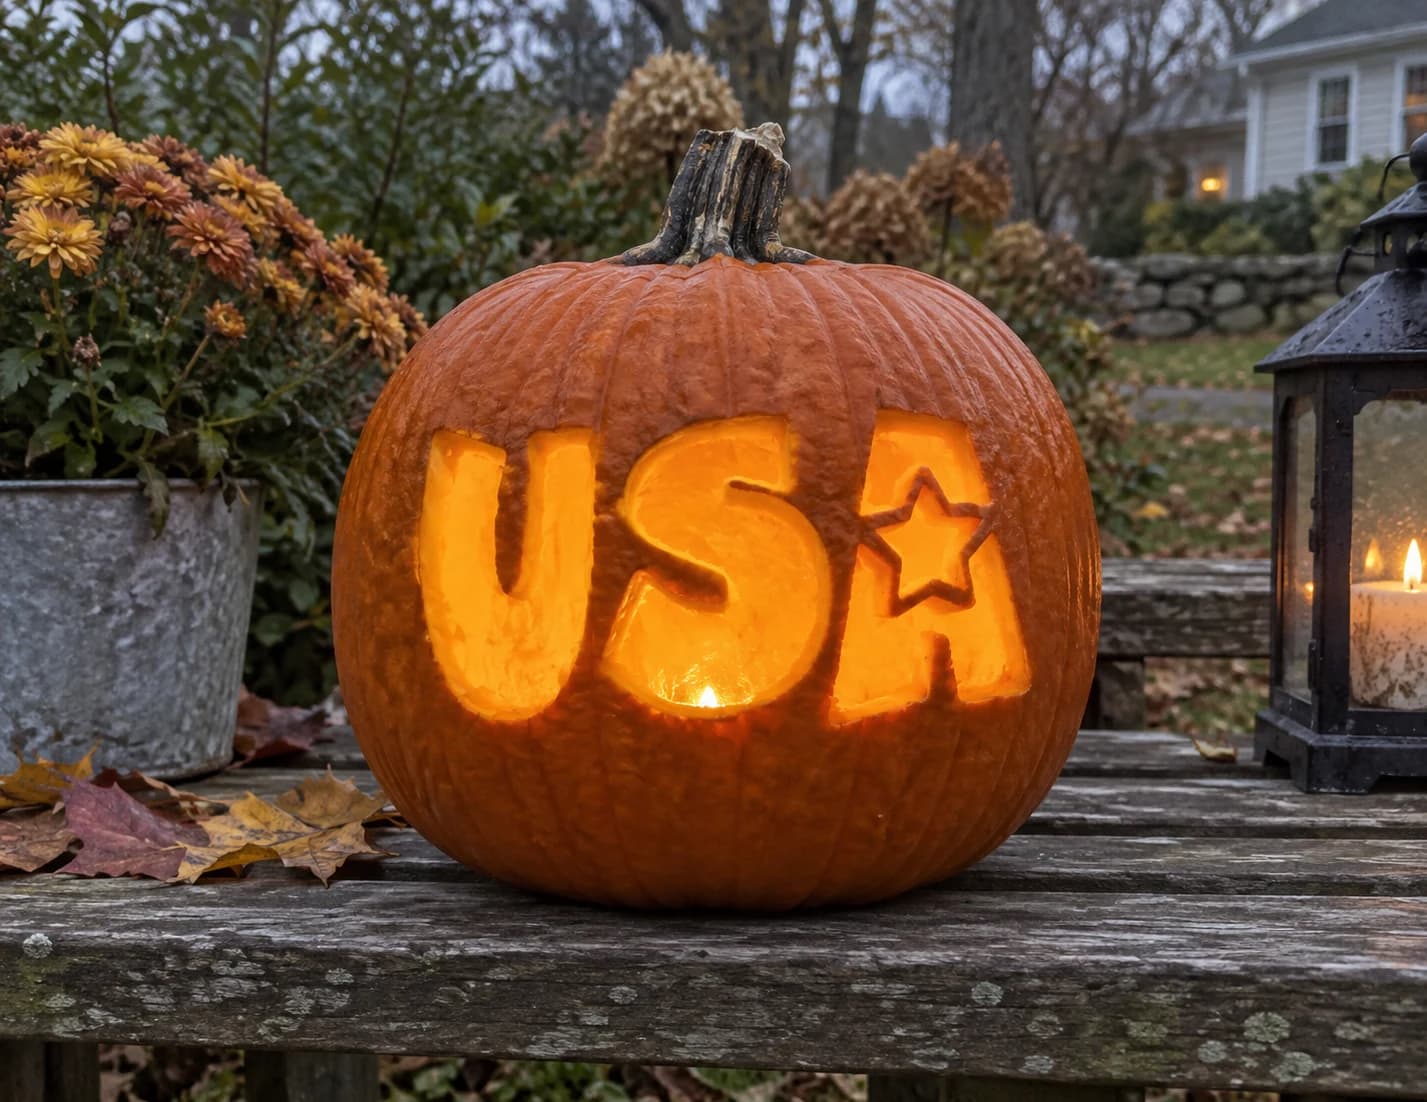
USA Text Pumpkin Stencil
Bold block letters spelling "USA" are carved as open pierce-throughs in this easy pumpkin stencil, with a five-pointed star replacing the crossbar of the letter A. The rounded, wide letters are generously sized and leave thick orange walls between them. On the lit pumpkin the three letters glow brightly and the star cutout inside the A shines as a distinct shape. Score the star outline inside the A before cutting the surrounding letter body, since the star's tight inner points are easiest to navigate when the pumpkin wall around them is still rigid.
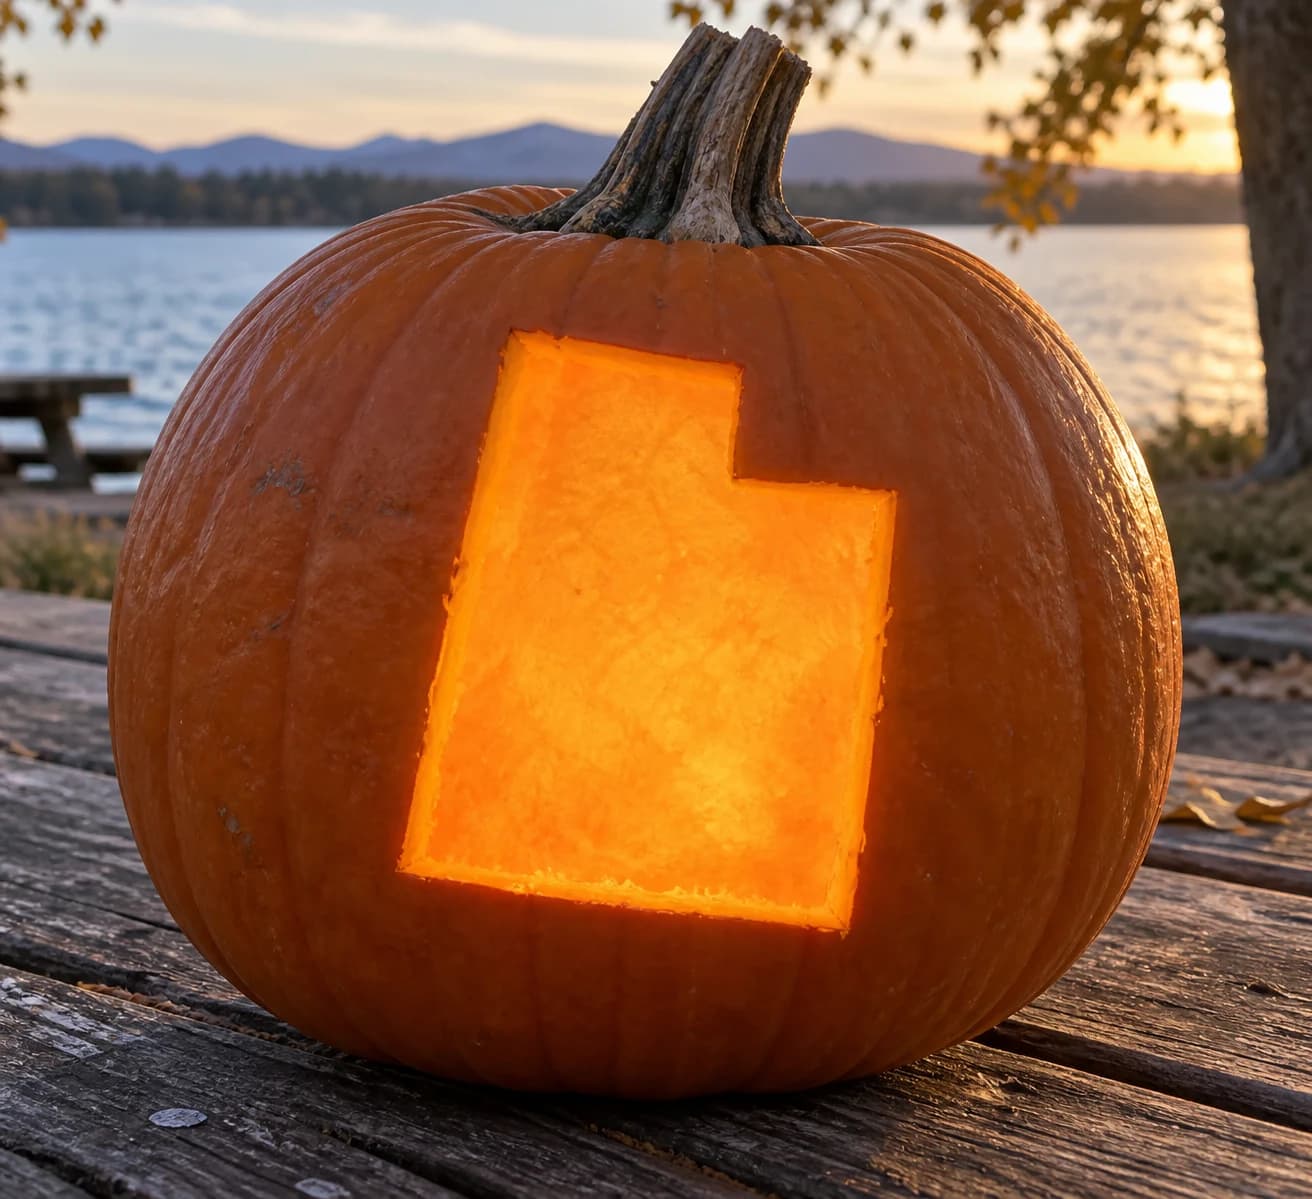
Utah Pumpkin Stencil
Utah's immediately recognizable outline is the entire design here: a large near-rectangle with a single square notch cut from the upper-right corner where the Four Corners region meets. The shape is pierced through as one solid opening, leaving a clean geometric silhouette that glows as a single bright window. Because the notch corner is the only angular detail in this stencil, score that interior right angle first with the tip of your blade to keep it crisp before opening the rest of the cutout.
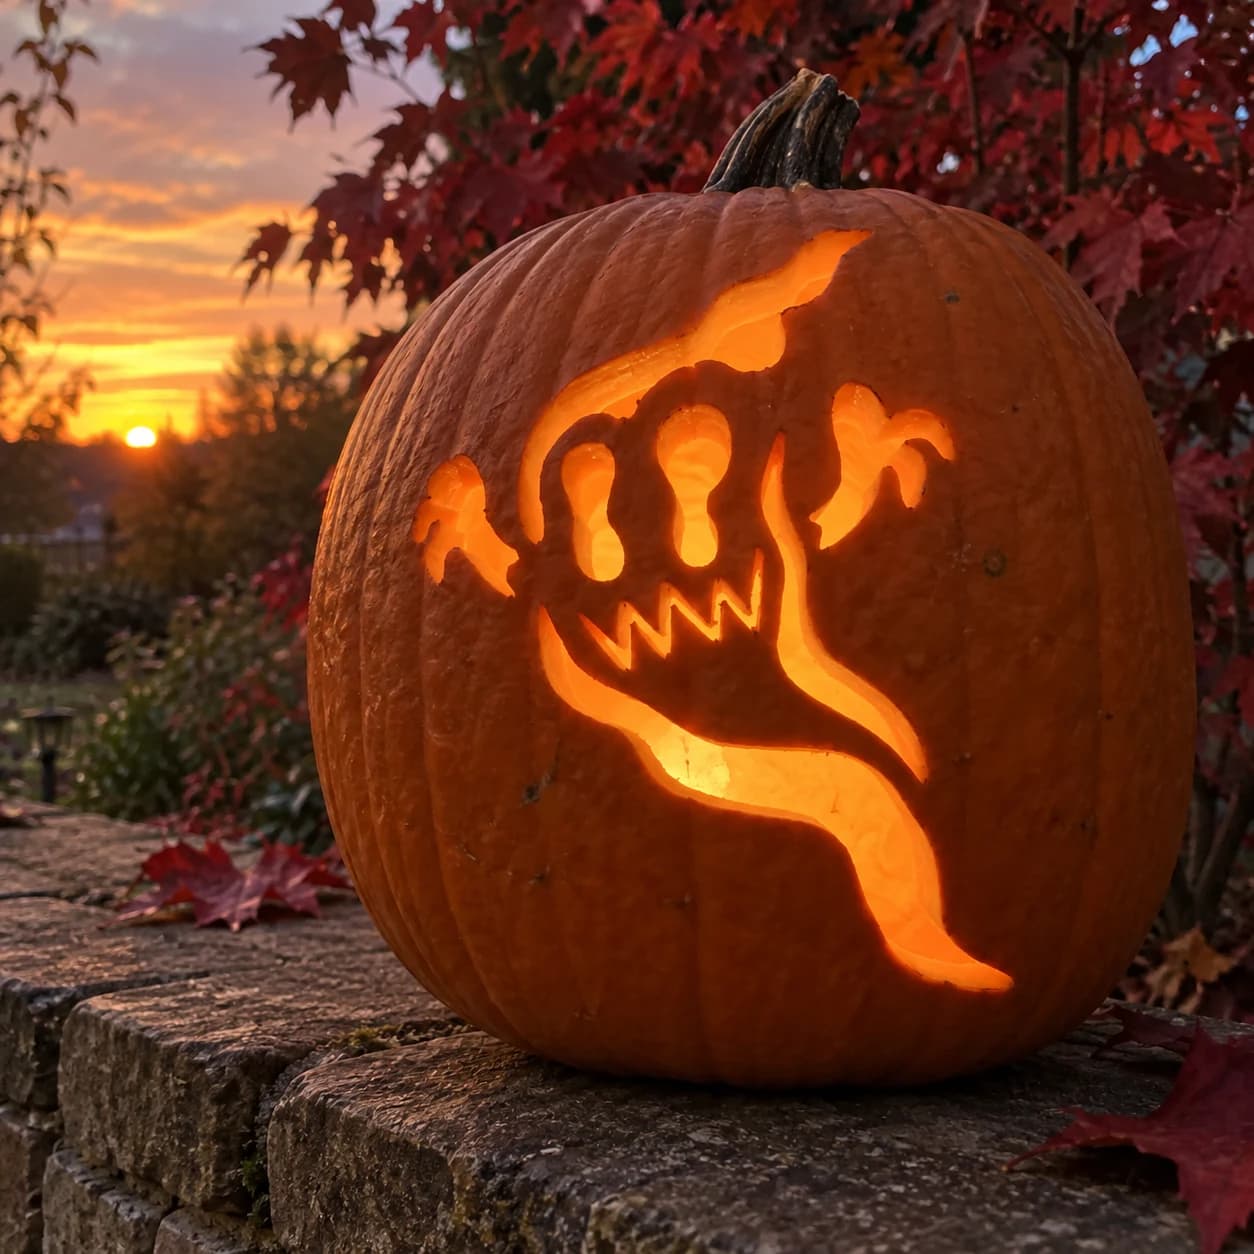
Grinning Ghost Pumpkin Stencil
A cartoonish ghost with a jagged, wide-open grin full of pointed teeth flies across this easy pumpkin stencil. Wild claw-like hands reach out from the sides, and a wisp of tail curls below. The ghost body and the negative spaces inside the grin are both cut through, while the pointed teeth are left as solid pumpkin wall. When lit, the teeth appear as dark orange spikes floating in the glowing mouth. Carve the jagged mouth points with slow, deliberate strokes rather than trying to follow the zigzag in one continuous cut.
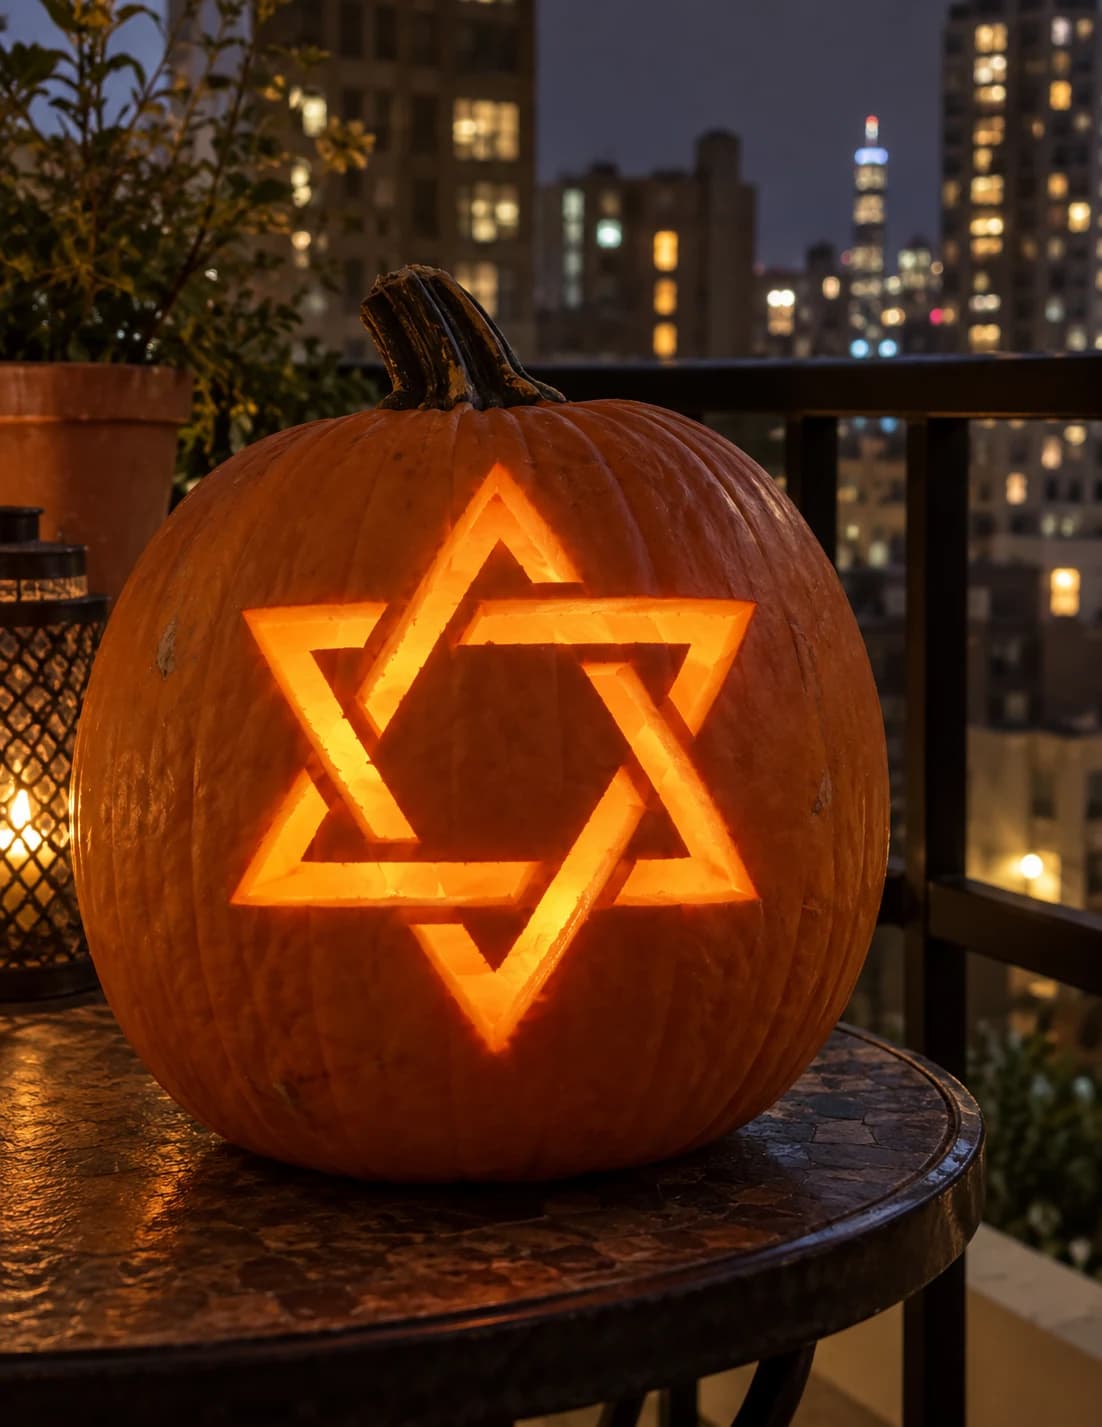
Star of David Pumpkin Stencil
Two overlapping equilateral triangles forming the Star of David fill this pumpkin stencil as a clean geometric shape. The entire six-pointed star outline is carved as a single continuous pierce-through, and the small hexagonal gaps at each interlocking corner are left as solid pumpkin wall, creating the interlaced look of the design. On the lit jack-o-lantern the star glows in bright outline form. Score the six triangle tip points lightly before making full cuts; the acute corners are the most likely to tear, so finish them with a fine blade rather than a heavy saw.
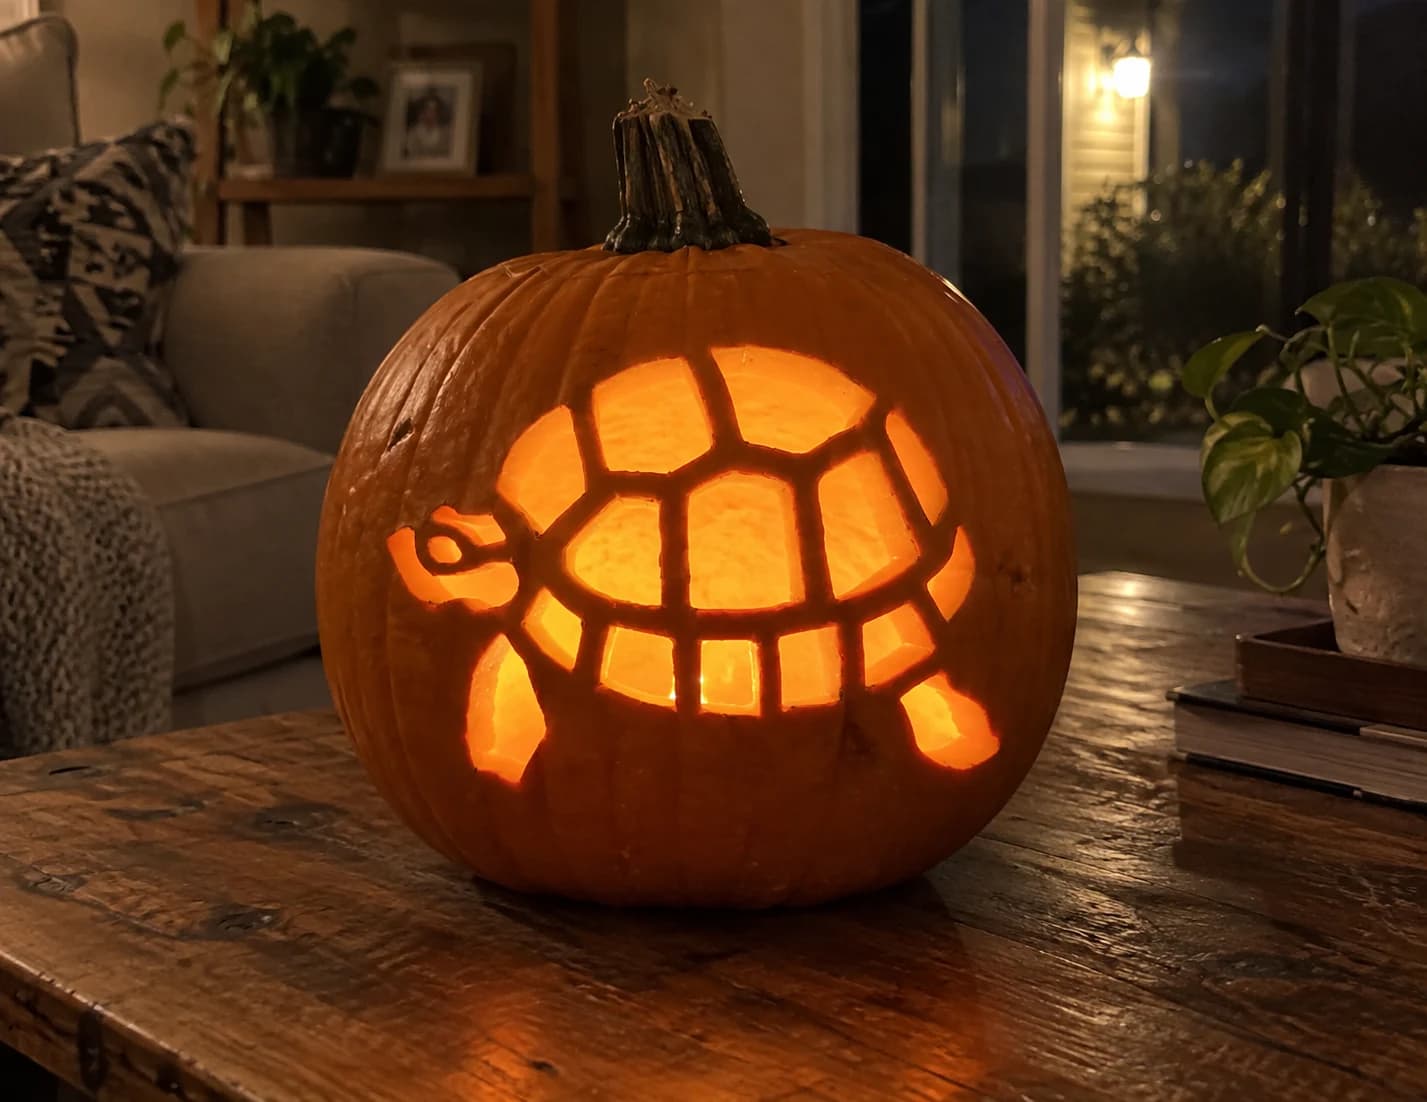
Turtle Pumpkin Stencil
A side-view turtle with a segmented shell is the subject of this easy pumpkin stencil: the domed carapace is divided into roughly twelve polygonal scute cutouts separated by thin pumpkin-skin ridges, the head extends forward on a curved neck with a small circular eye detail, and four stubby legs and a short tail complete the silhouette. When lit, the shell glows as a mosaic of separate panels. Cut the smaller head and eye section before tackling the large shell scutes, since the head area has less surrounding support once the shell pieces are removed.
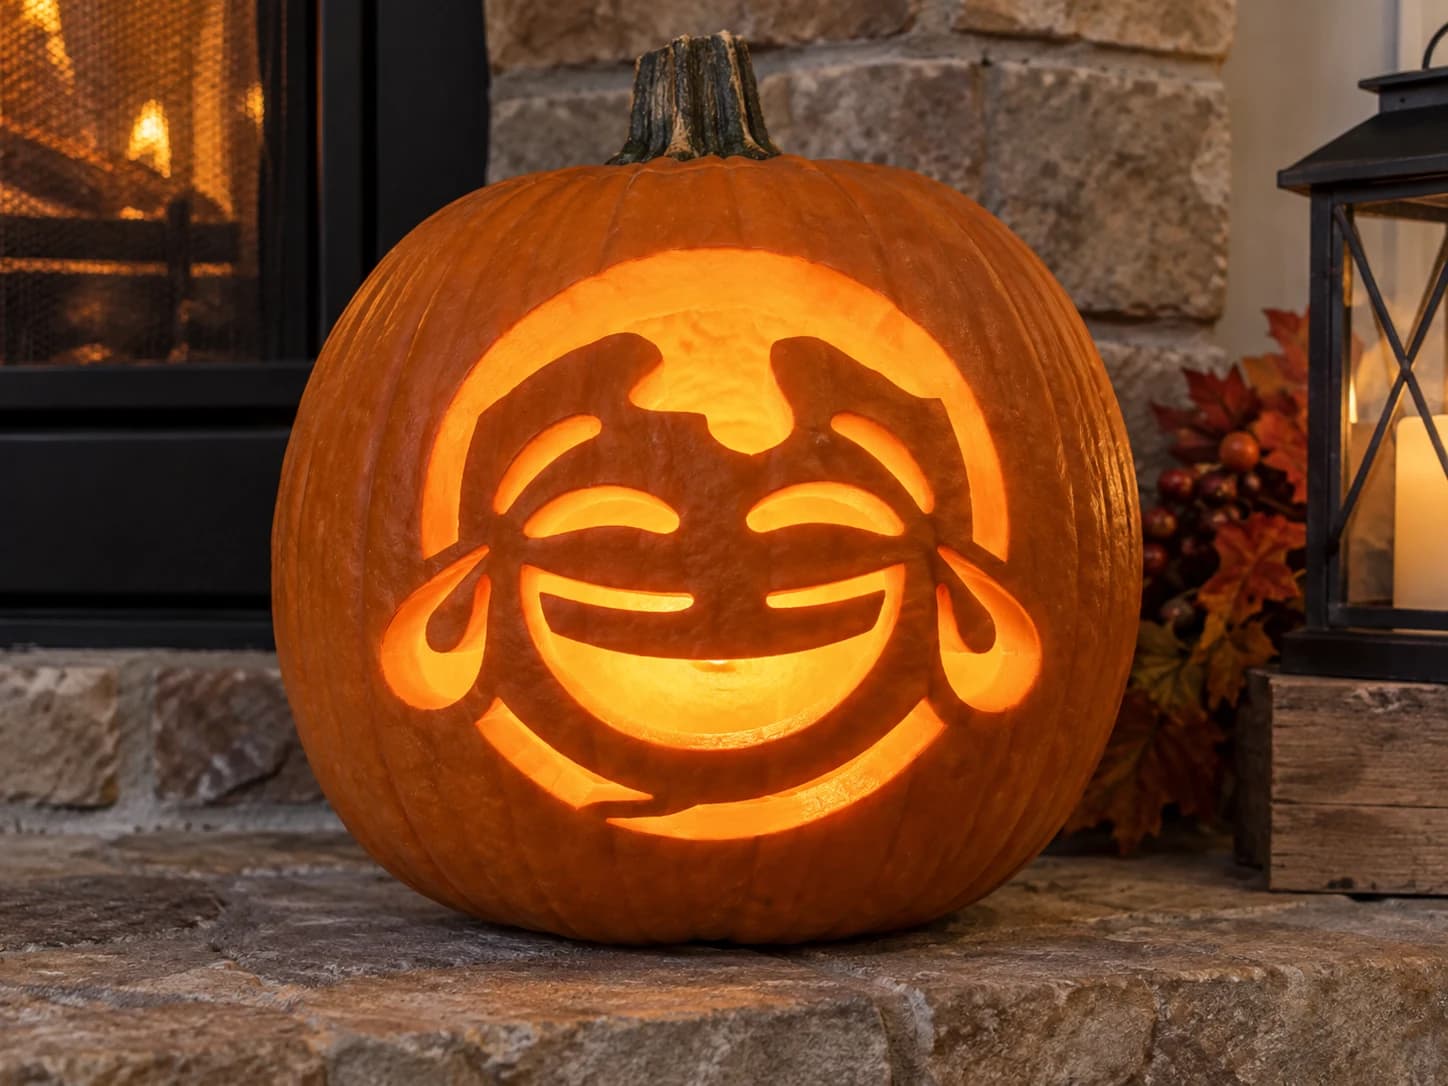
Tears of Joy Emoji Pumpkin Stencil
This emoji pumpkin stencil captures the classic tears-of-joy face: a large circular outline frames squinting crescent eyes, a wide open-mouth smile, and two teardrop shapes streaming from the outer eye corners. Most of the interior is pierced through, leaving thin curved bridges for the eyes, brow shapes, and a tongue strip inside the mouth. When lit, the laughing face reads instantly from across a porch. Keep the two small teardrop cutouts for last, as they are isolated from the main body and can shift if the stencil loosens.
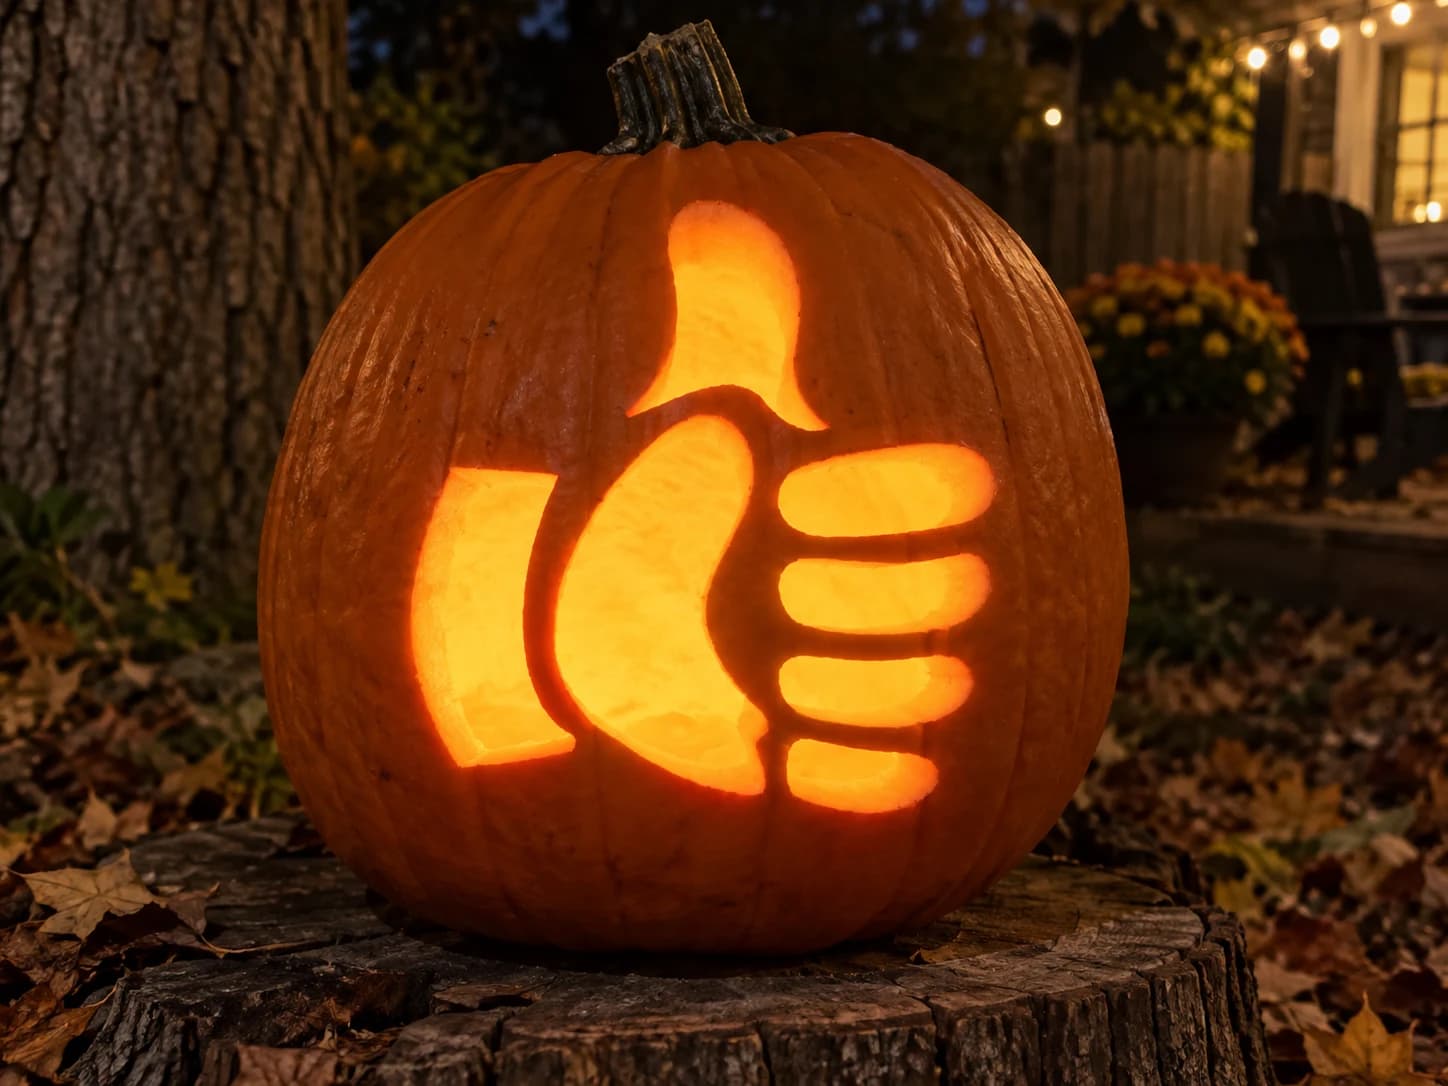
Thumbs Up Emoji Pumpkin Stencil
A thumbs-up hand emoji fills this easy pumpkin stencil: a large upward-pointing thumb teardrop at the top, a broad curved palm-and-knuckle mass in the center, four stacked horizontal oval finger cutouts on the right, and a small curved side-panel on the left. When lit, the stacked ovals glow as distinct bright bars above the palm opening, reading immediately as a raised-fist thumbs-up. Cut the four finger ovals before removing the larger central palm section so the surrounding skin remains firm while you make the smaller, more precise cuts.
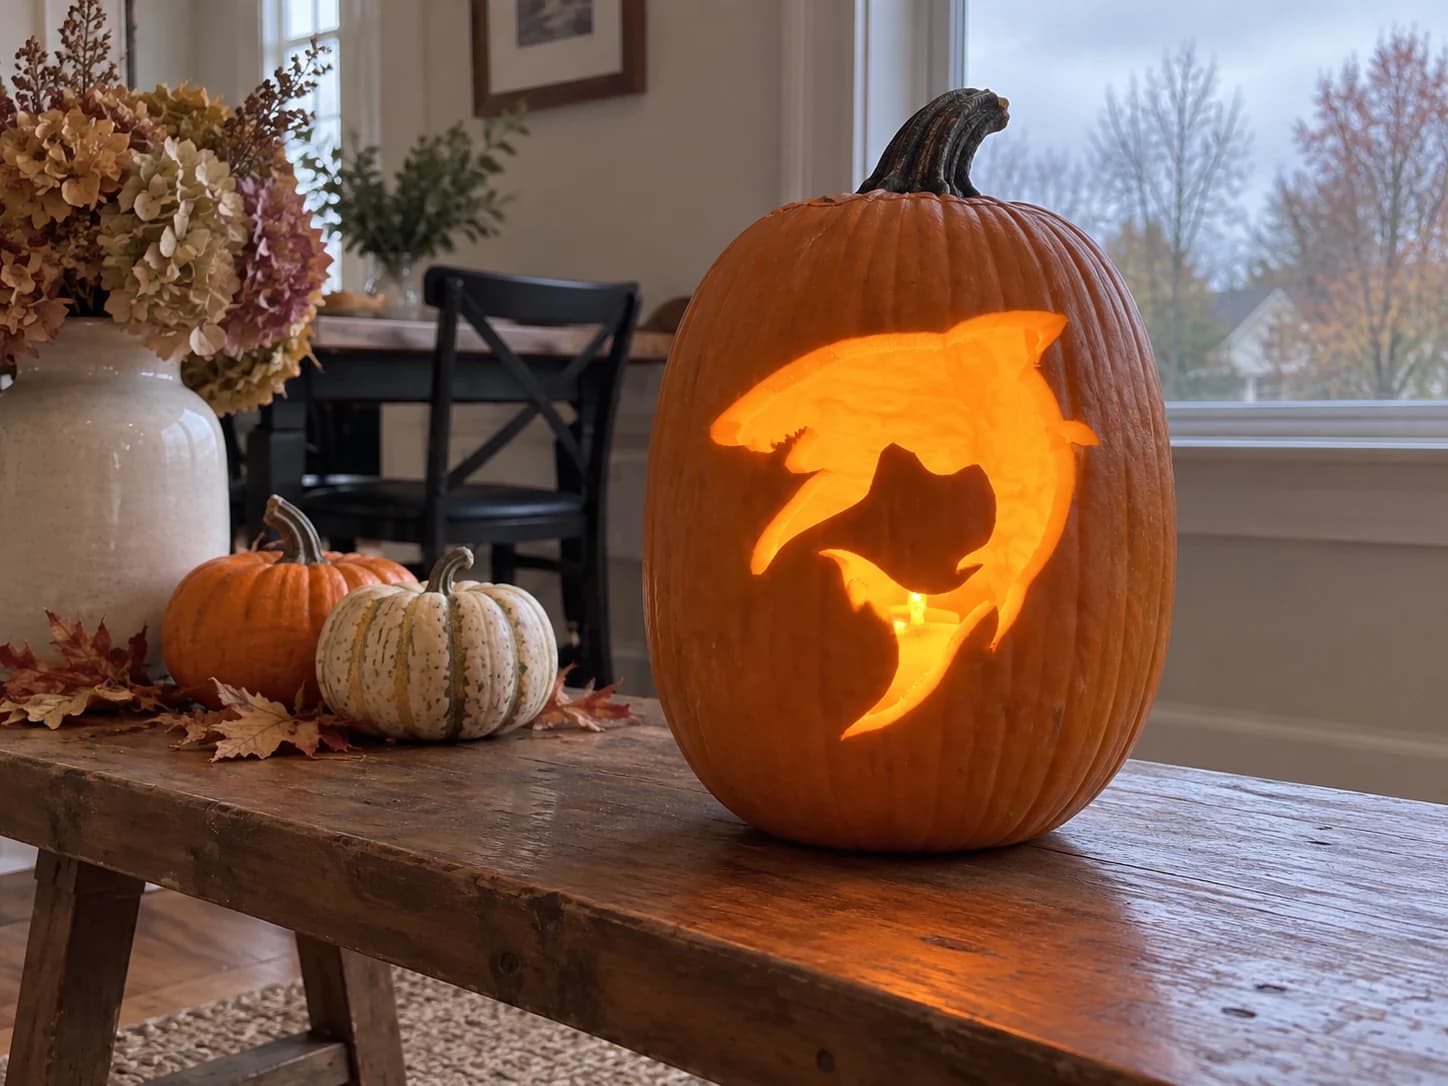
Two Sharks Pumpkin Stencil
Two sharks overlap in a dramatic diving composition for this easy pumpkin stencil: a large shark lunges forward with serrated teeth exposed, and a smaller shark curves below it. The negative space between the two bodies is cut away, leaving the sharks as solid orange pumpkin forms. The jagged row of teeth on the large shark is the most detailed edge in the design. Cut the teeth line with individual short plunge-cuts per tooth point rather than sawing along the jagged edge, which reduces the risk of tearing the tips.
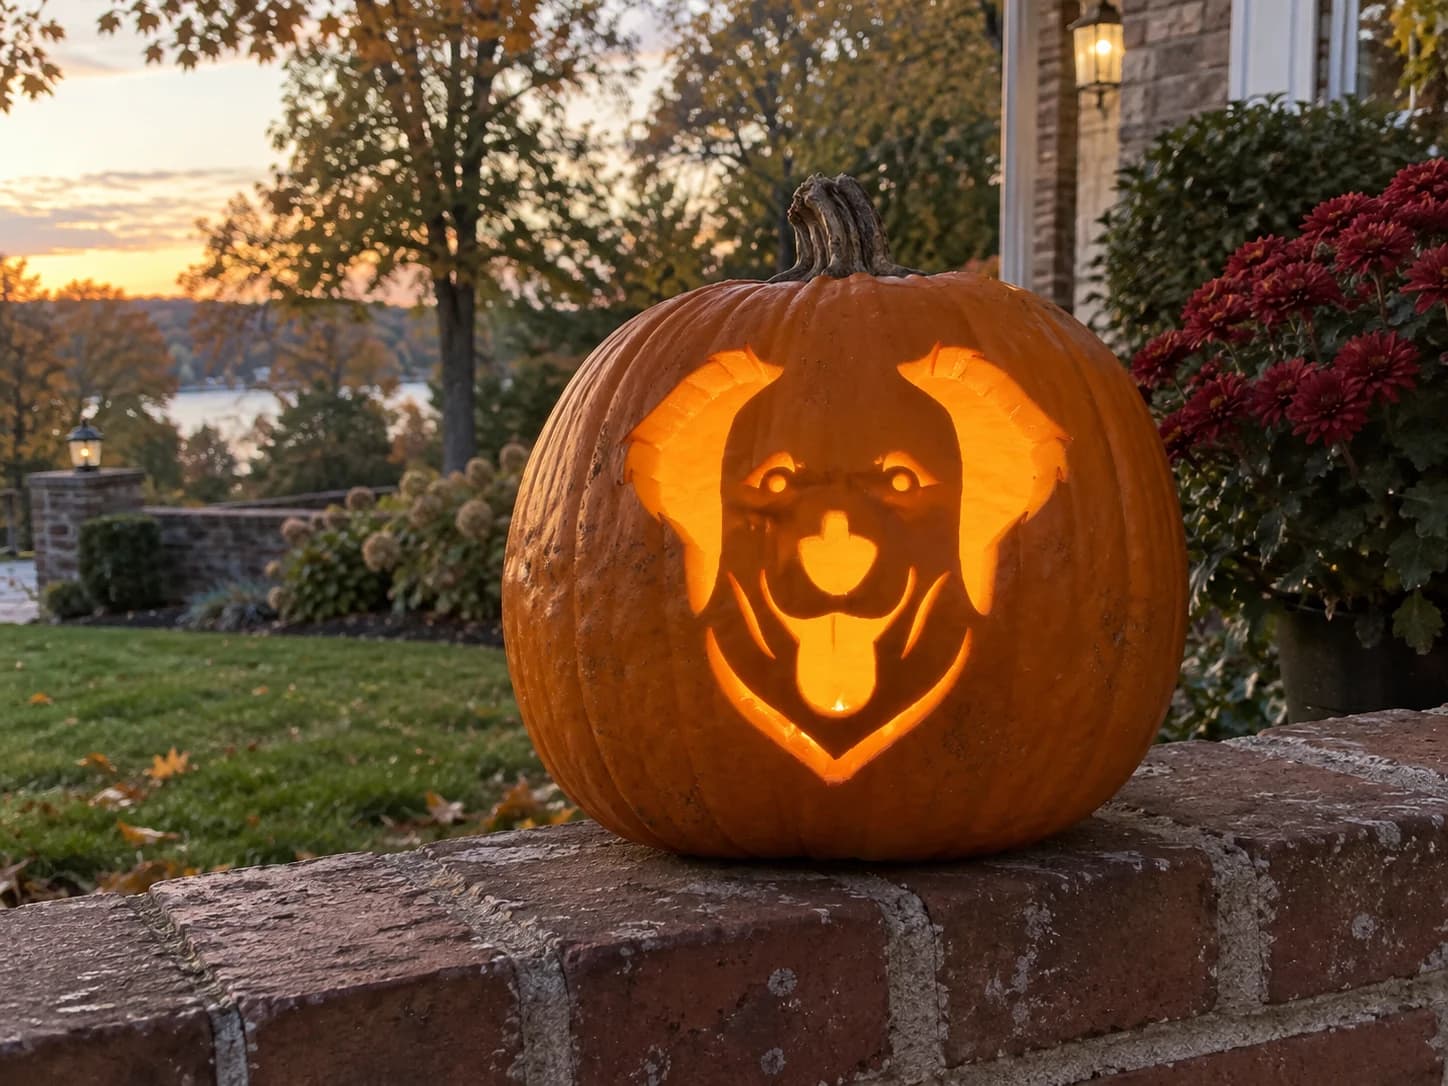
Golden Retriever Pumpkin Stencil
A golden retriever's face looks straight out from this easy pumpkin stencil: wide floppy ears, a broad forehead, round eyes with small arched brows above them, a large nose, and a happy open mouth with tongue showing are all carved as pierce-throughs. The ears are the largest cut areas and frame the face with an even glow. When the pumpkin is lit, the dog's expression reads as warm and friendly. Carve the small eyebrow arches before removing the large ear sections, since the brows are thin and easy to lose once the nearby wall flexes.
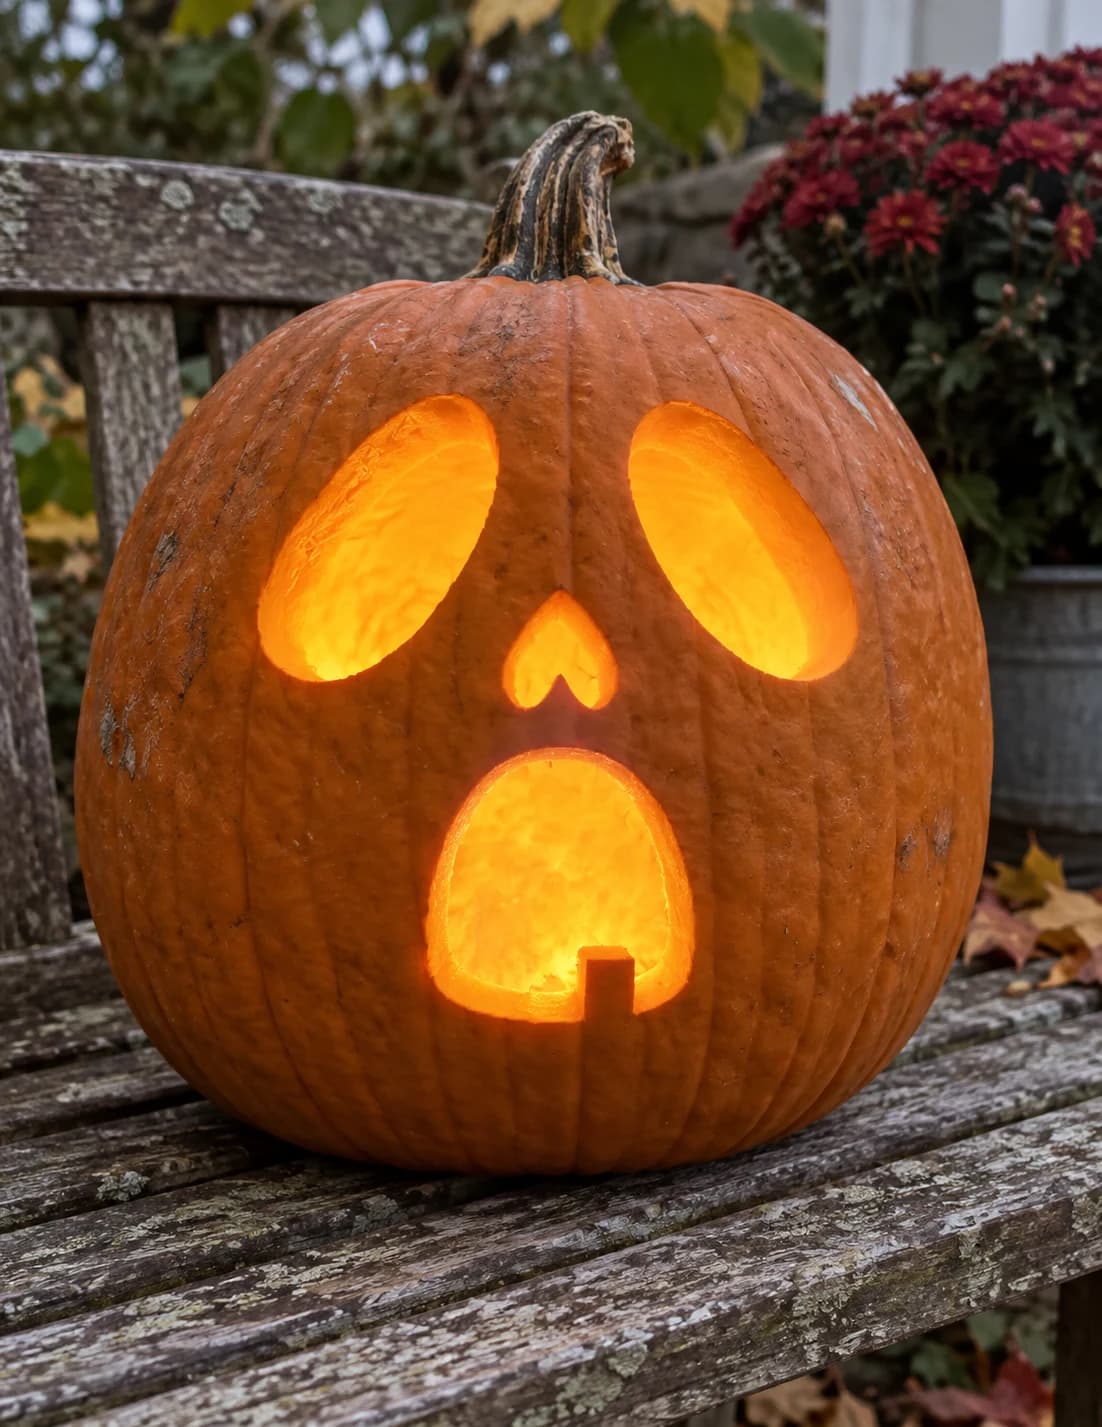
Surprised Ghost Pumpkin Stencil
A ghost face with two large oval eyes, a small heart-shaped nose, and a wide rounded mouth with a tiny tooth bump stares out from this simple pumpkin stencil. All four features are individual pierce-throughs floating in the pumpkin surface. When lit, the glowing eyes and mouth give the jack-o-lantern a look of wide-eyed astonishment. Since the four cutouts are widely spaced with generous pumpkin wall between them, cut the small heart nose last: its concave top curve requires care and the surrounding rigid wall makes it easiest to score clean inward curves.
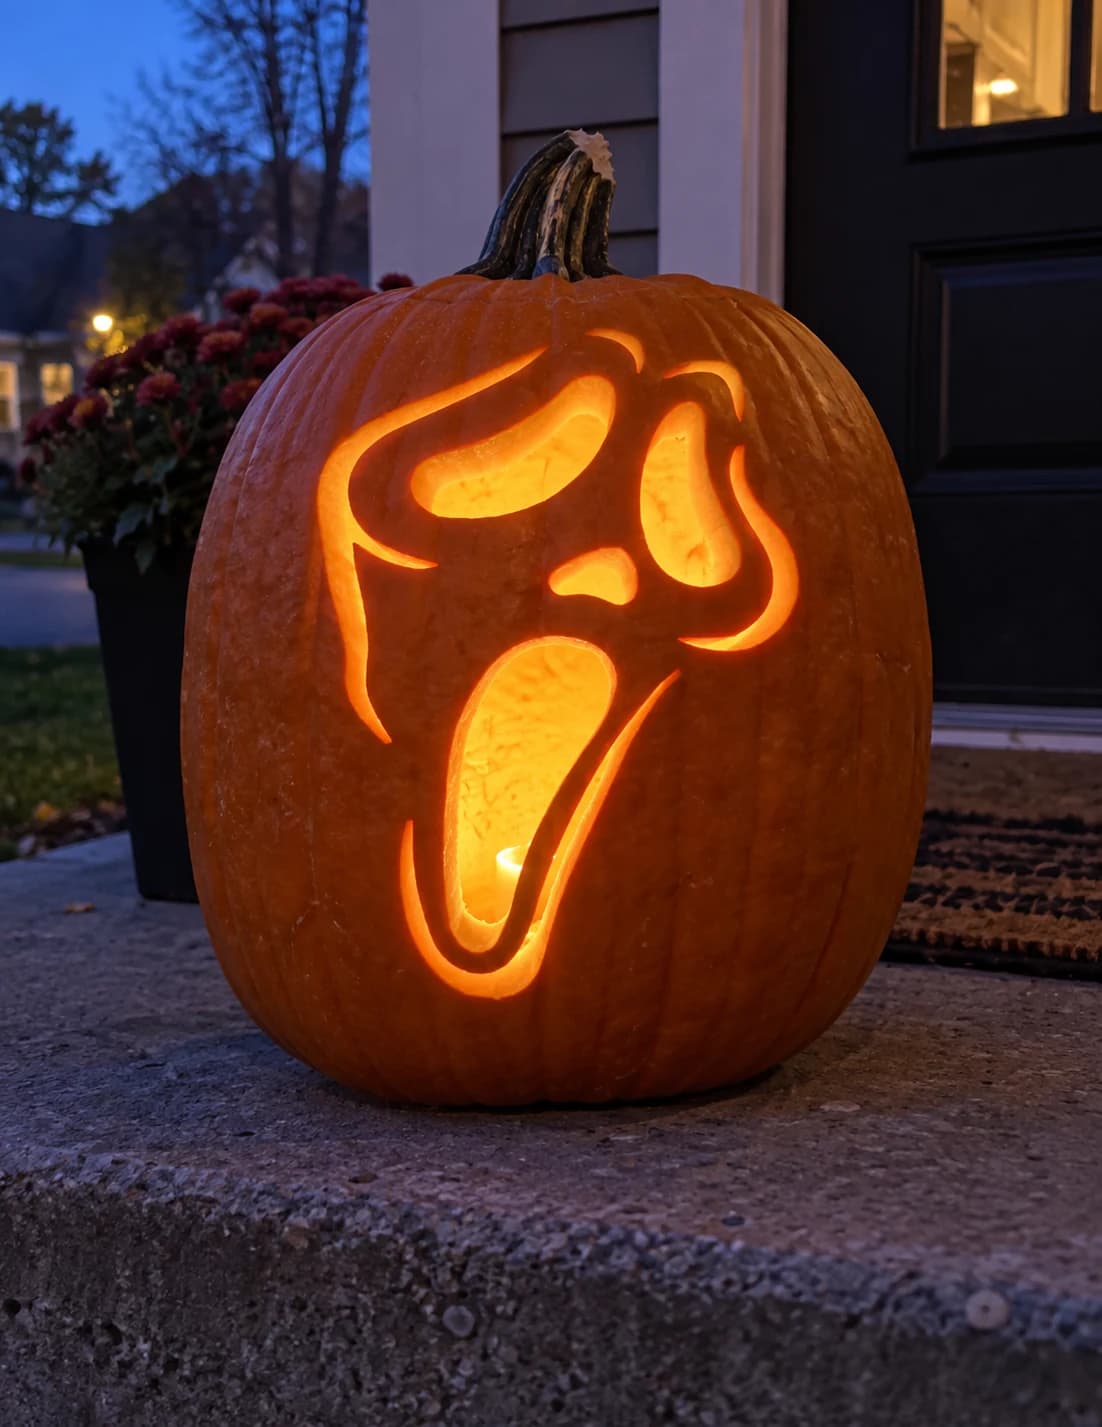
Ghost Mask Pumpkin Stencil
A ghost-faced horror-movie mask is the subject of this easy pumpkin stencil: an elongated oval skull shape with two large teardrop eye cutouts, a small oval nose hole, and a wide gaping mouth that tapers to a pointed chin. Flowing tendrils extend from the lower sides of the mask. The three facial openings glow as three distinct shapes, and the flowing lower extensions give the mask a draping, spectral quality when lit. Cut the narrow nose piece first since it sits between the two large eye openings and is the most vulnerable to tearing.
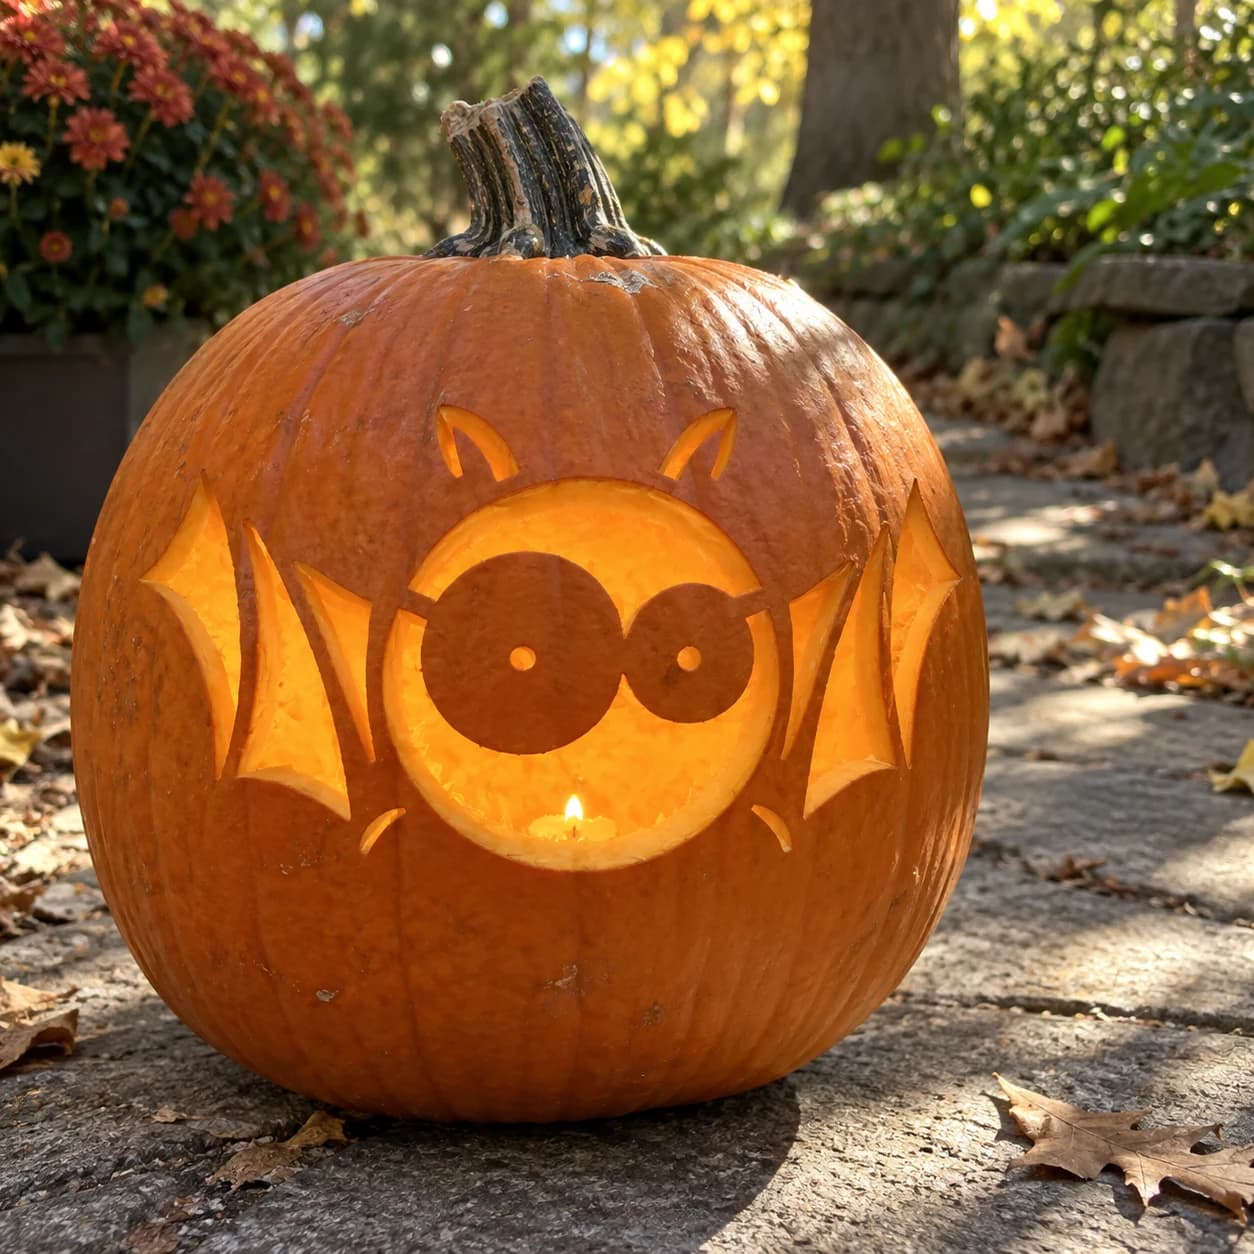
Cartoon Bat Pumpkin Stencil
A round-bodied cartoon bat fills this Halloween pumpkin stencil, its wide goggle eyes left solid orange while the large circular head, fanned wing panels, and small ear tufts are all pierced through. The design reads instantly as a friendly yet spooky bat jack-o-lantern, with bold open shapes that glow warmly at night. Cut the large circular body opening first, then work outward to the wing panels so the surrounding pumpkin wall stays stable while you maneuver the knife.
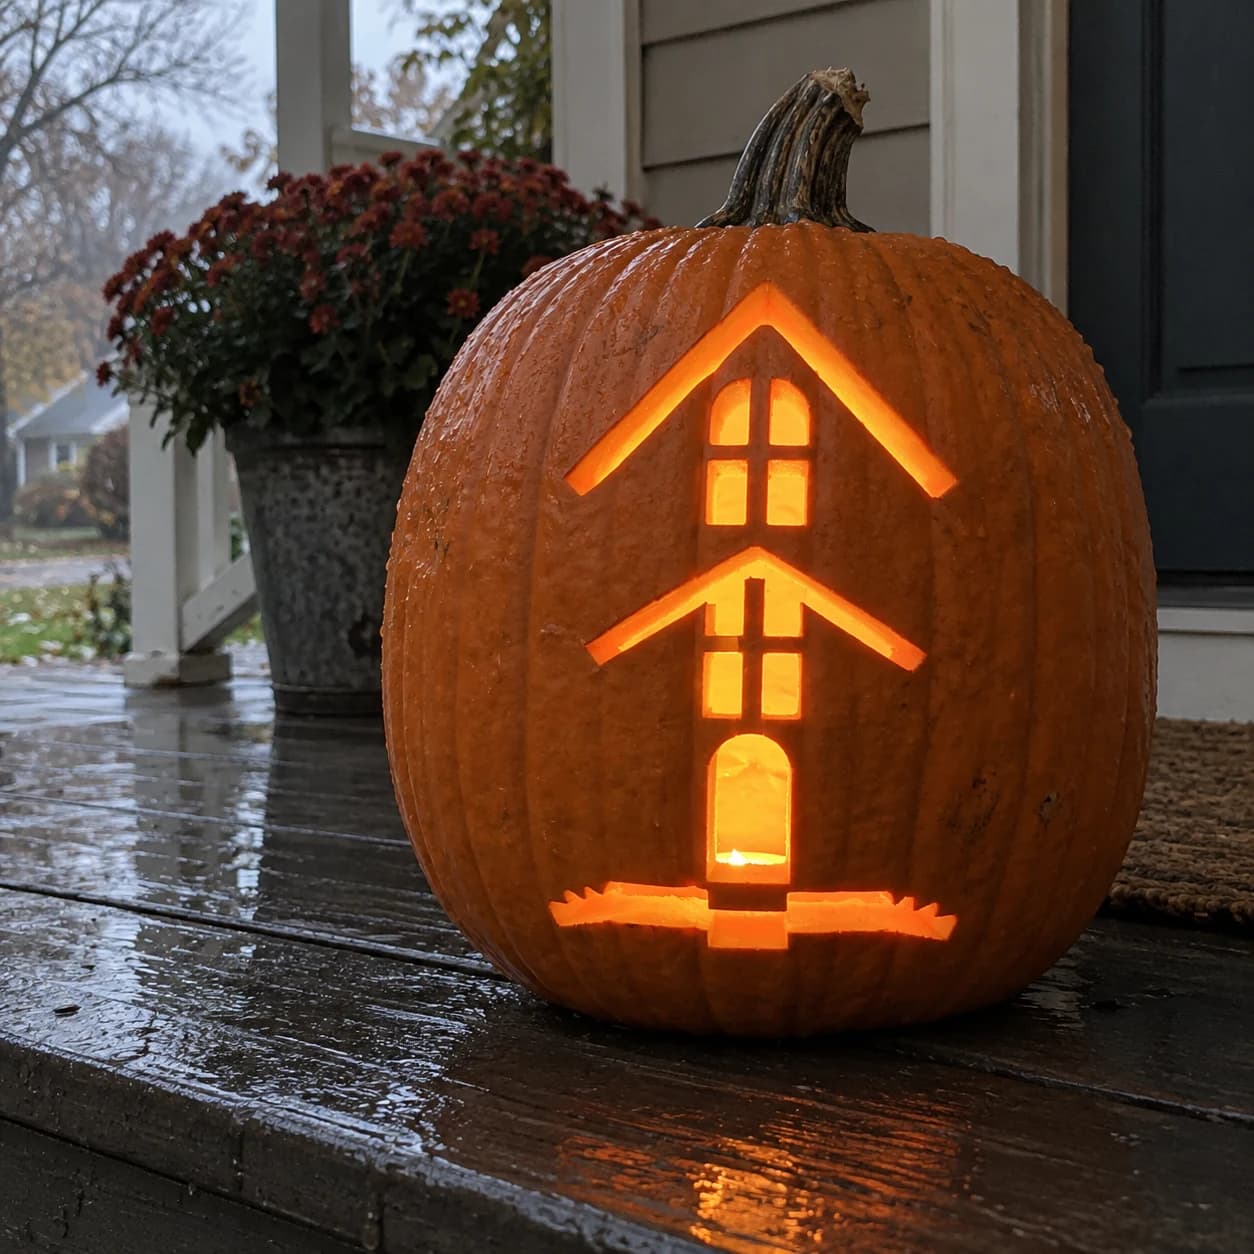
Haunted House Pumpkin Stencil
Two stacked haunted house facades make up this easy pumpkin stencil: an upper story with a steep peaked roofline and a tall arched window topped by a smaller rectangular pane, then a lower story with its own peaked roof, a grid window, and a rounded arch doorway, all sitting on a narrow uneven ground strip. The cut sections are the rooflines, windows, door, and ground strip, while solid pumpkin bridges between them keep the tiers separate. Cut the smallest window panes first so the surrounding structure stays rigid while the larger roofline panels are removed.
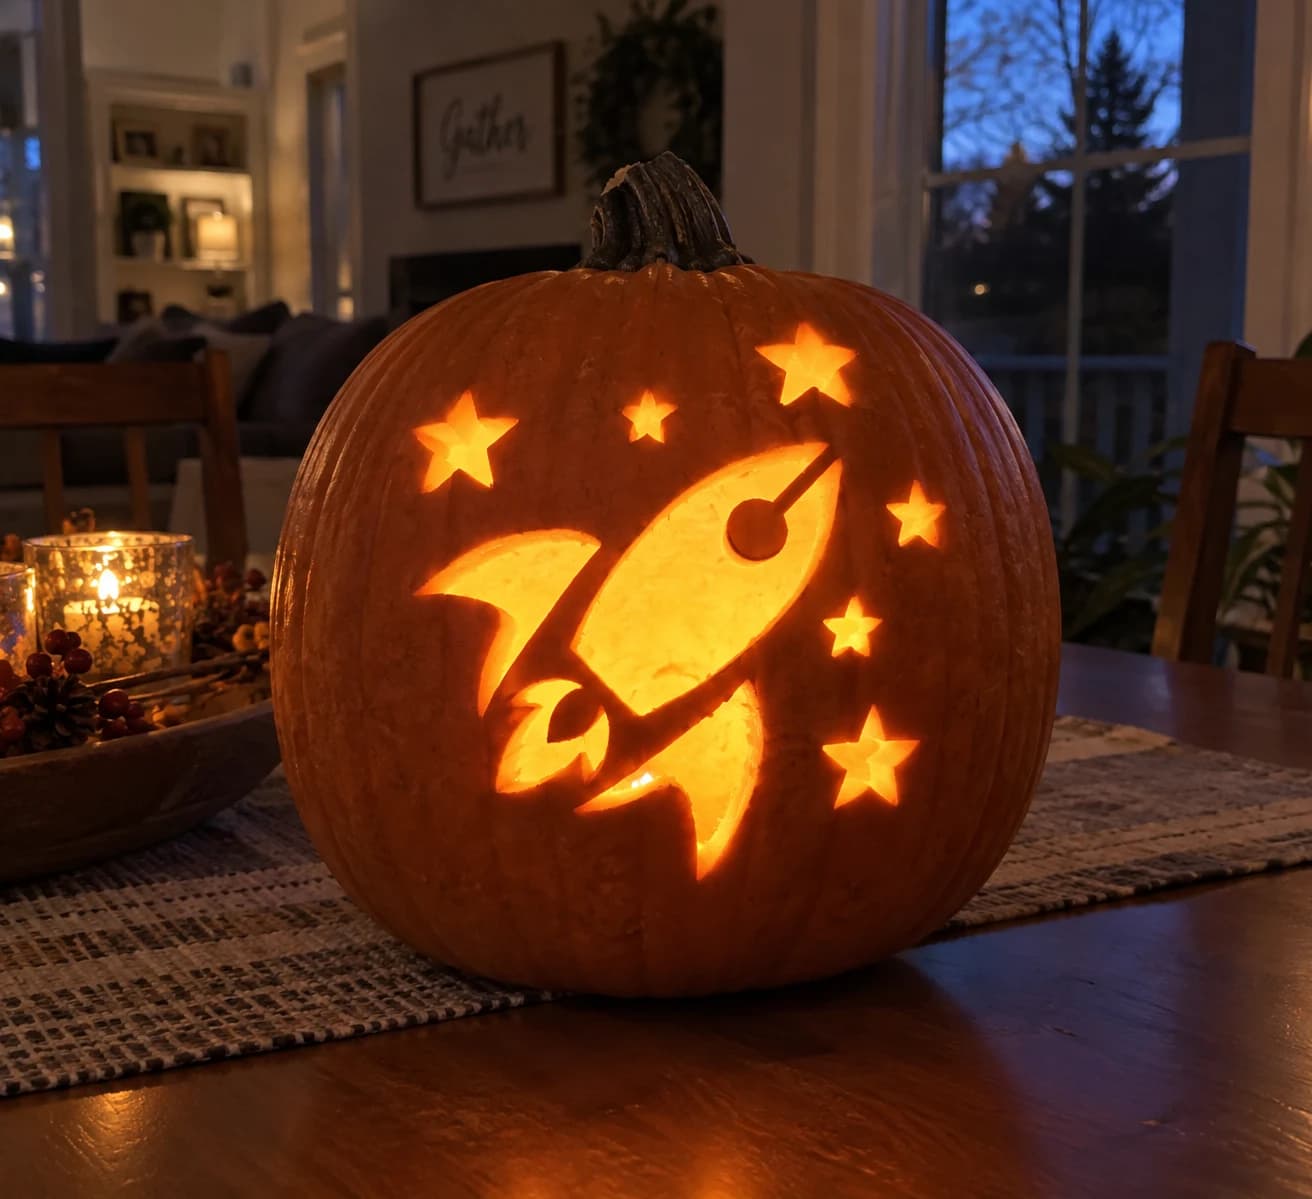
Rocket and Stars Pumpkin Stencil
A retro rocket ship blasting diagonally upward through a field of five-pointed stars fills this easy pumpkin stencil. The rocket body is a large solid pierce-through with a small circular porthole cut from its center, and two swept fins angle beneath it; six stars of varying sizes are scattered across the field. Lit from within, the rocket and stars all glow as bright cut-out shapes. Cut the small circular porthole in the rocket body before removing the rocket silhouette itself, since that circle is far easier to score cleanly while the surrounding wall has full support.
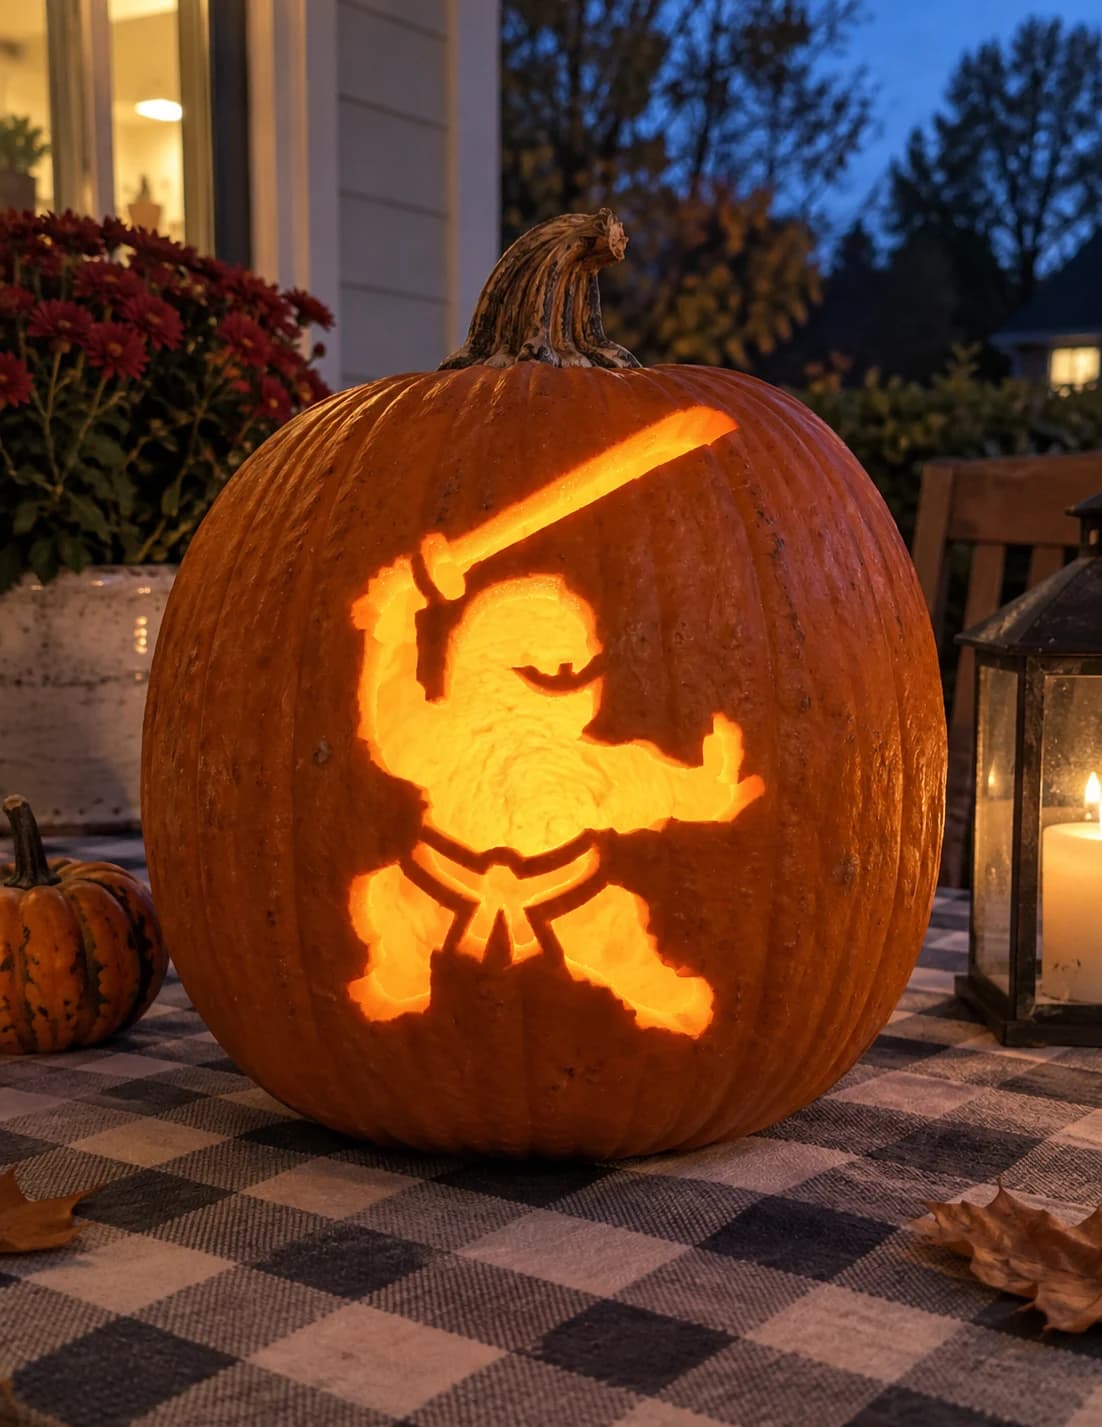
Ninja Warrior Pumpkin Stencil
A stocky ninja warrior in a fighting stance holds a broad katana raised overhead in this easy pumpkin stencil. The figure is nearly a solid silhouette pierce-through, with just a few interior slots carved at the belt sash and the chest opening to add definition. The diagonal sword blade extends well above the head, making it the widest point of the design. Transfer the sword line with care and cut it in a single continuous stroke so the blade stays perfectly straight when lit.
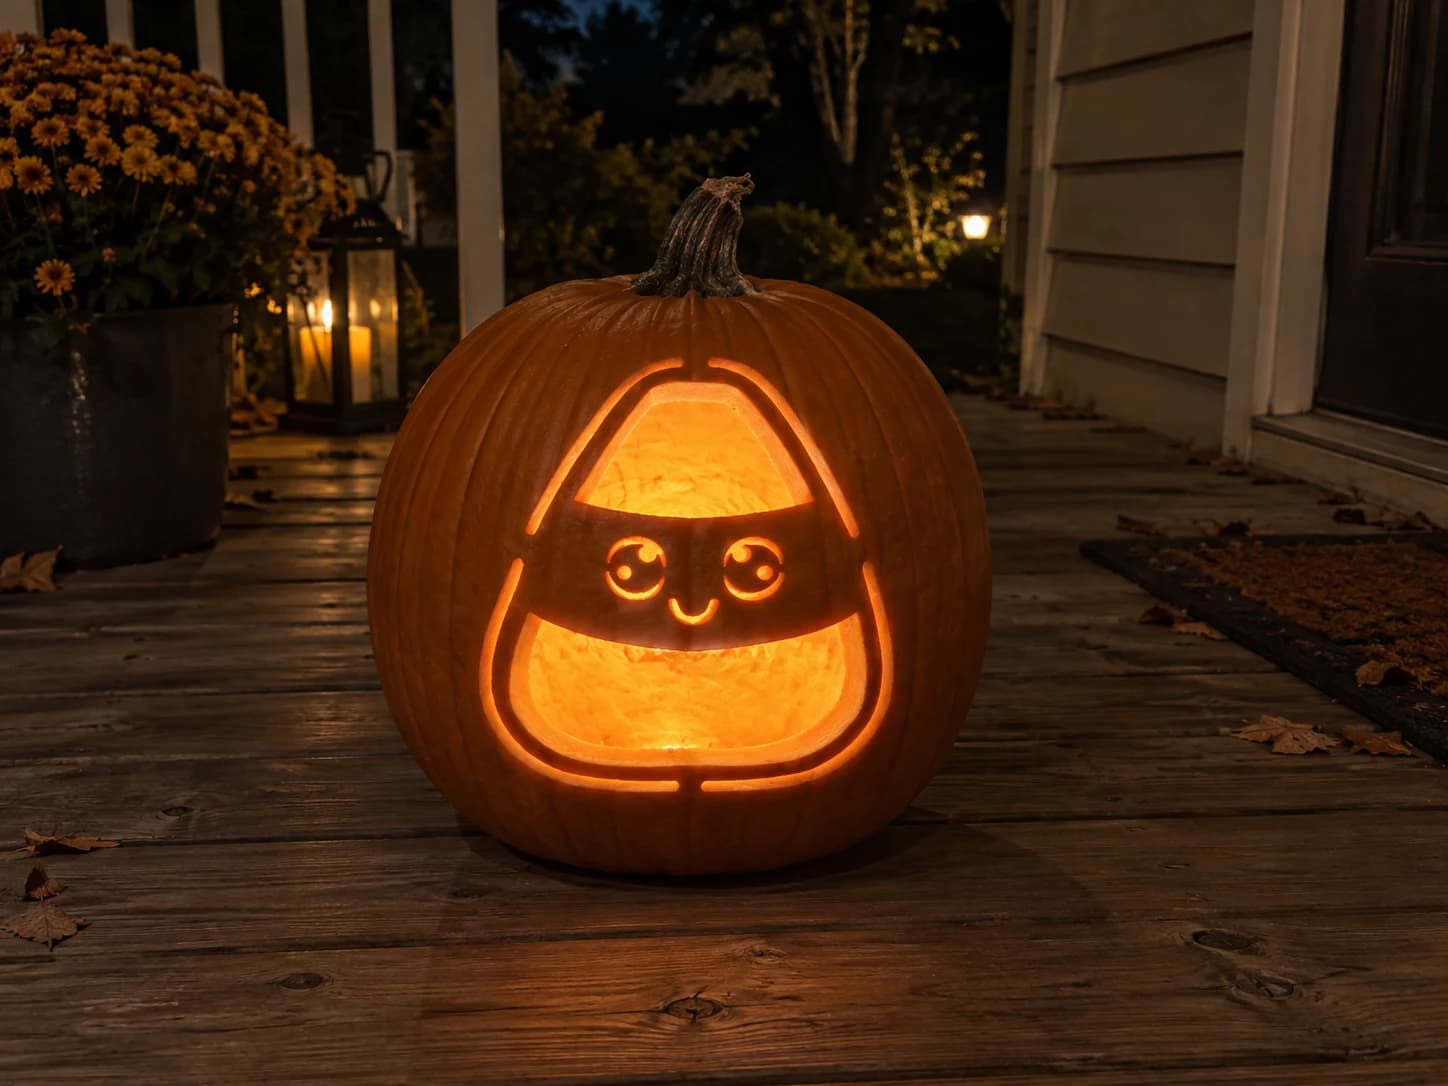
Kawaii Candy Corn Pumpkin Stencil
A kawaii candy corn character fills this pumpkin stencil, with a wide triangular body divided into two large cut-out sections and a solid mid-stripe band that holds a pair of circular eyes and a curved smile. The two open panels at top and bottom glow brightly when lit, while the pumpkin-colored face strip stays solid, making the cute expression pop in candlelight. Cut the smaller eye circles last to avoid weakening the surrounding pumpkin skin before the big panels come out.
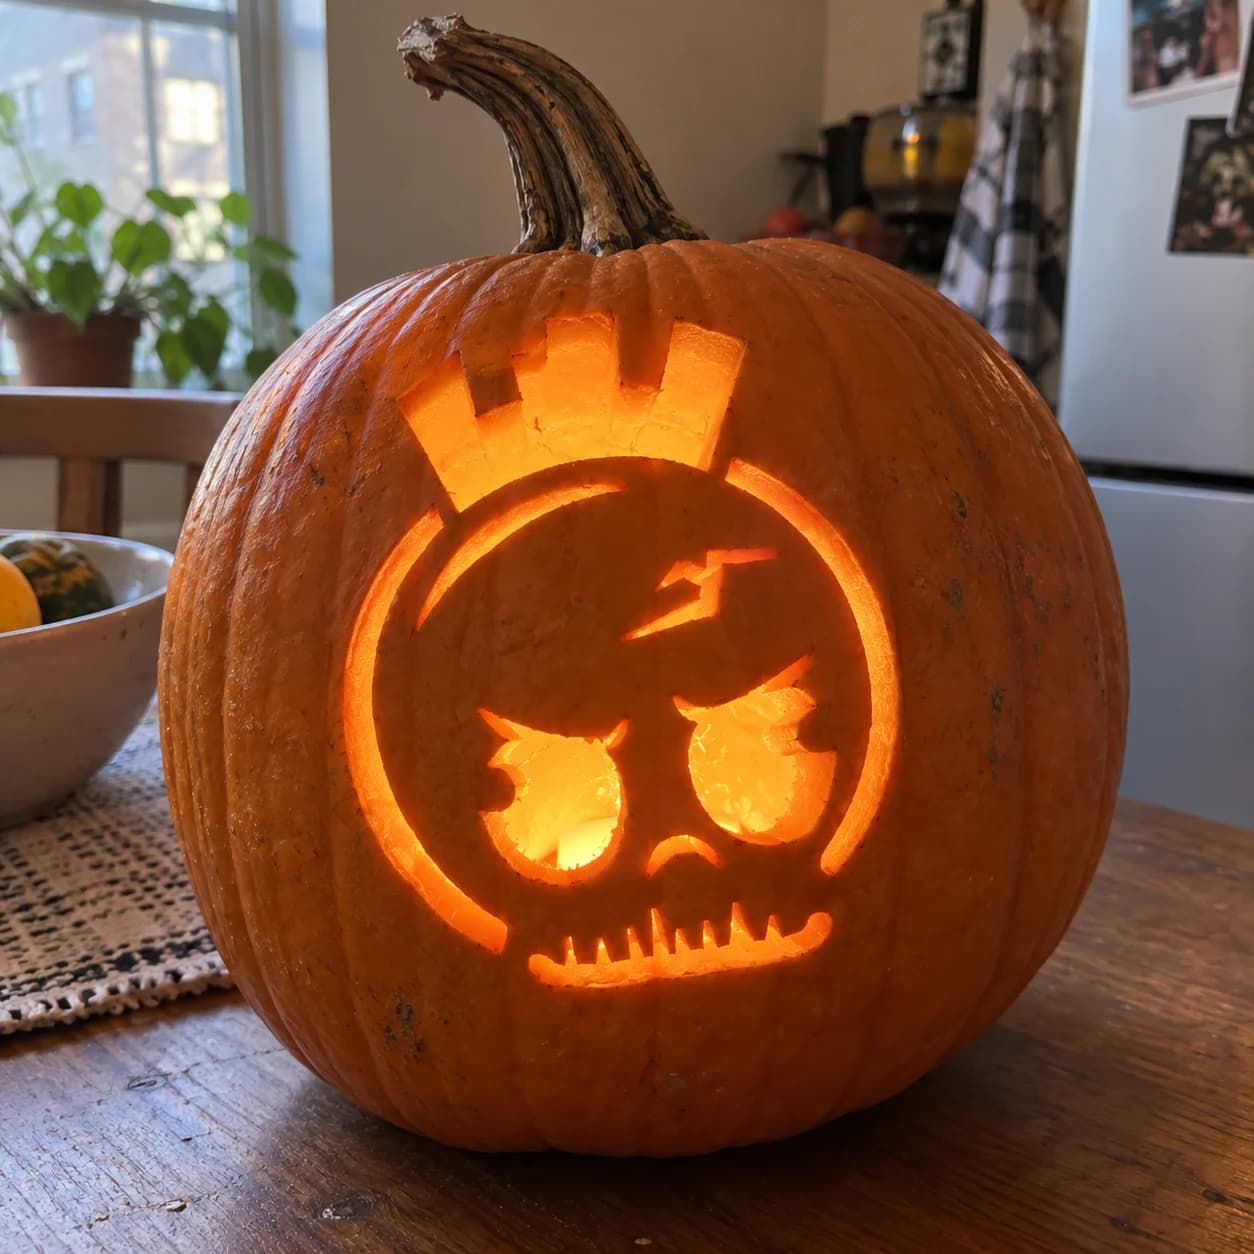
Skull Crown Ghost Pumpkin Stencil
A round skull face wearing a crumbling castle battlement crown tops this ghost pumpkin stencil. Large angry eyes with flame-shaped pupils, a small cracked nose bridge, and a row of jagged teeth fill the circular face, all pierced as cut-throughs while the surrounding ring frame and crown teeth remain as solid pumpkin. The lit jack-o-lantern glows through the eyes and mouth in a fierce scowl. Carve the crown battlements first before cutting the circle frame below, so the narrow wall sections holding the crown have full support while you work.
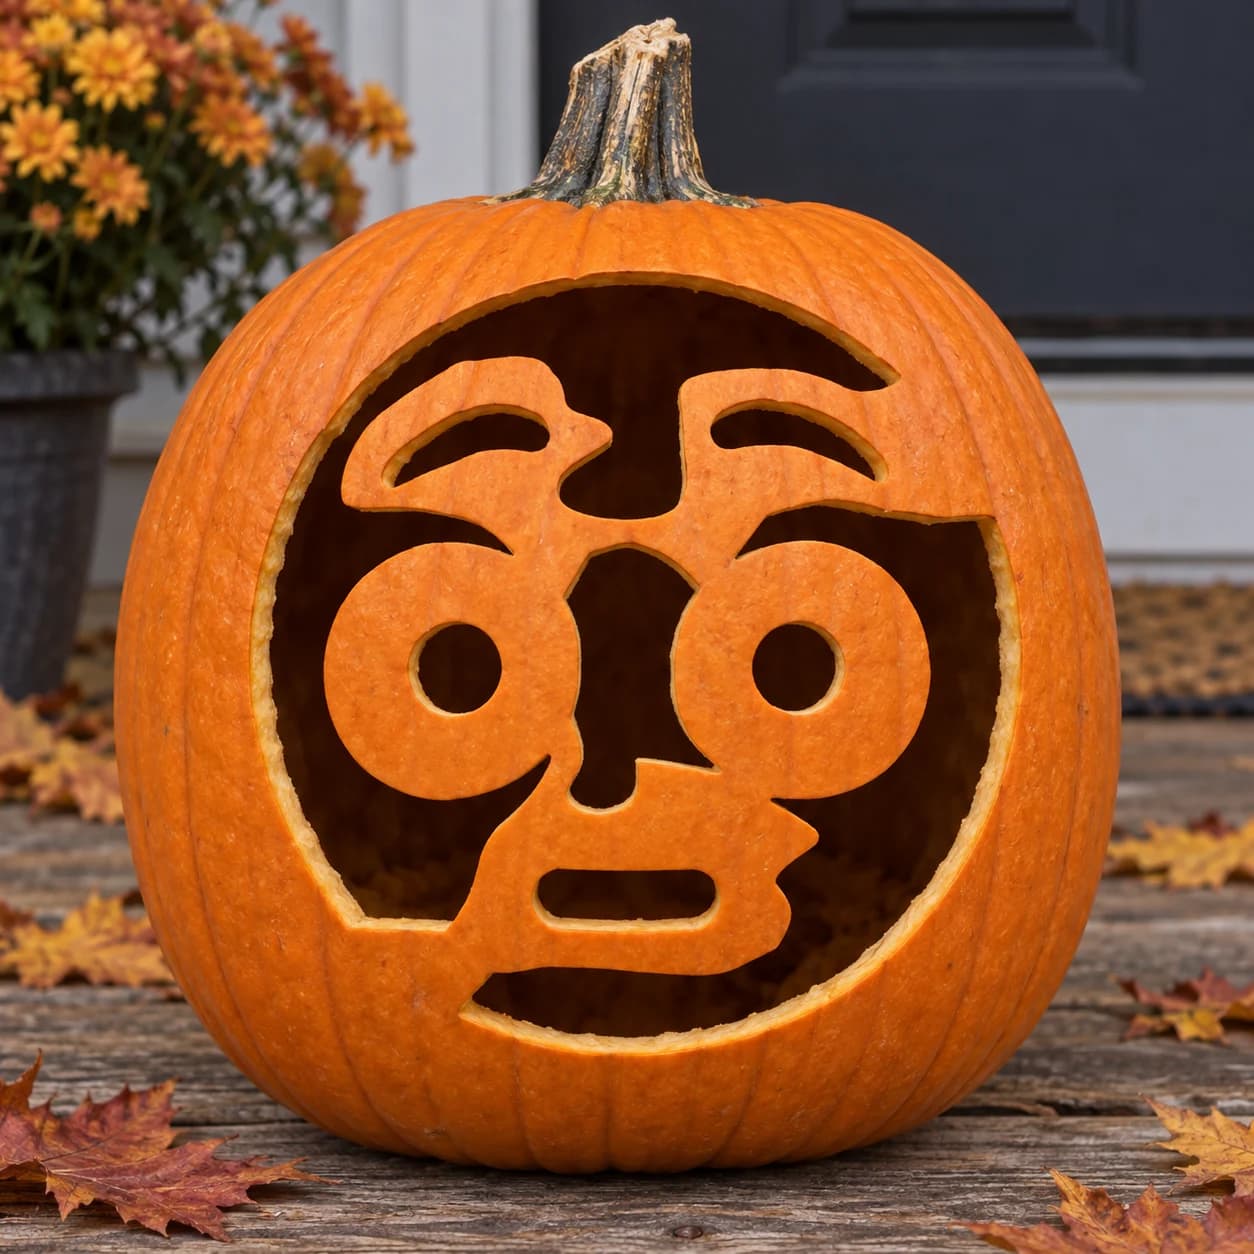
Surprised Emoji Pumpkin Stencil
The surprised face emoji is translated into a pumpkin stencil with wide round eyes, a furrowed brow, a small nose bump, and a large open oval mouth. The face disc is partially cut away around the perimeter leaving a crescent of solid pumpkin at the top and right side; the eyes are rings with solid centers, and the mouth is a solid oval pierce. When lit, the face glows with an expression of shock. Carve the ring-shaped eye borders carefully: cut the outer circle first, then the inner pupil circle, leaving the solid dot of pumpkin wall between them untouched to preserve the iris-ring detail.
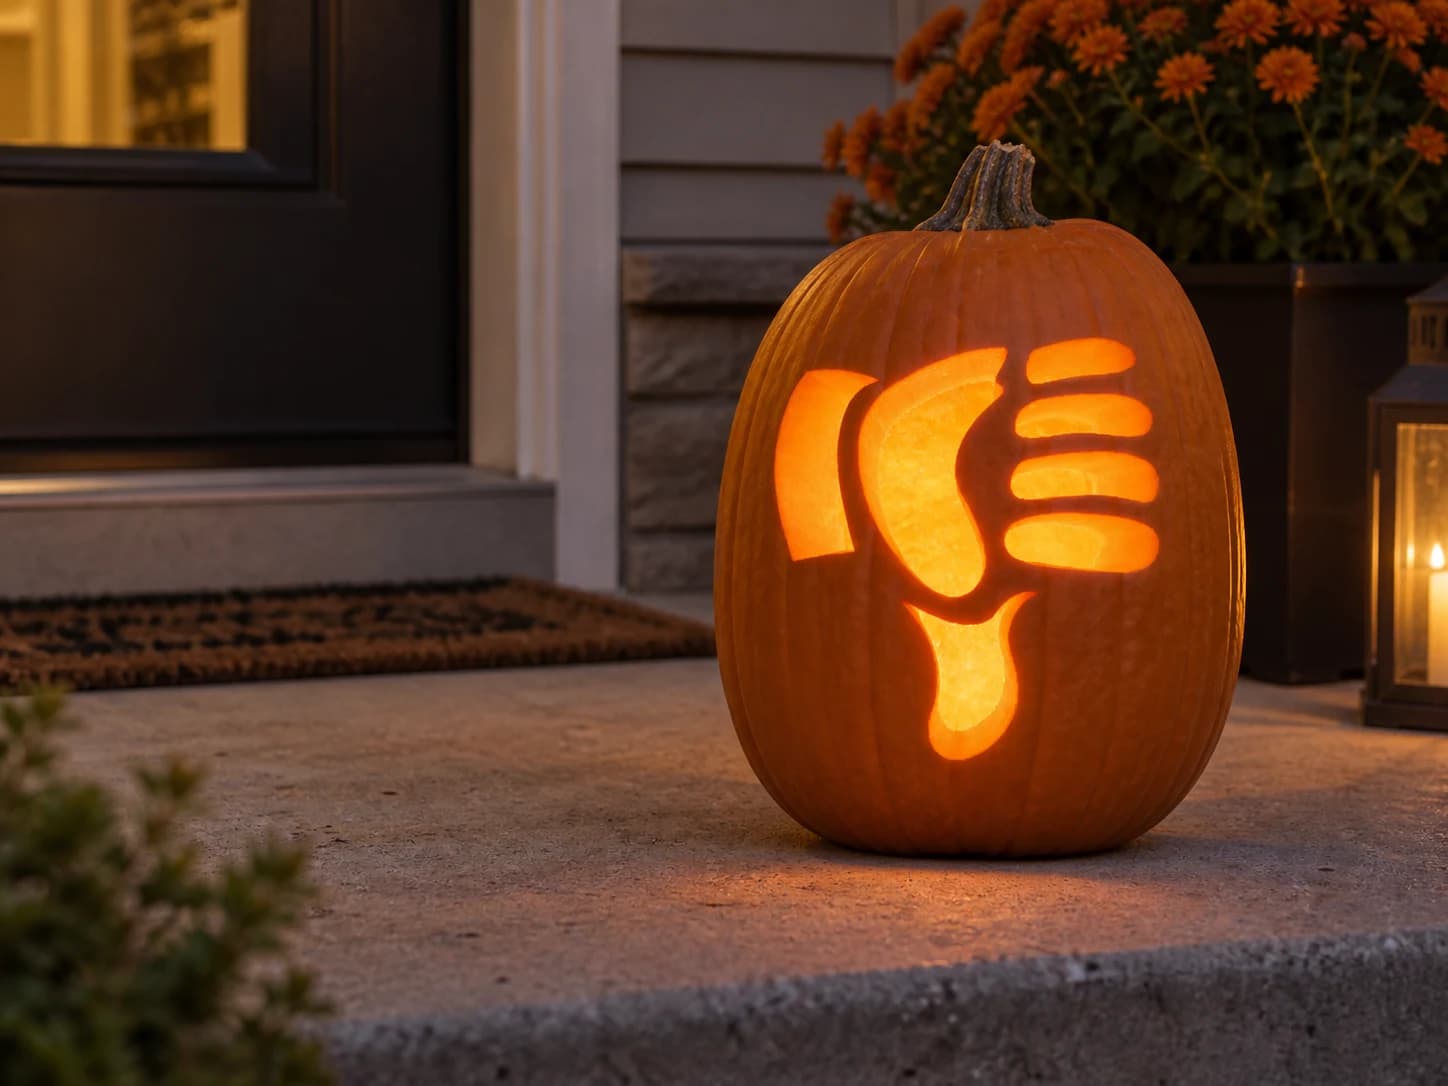
Thumbs Down Emoji Pumpkin Stencil
A thumbs-down hand emoji is the subject of this easy pumpkin stencil: a clenched fist with four horizontal oval finger cutouts stacked on the right side, a large curved palm-and-back-of-hand mass pierced by a banana-shaped opening on the left, and a downward-pointing thumb teardrop at the bottom. The lit result shows the negative space of the knuckles and palm glowing while the solid pumpkin skin traces the finger outlines. Cut the four finger ovals first while the surrounding skin is still rigid, then remove the larger palm opening.
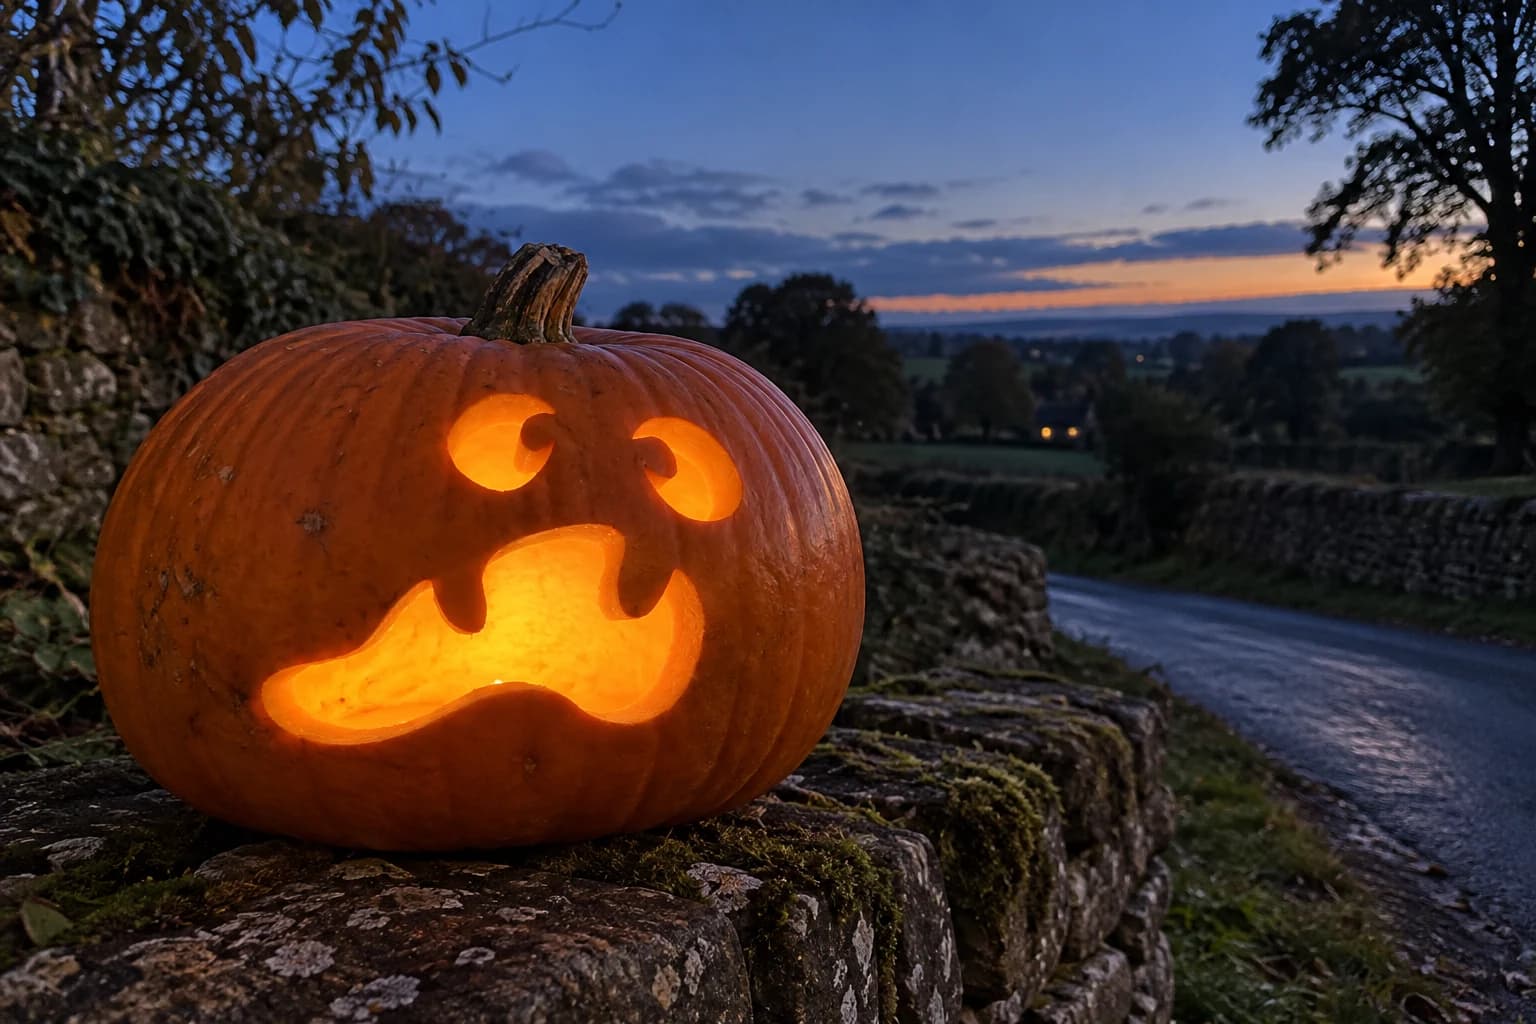
Silly Ghost Pumpkin Stencil
Two mismatched swirly ghost eyes sit above a drooping, blobby mouth on this easy Halloween pumpkin stencil, all three shapes floating as separate cut-outs that suggest a goofy, startled expression. The eyes are different sizes, one comma-shaped and one crescent, giving the face an off-kilter cartoon charm. Since the three pieces are not connected, tape the stencil very flat and cut the smaller eye first, then the larger eye, leaving the wide mouth cutout for last so the pumpkin stays rigid while you work the tighter shapes.
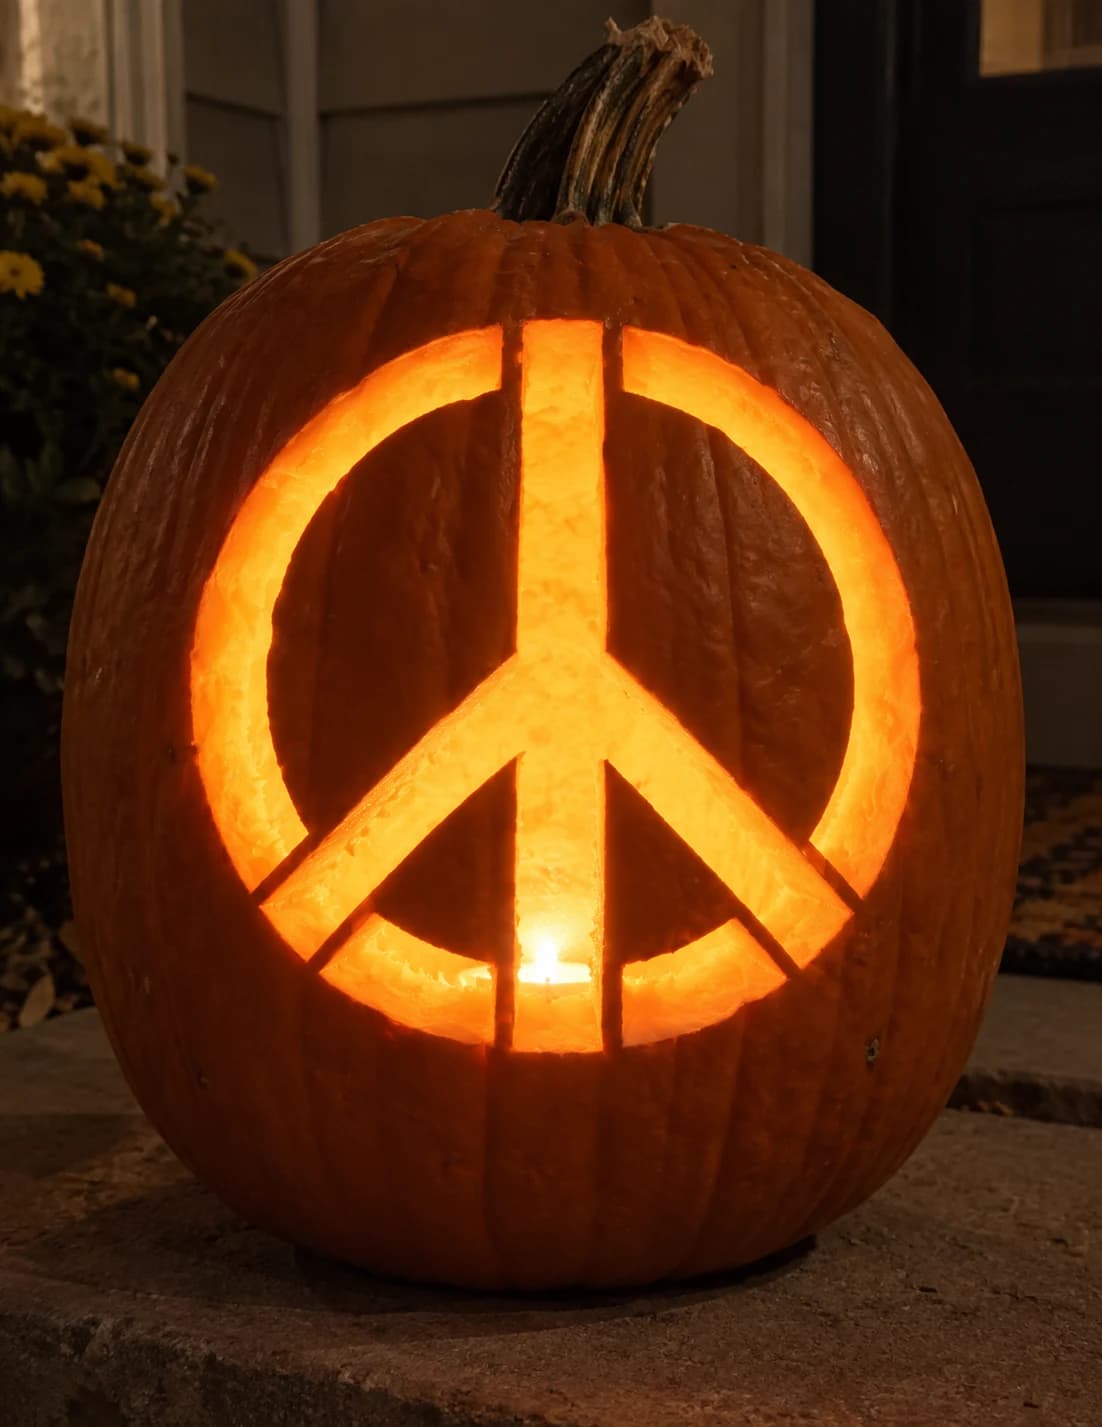
Peace Sign Pumpkin Stencil
A large peace sign fills the pumpkin face in this easy pumpkin stencil: a bold outer ring interrupted by four gaps, a vertical center bar, and two diagonal lower bars all pierced through, with the spaces between them staying solid. When lit, the candlelight glows through the ring segments and the three bar slots, mapping the familiar peace symbol in orange light. Because the ring has four gaps that nearly isolate four arc sections, cut the two lower arcs last to keep them braced while the upper cuts are made.
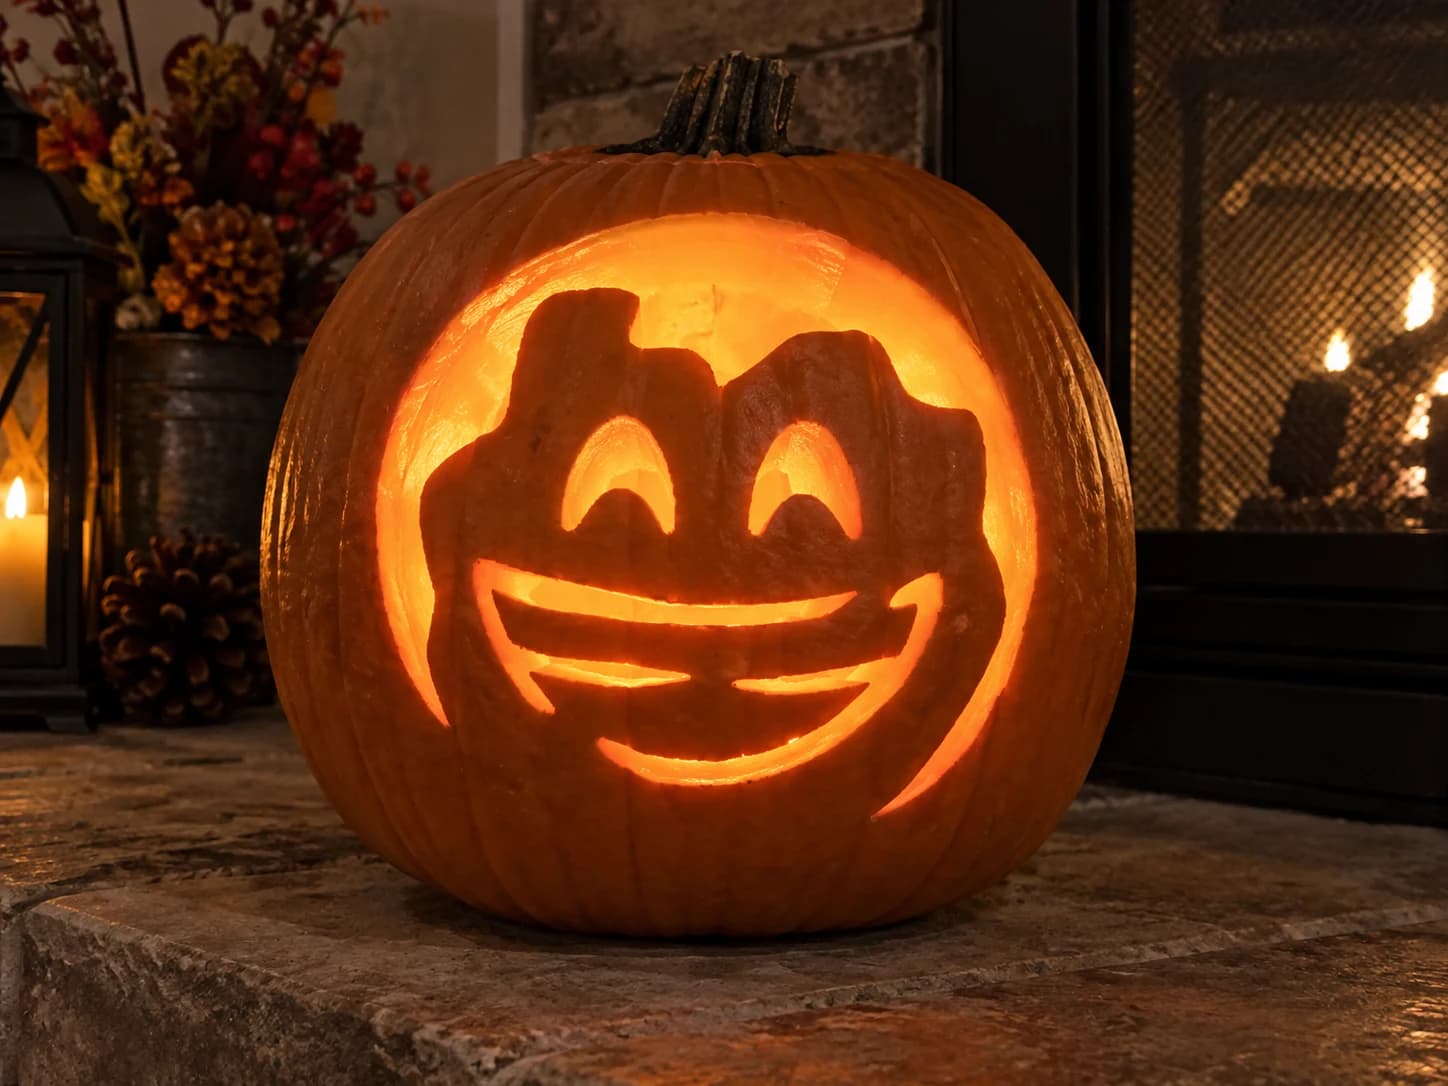
Smiling Emoji Pumpkin Stencil
A round smiley-face emoji with tousled hair rendered in chunky pumpkin-skin islands fills a large circular cutout on this emoji pumpkin stencil, with squinting eye arcs and a wide open-toothed grin kept as uncut bridges glowing warm orange against the lit void. The outer circle is the single largest cut, and the interior face elements are held in place by the skin bridges. Carve the interior details first, starting with the two small eye-crescent cuts, then the mouth gap, and only after those are complete open the big circular surround to avoid the face islands shifting.
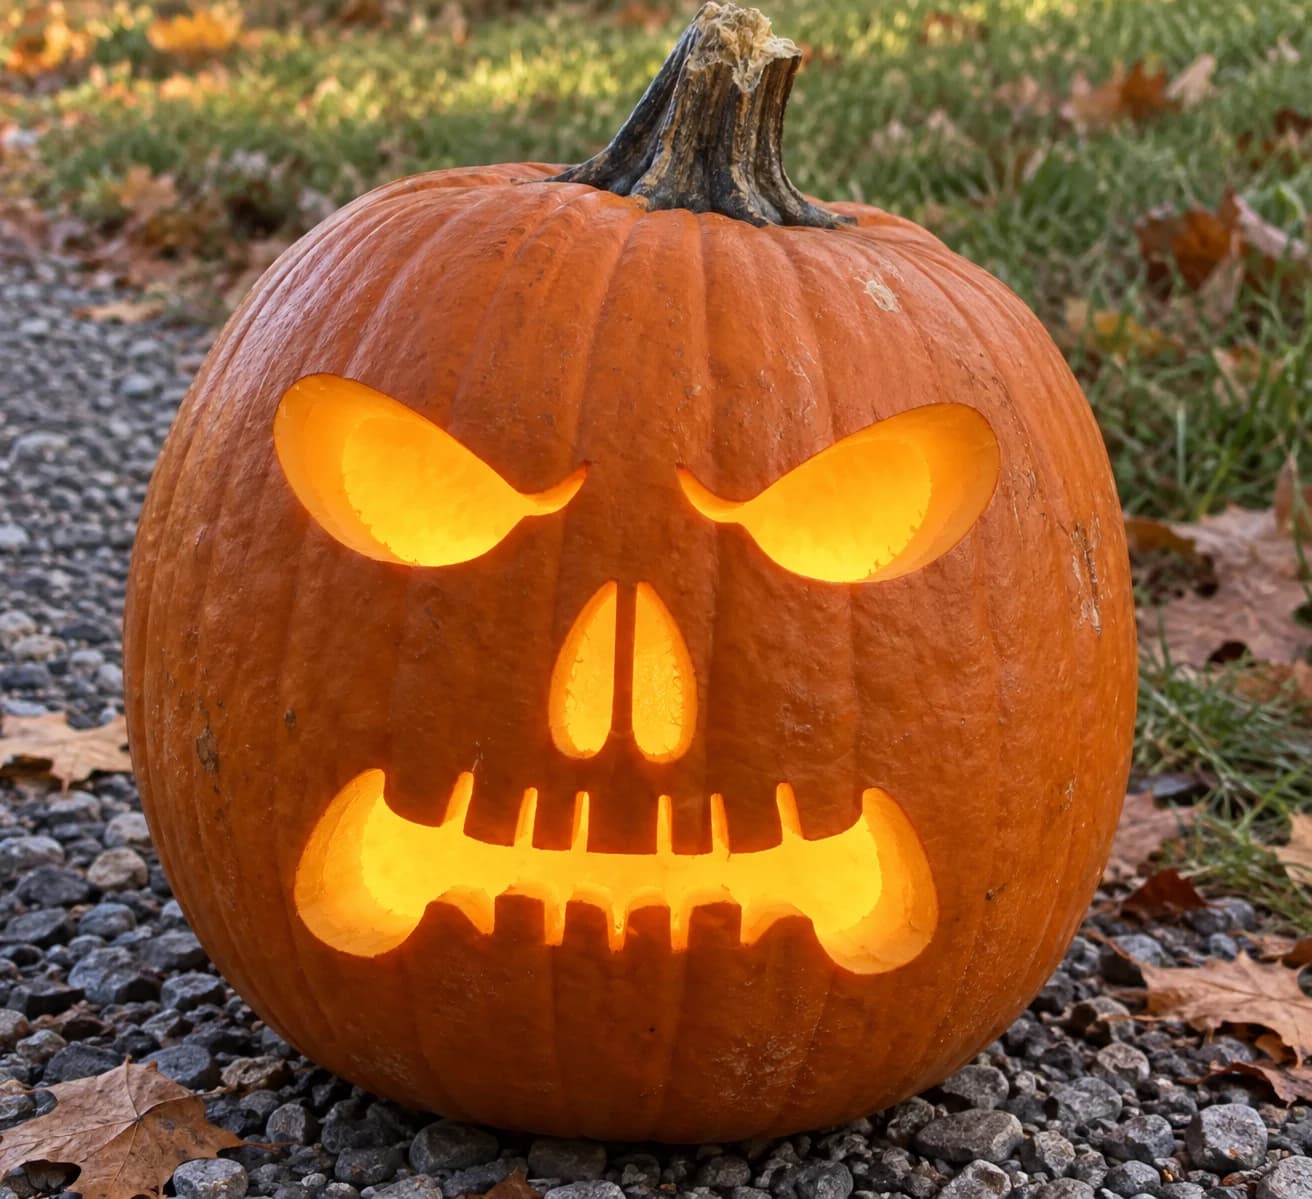
Skull Pumpkin Stencil
Two wide almond-shaped eye sockets with small fang-like lower details, a paired nasal cavity of two thin vertical slots, and a broad rectangular mouth with chunky upper and lower teeth make up this straightforward skull pumpkin stencil. The five main shapes are spread across the face with generous pumpkin skin between them, making this a stable carve. Cut the narrow nasal slots first since they are easiest to lose track of; follow with the eye sockets, and save the wide mouth for last so the pumpkin face remains solid while you finish the upper details.
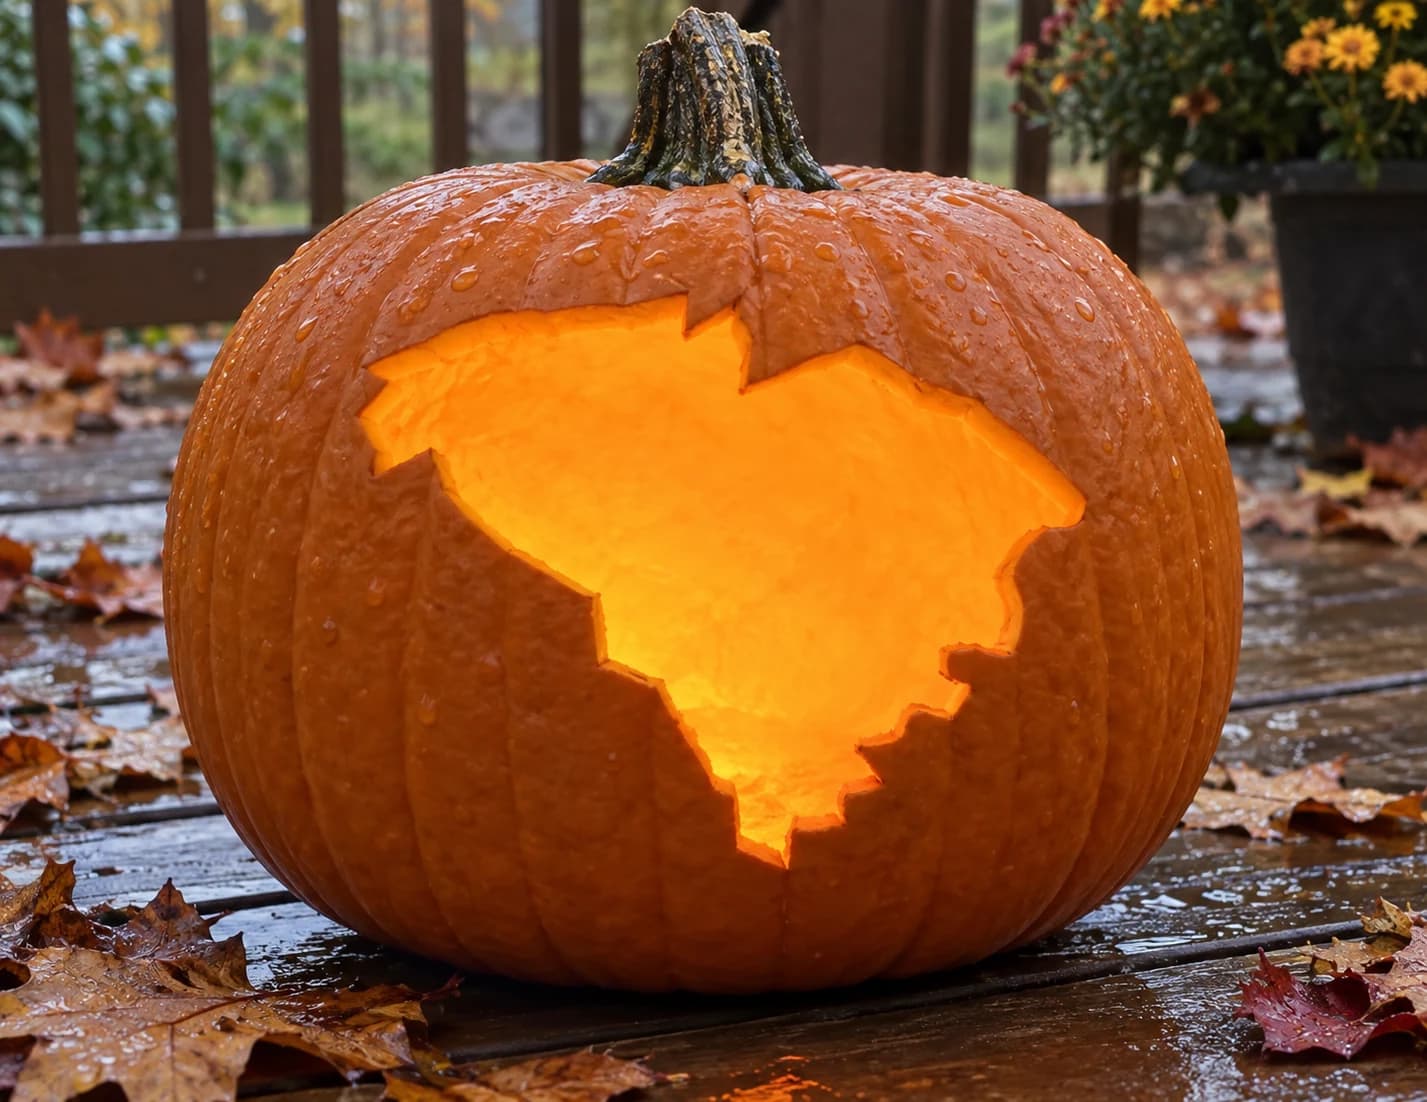
South Carolina Pumpkin Stencil
The irregular outline of South Carolina, with its distinctive concave upper coastline notch and the jagged Sea Islands fringe along the lower right shore, is carved as a single pierced shape in this state pumpkin stencil. The entire interior is cut away, leaving only the border outline as the light-emitting shape. The lower coastal edge has the most complex jagged detailing, so cut that stretch last after the smoother inland borders are done, allowing maximum wall stability while navigating the short irregular coastal cuts.
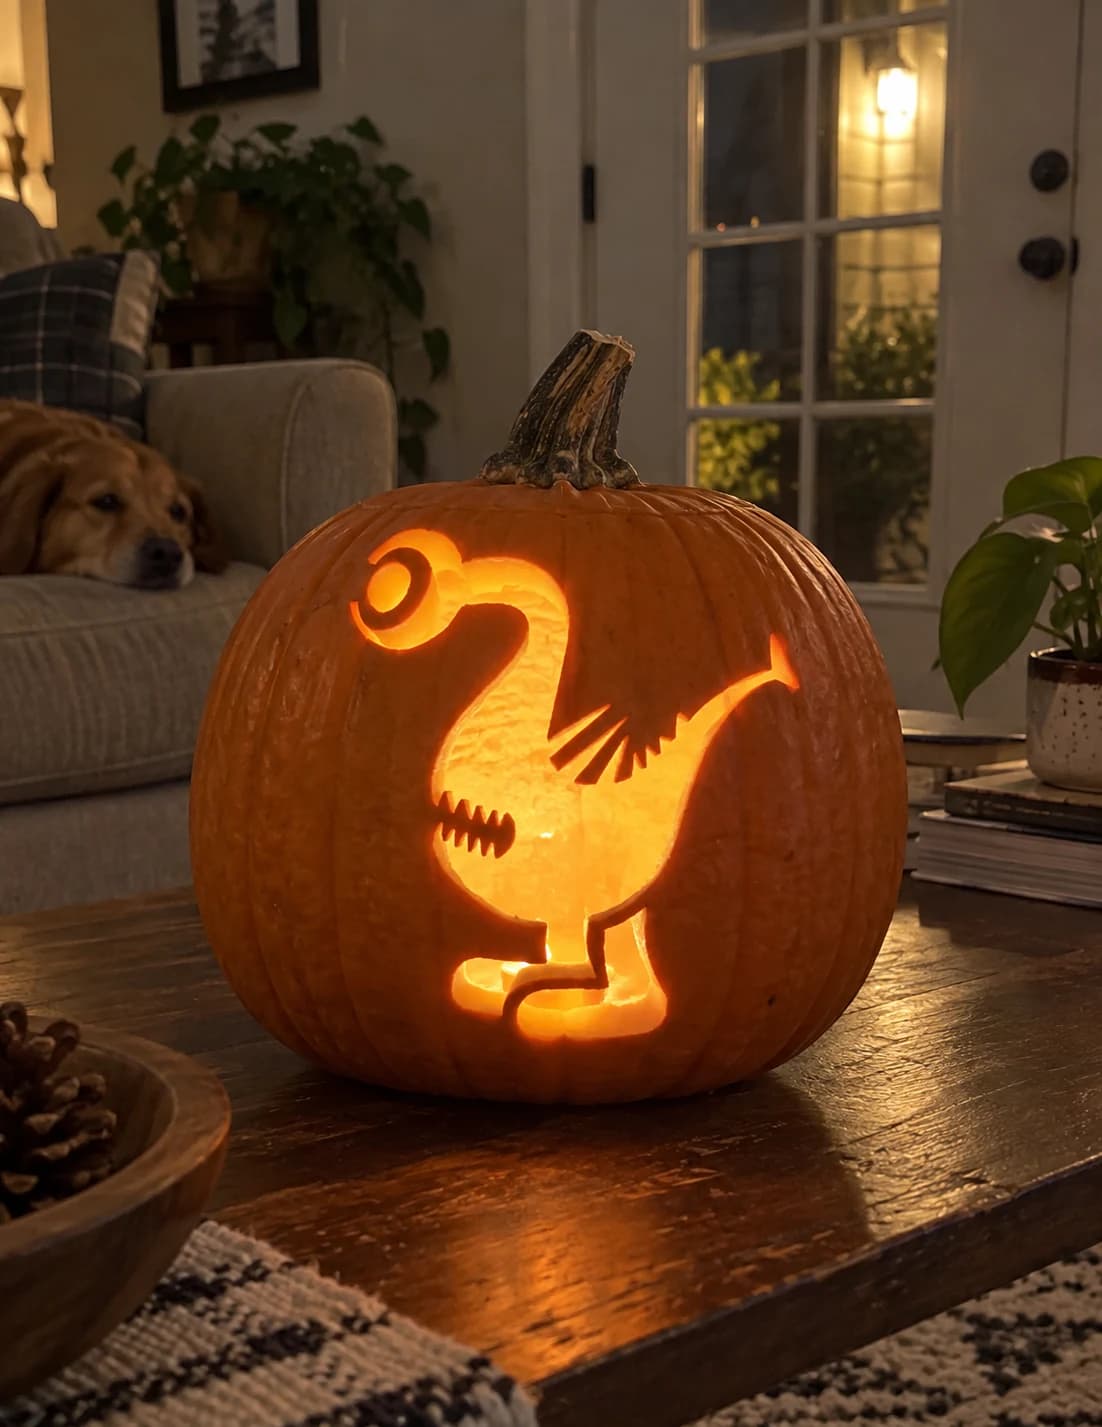
Cyclops Monster Pumpkin Stencil
A quirky one-eyed long-necked creature with a rounded bird-like body, a spiral cyclops eye, and a jagged toothed mouth stands on two stubby feet in this easy Halloween pumpkin stencil. The body is largely pierced through as a dark void while the eye ring and neck details remain as uncut pumpkin. The thin neck connecting the large head to the body is the most delicate bridge in the design, so carve the body void and the mouth teeth first, then cut around the neck last to keep it from snapping early.
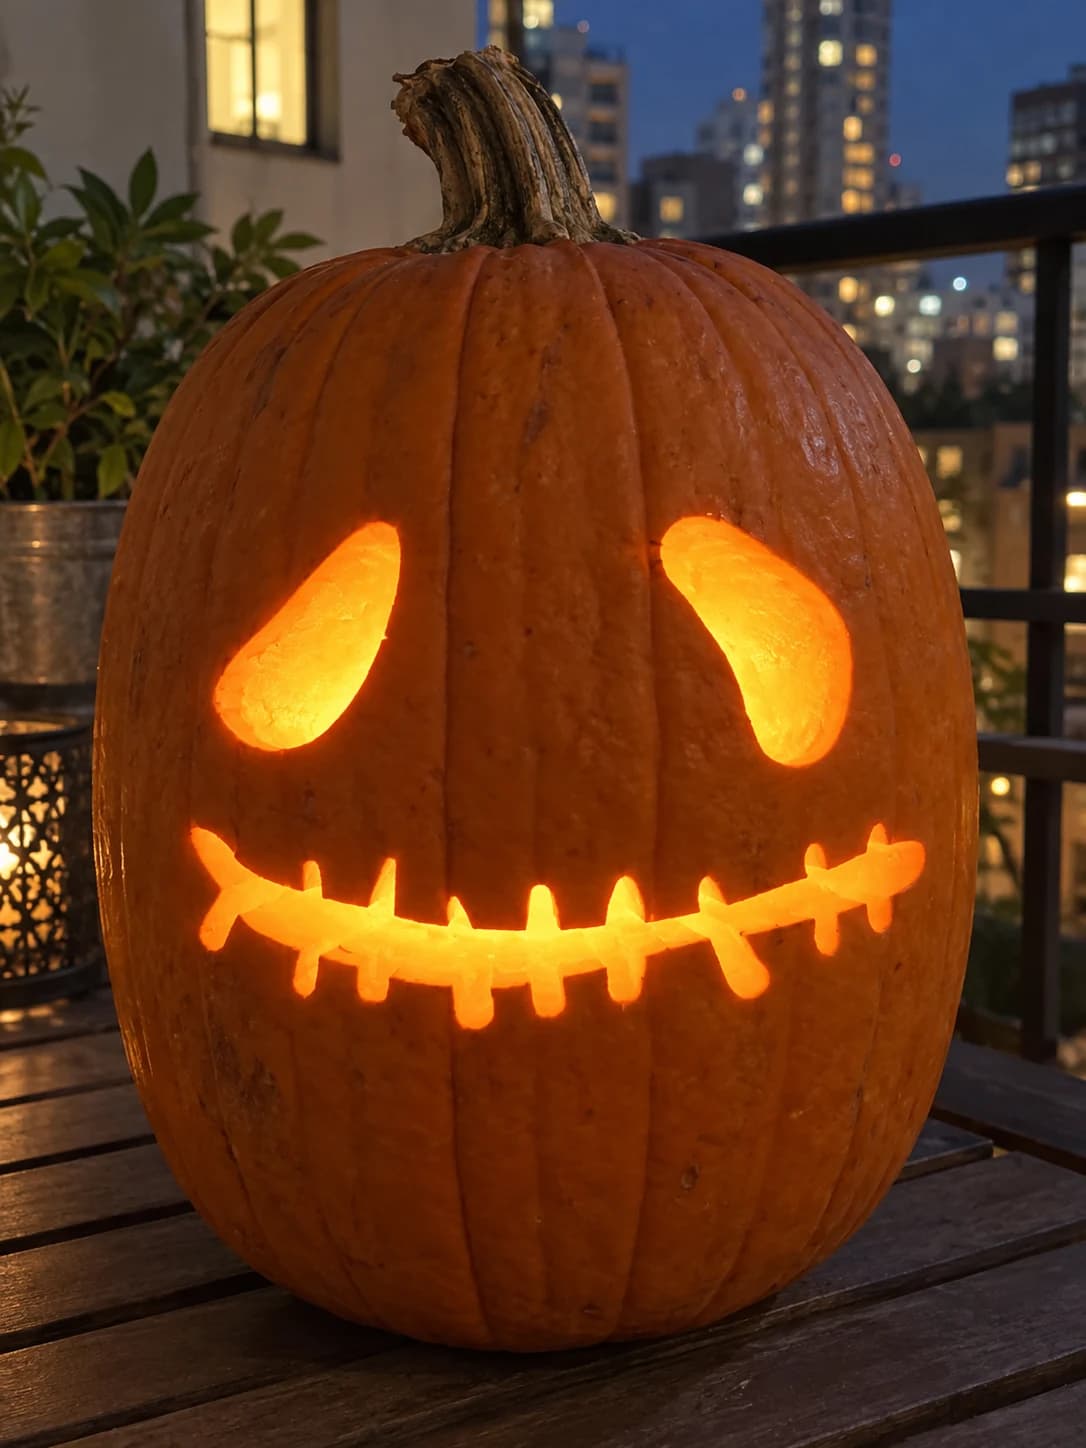
Jack Skellington Pumpkin Stencil
Two tall oval eye holes and a long horizontal stitched mouth with cross-bar teeth form the three pieces of this minimalist Skellington-style pumpkin stencil, recognizable for its sparse, elongated proportions. The eyes are simple solid ovals and the mouth is a single wide slot with evenly spaced vertical tines. Because all three cutouts are surrounded by smooth uncut pumpkin, placement matters: center the stencil higher on the pumpkin face than you think you need to, so the long mouth lands in the rounder mid-section where the wall is thickest and the tine cuts are less likely to blow out.
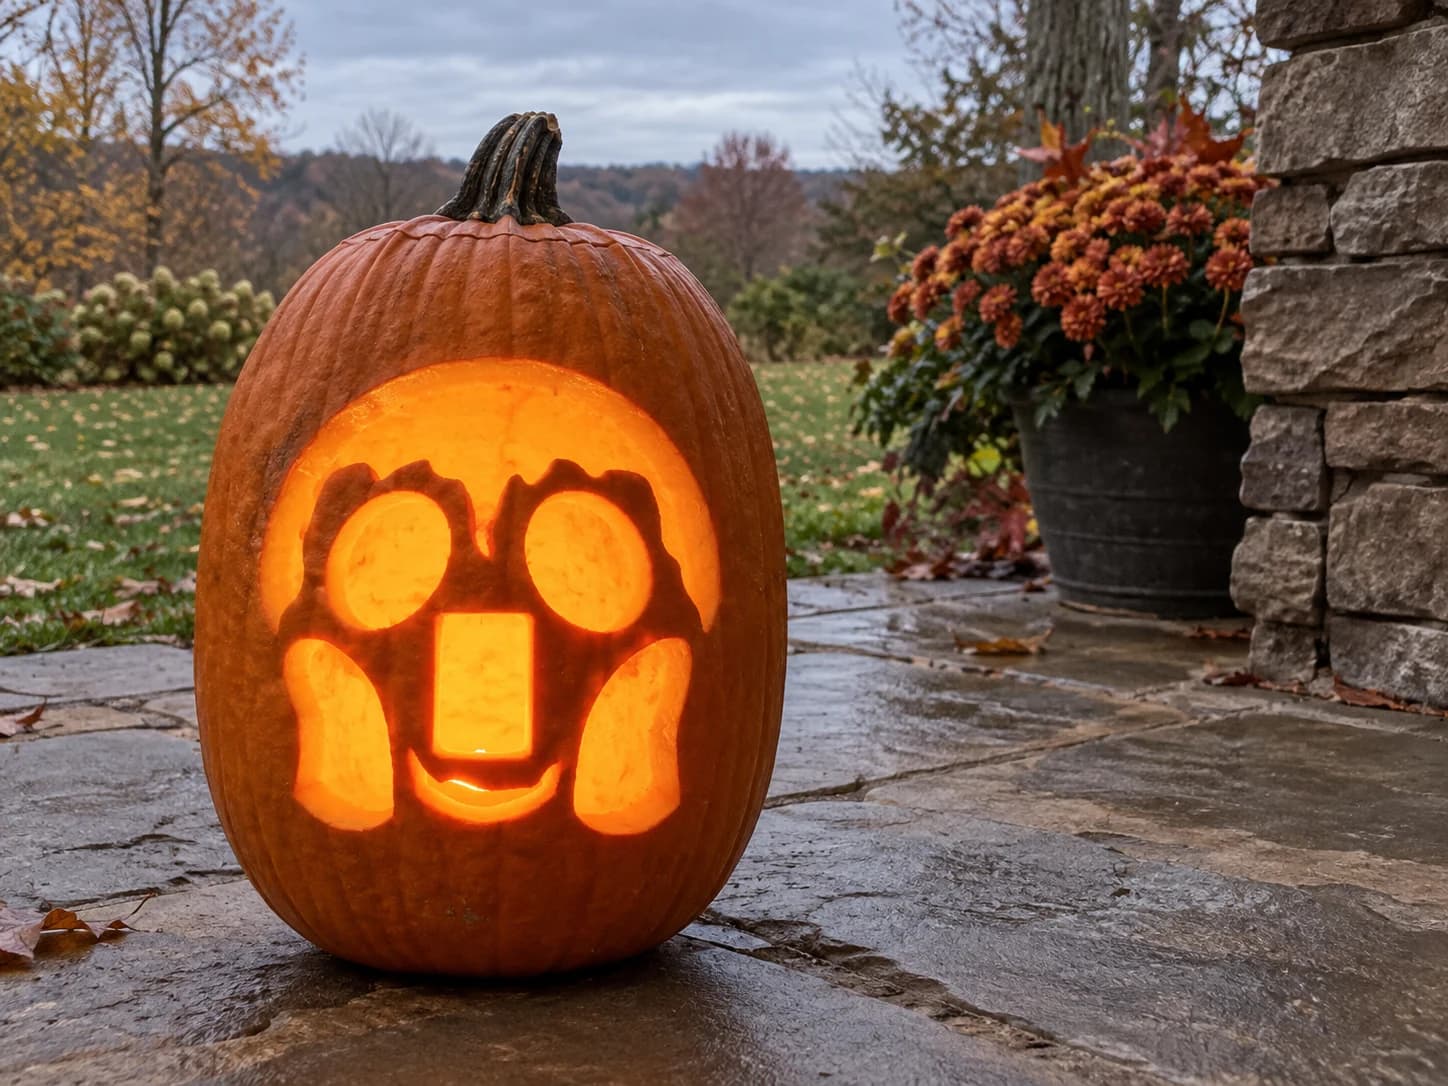
Screaming Emoji Pumpkin Stencil
The screaming face emoji is translated into this jack-o-lantern pumpkin stencil as a wide circular head with two large oval eyes, a rectangular open mouth, two small cheek shapes at the sides, and a row of drippy stalactite shapes hanging from the top of the head. All cut elements are bold and rounded with generous spacing between them, making the design beginner-friendly despite the number of pieces. Cut the small cheek ovals before the large eye ovals so they are supported by the intact surrounding flesh when the blade passes close.
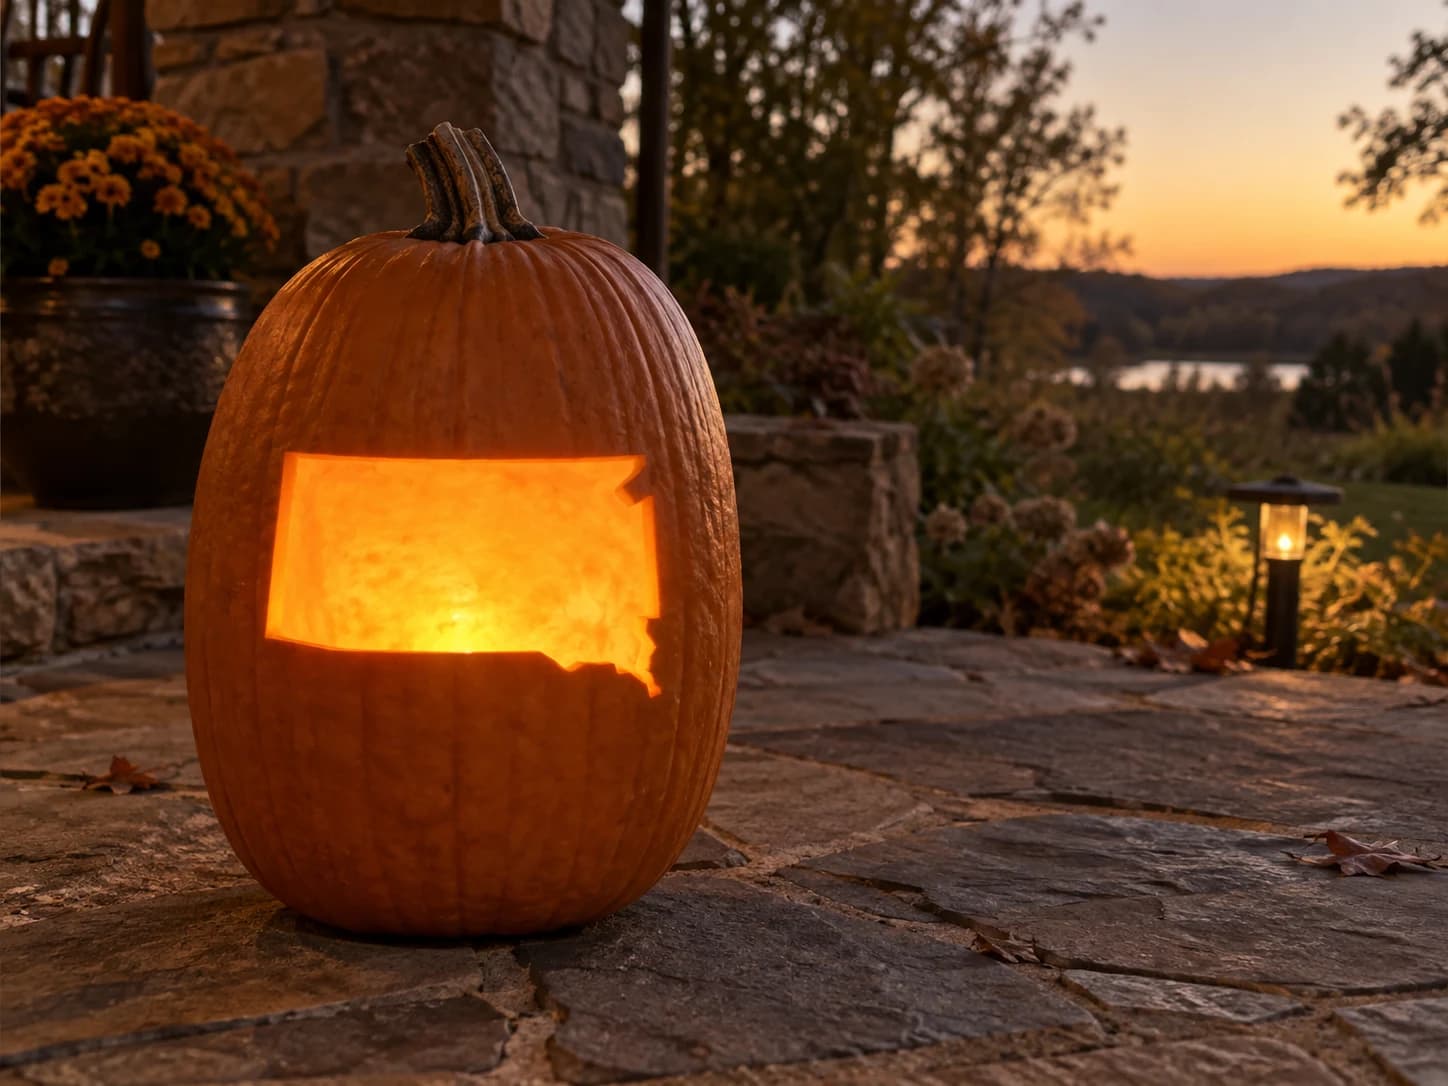
South Dakota Pumpkin Stencil
South Dakota's near-rectangular outline, with its straight top and left borders and a stepped notch along the upper right where the Missouri River forms the border, plus a small jagged peninsula at the lower right, makes up this clean state pumpkin stencil. Almost all the edges are straight or gently curved, making this one of the more approachable state silhouette carves. Score and cut the straight left and top borders first since they set your orientation, then work around the subtle river-step notch and the irregular lower-right point last.
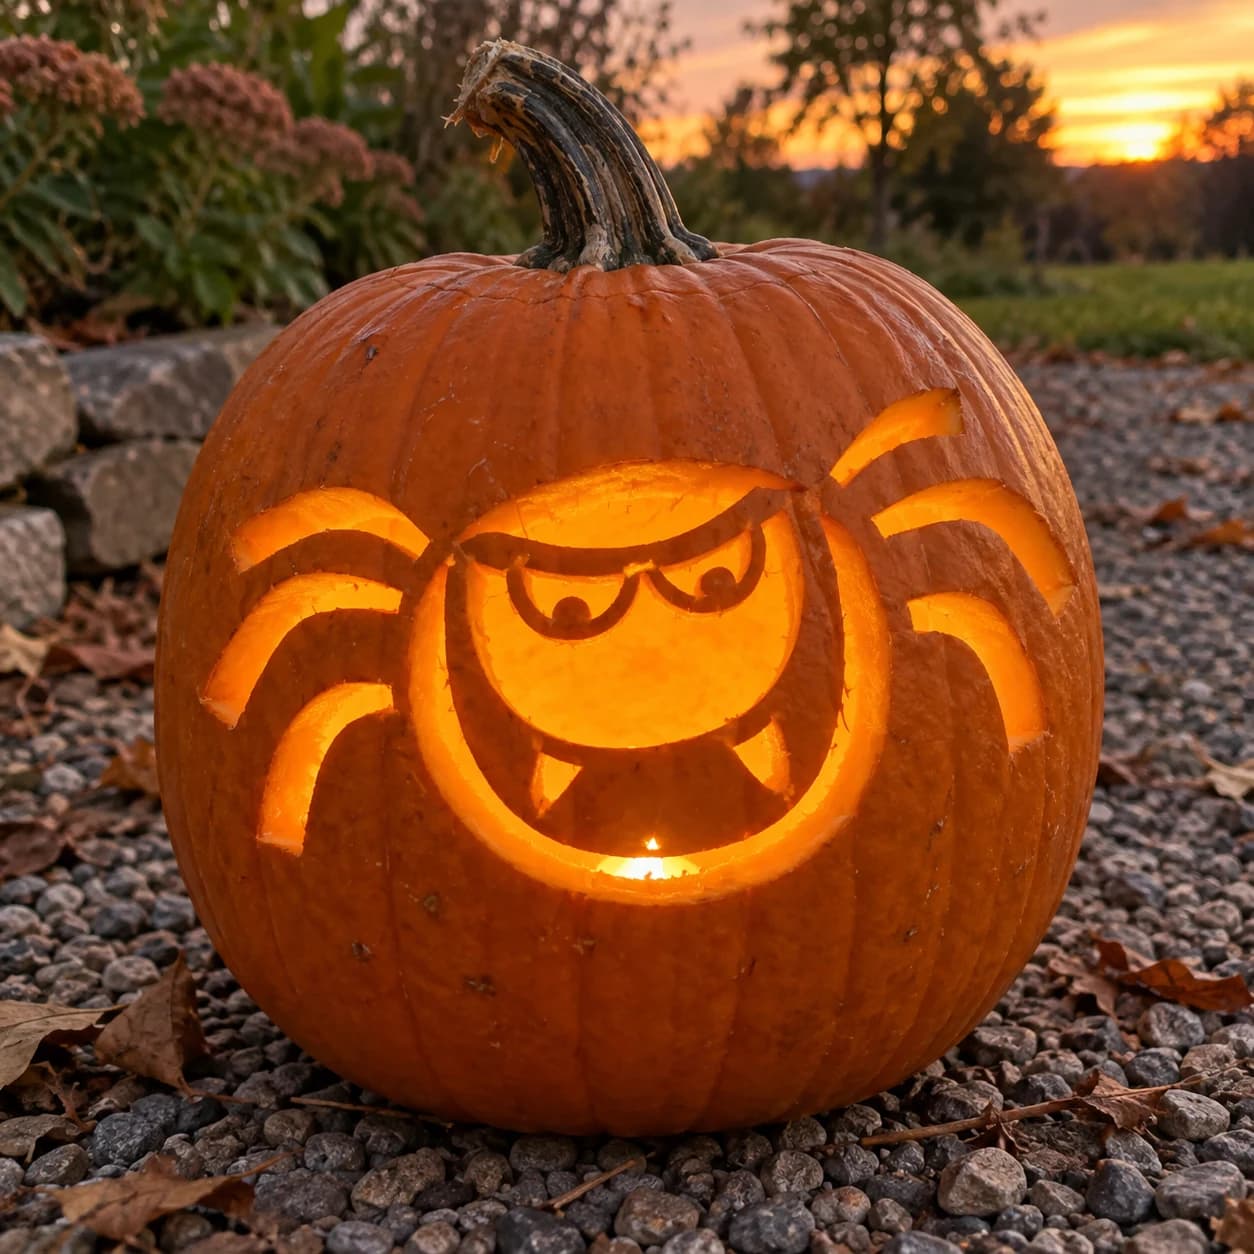
Cartoon Spider Pumpkin Stencil
A chubby cartoon spider with a scowling face fills this easy pumpkin stencil, its round body cut away at the center while the angry brow, fang, and eye pupils remain as uncut pumpkin. Four stubby curved legs arc outward on each side, each one a separate pierced cutout that glows individually when lit. Because the legs are disconnected islands of cuts, carve the body cavity first to anchor your alignment, then cut each leg segment outward so none of the narrow pumpkin bridges between legs get accidentally snapped.
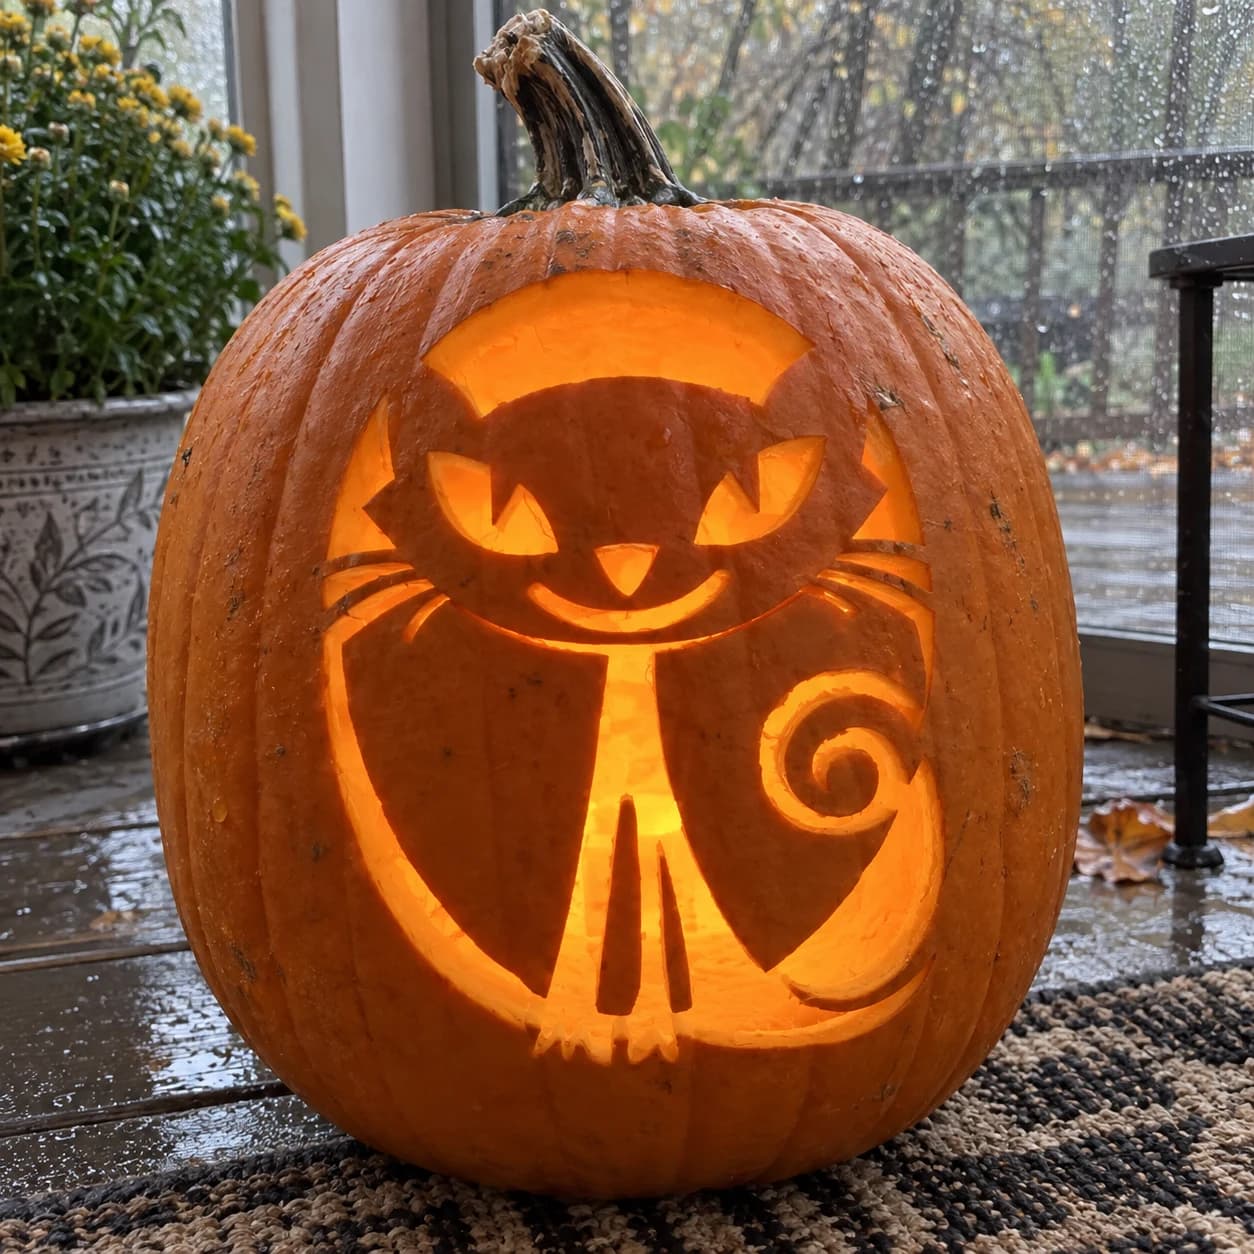
Sitting Black Cat Pumpkin Stencil
A cartoon-style black cat sits centered in a large oval cutout on this pumpkin stencil, its round body, pointy ears, and grinning face left as pumpkin skin while the oval background glows with light. The curling spiral tail sweeps to the right inside the oval, and thin whisker lines extend from each cheek. When carving, cut the large background oval first to establish the shape, then carefully remove the small eye and smile details, keeping the curled tail's narrow inner spiral intact by working slowly around its center loop.
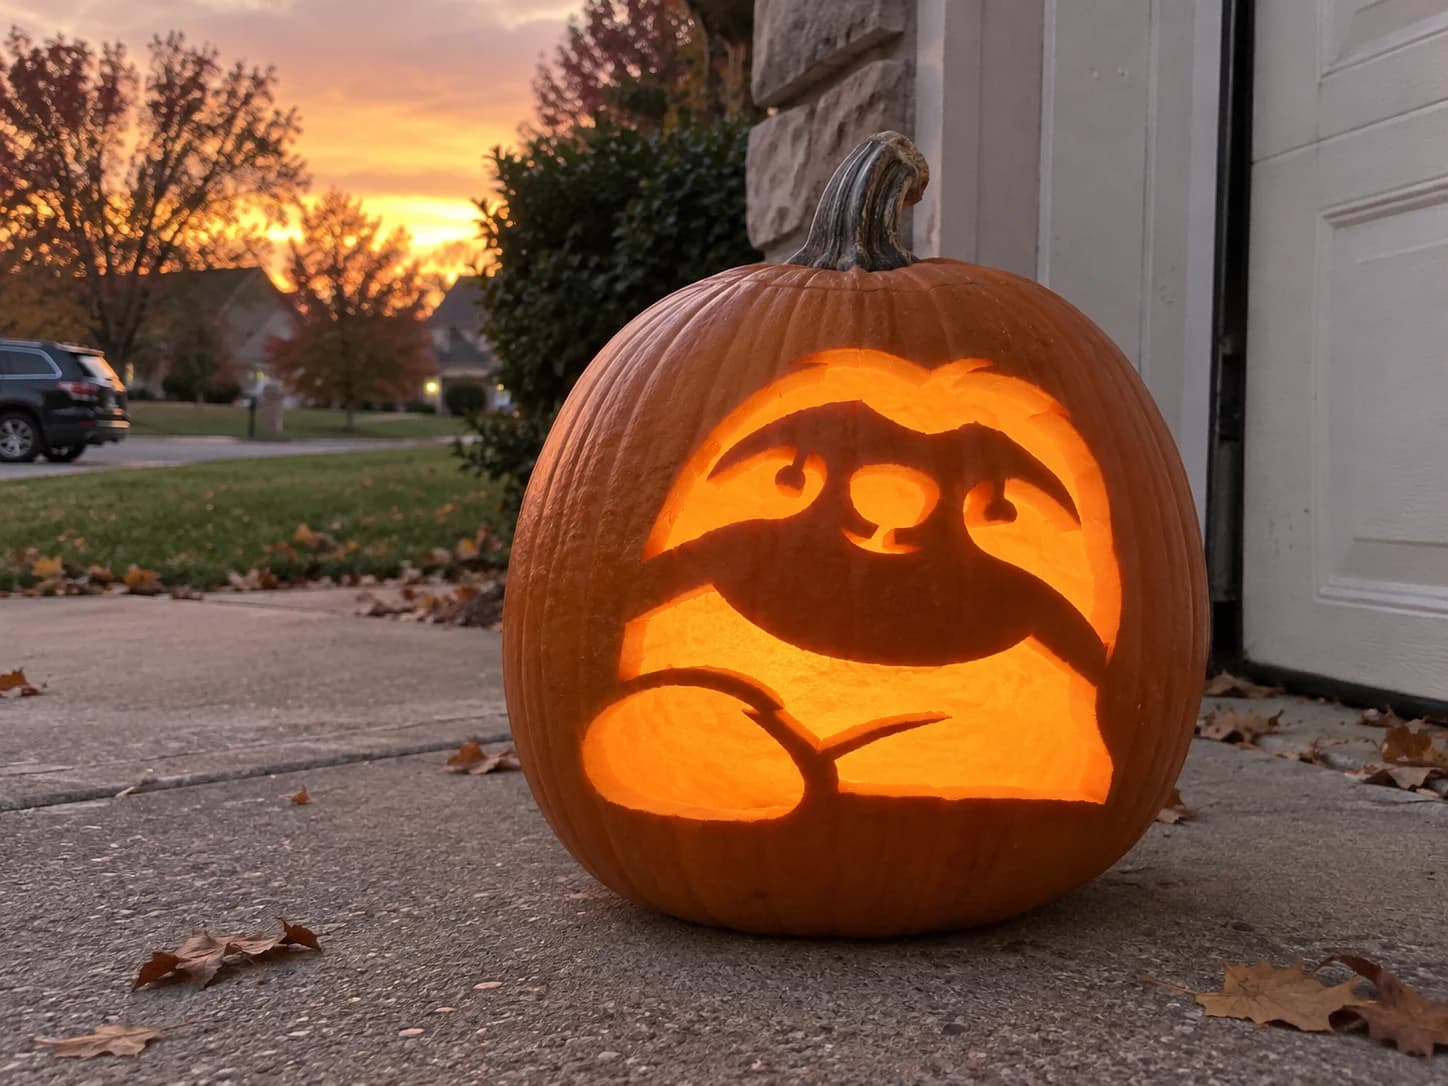
Sloth Pumpkin Stencil
A sloth clings with its long clawed arm across the center of this easy pumpkin stencil, its round face showing closed or half-shut eyes and a compact round nose, with a shaggy fur outline around the head and a rounded body below. The large body and arm openings are cut through while the face detail pieces stay solid, so the lit pumpkin shows the sloth's relaxed expression clearly outlined in orange. Cut the small eye-detail pieces before opening the large arm void so those delicate shapes have full surrounding support.
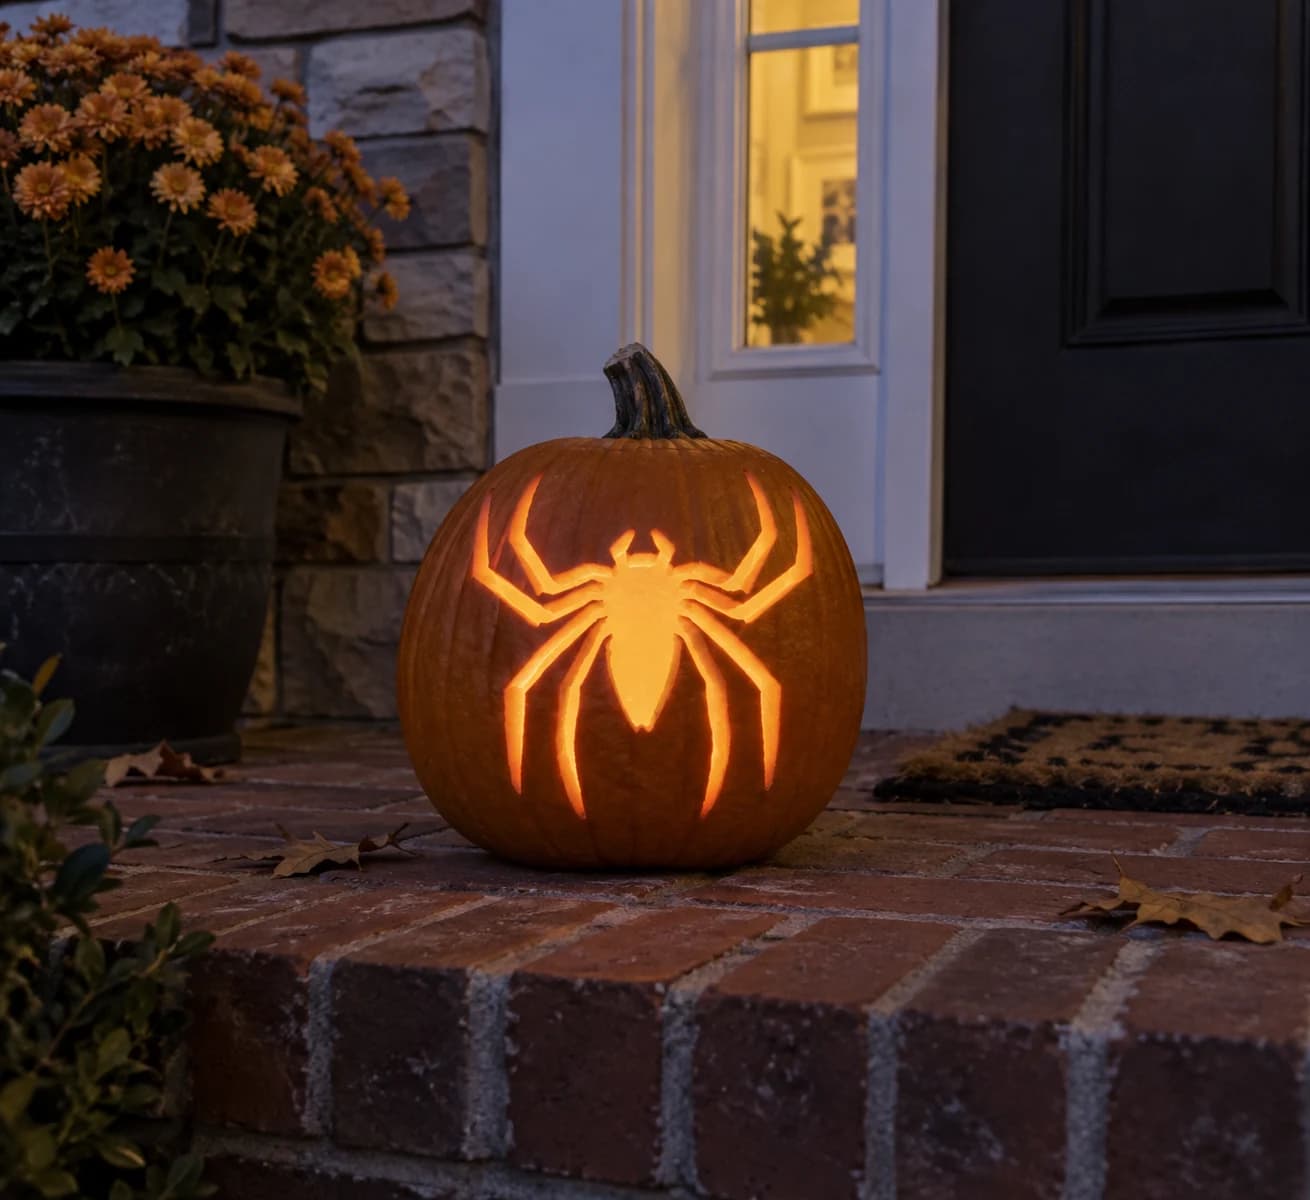
Spider Silhouette Pumpkin Stencil
A bold overhead-view spider silhouette with eight long tapering legs and a rounded abdomen below a smaller cephalothorax forms this easy spider pumpkin stencil, the entire body pierced through as one large connected cutout. The legs splay outward symmetrically, spanning nearly the full width of the design. Because the whole shape is one continuous cut, the chief challenge is the narrow neck pinch between the two body sections; cut that junction slowly with a fine blade to keep both halves from separating before you are done.
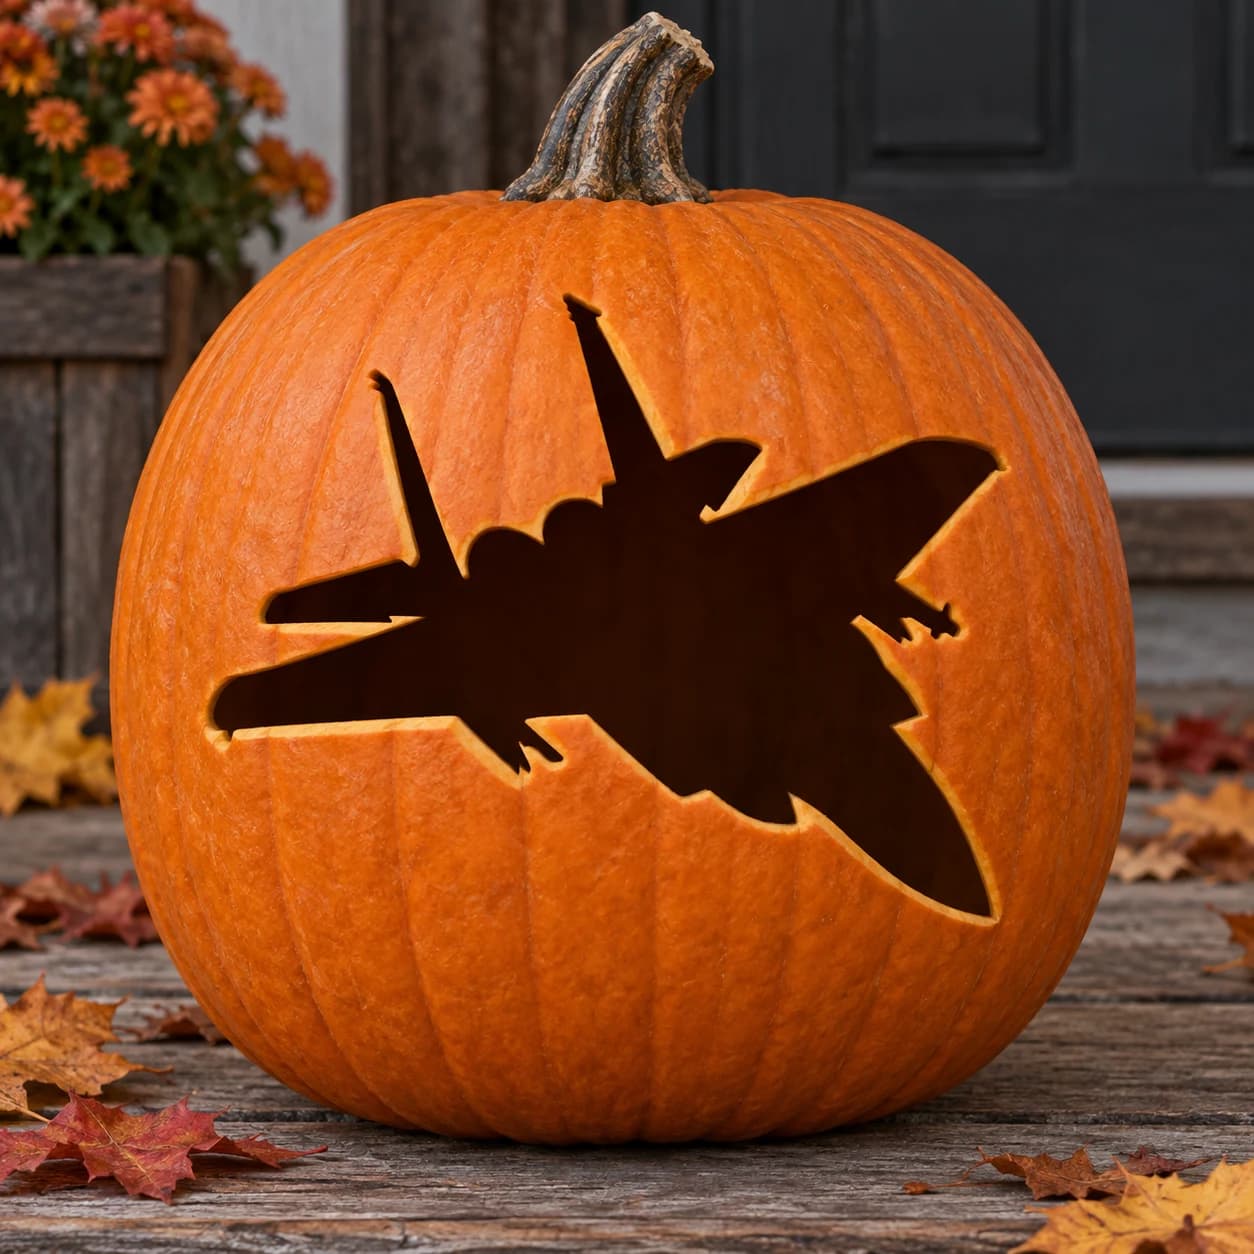
Fighter Jet Pumpkin Stencil
A military fighter jet viewed from a three-quarter above angle is silhouetted as a single connected cutout in this vehicles pumpkin stencil, with swept delta wings, twin tail fins, and a detailed cockpit bump all readable in the clean outline. The narrow tail fins at the rear are the most fragile elements of the design. Score and cut those tail fin points before opening the large body void, so the thin tips have the full wall's rigidity behind them while the blade passes through.
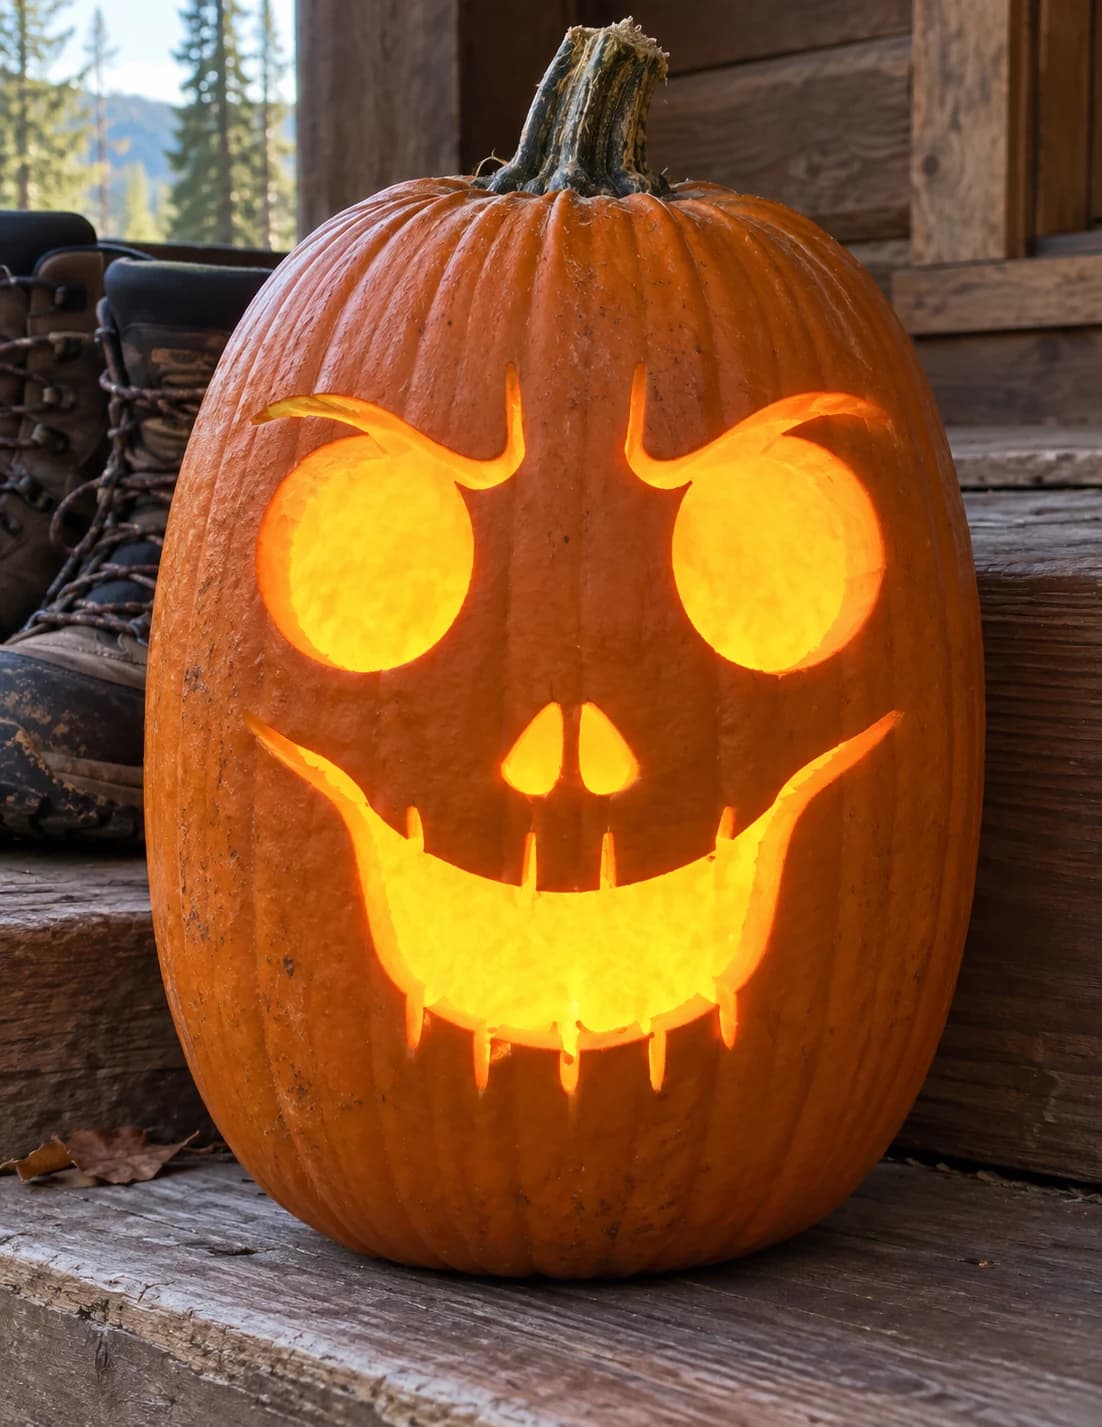
Scarecrow Face Pumpkin Stencil
Two large round eyes with small eyebrow hooks above each, a pair of pointed teardrop nostrils, and a wide toothy grin with sharp downward-pointing fangs give this scarecrow face its slightly sinister character on this easy pumpkin stencil. All cut pieces are chunky and well-separated, making this a comfortable carve despite its spooky look. To keep the row of fang tips from chipping, make the two vertical cuts on each fang before the horizontal base cut that frees the piece.
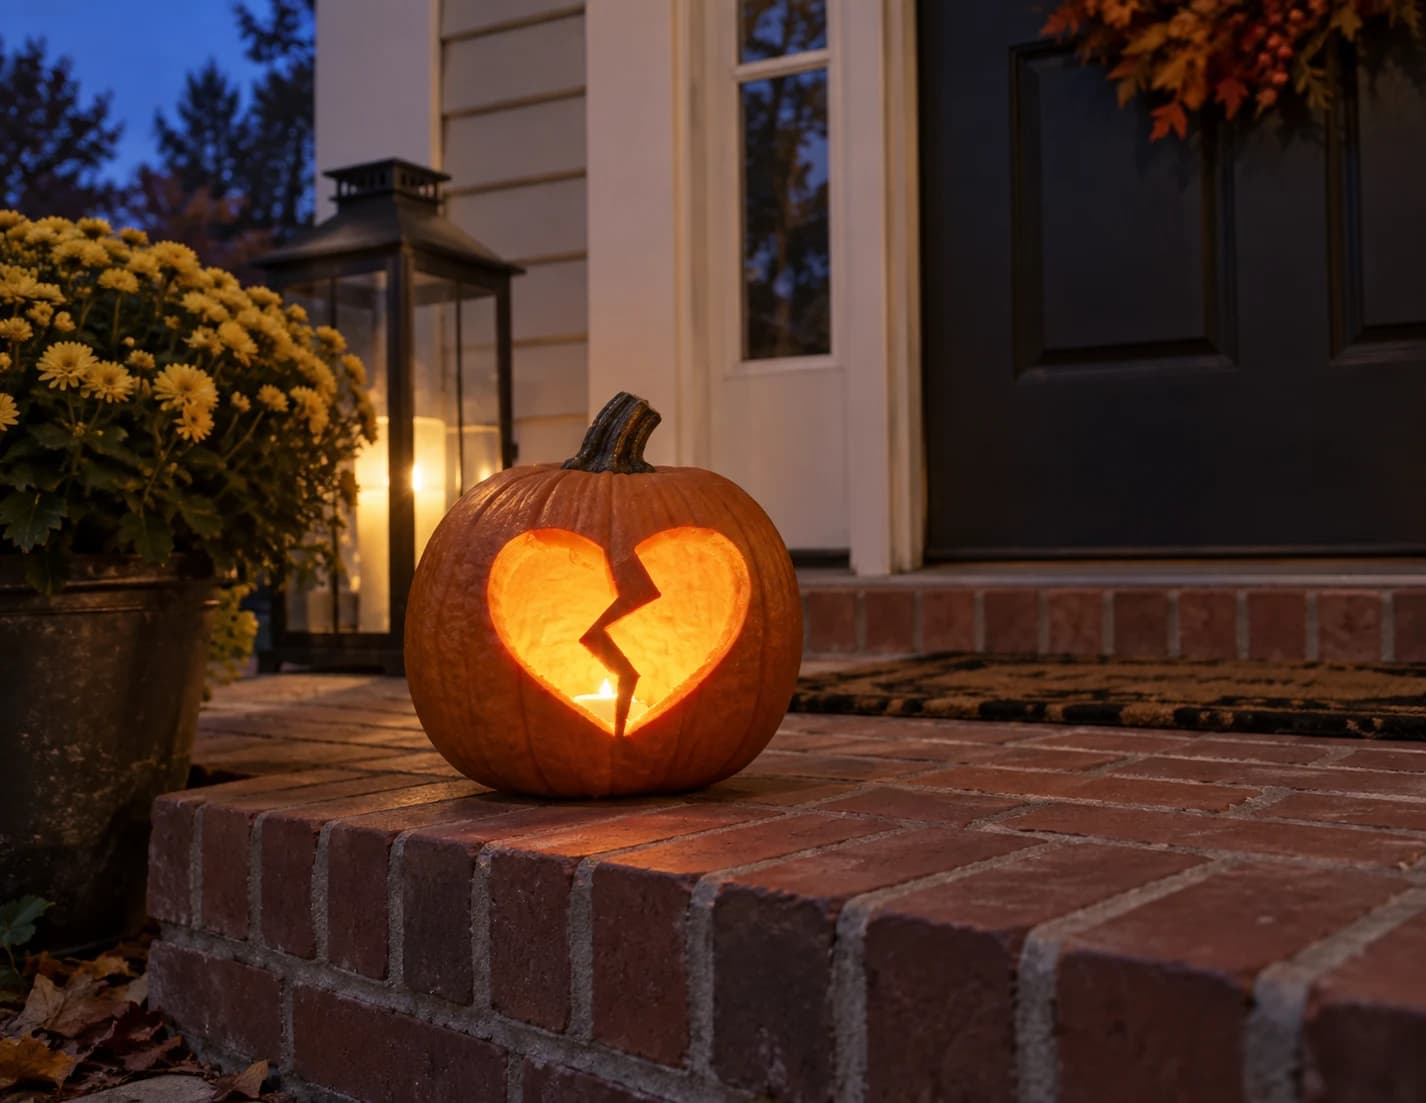
Broken Heart Pumpkin Stencil
A large broken heart split down the center by a jagged lightning-bolt crack is the entire design of this pumpkin stencil, with both halves pierced through so candlelight glows from the whole shape. The bold, smooth outlines on either side of the fracture read cleanly from across a porch. Carve the two outer heart sections first, then make the narrow zigzag cut last to keep the thin points of the crack from flexing and tearing while your saw is working nearby.
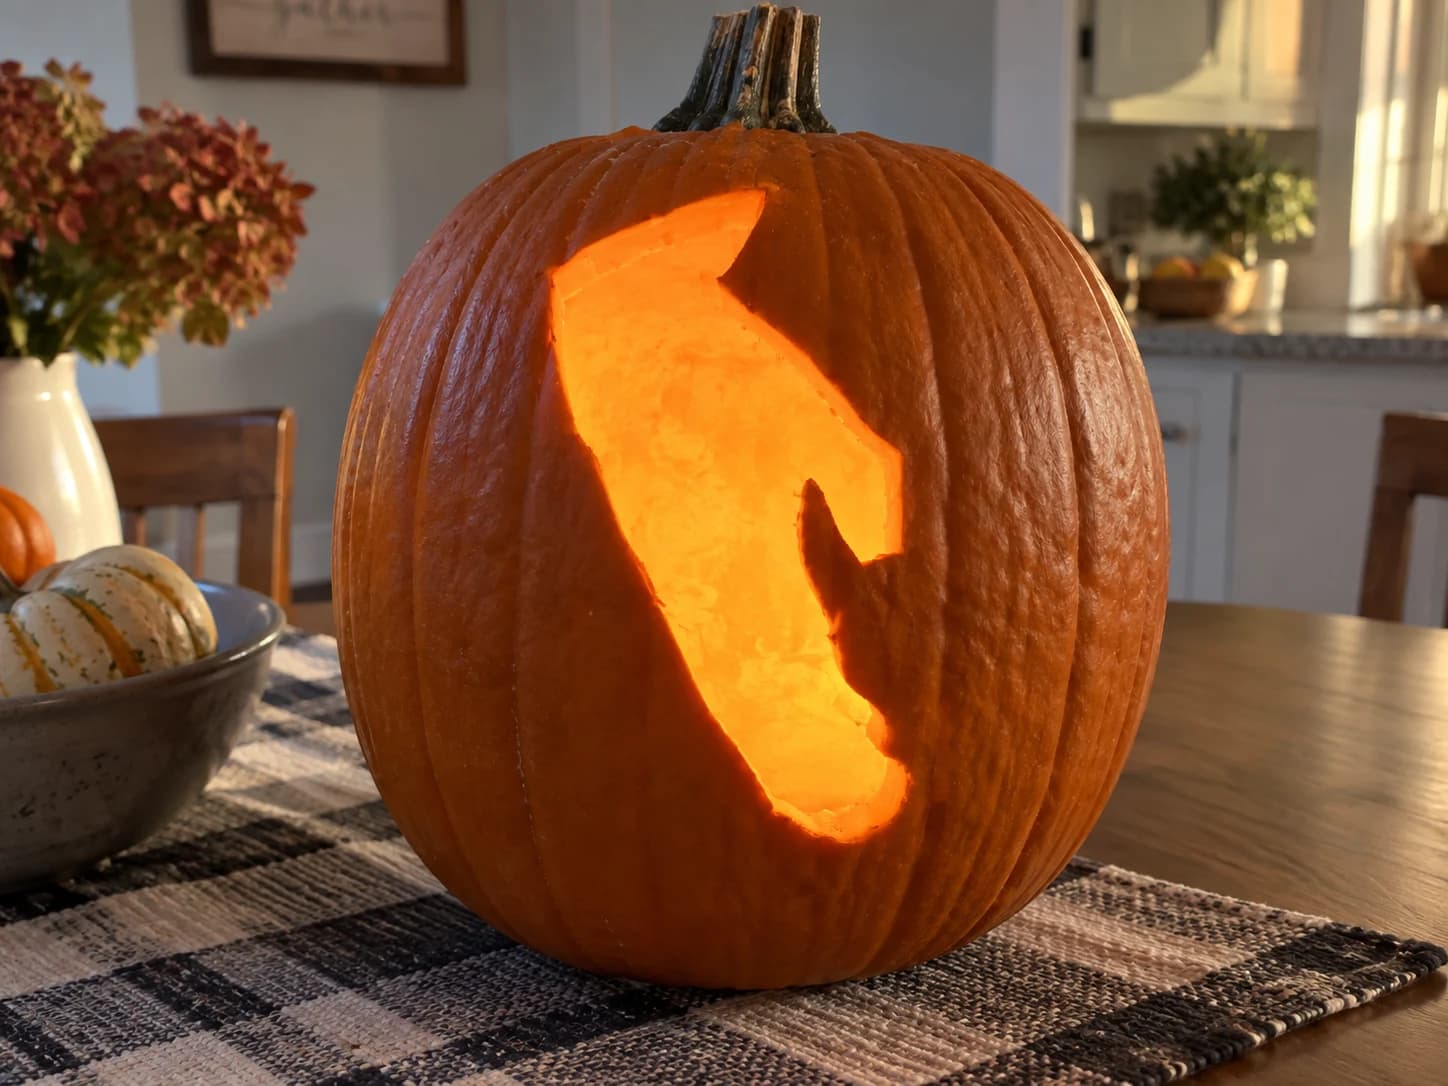
Rhode Island Pumpkin Stencil
The outline of Rhode Island as it appears on a map is the sole design on this state pumpkin stencil: a narrow vertical silhouette with a straight eastern coast, an irregular western edge, and a distinctive notch in the lower right where Narragansett Bay indents the shoreline. The entire shape is one single pierce-through cutout so the state glows as a solid window of light. Trace the coastline outline slowly and continuously without lifting the blade so the curved bay notch at lower right stays smooth and does not crack at that concave point.
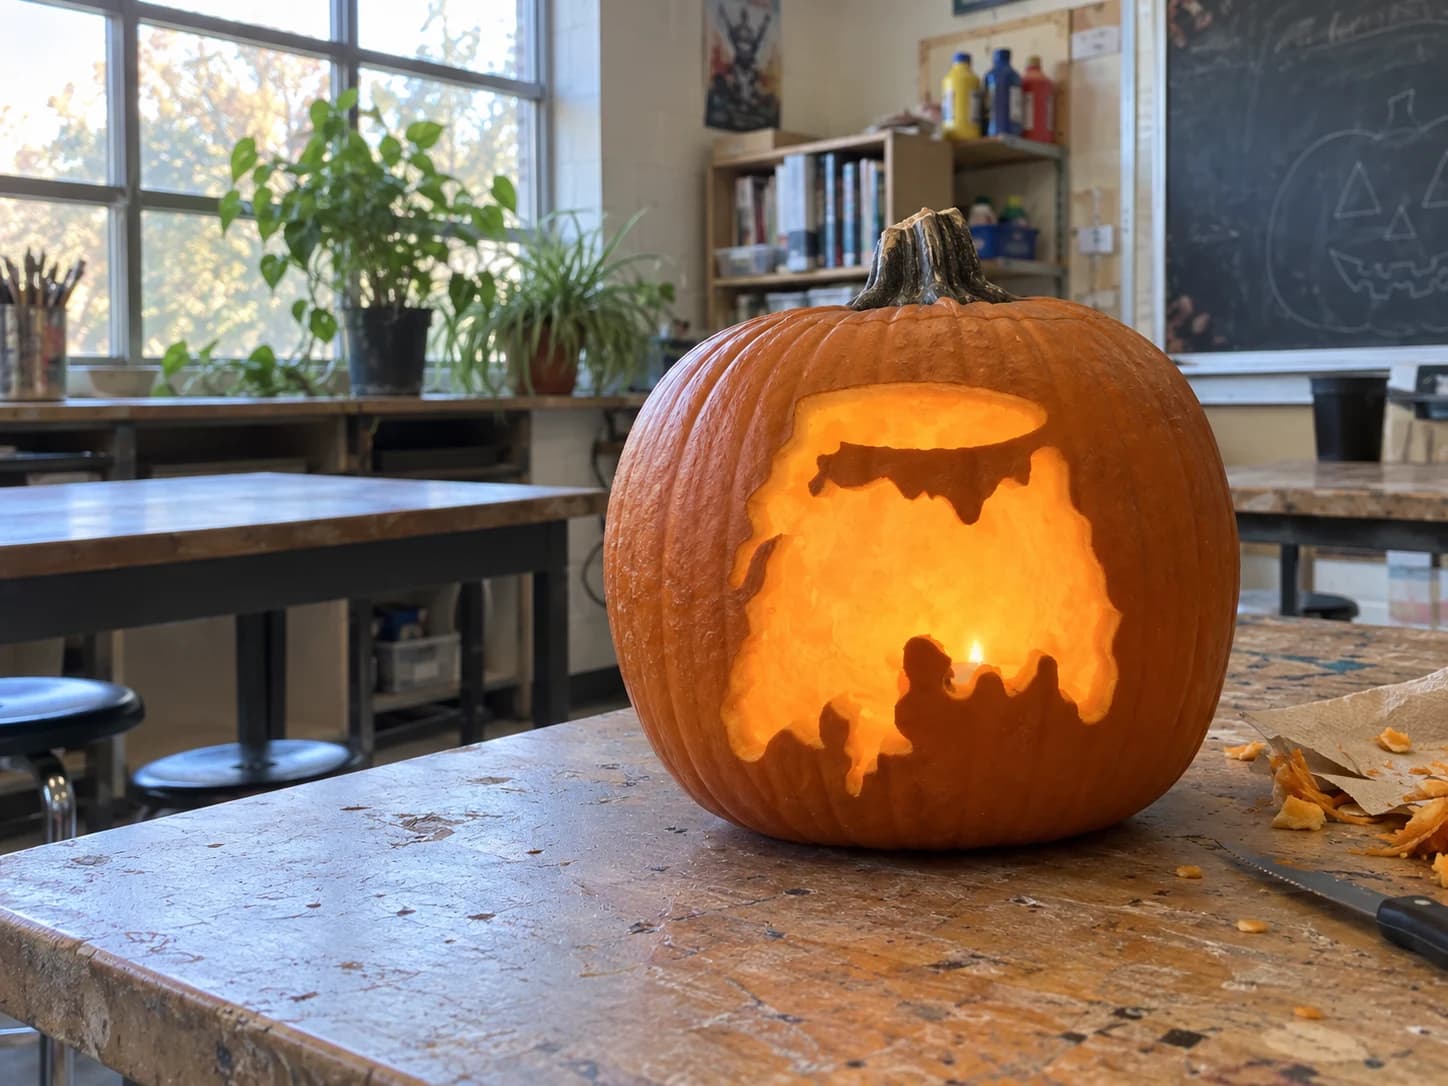
Puking Jack-o-Lantern Pumpkin Stencil
This Halloween pumpkin stencil shows a scowling jack-o-lantern face above a wide open mouth with a round bowl shape inside, from which a blob of chunky dripping gunk spills downward in an irregular mass. Narrow slash-shaped eyes and angular brow lines above the mouth convey disgust, while the dripping mass below is a single large pierced area with ragged edges. Cut the small eye and brow slashes first, then tackle the wide drip outline last, since it spans most of the lower pumpkin and removing it early would destabilize the wall for the detail work above.
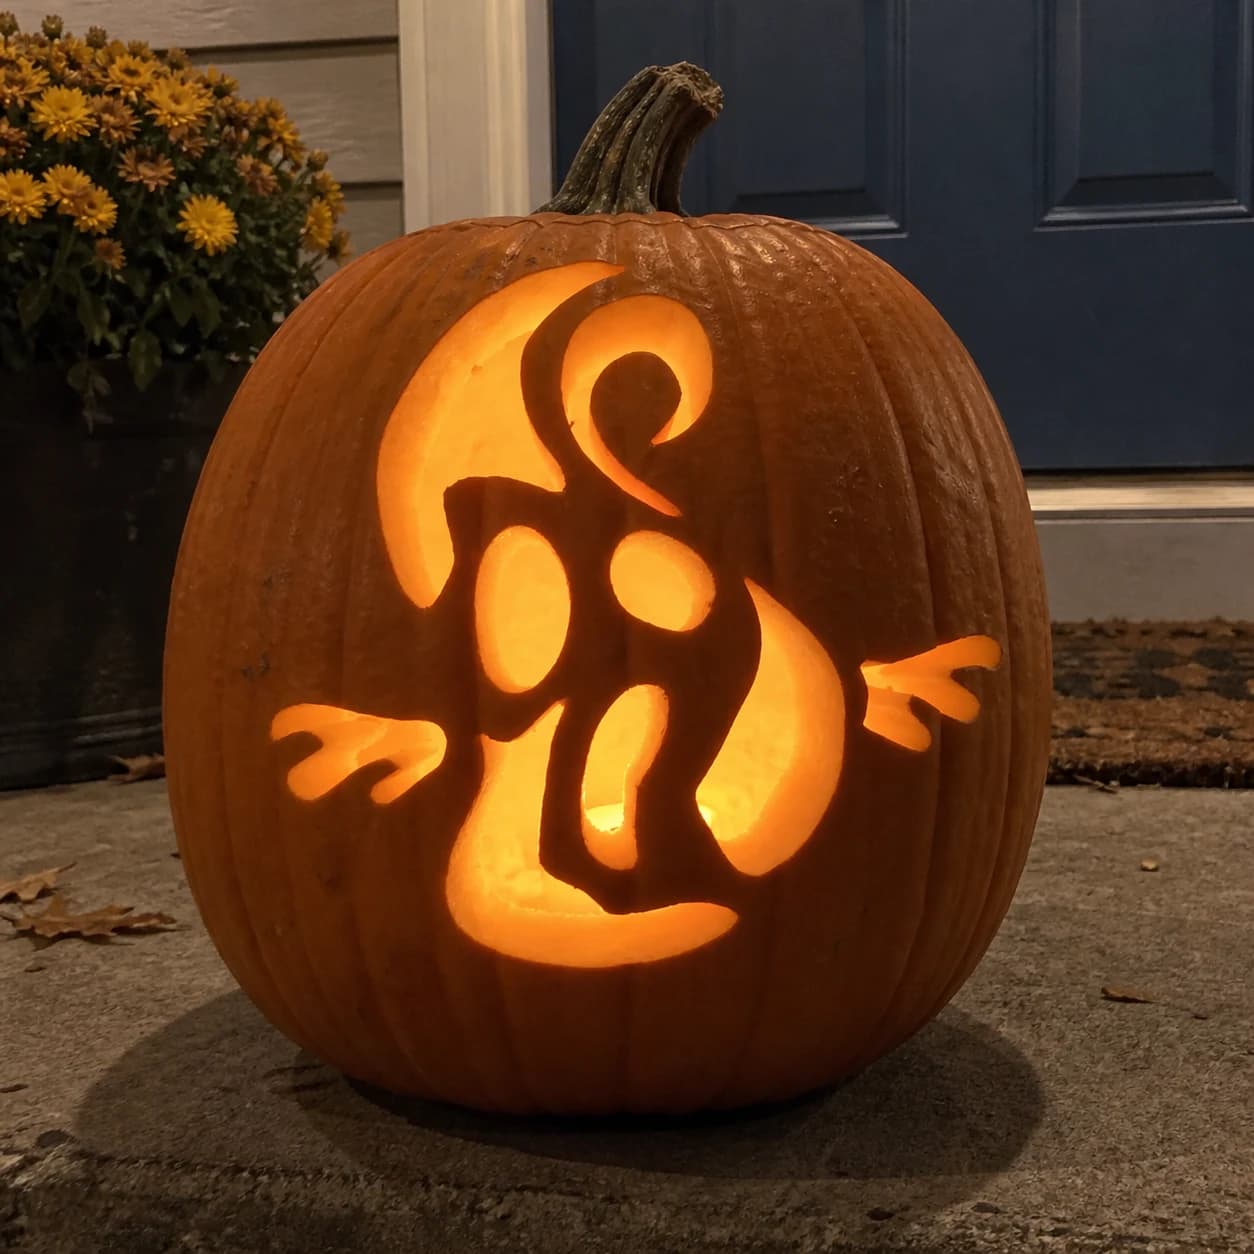
Cartoon Ghost Pumpkin Stencil
A cartoon ghost floats upright in this easy pumpkin stencil, with a swirling curl at the top of its rounded head, two three-fingered hands spread wide at its sides, and an oval body that dissolves into a trailing tail. The interior body region and surrounding cut-away areas are pierced through while the ghost outline and a central oval chest patch remain as solid skin. Because the design is mostly open cuts, the pumpkin glows bright around the solid ghost shape for a classic reverse-silhouette look.
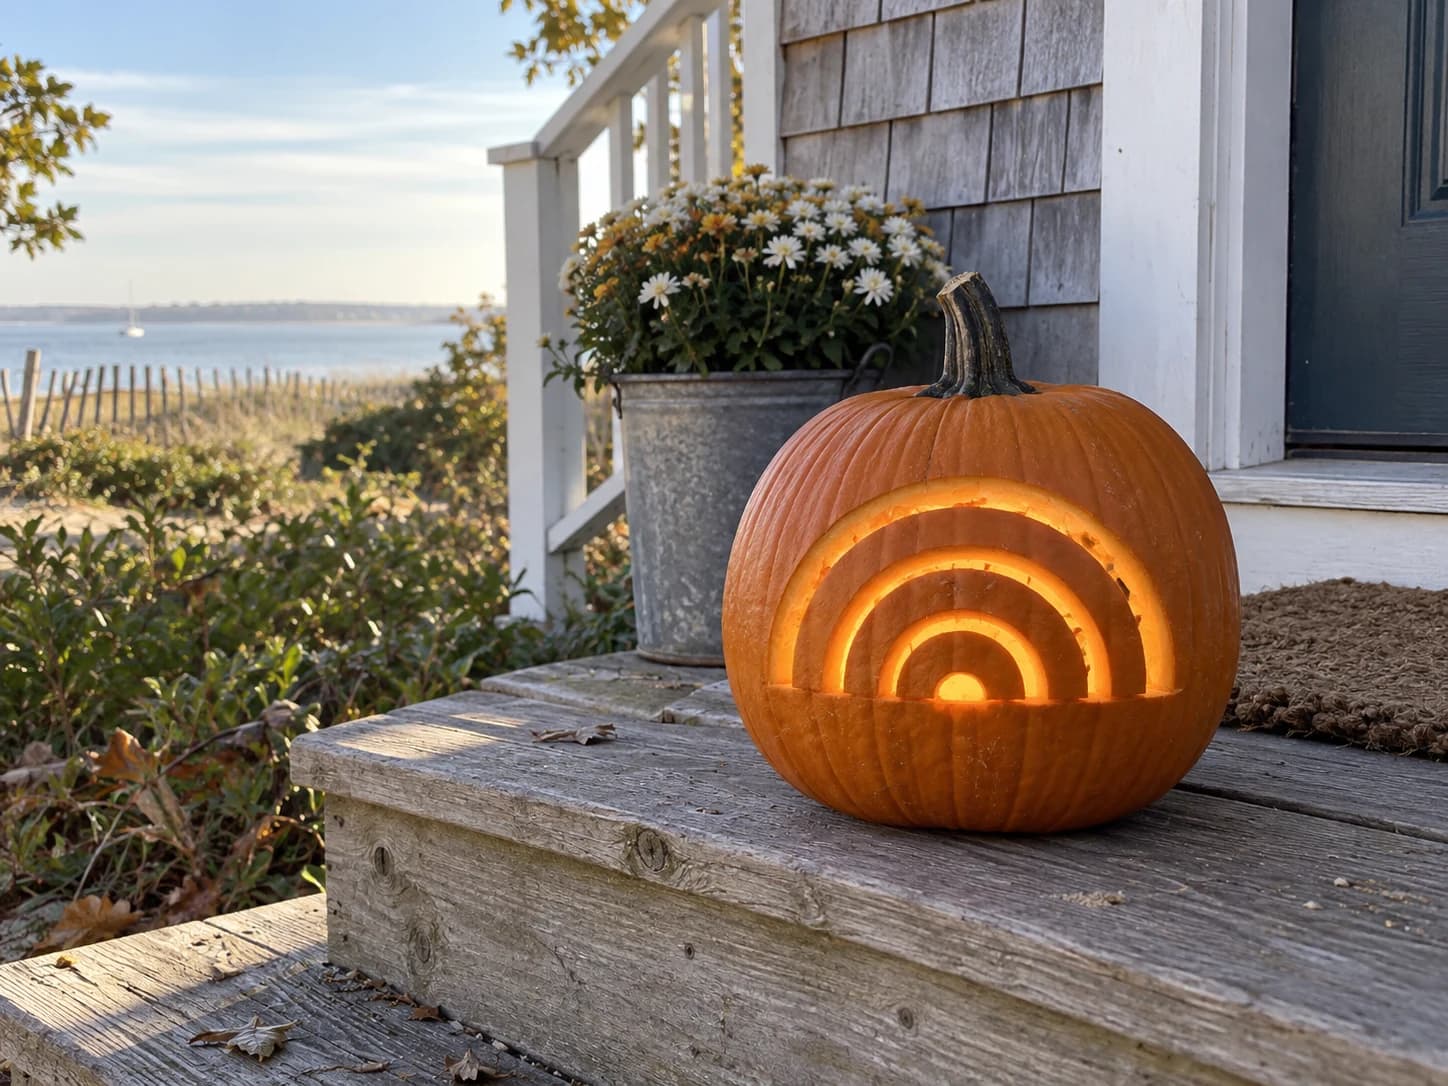
Rainbow Arch Pumpkin Stencil
Five concentric rainbow arcs are centered on this pumpkin stencil, each band separated by a narrow uncut strip so the finished jack-o-lantern glows with layers of orange between bands of dark. The arcs are wide and smoothly curved, making every cut a long gentle sweep with no tight corners. To keep all five bands from sagging after carving, work from the innermost arc outward so the outer wall stays thick and supportive while you remove each layer.
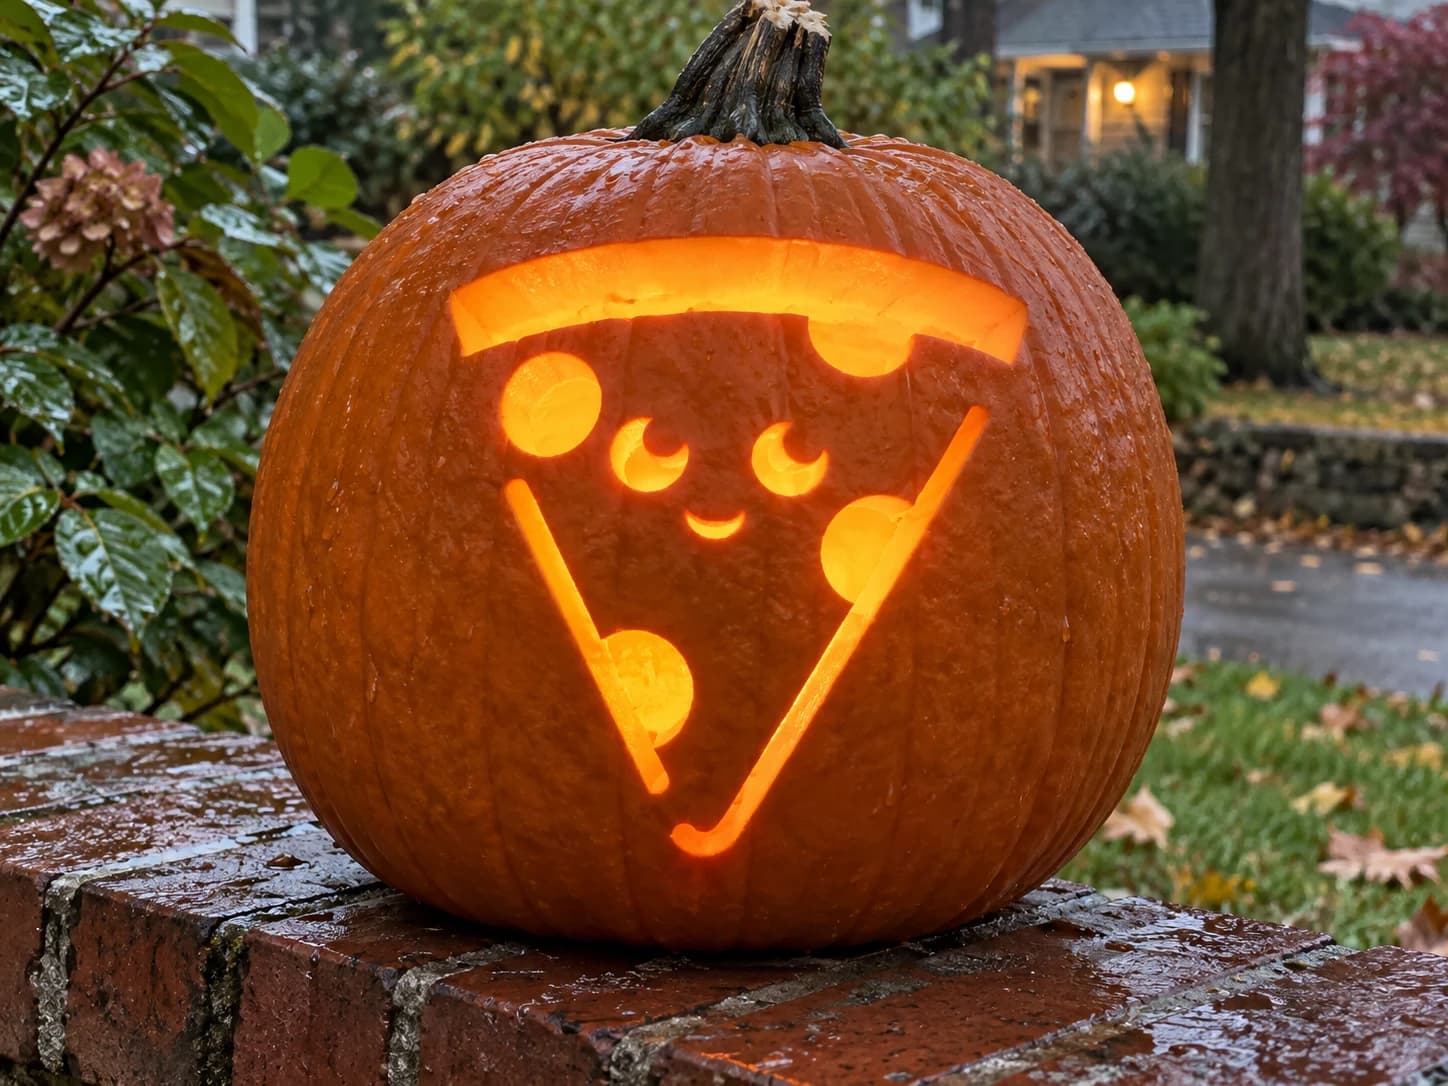
Kawaii Pizza Slice Pumpkin Stencil
A kawaii pizza slice takes center stage in this pumpkin stencil: the triangular slice has a curved crust bar across the top, a cute face with crescent-shaped eyes and a small smile, circular pepperoni cutouts, and two thin diagonal lines suggesting arms. All the face features, pepperoni circles, and the space surrounding the slice are pierced through, while the slice outline and crust shape remain solid. Cut the tiny crescent eyes and smile first before the circular pepperoni holes, which are easier to control while the surrounding skin is still intact.
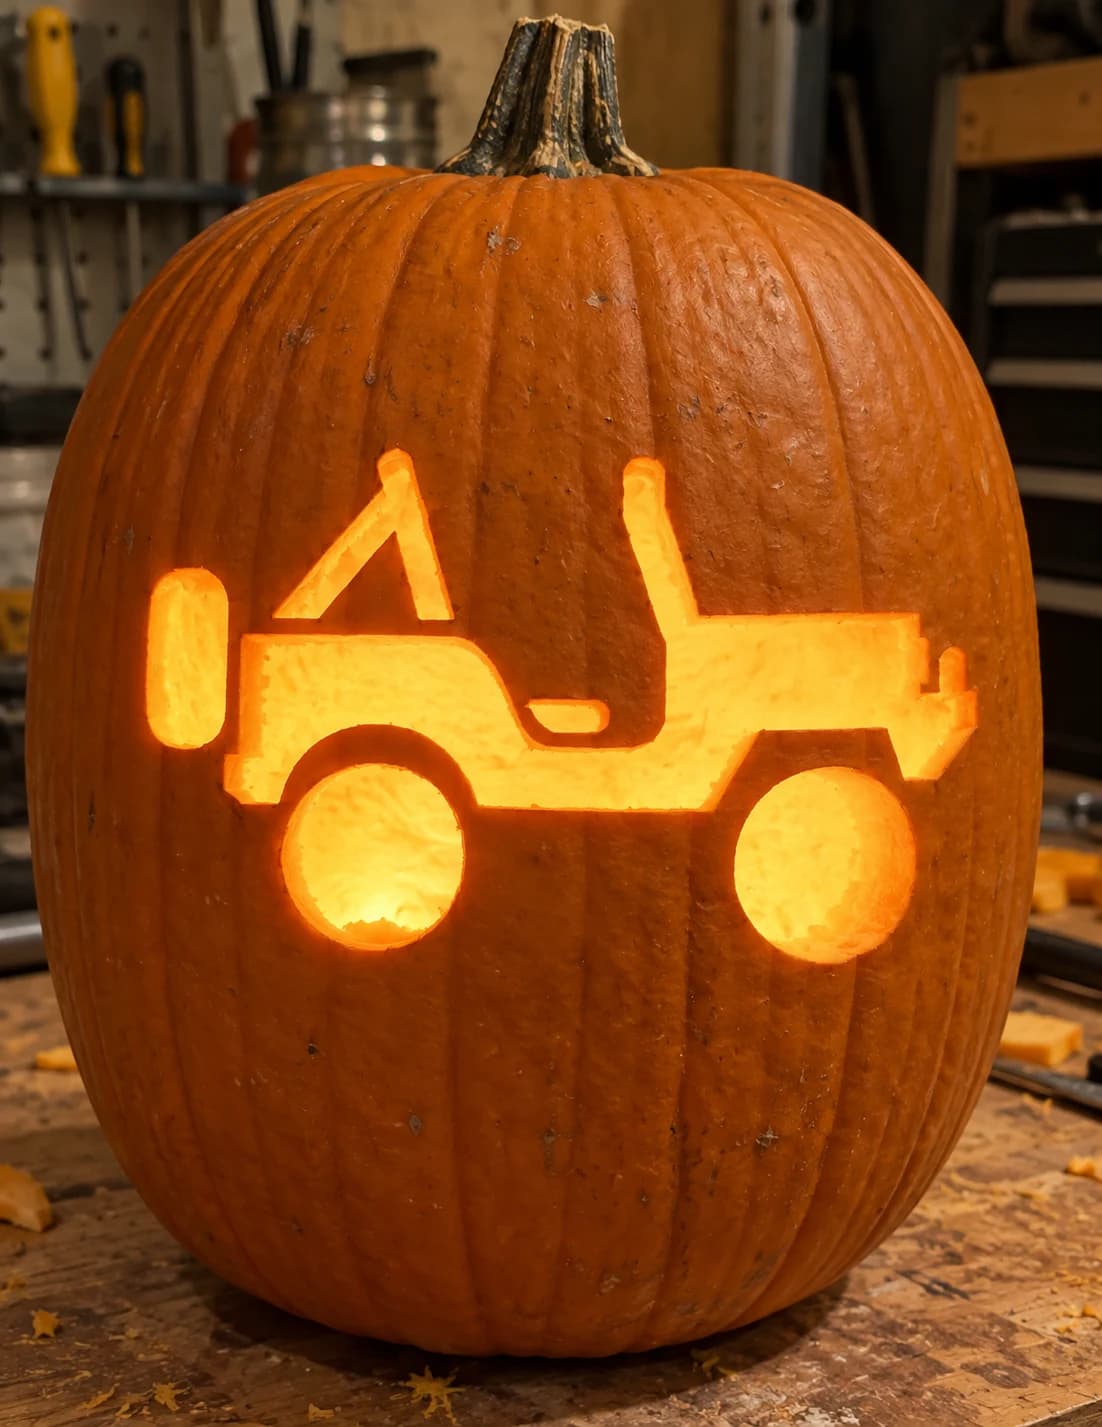
Jeep Pumpkin Stencil
An open-top jeep faces left in a clean side-profile pumpkin stencil, showing the boxy body, roll bar, two large round tires, a spare tire mounted on the hood, and a small hitch at the rear. The body cavity and the two wheel holes are pierced through while the roll bar and body outline remain as solid pumpkin flesh. To keep the narrow roll bar from snapping, cut the large body opening first and work inward toward that bar, not the other way around.
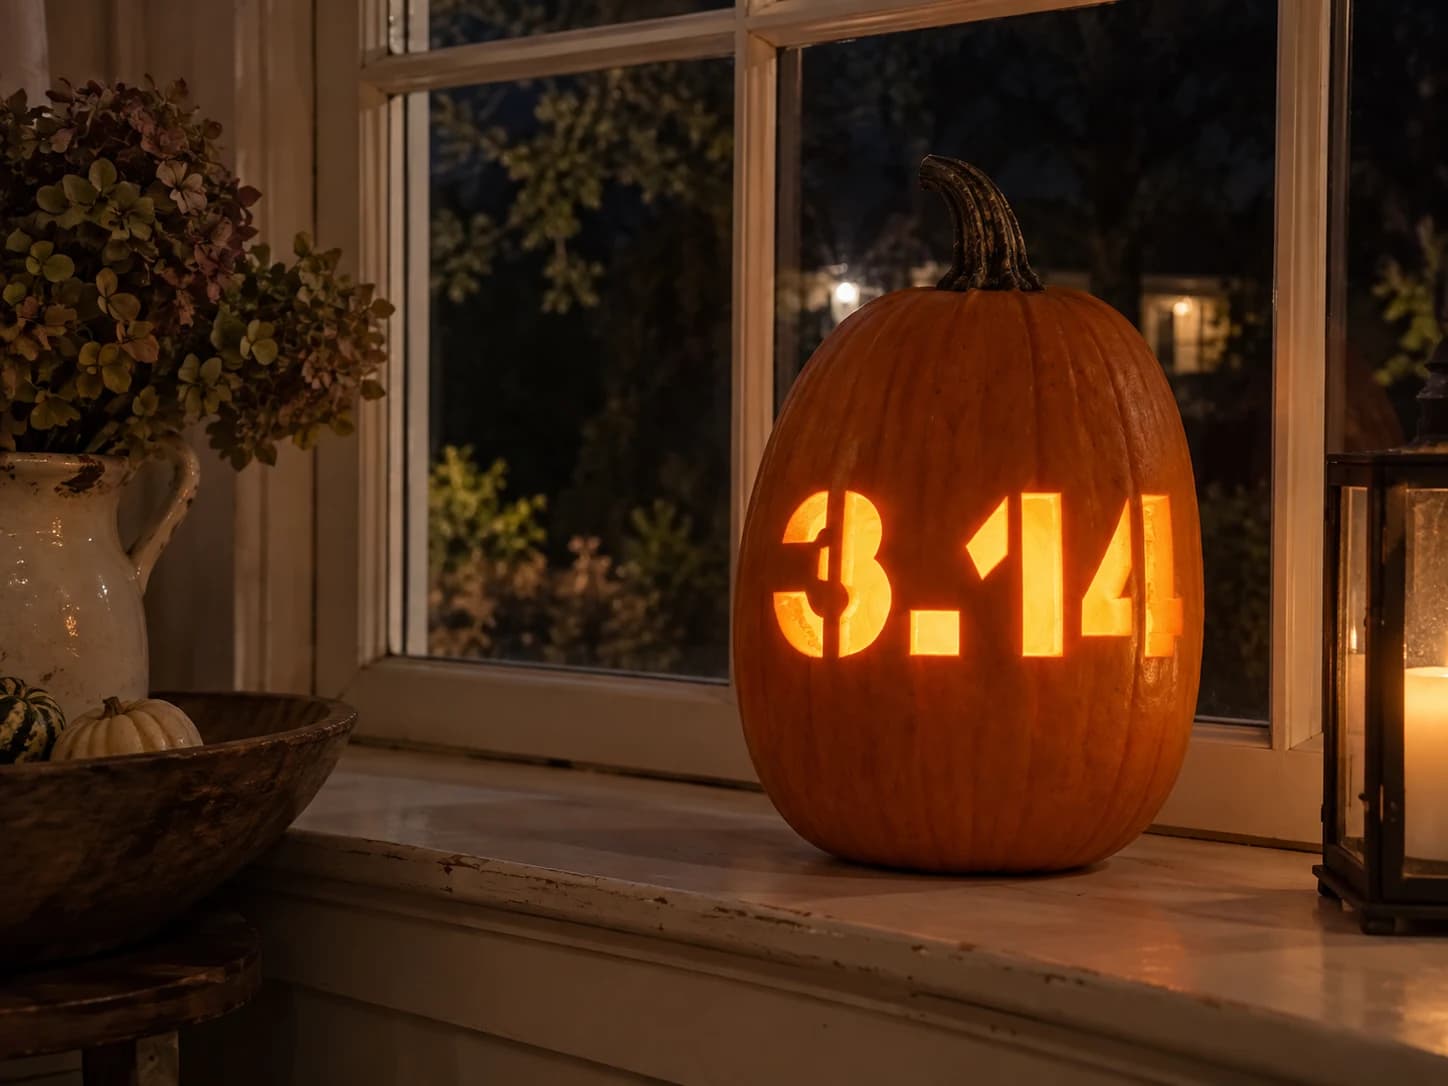
Pi 3.14 Pumpkin Stencil
The numerals 3.14, rendered in a bold block typeface, fill this pumpkin stencil from edge to edge, referencing the mathematical constant pi. Each digit is a large, solid cut-out shape: the curved halves of the 3, the rectangular decimal point, and the straight-sided 1 and 4 are all pierced through and blaze with candlelight. Because the counter (enclosed area) of the 3 must be retained as separate floating islands of skin, tape small pieces of orange peel back in place after cutting to hold them, or plan to let them fall free for a fully open look.
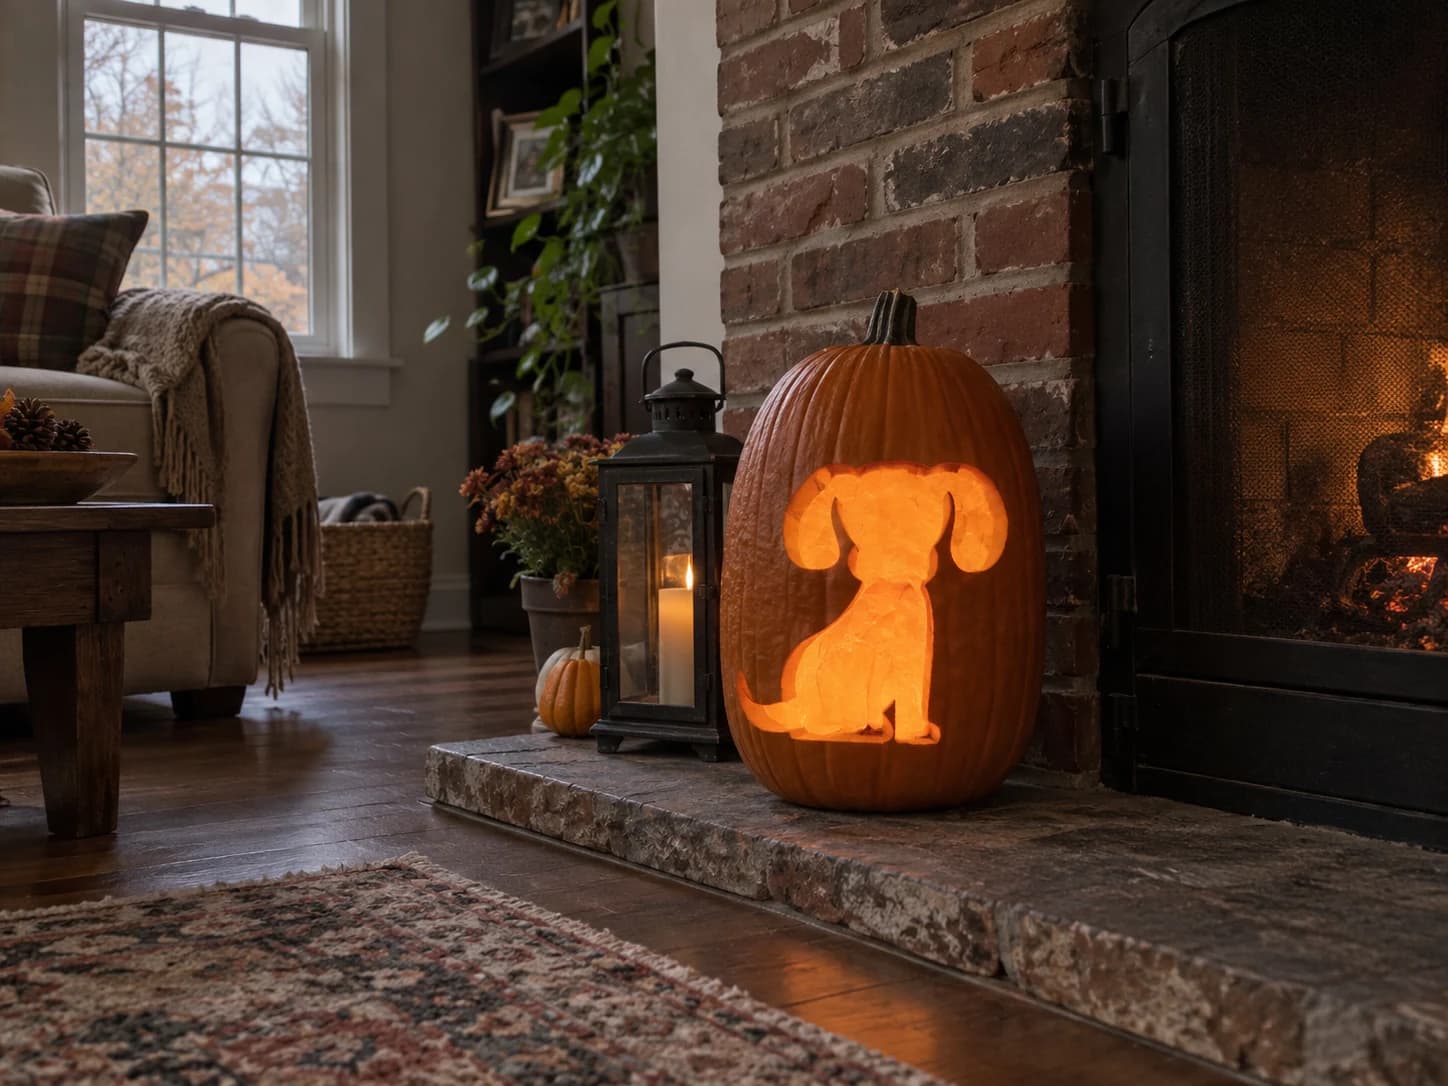
Sitting Puppy Pumpkin Stencil
A round-eared puppy sits upright in simple silhouette on this dog pumpkin stencil, its floppy ears, chunky paws, and curled tail all reading as a single clean cutout against the glowing orange skin. The entire figure is pierced through so candlelight throws a bold dark-dog shape onto surrounding surfaces. Because the ear tips sit very close to the body, cut the space between left ear and head first to keep that bridge intact while the rest of the wall is still firm.
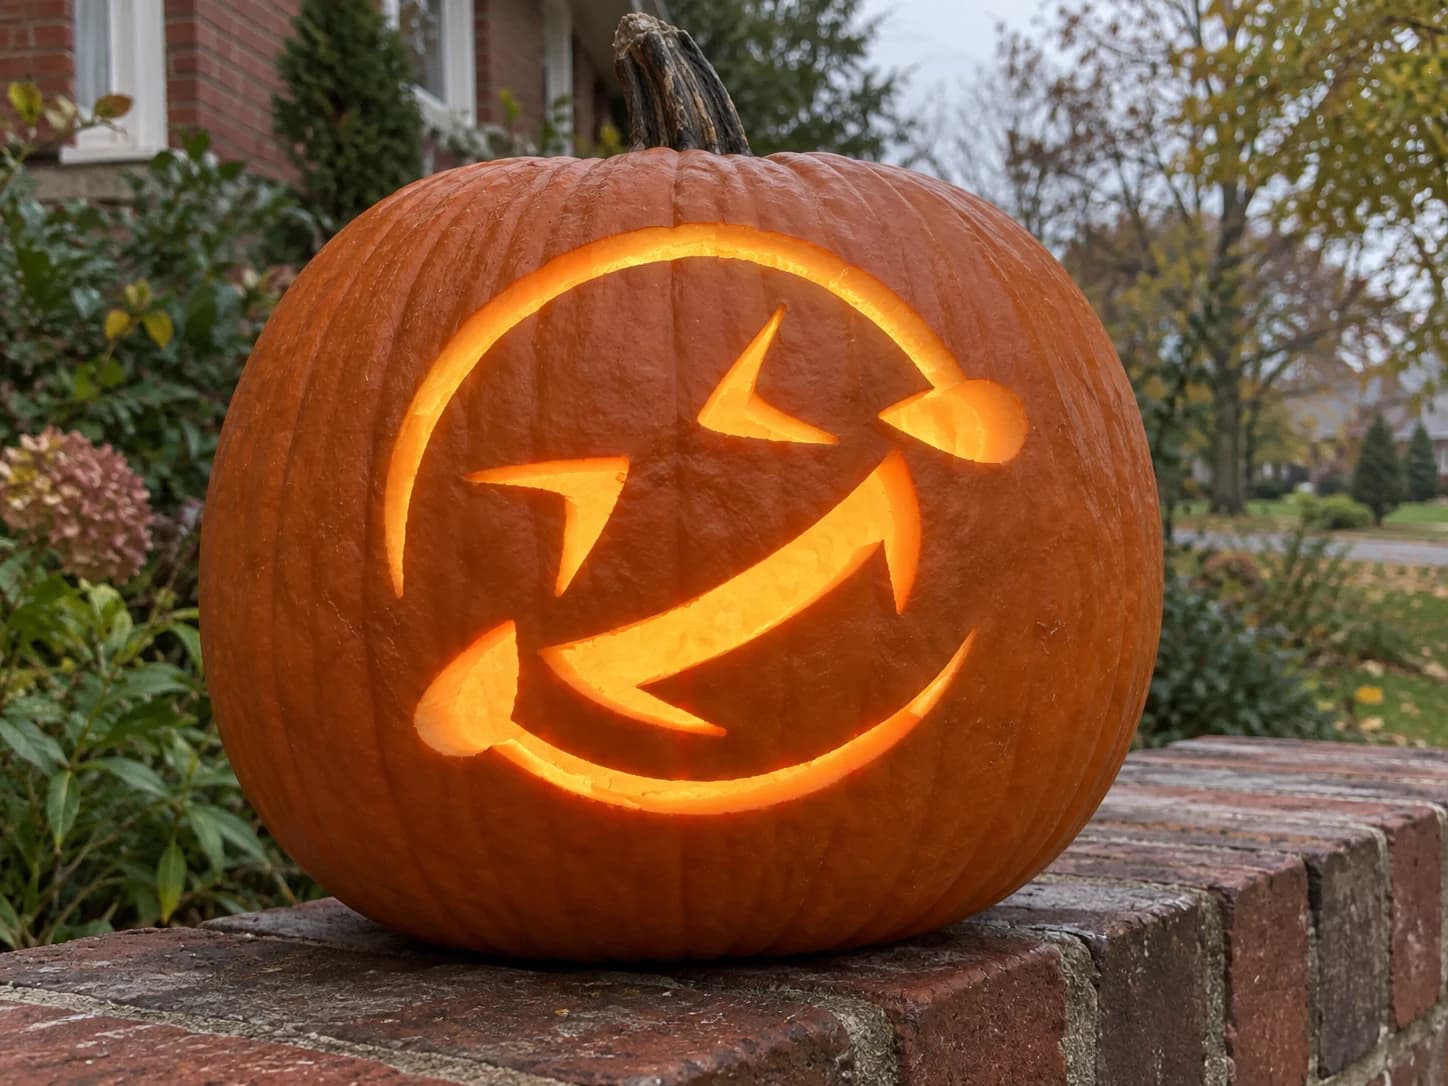
ROFL Emoji Pumpkin Stencil
The rolling-on-the-floor laughing emoji face fills this pumpkin stencil as a large round circle with squeezed-shut eyes, a wide open grin, and a single tear of joy near one eye. The outer circle outline is pierced, the eye slashes are cut through, and the broad curved mouth is a large open section, so light floods through the whole composition at once. Because the outer ring has almost no solid wall around it, cut the eye slashes and teardrop first to establish interior reference points, then follow the outer circle last to avoid distorting the round shape prematurely.
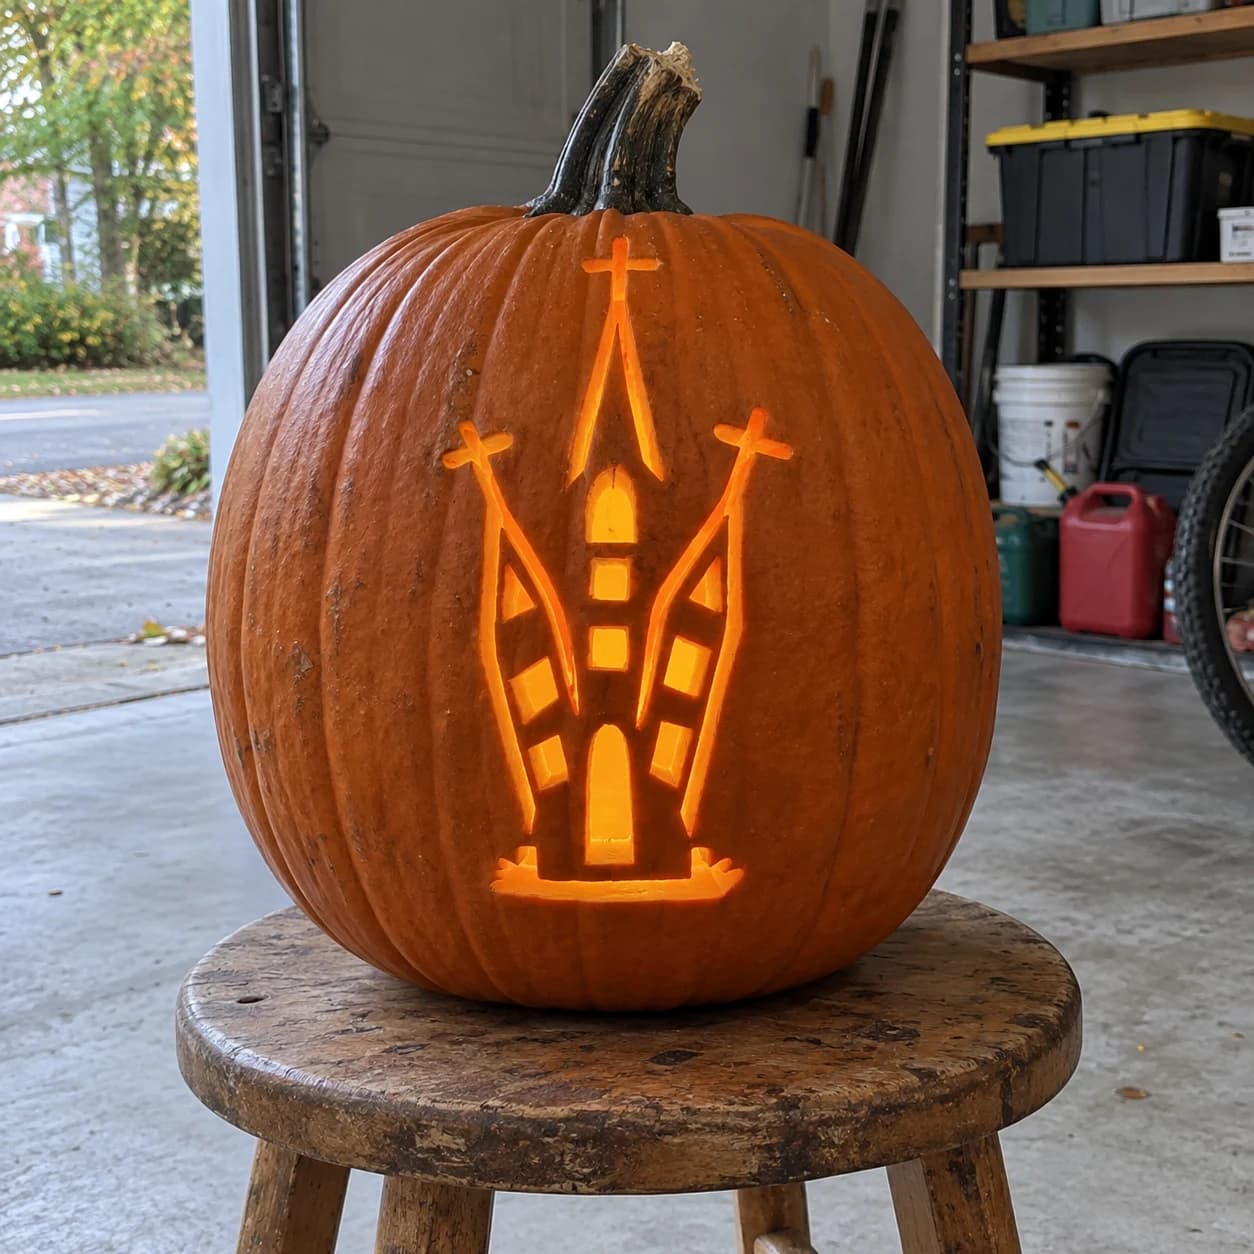
Haunted Church Pumpkin Stencil
A tall, narrow haunted church or castle rises in this pumpkin stencil, with a central spire topped by a cross, two flanking branch-like towers each capped with crosses, arched windows, and square window panels scattered across the facade. The entire structure is cut out as a series of interconnected shapes against the solid pumpkin face. Carve the small window squares and the tiny cross tops first, working top to bottom, so the tall thin towers stay structurally sound until the end.
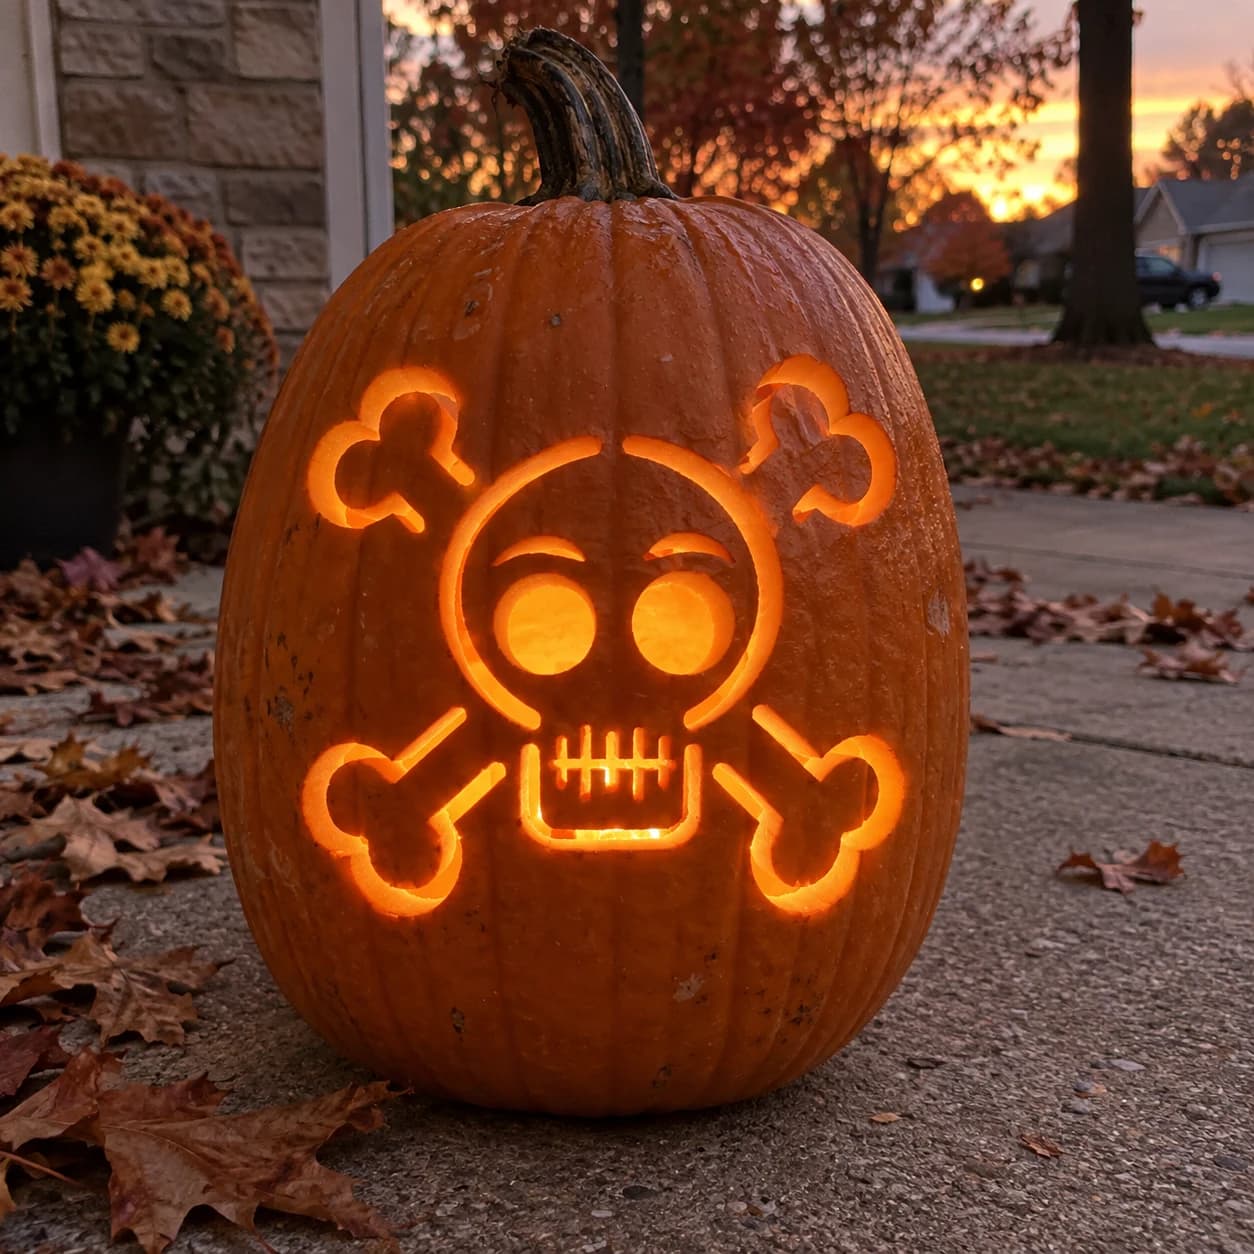
Skull and Crossbones Pumpkin Stencil
A cartoonish skull-and-crossbones fills this pumpkin stencil: a round skull with raised eyebrow lines, two large circular eye sockets, and a lower jaw bearing six stitched teeth sits at the center, while four bone ends with rounded knobs extend diagonally from behind it. The eye sockets, teeth gaps, and bone end circles are all pierced through, creating rings of glowing light that contrast with the solid skin bridges holding the design together. Carve the six small tooth gaps before tackling the larger eye socket circles to preserve the jaw structure.
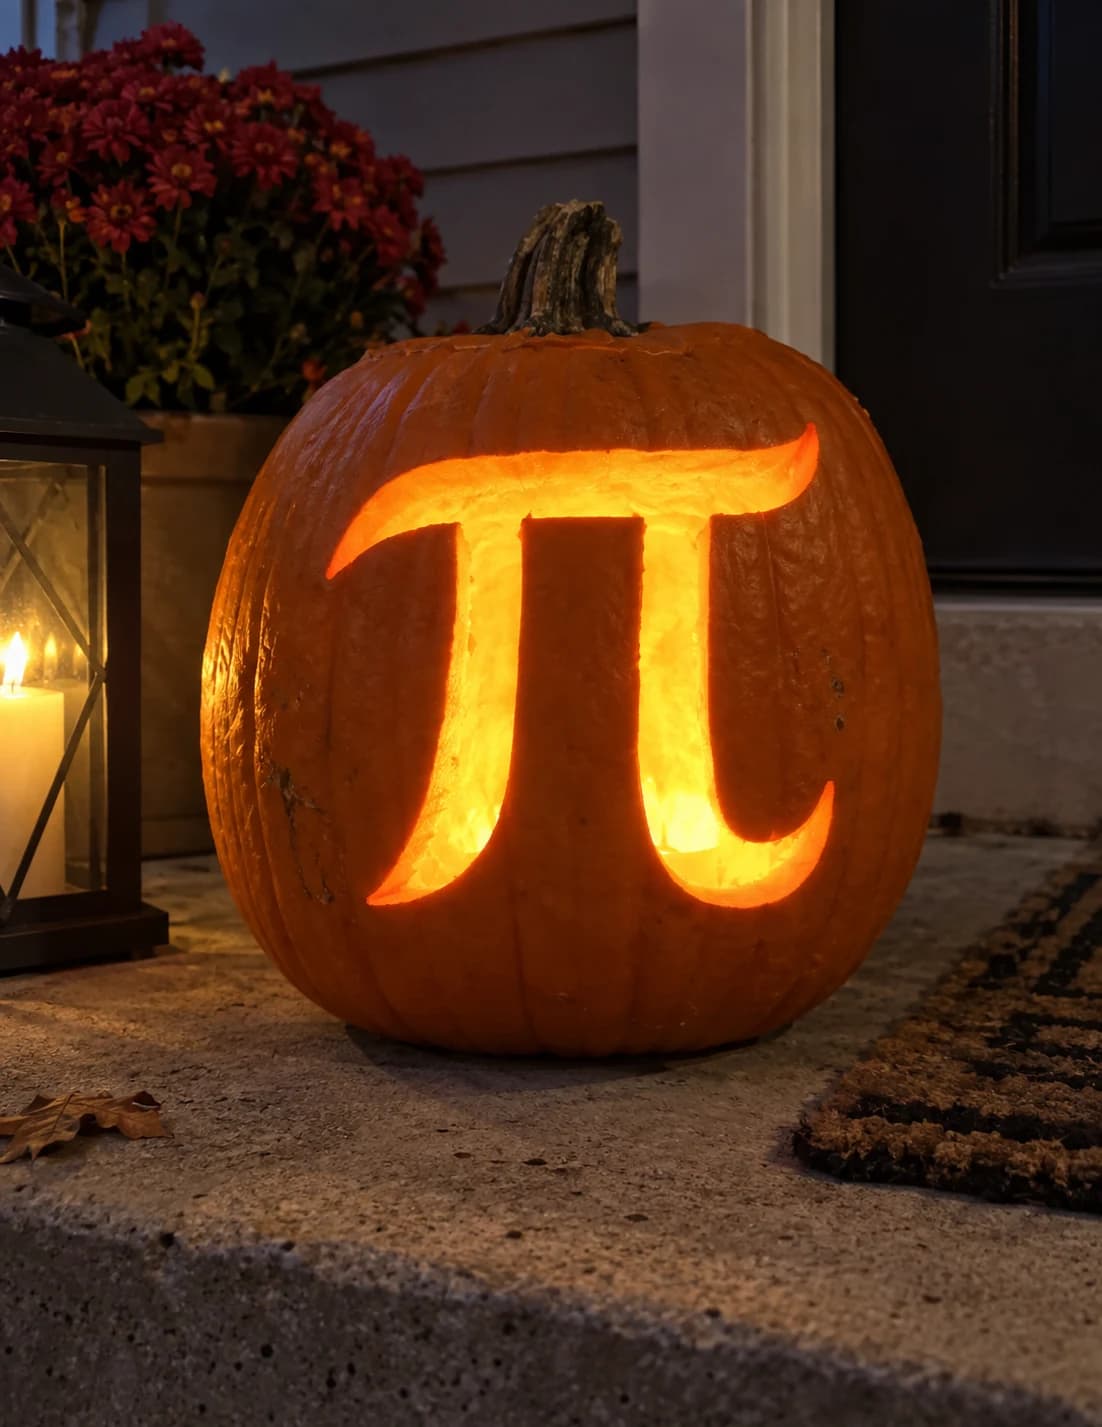
Pi Symbol Pumpkin Stencil
A large, calligraphic pi symbol dominates this pumpkin stencil, with a long sweeping horizontal crossbar that curls upward at both ends and two tall descending legs that curve outward at the bottom. The single solid shape is cut entirely out of the pumpkin face as one connected piece, leaving a bold glowing symbol framed by solid orange. The long thin crossbar is the most vulnerable element: cut both legs first to release tension before slicing along the bar from each end toward the center.
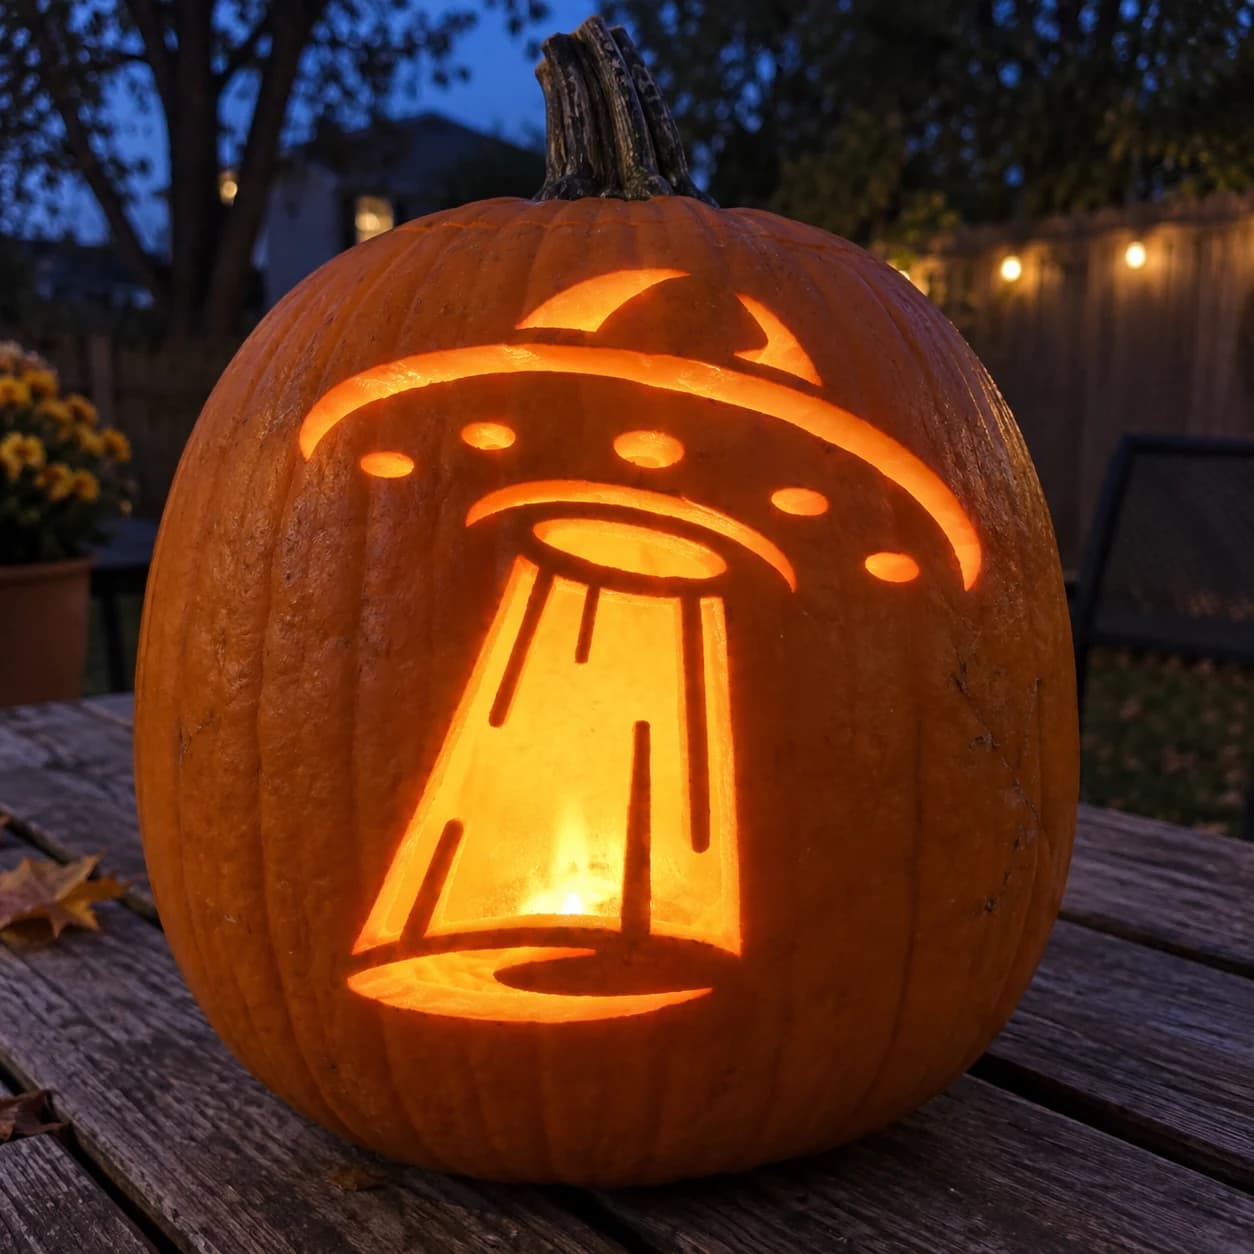
Flying Saucer Pumpkin Stencil
A flying saucer in classic 1950s style beams down a tractor ray in this pumpkin stencil, featuring a domed disc with a small fin on top, a row of oval porthole cuts across the hull, a central undercarriage dome, and a wide triangular tractor beam with three internal vertical ribs extending down to a landing ellipse. The portholes, beam sections, and surrounding sky area are pierced through. Carve the small oval portholes along the saucer rim first to keep the disc structure stable before opening the large tractor beam below.
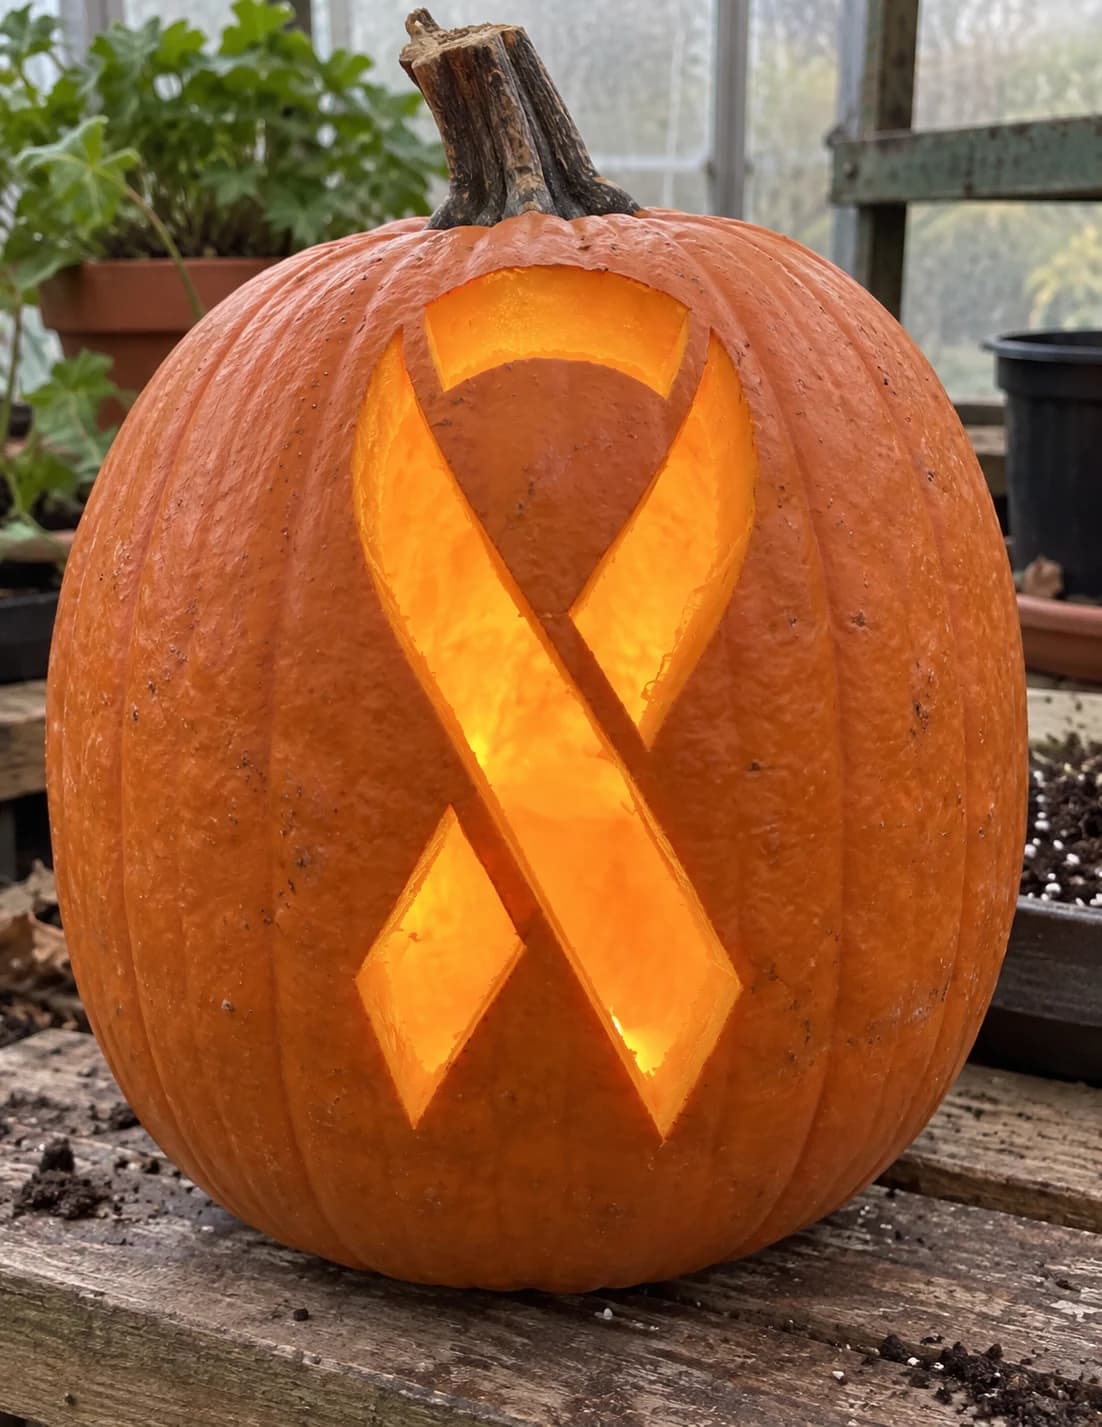
Awareness Ribbon Pumpkin Stencil
An awareness ribbon in the classic looped shape centers this pumpkin stencil, its two long tails crossing at the bottom to form a diamond point. The ribbon outline is pierced through so candlelight floods the shape against the solid orange wall, making it read as a bold ribbon of light. The narrow crossed tails at the bottom form a delicate bridge, so cut the large upper loop sections first and save the crossing point for last when the rest of the wall is fully open and the structure is lightened.
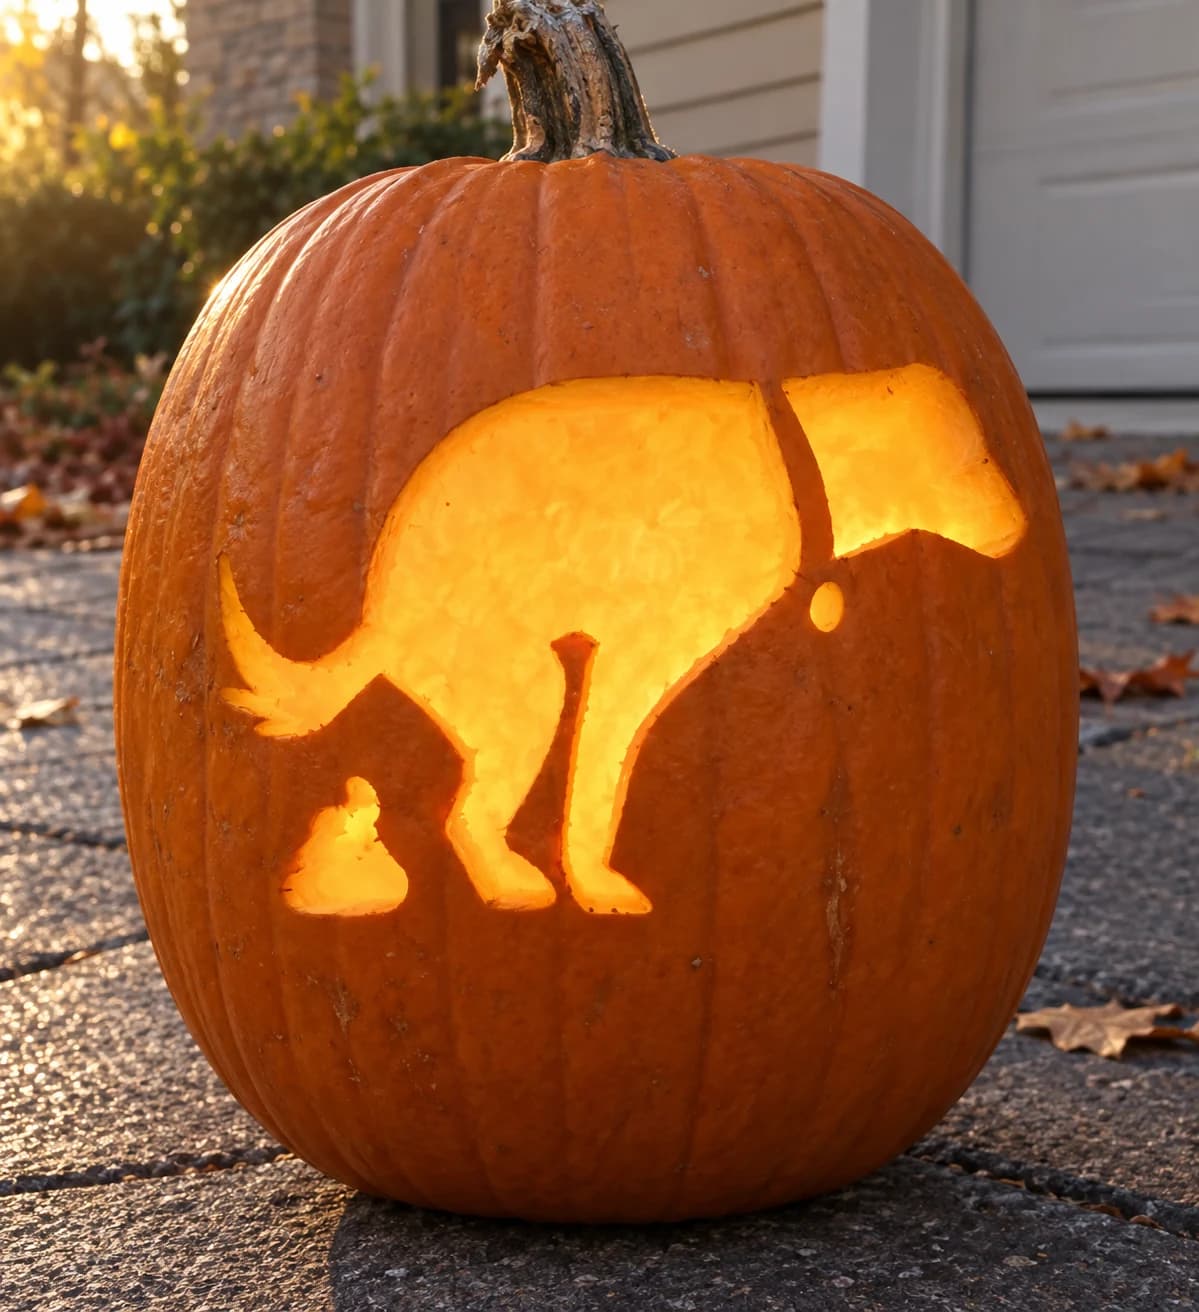
Dog Pooping Pumpkin Stencil
A squatting dog caught mid-business is the cheeky subject of this easy pumpkin stencil, showing a broad-shouldered dog in profile with its tail raised, haunches lowered, and a small pile on the ground in front. The main dog silhouette and the small pile are both pierced through as large open cut sections, while the connecting bridge between head and body forms the neck. Cut the small pile shape first to free that isolated section, then carve around the full dog body in one continuous pass for a clean silhouette.
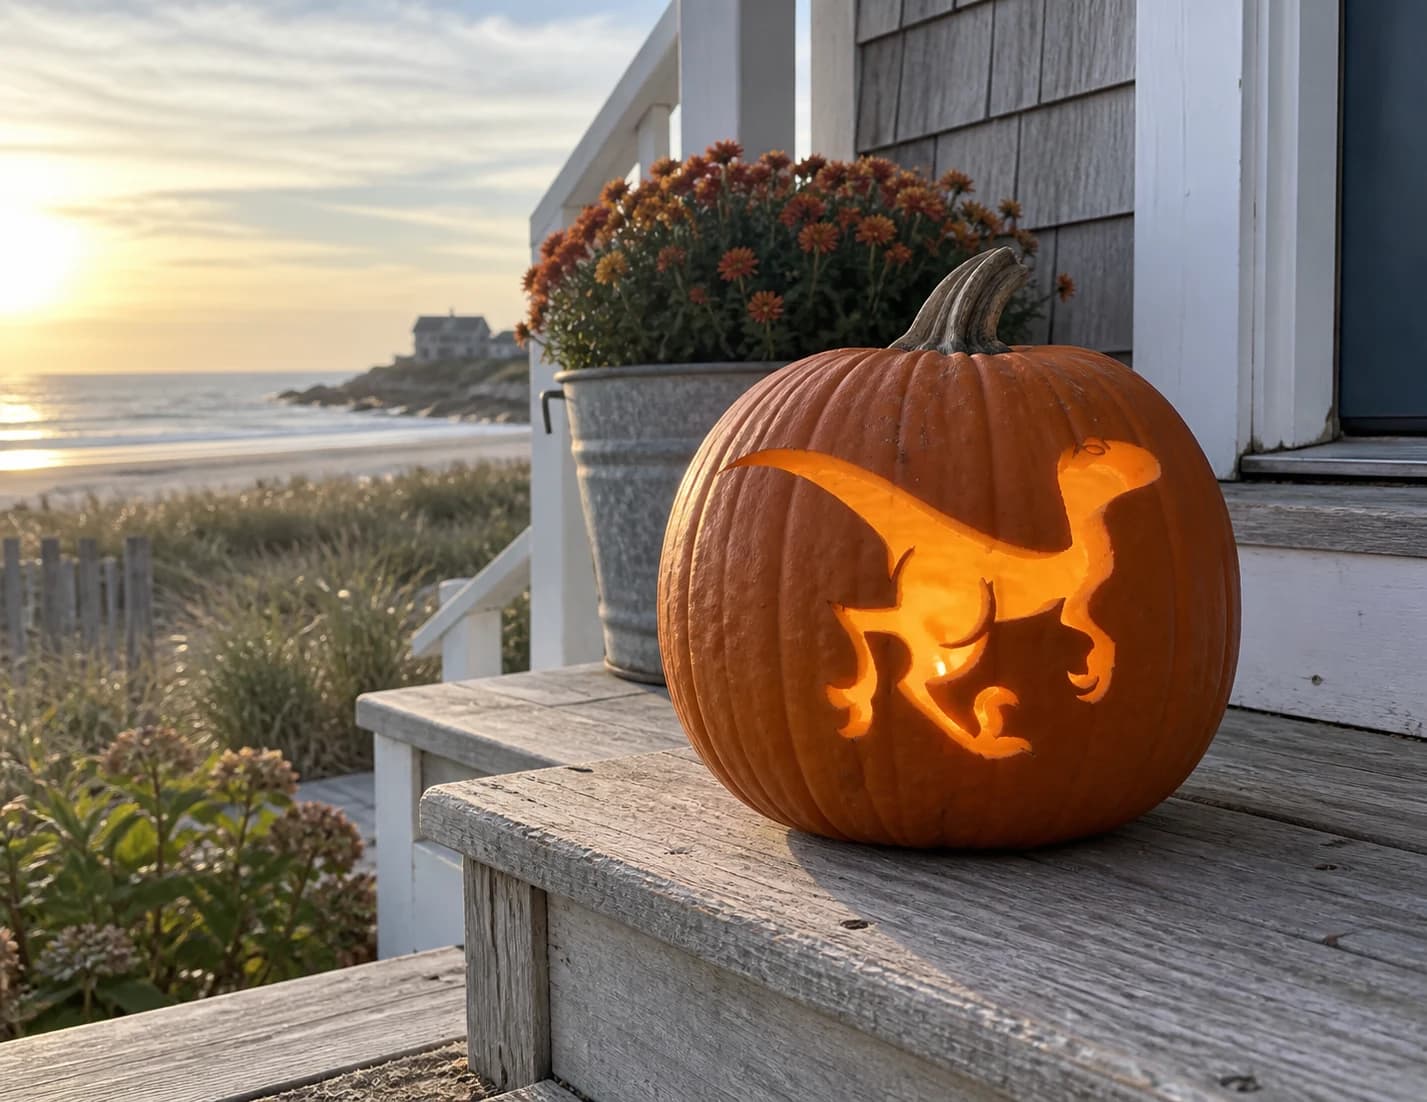
Raptor Silhouette Pumpkin Stencil
A velociraptor strides in profile on this dinosaur pumpkin stencil, its long horizontal tail balancing a compact body, one forelimb raised, and its small head turned slightly with a visible eye circle. The entire figure is a single large silhouette cut away from the pumpkin wall, with a few small internal cuts defining the eye and forelimb. Because the tail is long and slender, cut it from the body outward toward the tip in one smooth pass before removing the larger torso section so the thin tail stays supported.
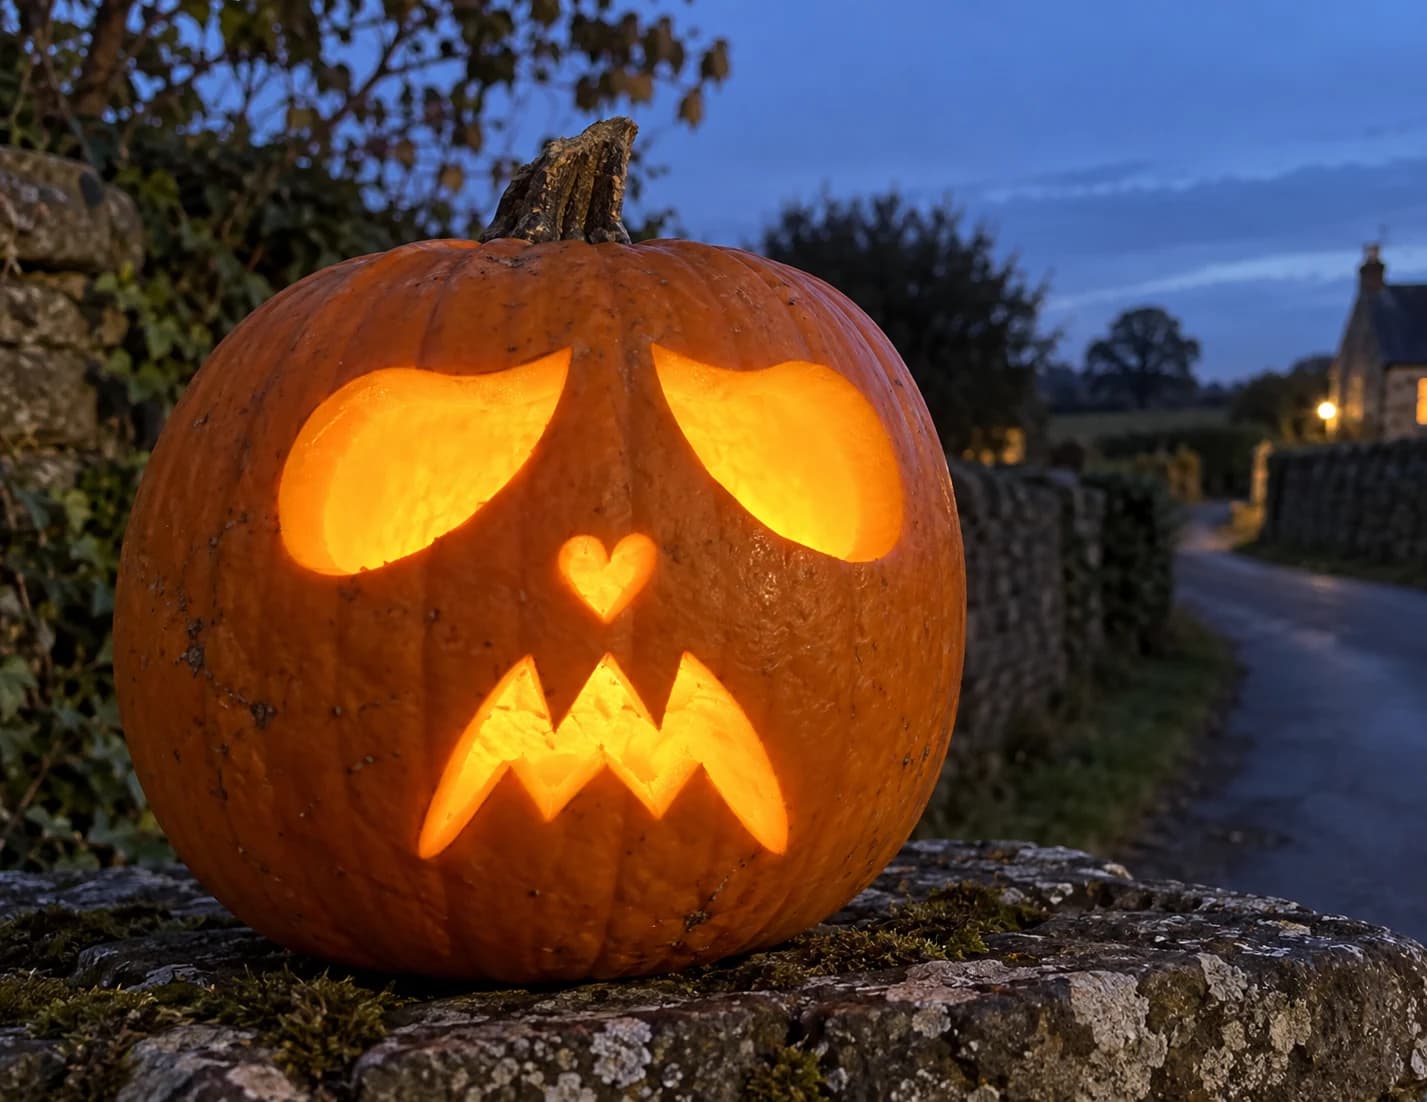
Sad Ghost Pumpkin Stencil
Two drooping teardrop eyes, a tiny pierced heart for a nose, and a jagged zigzag mouth give this ghost jack-o-lantern pumpkin stencil its mournful expression. All five cut pieces are bold and generously sized, making them straightforward to carve cleanly. The small heart is the trickiest element; cut its two lobes with short inward strokes meeting at the bottom point so the tip stays crisp rather than tearing.
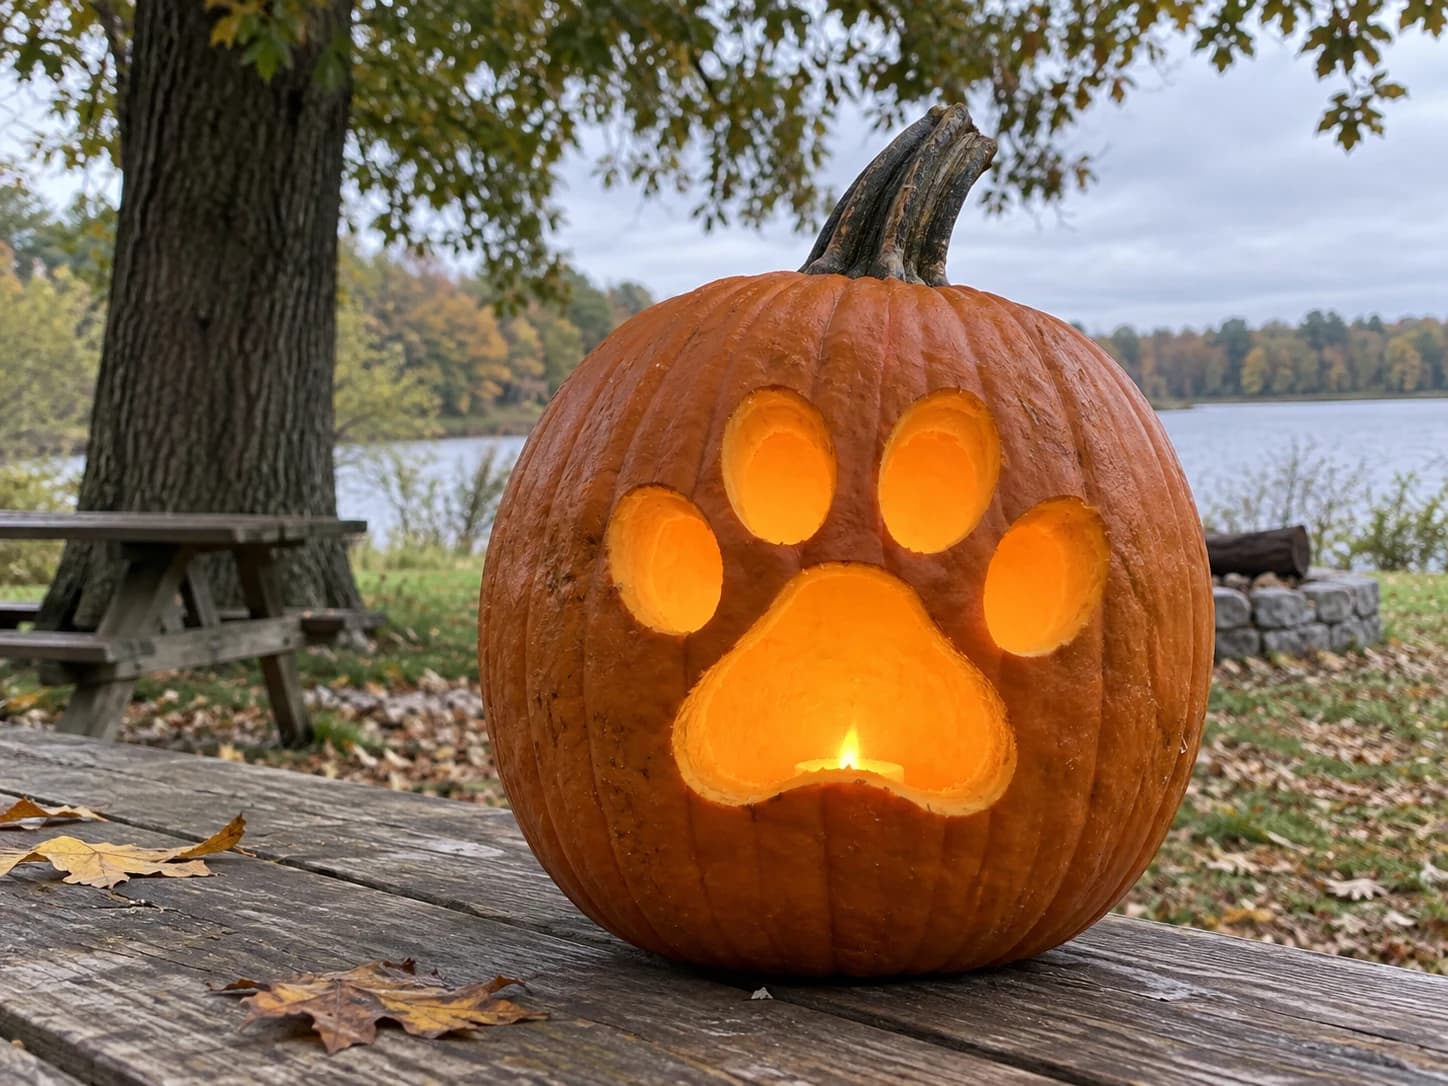
Paw Print Pumpkin Stencil
A large paw print with one big central pad and four oval toe pads fills the face of this pumpkin stencil, each pad carved as a separate pierced cutout surrounded by solid orange wall. Lit from inside, the glowing ovals float against the dark background and read instantly as a cat or dog track. Cut the four smaller toe pads first while the central pad wall is still fully intact to keep the surrounding skin from flexing and cracking during the trickier large cut.
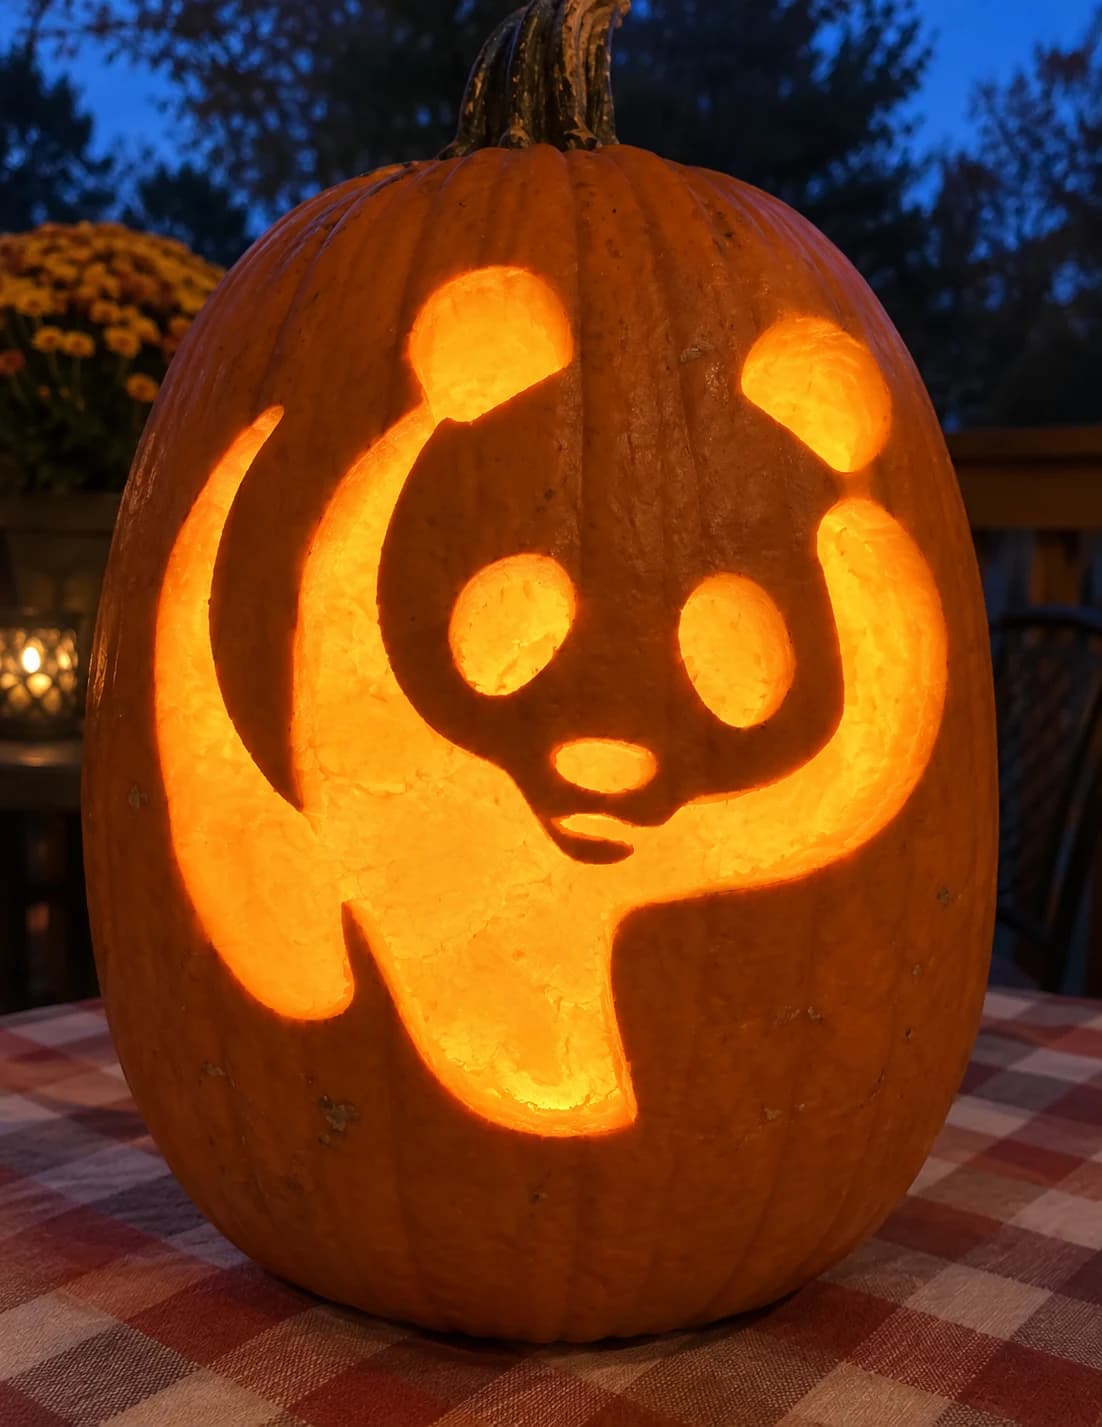
Giant Panda Pumpkin Stencil
A giant panda sits upright in this easy pumpkin stencil, its chunky arms raised wide, rounded ears perched on top, and oval eye patches, a small nose, and a belly spot forming the face and body markings. The large body shape, the eye patches, and the surrounding negative space are cut through in layers, while the connecting bridges between ears and head and between arms and body stay solid. Carve the smaller eye patch ovals before the large outer body cut to avoid the face area shifting while you work the perimeter.
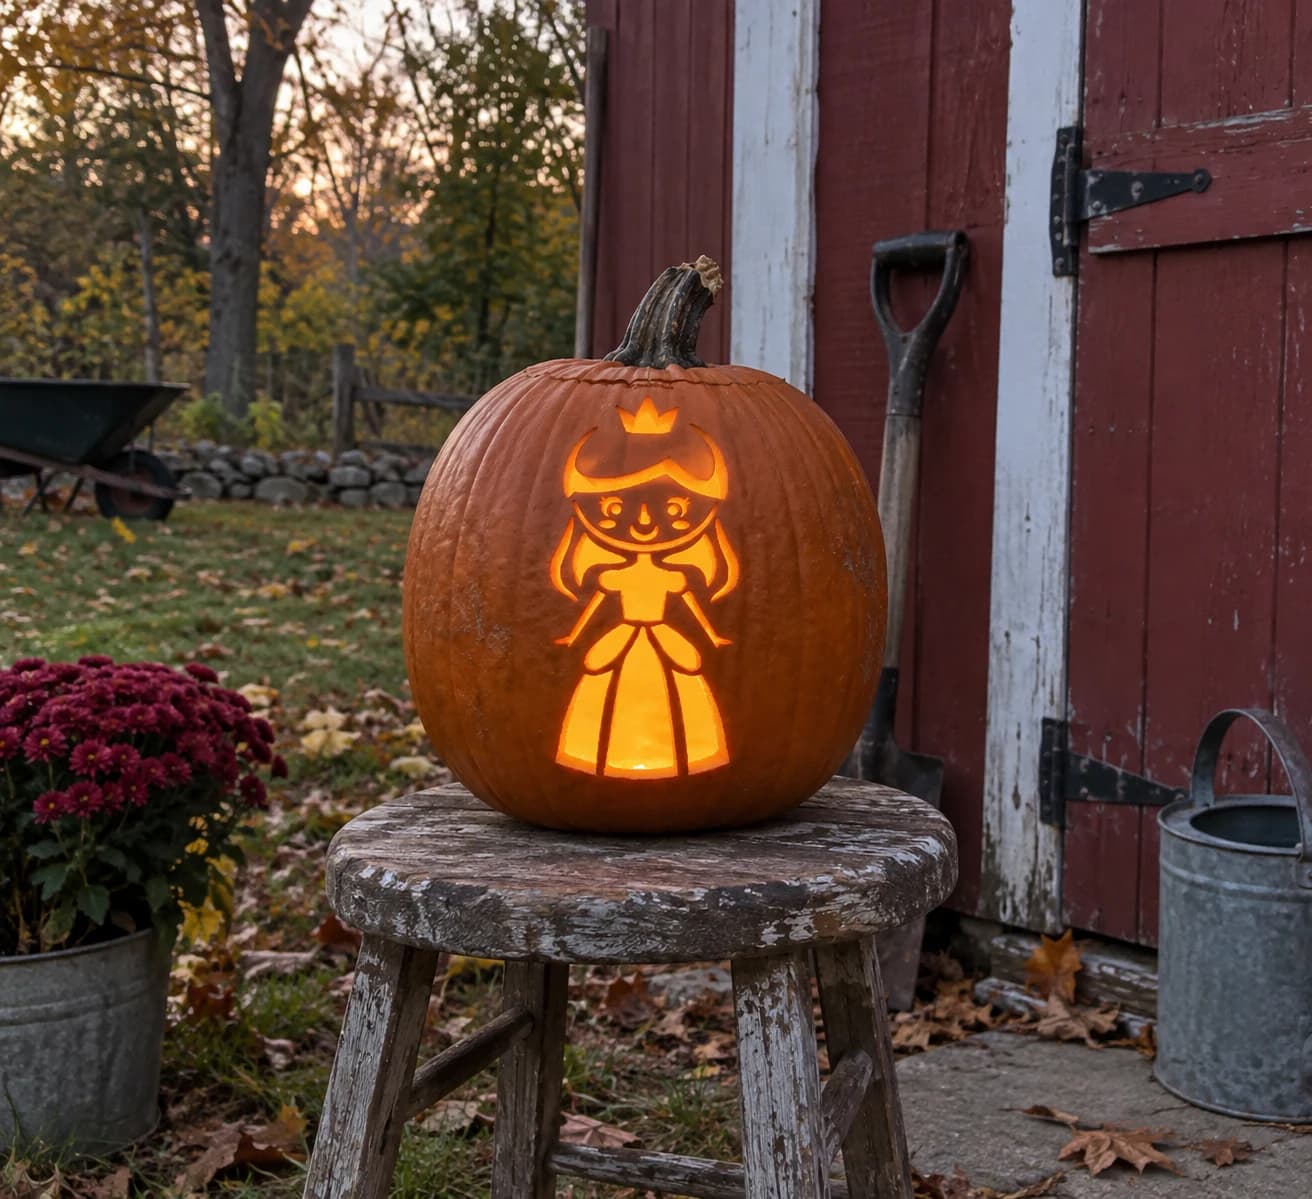
Princess Pumpkin Stencil
A cartoon princess stands front-facing on this pumpkin stencil, wearing a three-paneled ballgown, a crown at the top of her head, and wavy hair falling to her shoulders. Small pierced shapes define her eyes, rosy cheeks, and smile, while the gown panels and arms are formed by narrow white-space divisions in the solid orange wall. When lit, the princess glows as a warm silhouette with delicate facial details. Cut the tiny eye and cheek shapes first with a detail blade before removing any of the larger body sections.
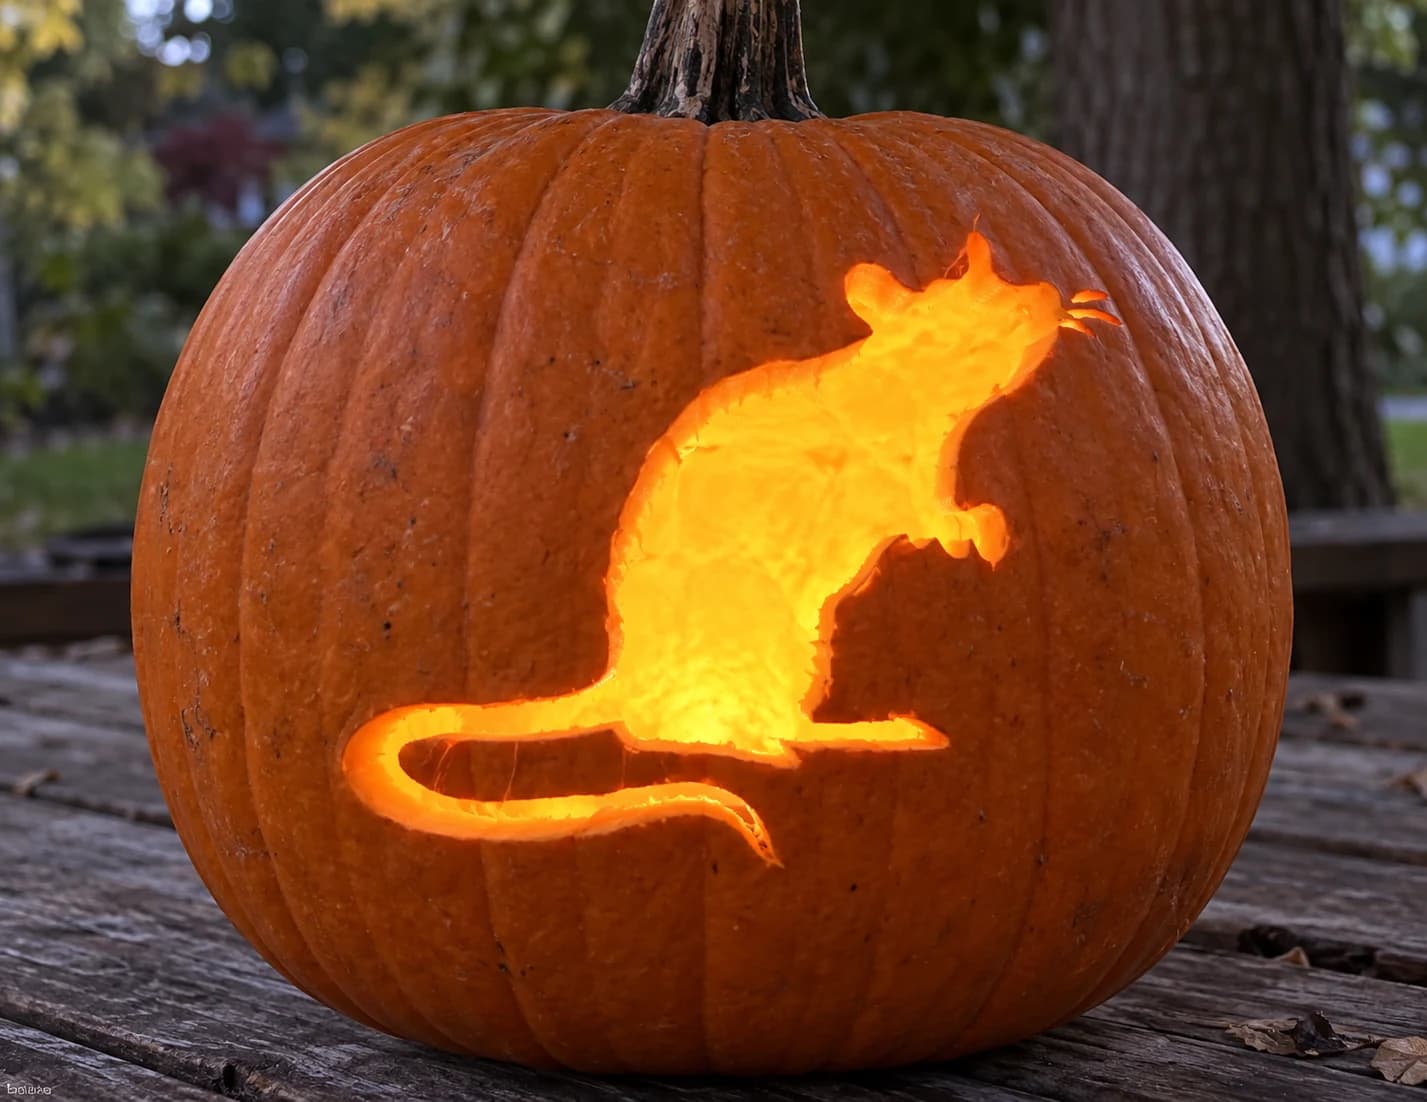
Rat Pumpkin Stencil
A rat stands upright on its hind legs in profile, nose tilted upward and thin whiskers radiating from its snout, with a long curved tail sweeping forward along the base. The entire silhouette is cut away as a single open shape, so candlelight throws a clean, solid rat shadow on surrounding surfaces. Because the tail curls close to the body at one point, make sure to cut that gap all the way through without nicking the connecting pumpkin flesh above it.
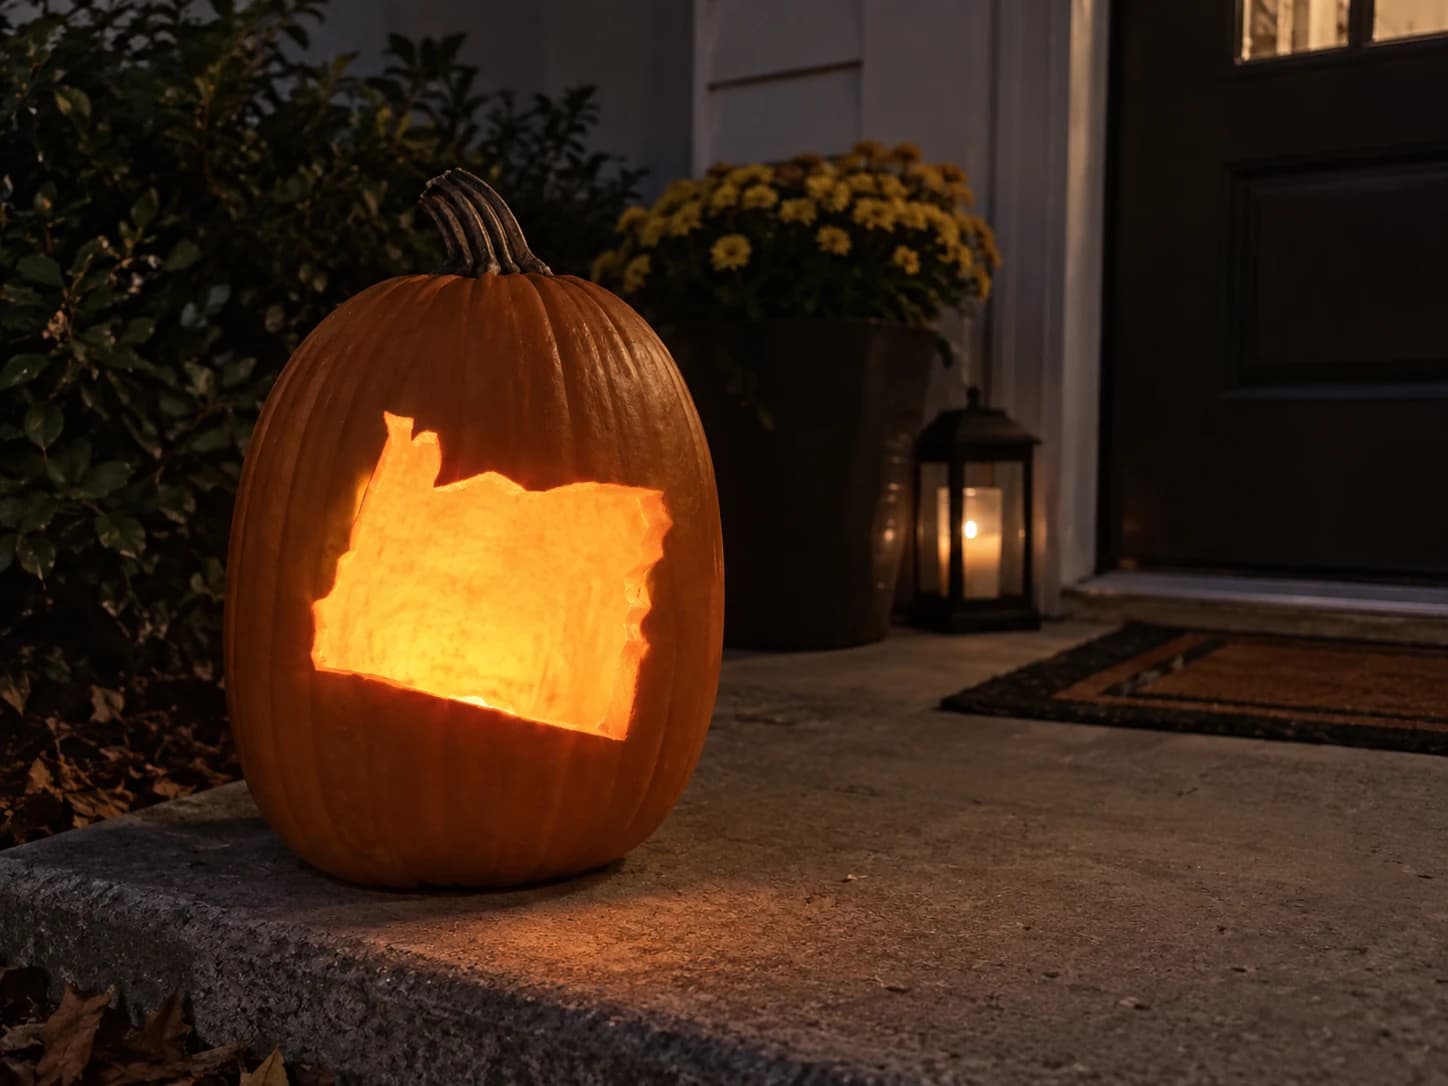
Oregon Pumpkin Stencil
Oregon's outline appears as a chunky roughly rectangular shape with a short notch in the upper-left corner where the Columbia River forms the Washington border, a gently curved coastal edge on the left, and a mostly straight southern border in this easy state pumpkin stencil. The entire interior is cut away as a single open shape so the Beaver State silhouette glows from within. The short upward notch at the upper-left corner is the most distinctive detail, so cut that notch carefully before tracing the longer straight edges so you do not accidentally round it off.
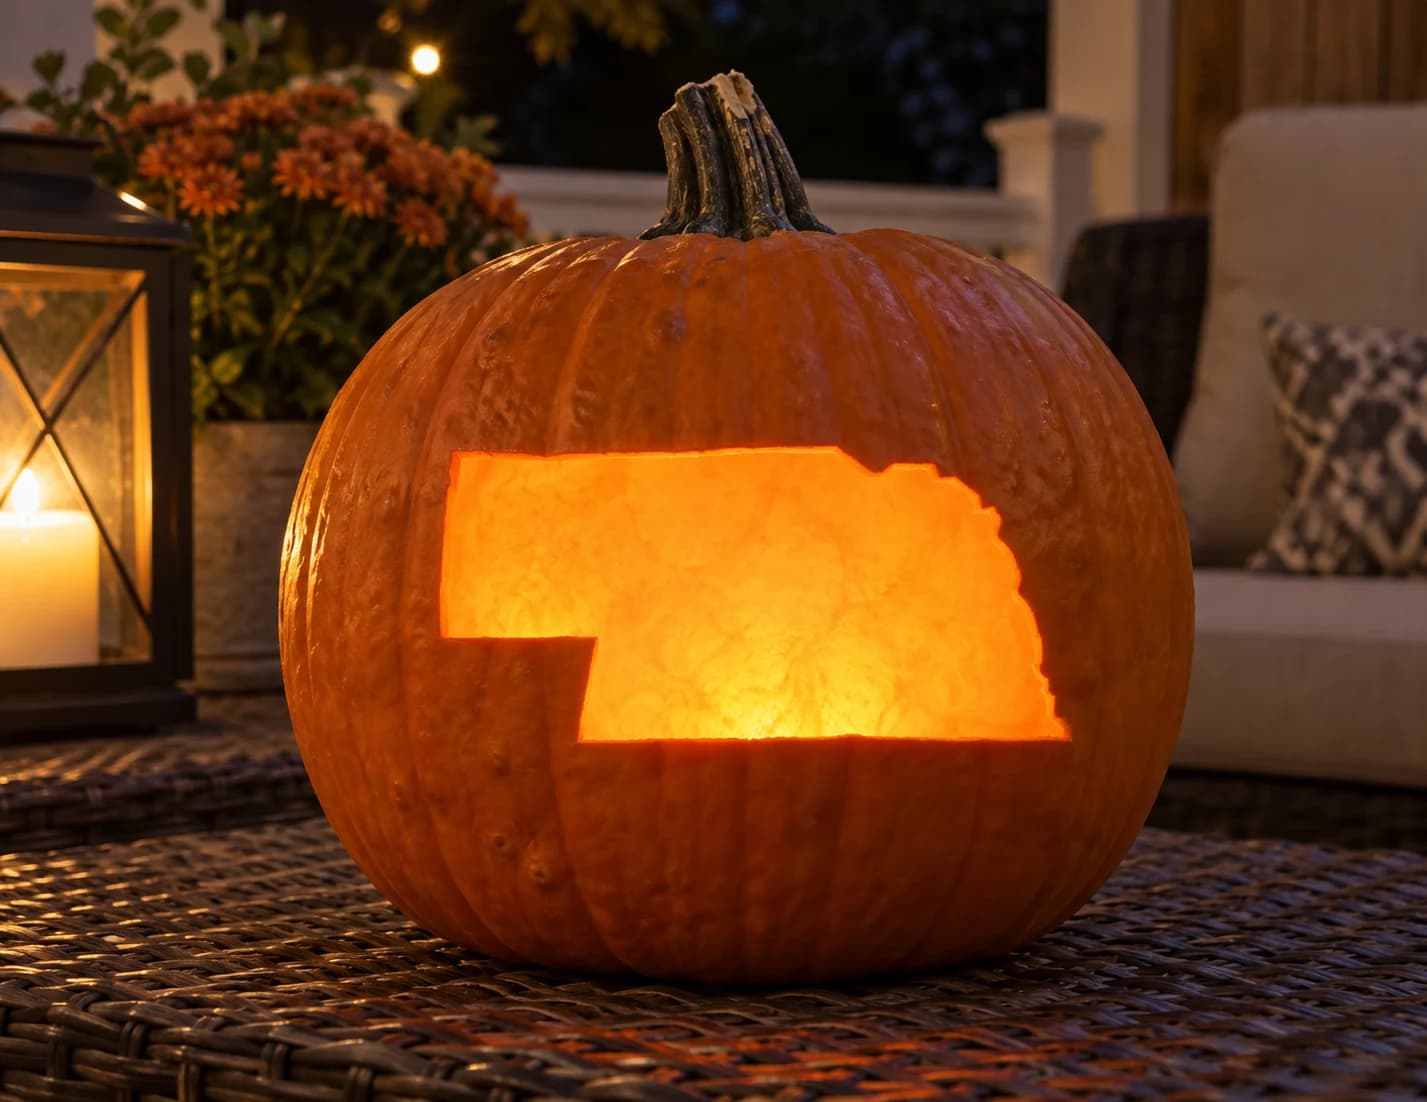
Nebraska Pumpkin Stencil
Nebraska's broad, low-slung silhouette is the subject of this beginner pumpkin stencil. Three sides of the state are almost perfectly straight, creating a near-rectangle, while the northeastern corner carries a small notched step-down where the Missouri River forms the border. Carved as a single open cutout, the state glows clearly and distinctly when lit. The step in the upper-right corner is the only detail that requires care: cut directly into the corner rather than rounding it so the state outline stays accurate.
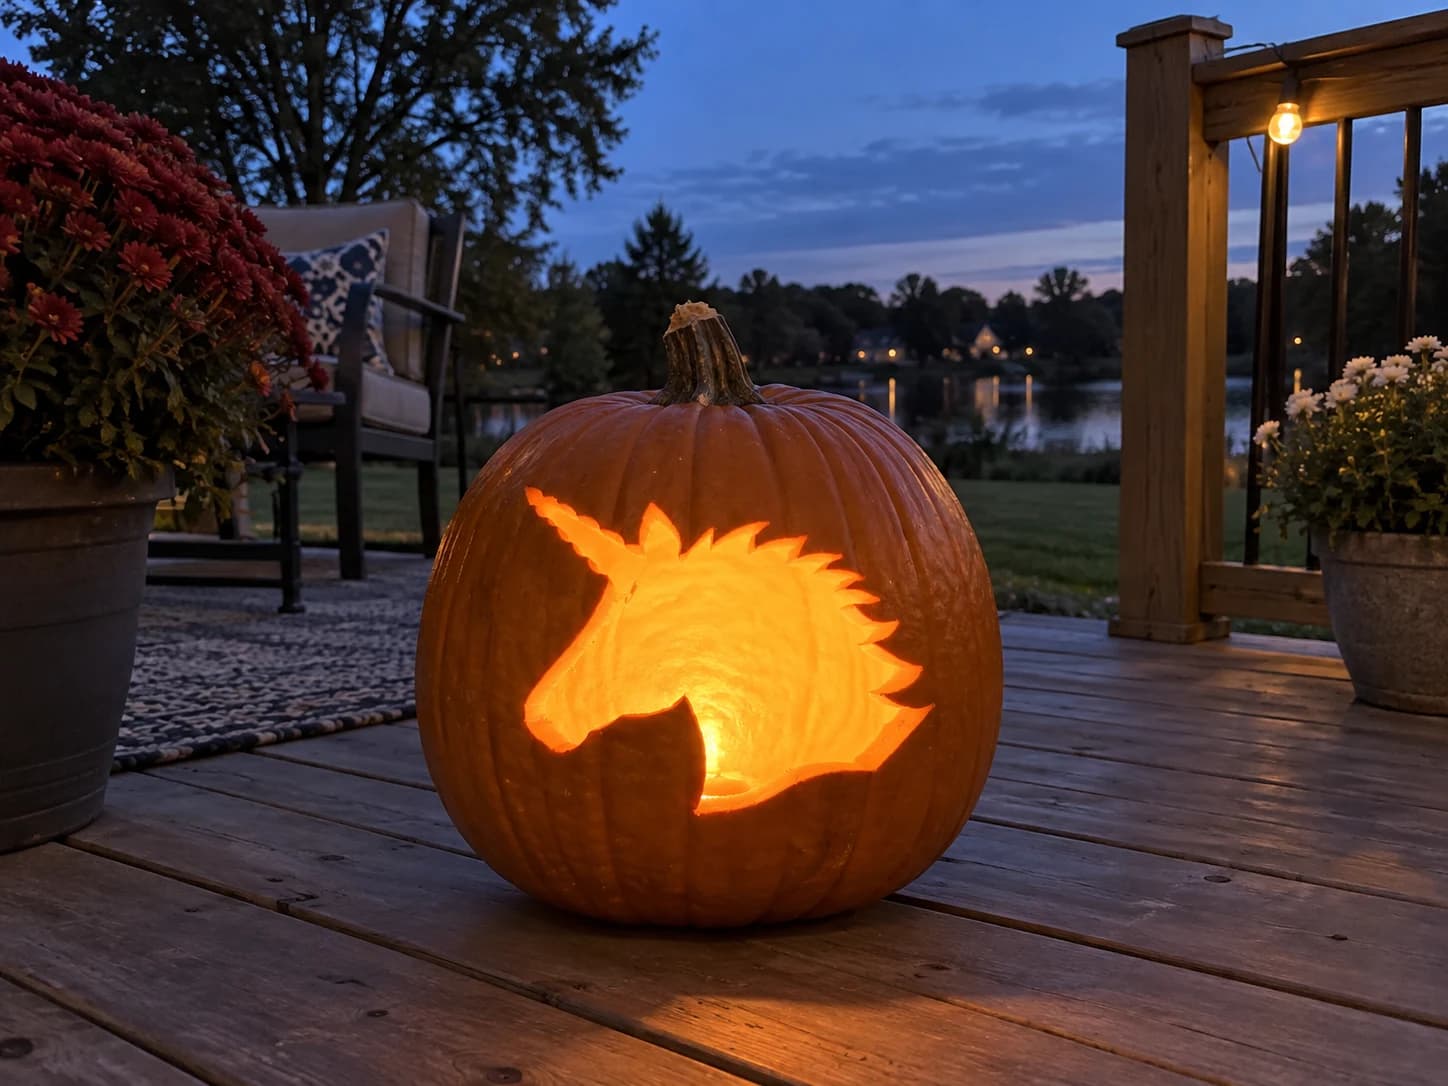
Unicorn Pumpkin Stencil
A unicorn head in profile fills this beginner pumpkin stencil as a single clean silhouette: the long curved horn, a flowing mane with jagged spiky edges along the neck, and a graceful muzzle. The entire design is carved as one connected open shape so the lit jack-o-lantern shows the full unicorn outline glowing as a bright cutout. The jagged mane edge along the top of the neck creates a row of shallow points that can break if the blade wanders. Keep cuts on the mane tips short and angled directly inward toward the center mass to avoid snapping the narrow points.
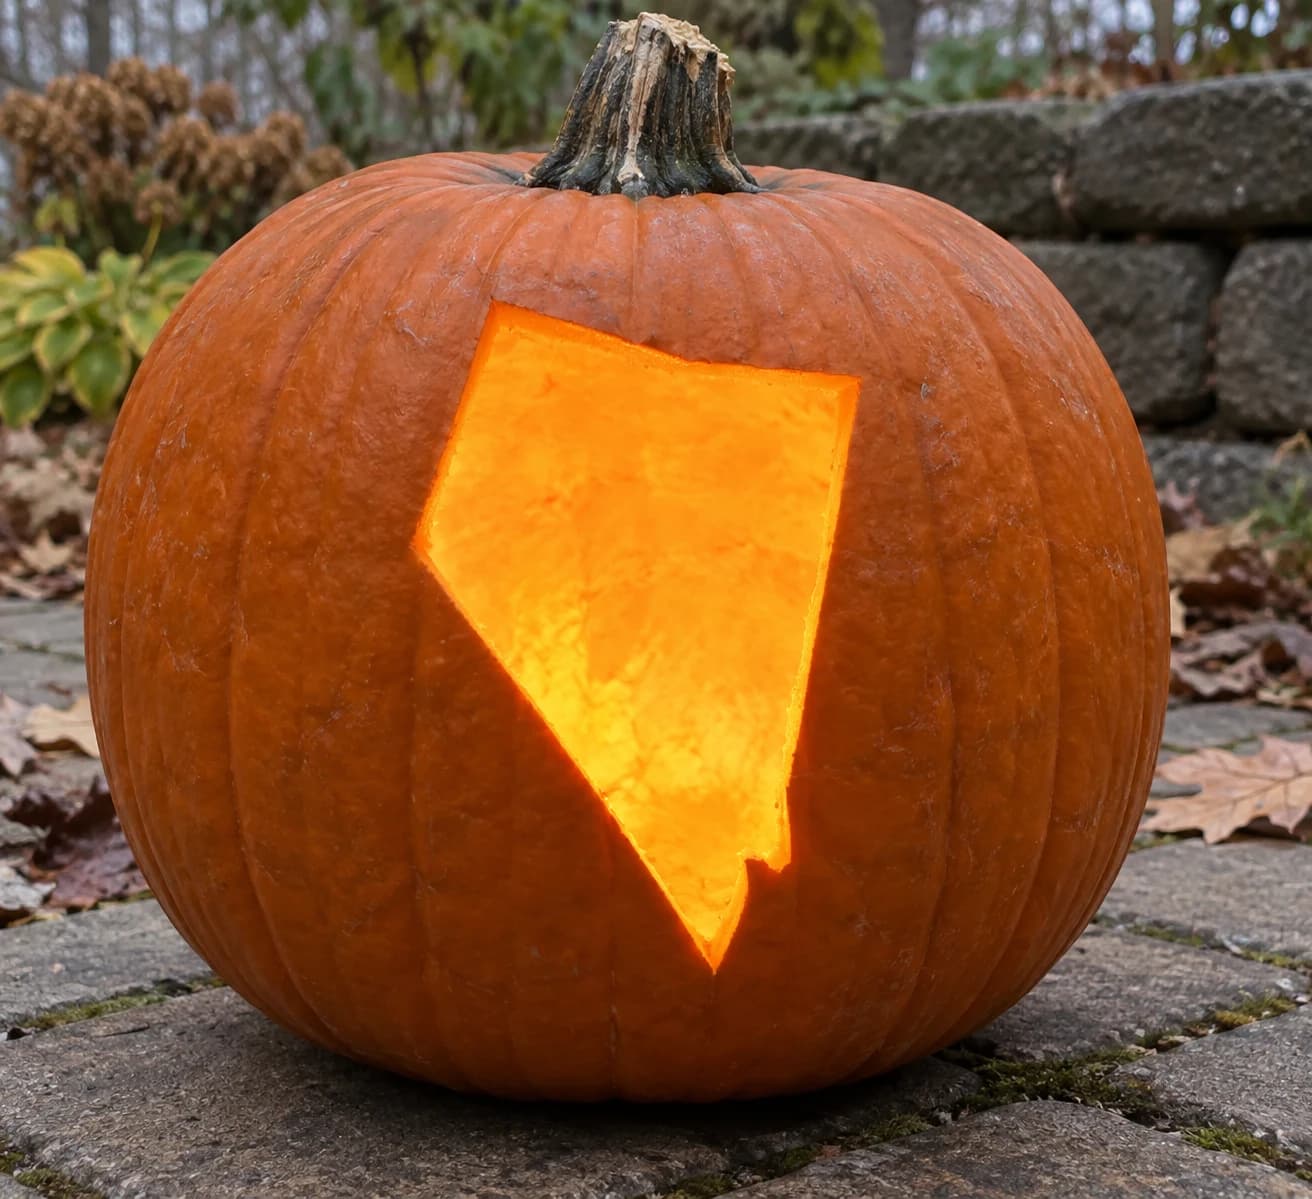
Nevada Pumpkin Stencil
Nevada's distinctive silhouette gives this beginner pumpkin stencil its character: a wide flat top, a long diagonal slash running from the upper-right corner down to the lower-left, and a small rectangular notch cut into the southern tip where the Colorado River forms the state line. The whole shape is carved as one open cutout so the jack-o-lantern's candle light illuminates the full state outline. The diagonal left edge is the identifying feature; carve it as a single long confident stroke rather than short segments so the line stays true.
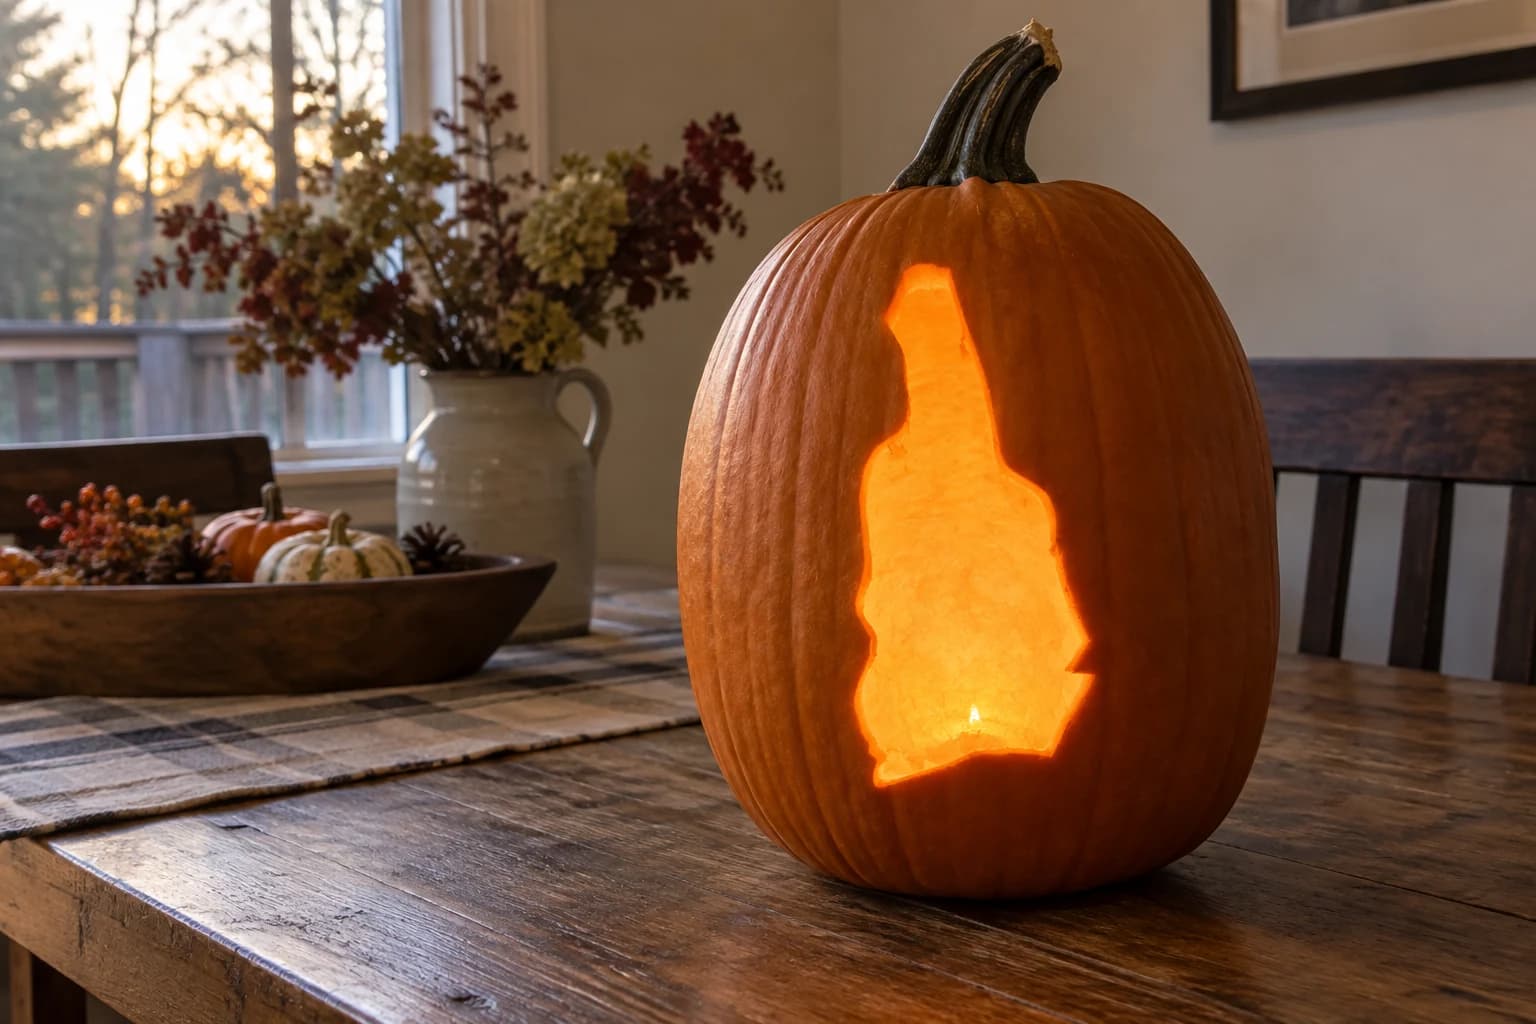
New Hampshire Pumpkin Stencil
New Hampshire's tall, narrow silhouette makes this an immediately recognizable state pumpkin stencil. A thin pointed protrusion at the top-left traces the Connecticut River notch, the left edge steps inward in several gentle curves, and the bottom has a shallow notch separating the main body from the small southeastern coastal corner. Carved as a single open shape, the state glows as a tall vertical cutout. The narrow protrusion at the top-left is the most fragile part: carve inward from either side of that tip last to avoid snapping it off early.
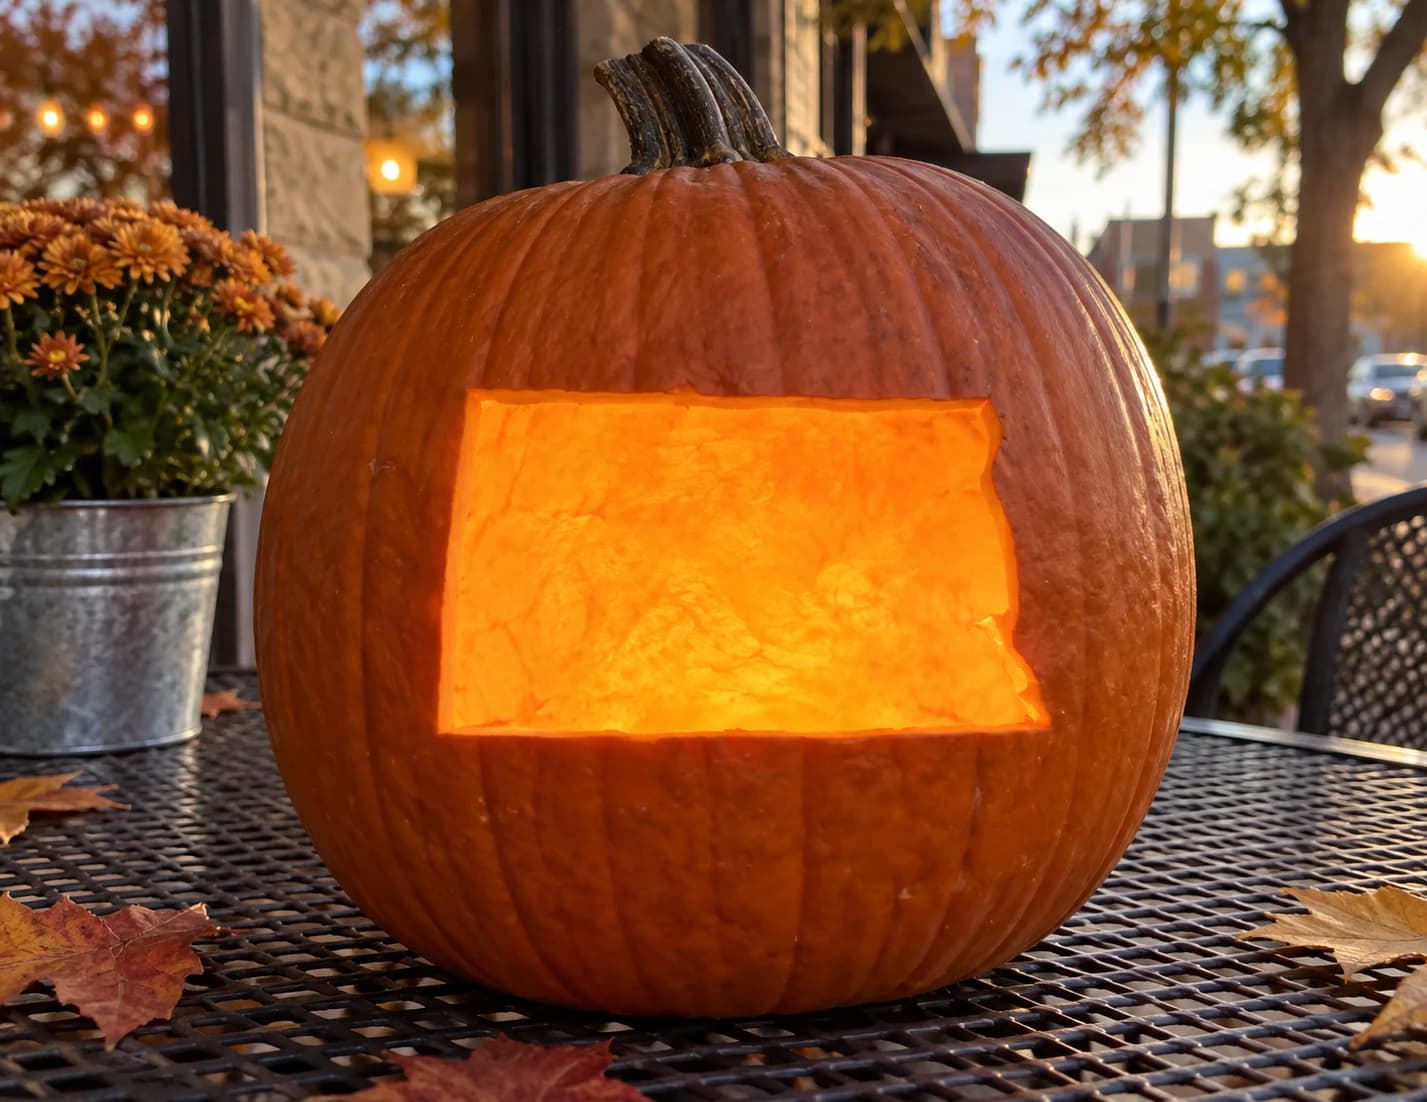
North Dakota Pumpkin Stencil
North Dakota's silhouette appears as a wide, nearly rectangular shape with a gentle wave along its northern border and a stepped notch at the lower right, making it one of the simpler state outlines to carve as a pumpkin stencil. The entire interior is cut away as a single open shape, so the lit jack-o-lantern shows the unmistakable broad flatness of the Peace Garden State glowing from inside. Score along the straight southern edge first with a ruler-guided blade to keep the base line crisp before cutting the wavy northern border freehand.
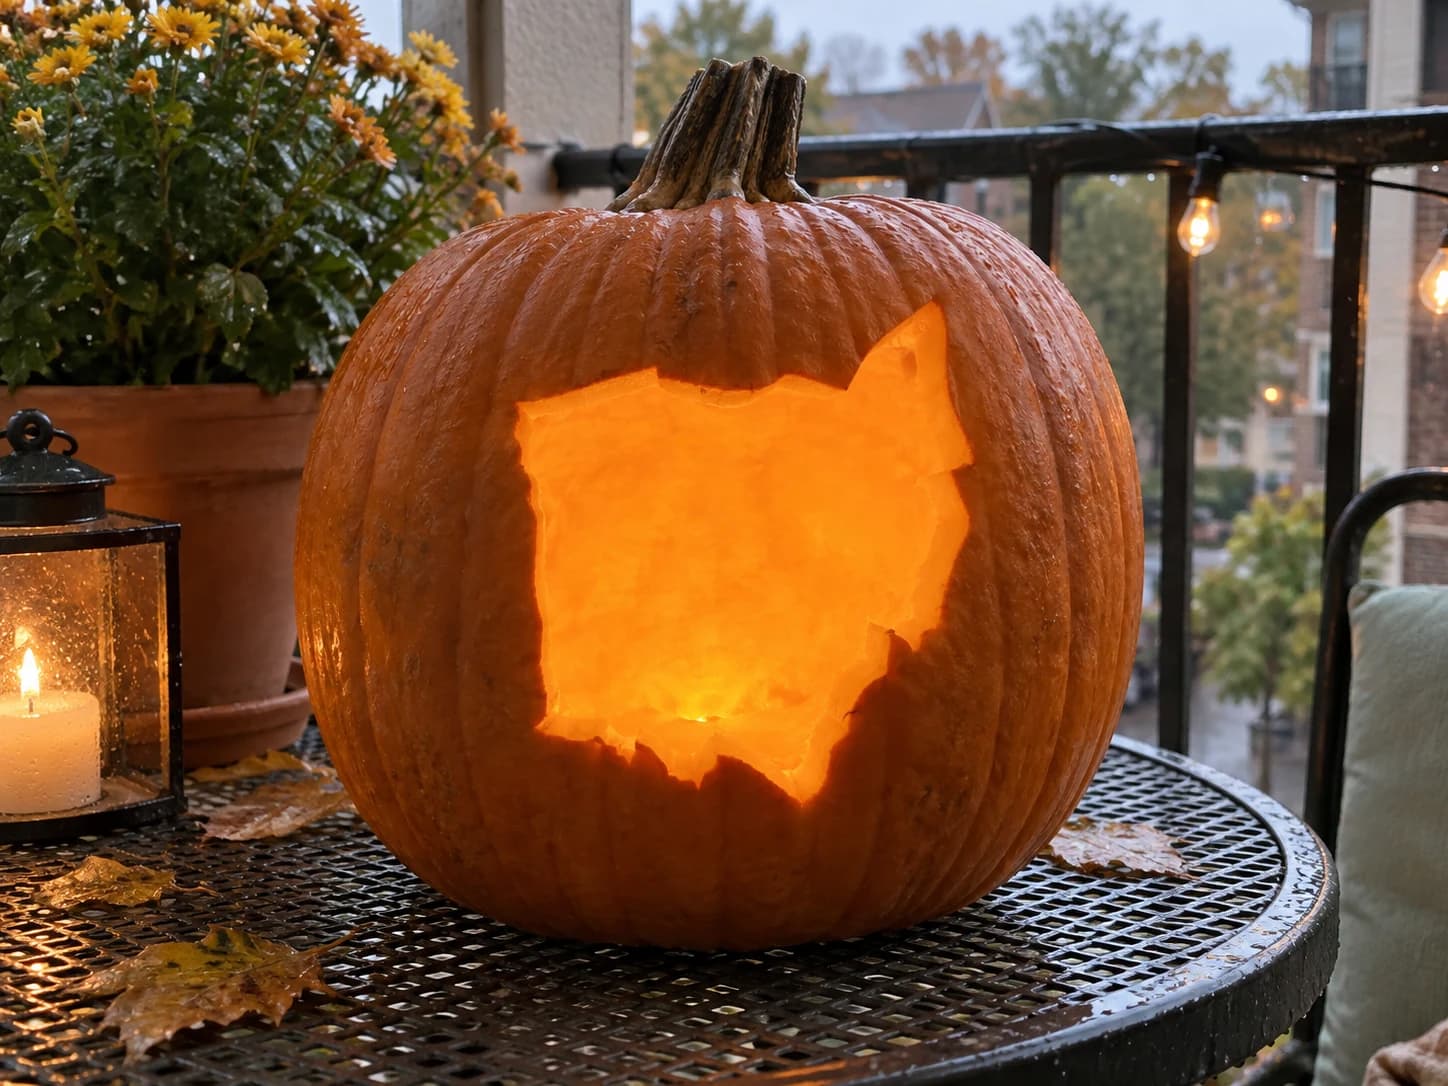
Ohio Pumpkin Stencil
Ohio's state outline fills this easy pumpkin stencil as a roughly tear-drop-shaped silhouette with a distinctive jutting peninsula on the upper right where the panhandle meets Lake Erie, curved western and southern borders, and a slightly ragged bottom edge tracing the Ohio River. The whole interior is pierced as a single open shape so the recognizable Buckeye State glows cleanly from inside the jack-o-lantern. Take extra care cutting the small jutting peninsula tip in the upper right, keeping your blade angled slightly inward to avoid nicking the point.
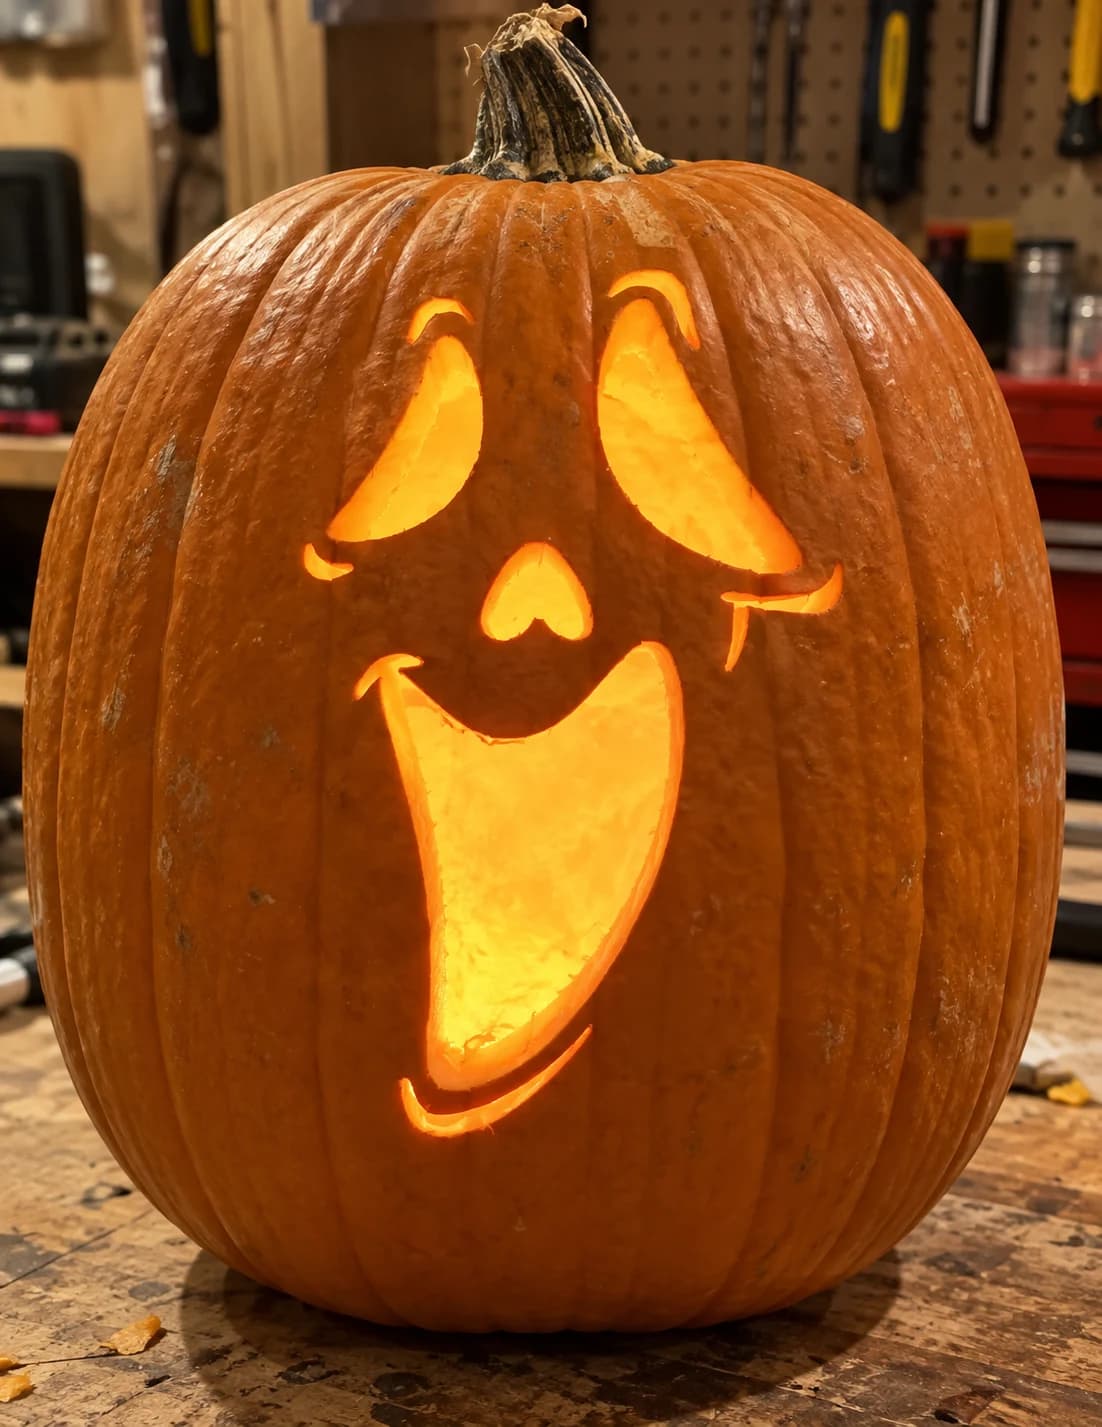
Screaming Ghost Face Pumpkin Stencil
This ghost-face pumpkin stencil features a wide screaming mouth that dominates the lower half of the composition, flanked by two swept, comma-shaped eyes and a small heart-shaped nose. Small curved accent marks at the corners add a theatrically startled expression. The mouth is a single large open cut that glows intensely, while the eyes and nose are smaller pierced shapes separated by solid skin. Cut the nose and accent marks before the large mouth so you have a stable surface to brace against.
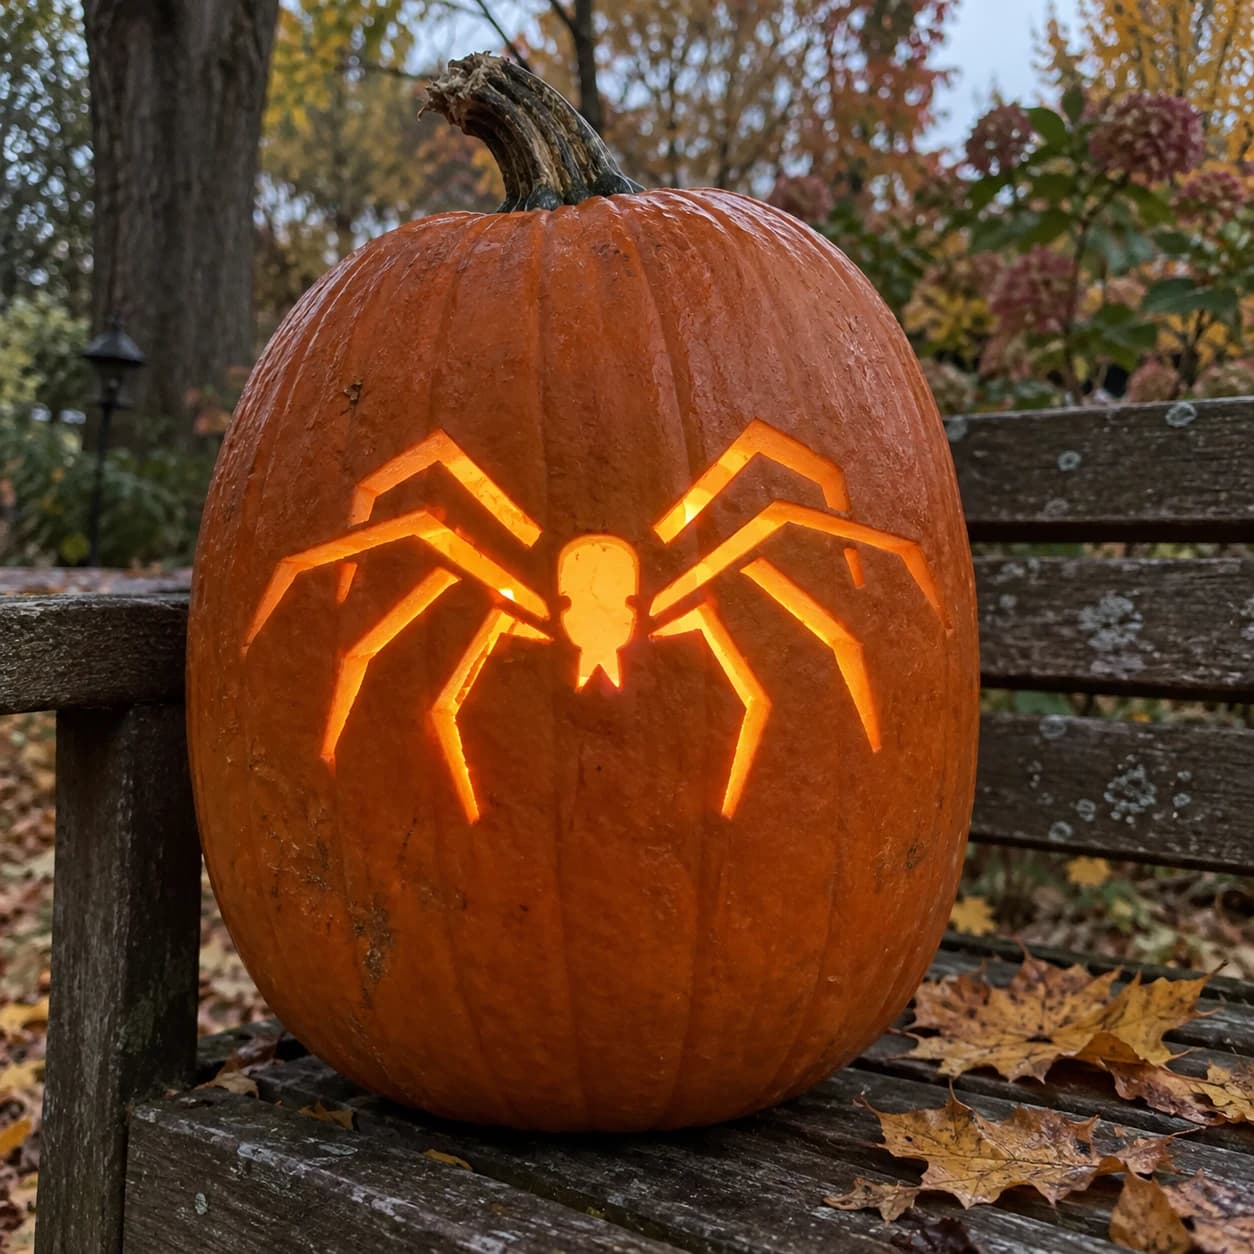
Spider Pumpkin Stencil
A large, wide-legged spider dominates this beginner spider pumpkin stencil. Eight straight angular legs radiate from a round body at center, and a small rounded head sits just above the abdomen, both carved as a solid silhouette island connected to the surrounding pumpkin only by the gaps between each leg segment. When lit, the dark spider shape floats against a glowing orange field created by the large open spaces around and between each leg. Start by cutting the long outer leg segments first so the body stays supported until the final cuts.
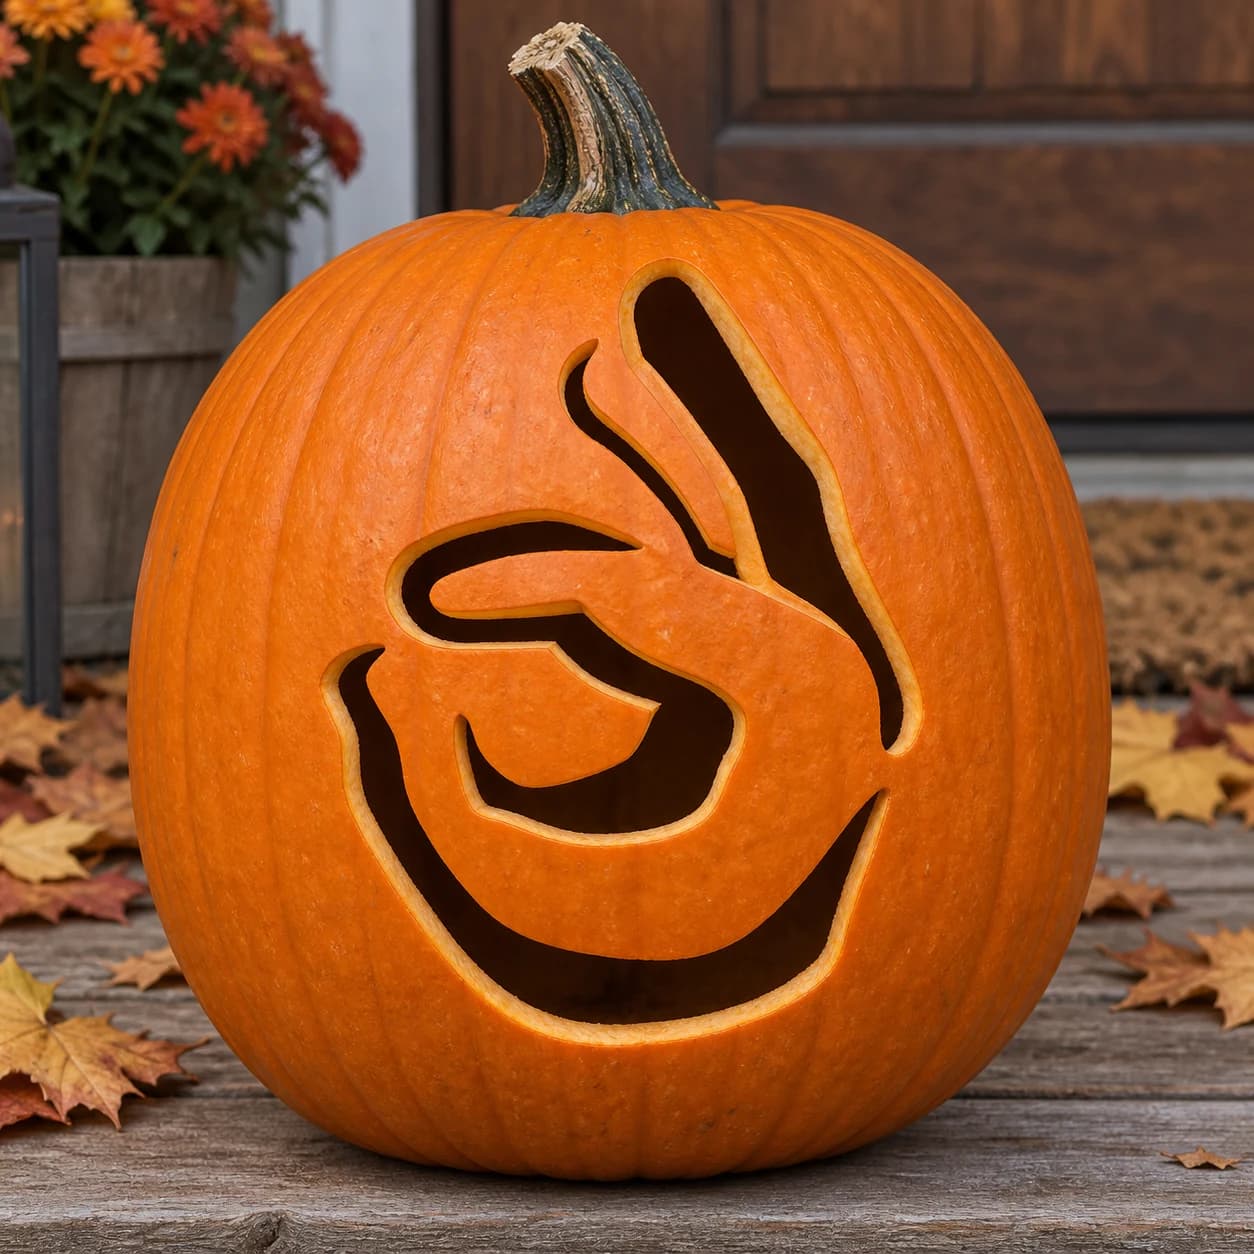
OK Hand Emoji Pumpkin Stencil
The OK hand gesture fills this pumpkin stencil: the thumb and forefinger curve together to form a circle at center, while the middle and ring fingers extend upward as two solid tapered strips of pumpkin skin. The surrounding negative space and the interior of the OK ring are cut away, so the lit jack-o-lantern shows bold finger shapes and a glowing circle against the interior light. The narrow channel between the two upright fingers is the tightest cut, so make that pass in a single stroke without stopping mid-way.
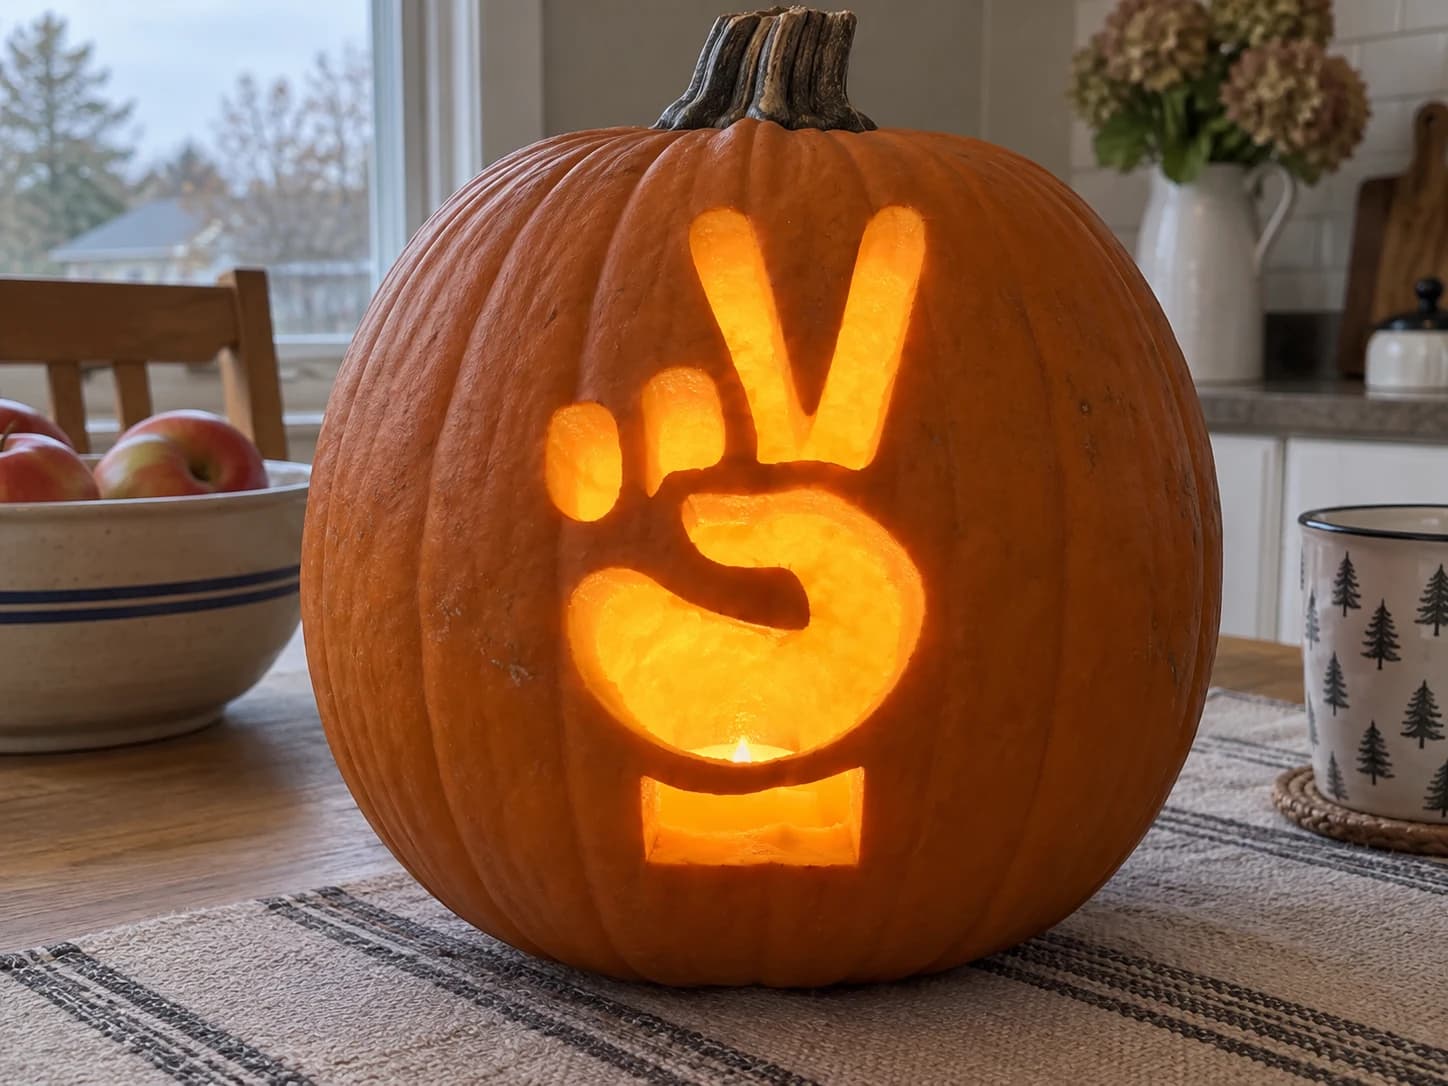
Peace Sign Hand Pumpkin Stencil
A hand making the two-finger peace or victory sign fills this easy emoji pumpkin stencil: two extended fingers spread in a V at the top, a curled fist below them, a small rounded thumb stub at the left, and a rectangular cuff at the wrist base. The spaces around and between the fingers are cut away so the glowing pumpkin shows the hand shape in solid orange with open surrounds. The narrow V-gap between the two raised fingers is the tightest space, so cut that slot in one continuous downward stroke before widening the surrounding areas.
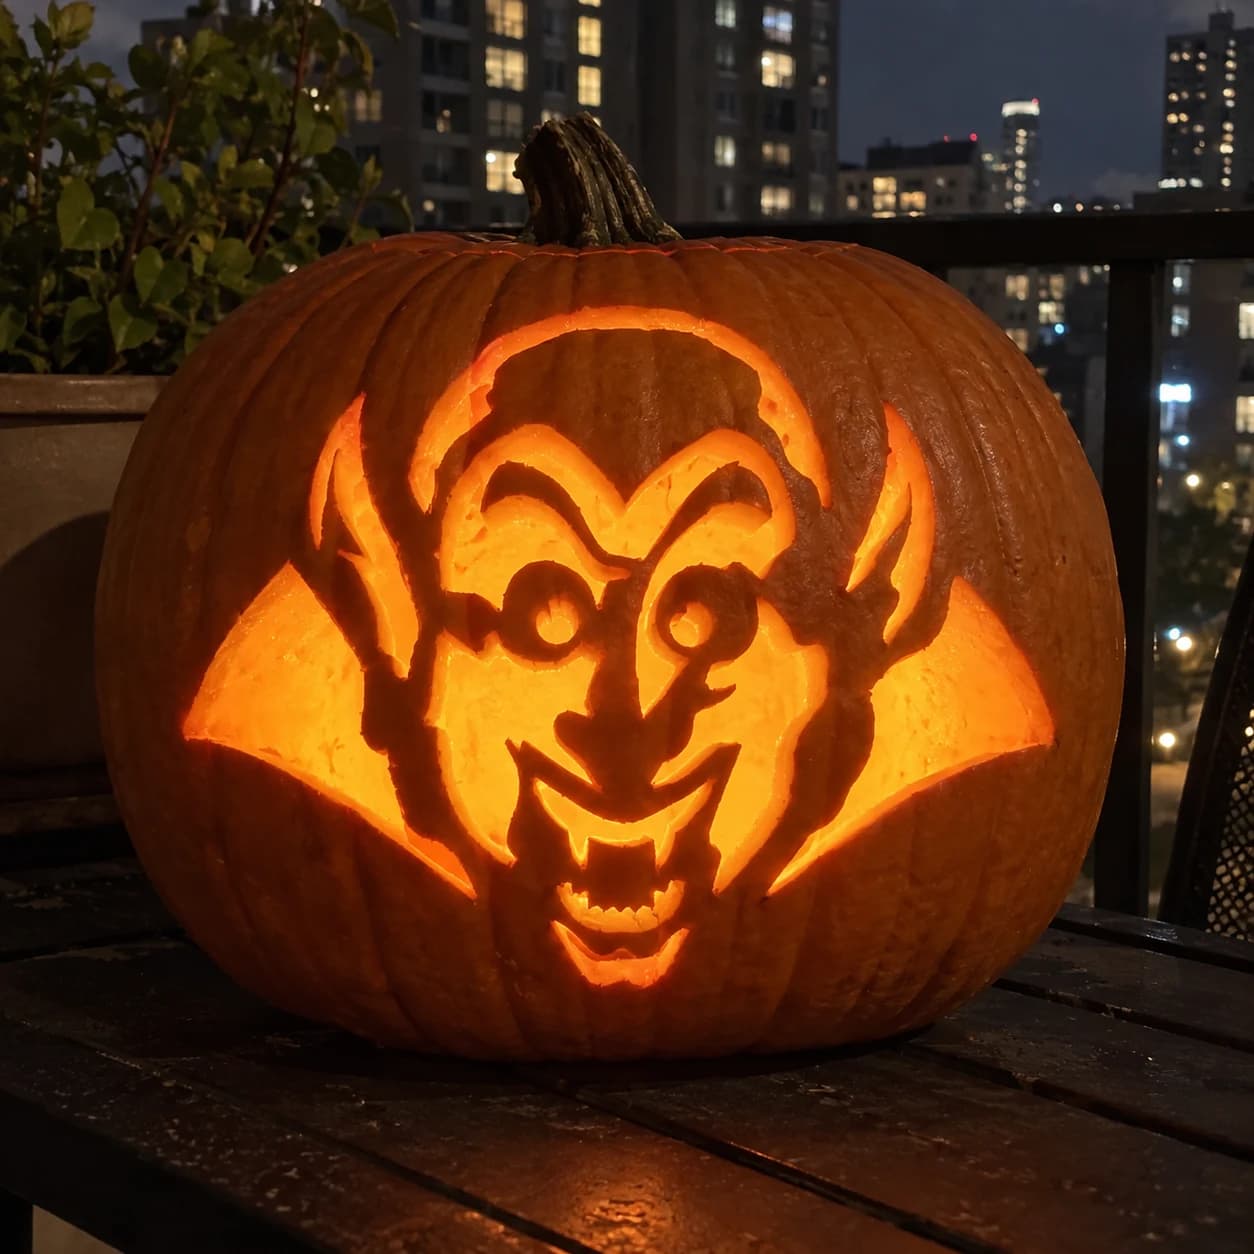
Vampire Face Pumpkin Stencil
A close-up vampire face dominates this witch-category pumpkin stencil, featuring wide circular eyes with small pupils, a widow's-peak hairline, swept-back collar wings, and a gaping mouth with prominent fangs. The large open areas of the eyes, collar, and mouth are pierced through, while the face itself stays solid so the features read clearly when lit. Cut the two eye circles first to anchor your registration, then work outward to the collar wings before tackling the mouth and fang gaps.
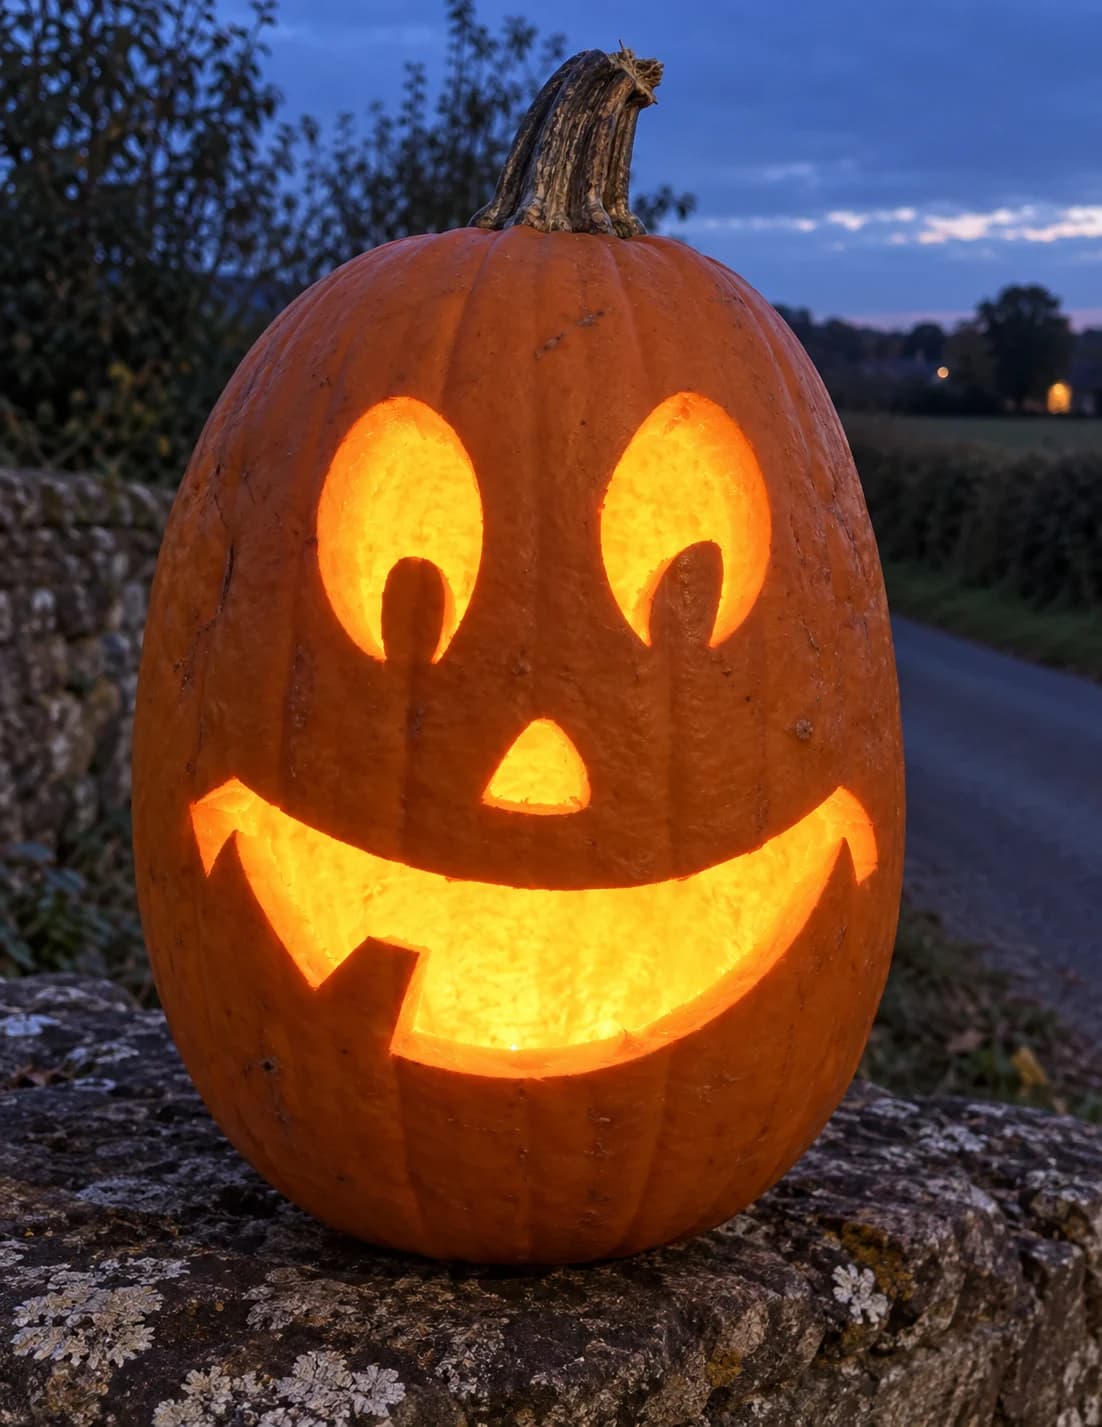
One Tooth Jack-o-Lantern Pumpkin Stencil
This jack-o-lantern face pumpkin stencil keeps it deliberately minimal: two teardrop eye shapes each with a crescent notch cut from the bottom to suggest a raised brow, a small triangular nose, and a wide grinning mouth with one single center tooth left intact at the top lip. All four openings are pierced so they glow together, and the lone tooth bridging the smile is the only delicate detail in the whole design. Cut the single tooth gap on either side of that center tooth in two careful inward strokes, meeting cleanly at the base so it does not detach.
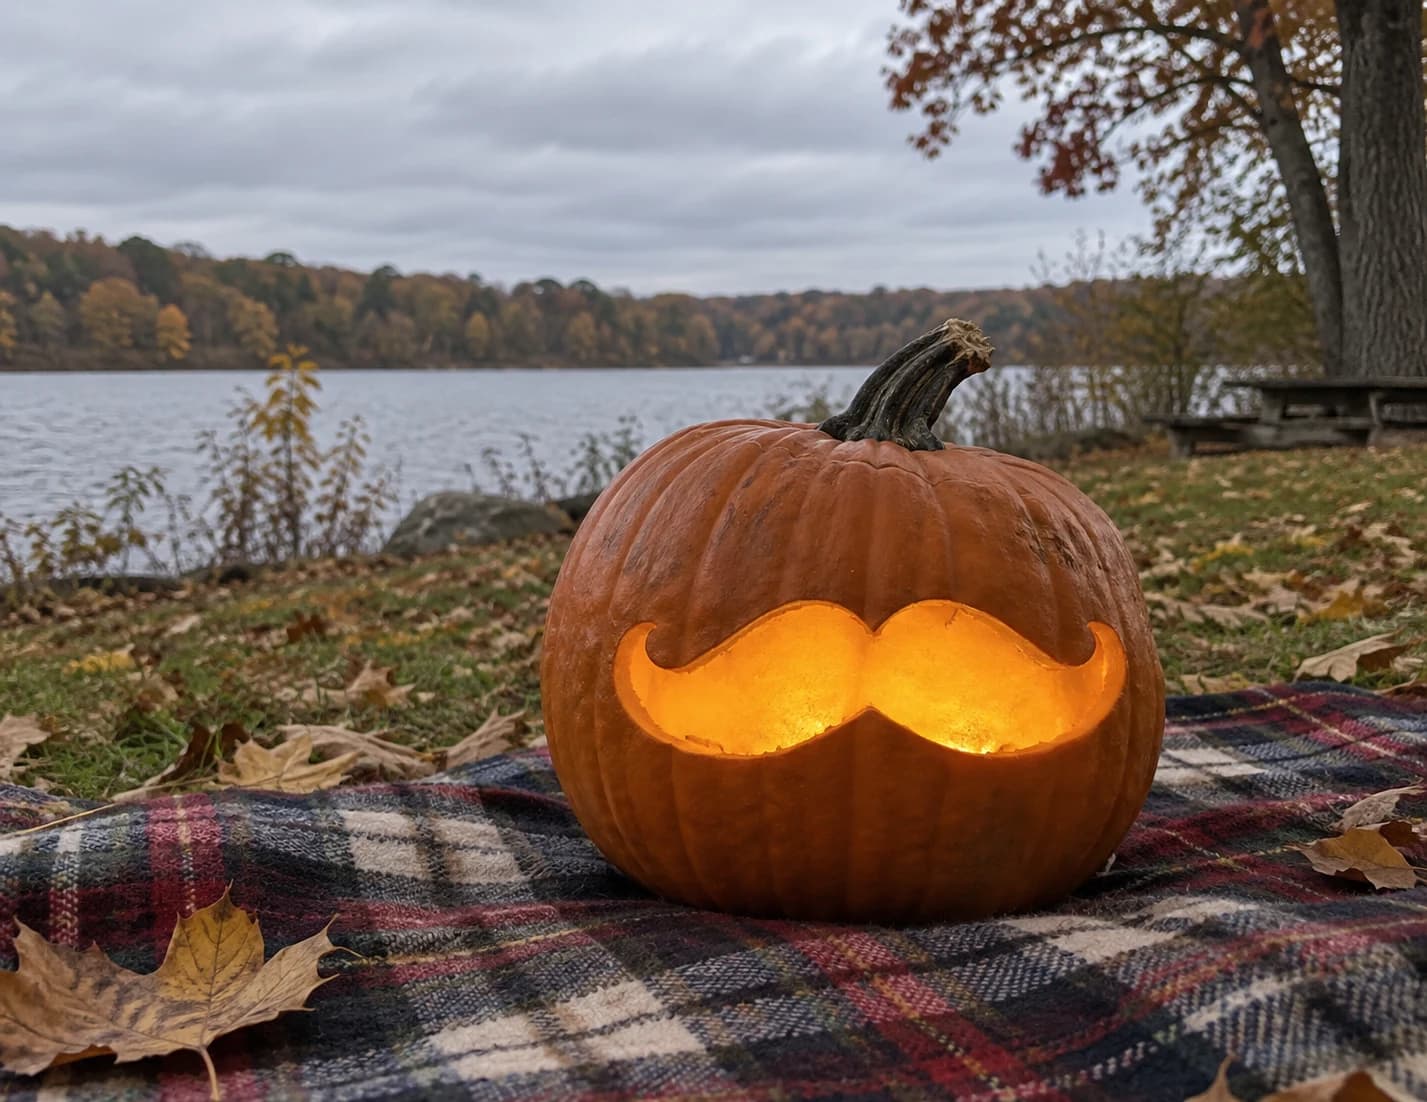
Handlebar Mustache Pumpkin Stencil
A wide, curling handlebar mustache is the sole design element of this introductory pumpkin stencil, carved as a single large open shape that sweeps across the pumpkin face. The ends curl upward and outward in tight spirals, while the center dips in a gentle U. The entire mustache is pierced through as one connected opening, so the glow reads as a bold, immediately legible silhouette. Because the cut is one continuous piece, score the center dip first and work outward toward each curled tip to keep the shape from shifting as material is removed.
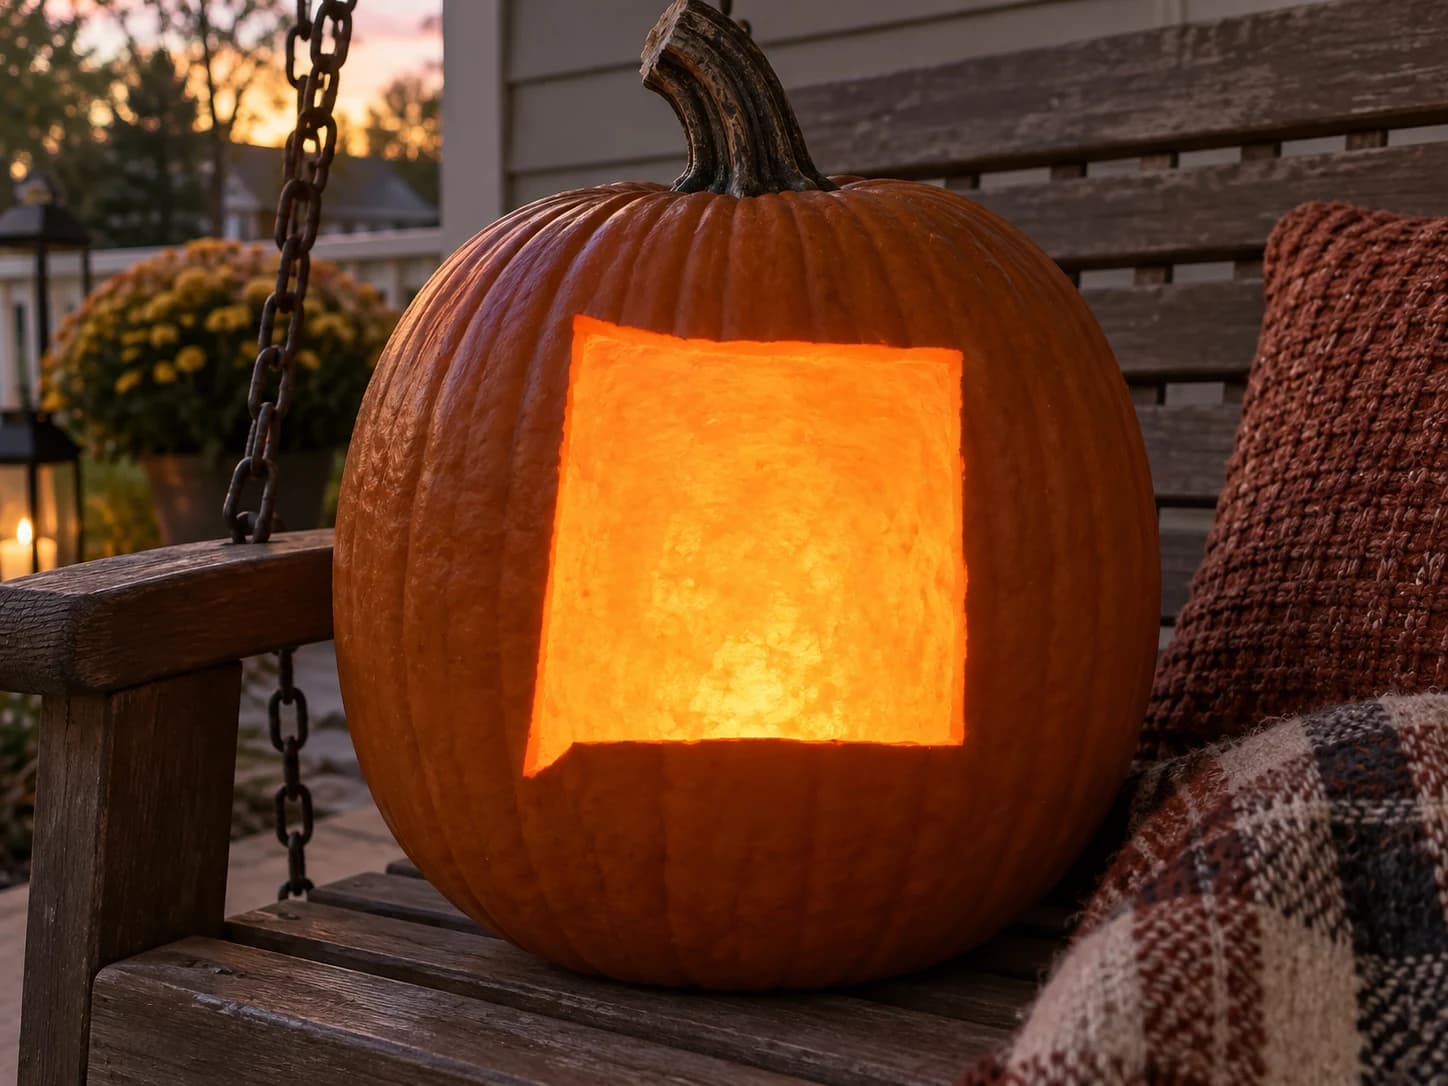
New Mexico Pumpkin Stencil
New Mexico's silhouette is a nearly perfect square with one small rectangular notch cut into the upper-left corner where the Colorado border steps slightly northward. This beginner-friendly pumpkin stencil carves as a single large open shape, glowing as a bold square of light on the finished jack-o-lantern. The one detail that differentiates it from a plain square is that upper-left step: score the corner notch cleanly before removing the bulk of the shape so the step stays sharp rather than rounding off.
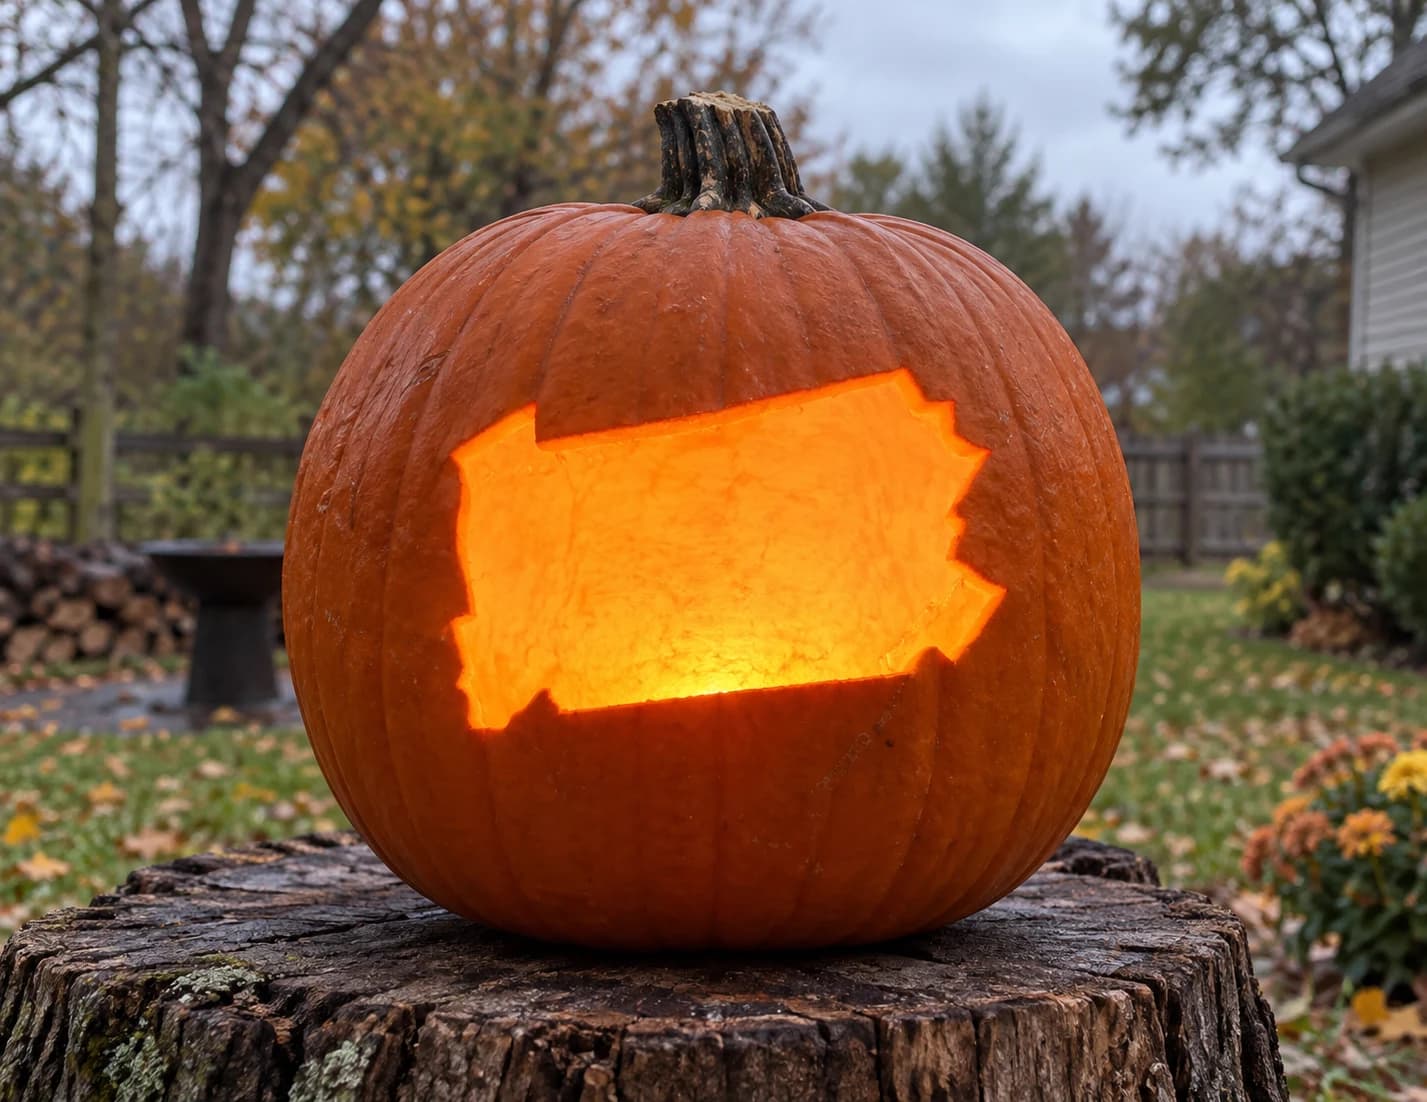
Pennsylvania Pumpkin Stencil
The outline of Pennsylvania fills this pumpkin stencil as a single large cut-out: the roughly rectangular shape with its notched southwestern corner and jagged northern border traces the Keystone State's recognizable silhouette. Because the entire interior is pierced through as one piece, the jack-o-lantern glows as a bold, dark window of light. Score the long straight bottom edge first to anchor your line before navigating the irregular border.
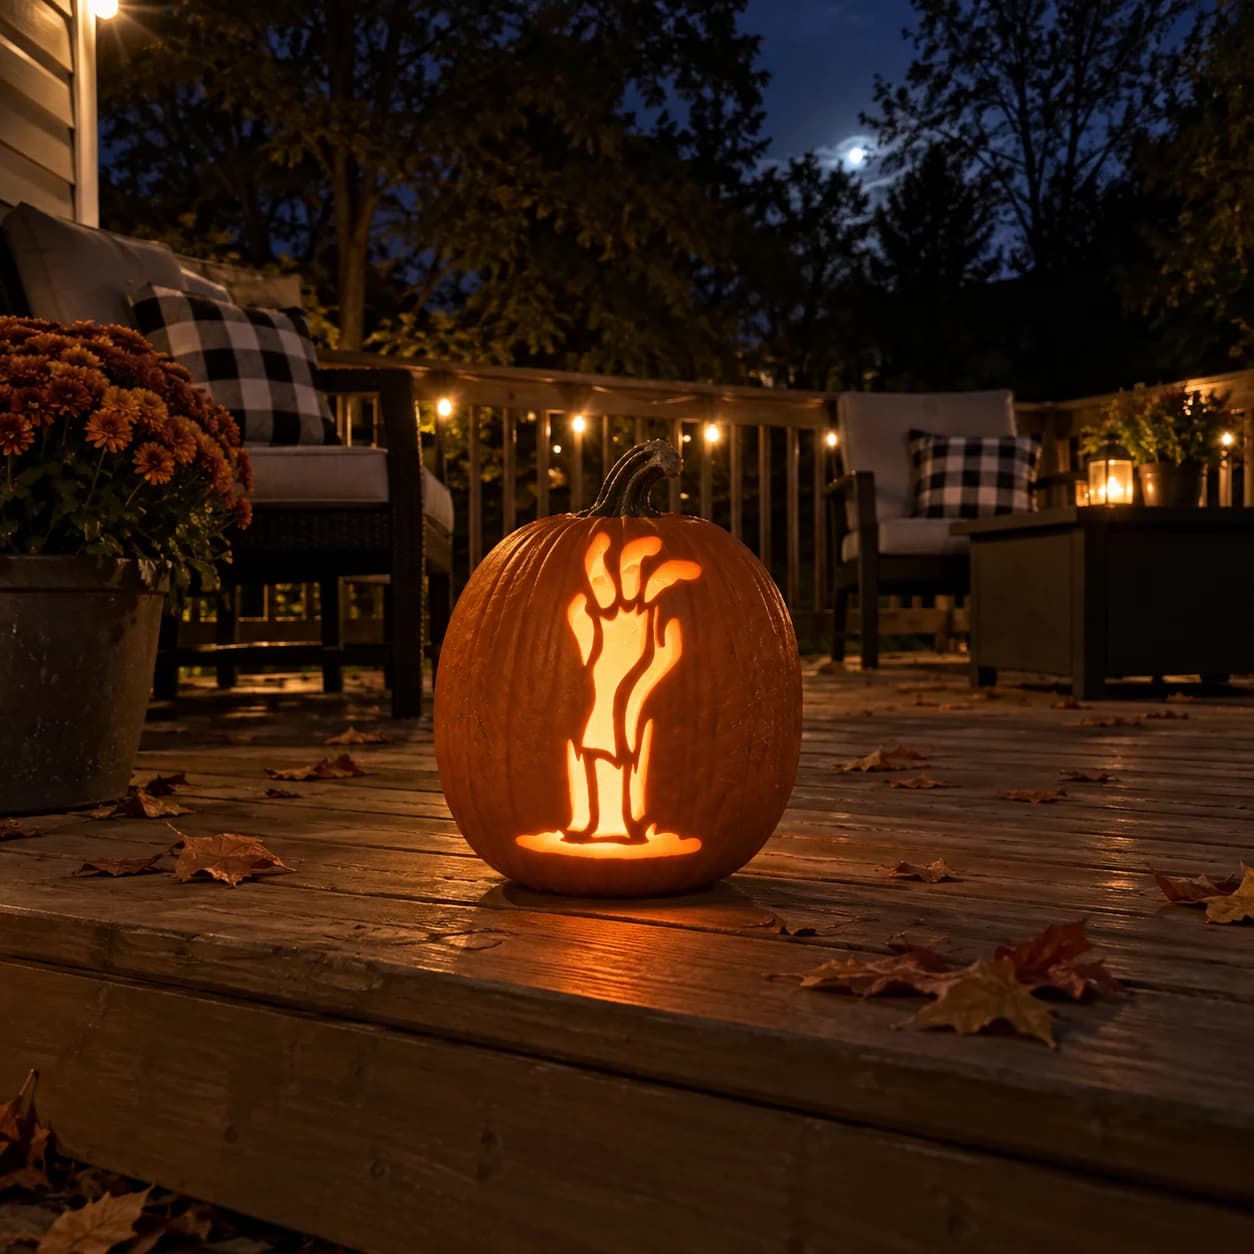
Zombie Hand Pumpkin Stencil
A zombie hand clawing upward from the ground is the subject of this beginner zombie pumpkin stencil. The fingers are spread wide and elongated, separated by narrow solid bridges of pumpkin that keep each digit distinct when lit. A ragged cuff at the wrist and a puddle-like base anchor the composition at the bottom. The carved areas glow dramatically against the uncut pumpkin surface, suggesting a corpse emerging from the earth. Leave the slender bridges between the fingers for last so the hand shape stays supported while you remove the larger flanking areas.
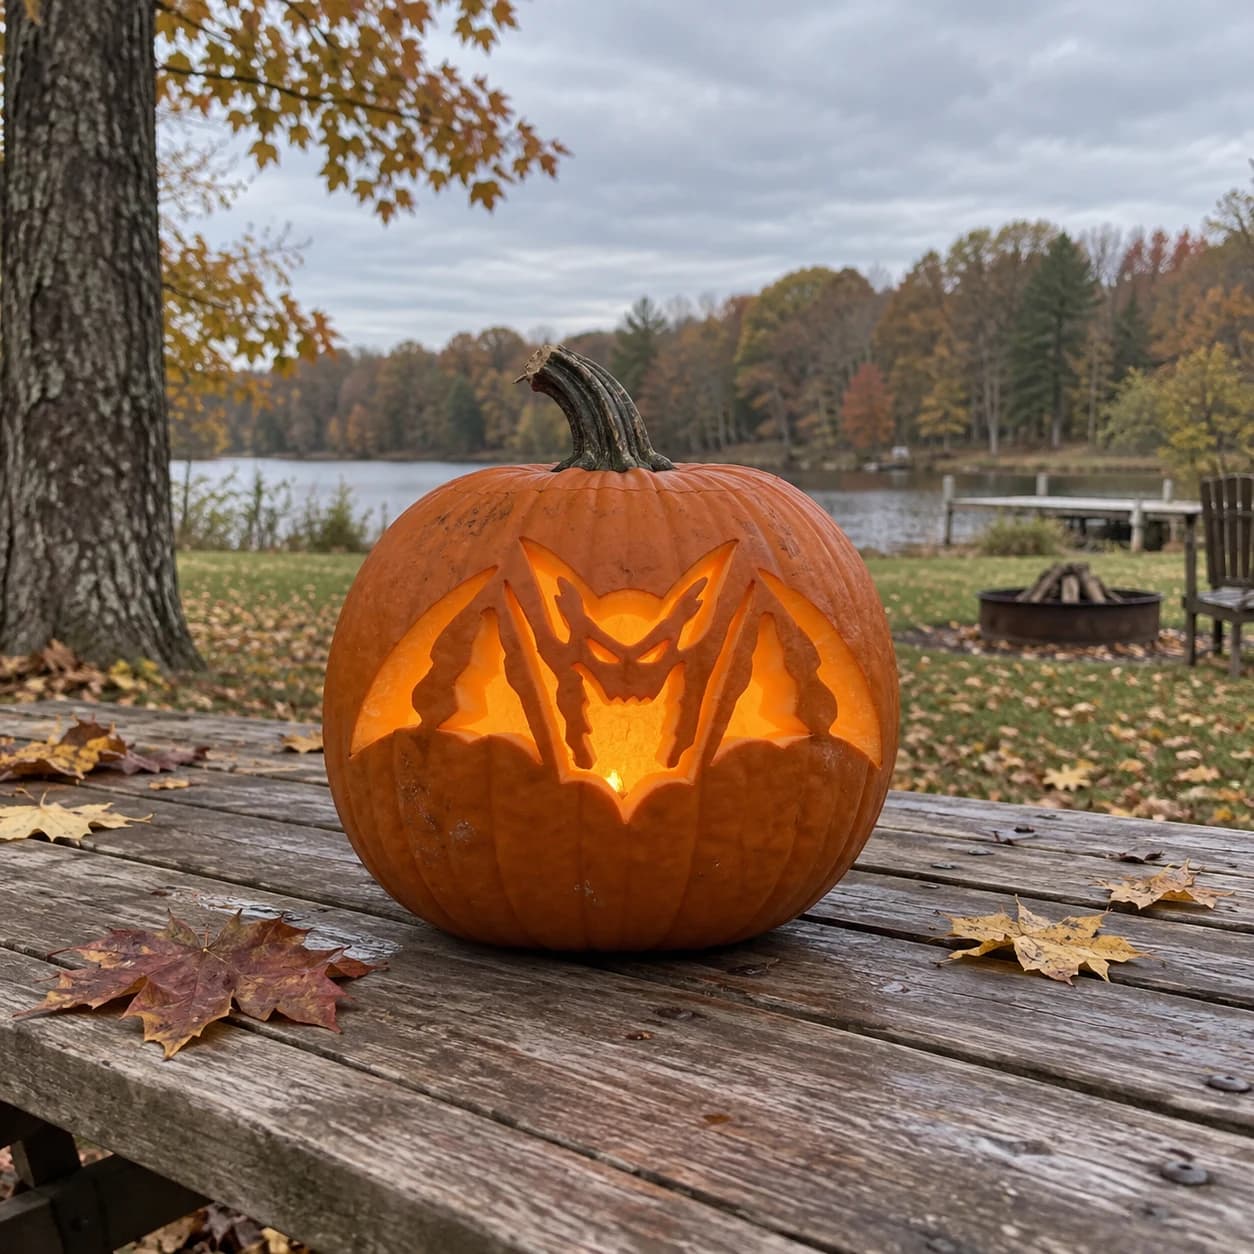
Bat Pumpkin Stencil
A front-facing bat with outstretched wings fills this jack-o-lantern pumpkin stencil, showing a snarling face at center and jagged wing edges that sweep to pointed tips on each side. The large background panels of each wing are cut away, leaving a solid bat silhouette with interior cut-outs for the eyes and facial features that glow distinctively when lit. Keep the narrow connecting bridge between the bat's body and each wing intact during carving so the whole design holds together.
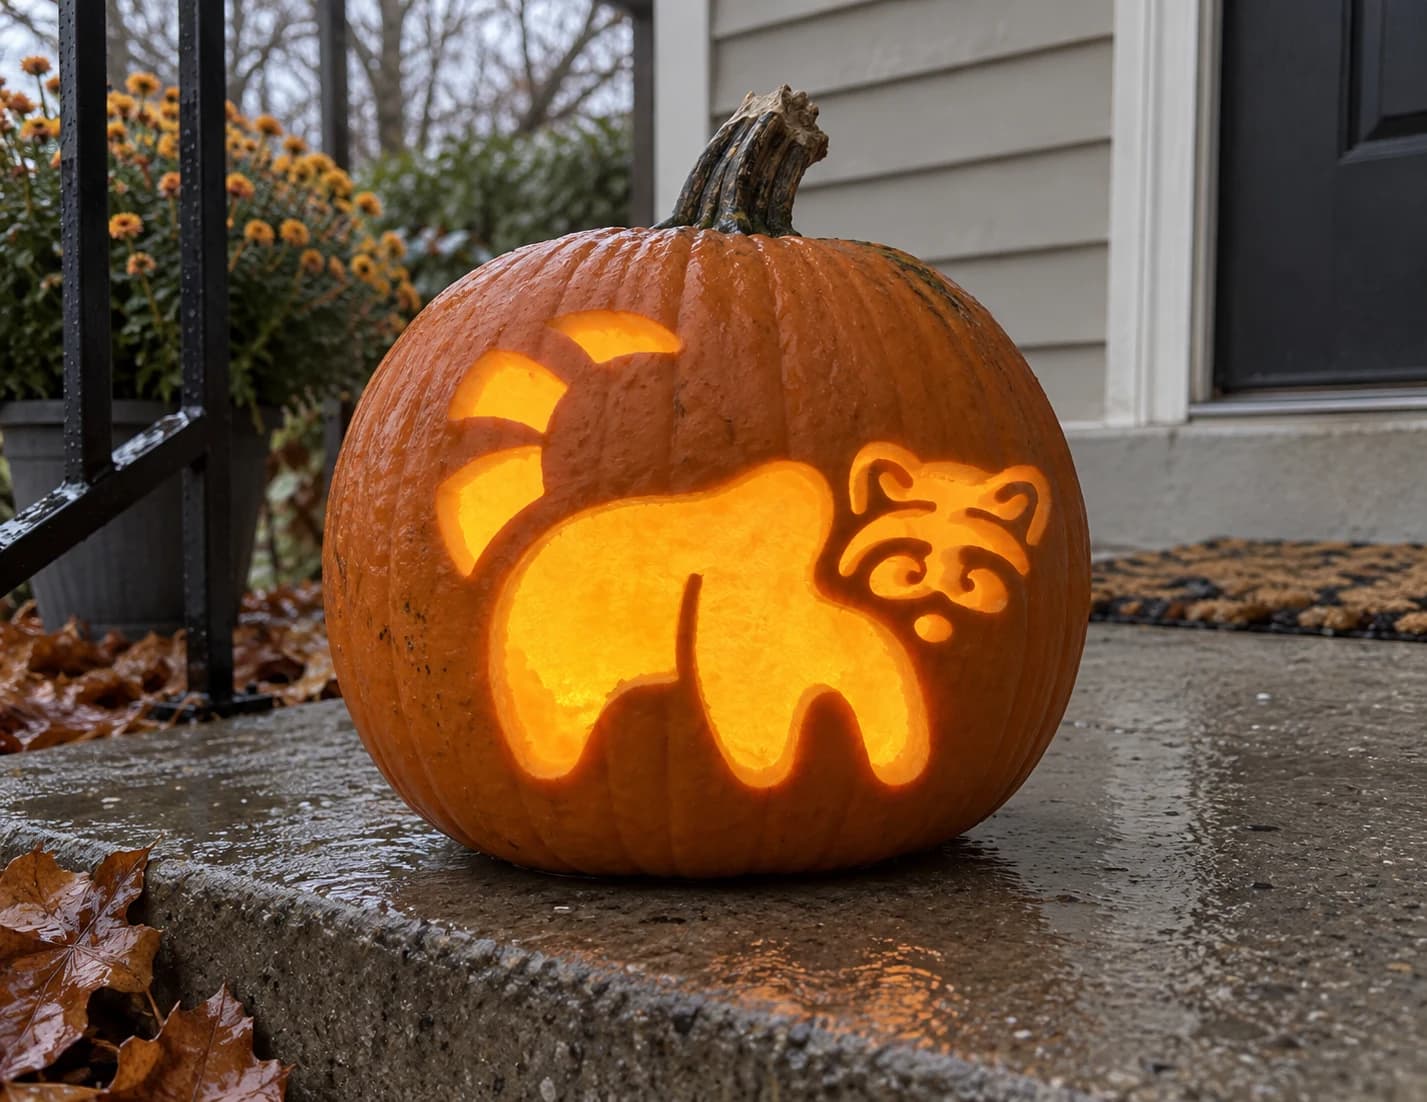
Raccoon Pumpkin Stencil
A raccoon ambling to the right fills this beginner pumpkin stencil with a chunky, rounded body, stubby legs, and a distinctive ringed face featuring the signature black mask rendered as curved cutout shapes around the eyes. A striped banded tail curves up behind the body and is carved as two separate arc shapes above the main silhouette. When lit, the mask rings and tail arcs glow while the body reads as a solid dark silhouette. The two small tail arc pieces are unconnected islands; press the stencil firmly and cut them before removing the larger body sections so they stay anchored.
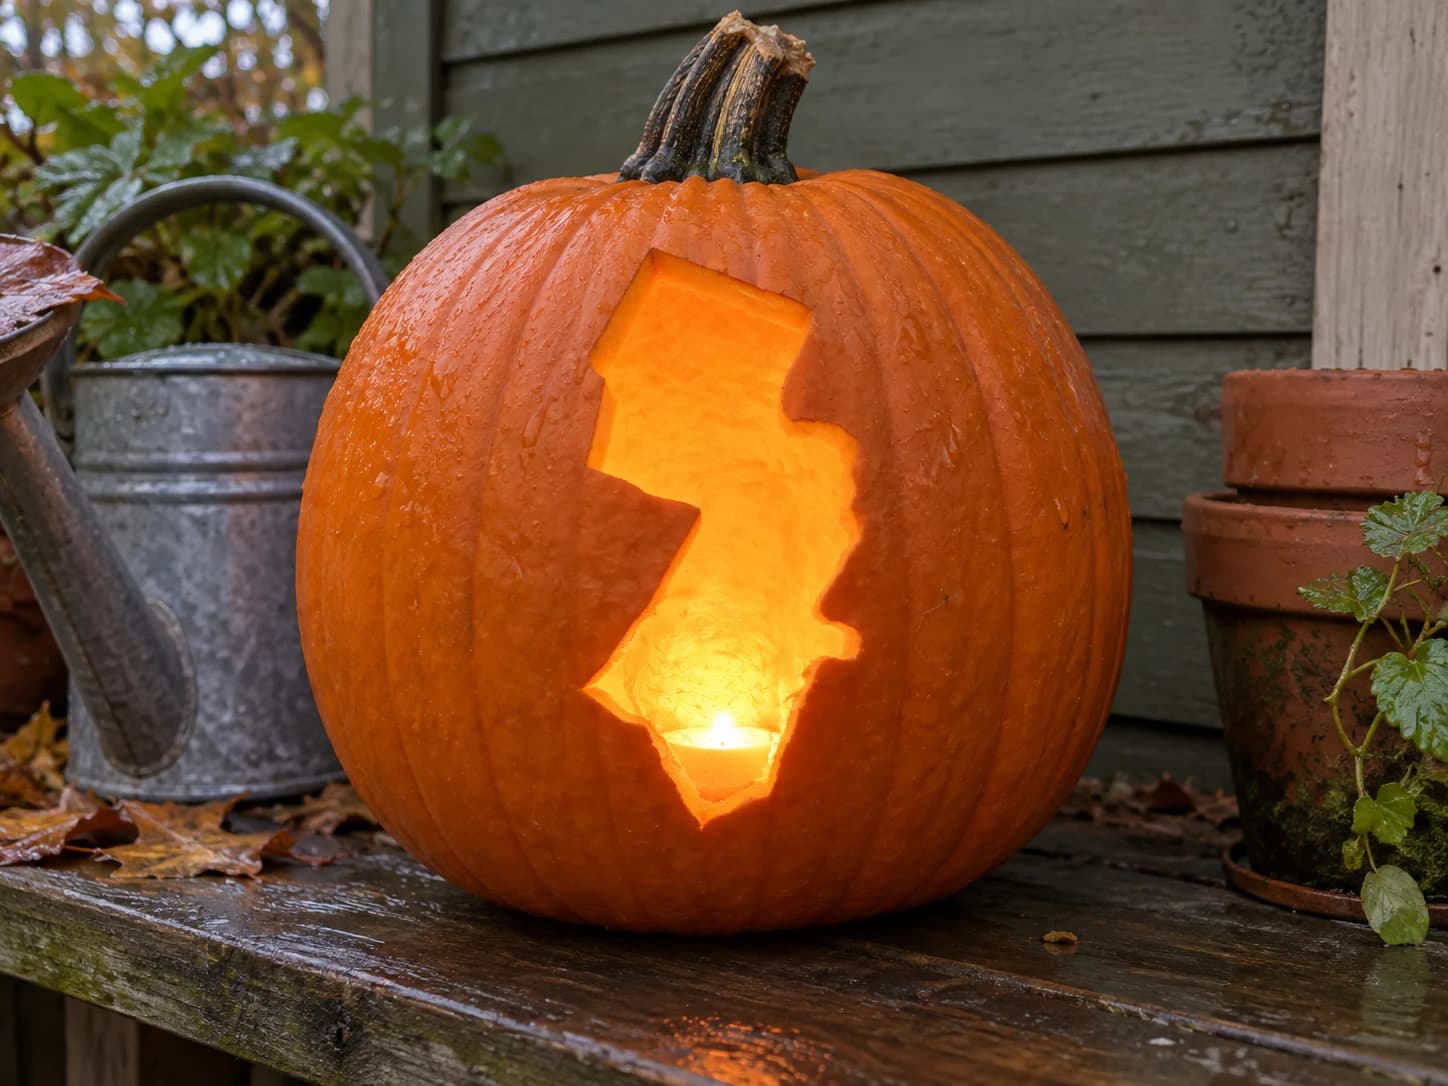
New Jersey Pumpkin Stencil
New Jersey's compact, boot-shaped silhouette fills this beginner state pumpkin stencil. The northern top edge is nearly square, then the shape narrows at the waist before widening again into the rounded southern shore, and the eastern coast carries a subtle wavy line tracing the Atlantic. Carved as a single open piece, the state shape glows as one connected window in the jack-o-lantern. The narrow waist in the middle is the weakest structural point during carving: cut the upper and lower sections first and leave the waist area for last.
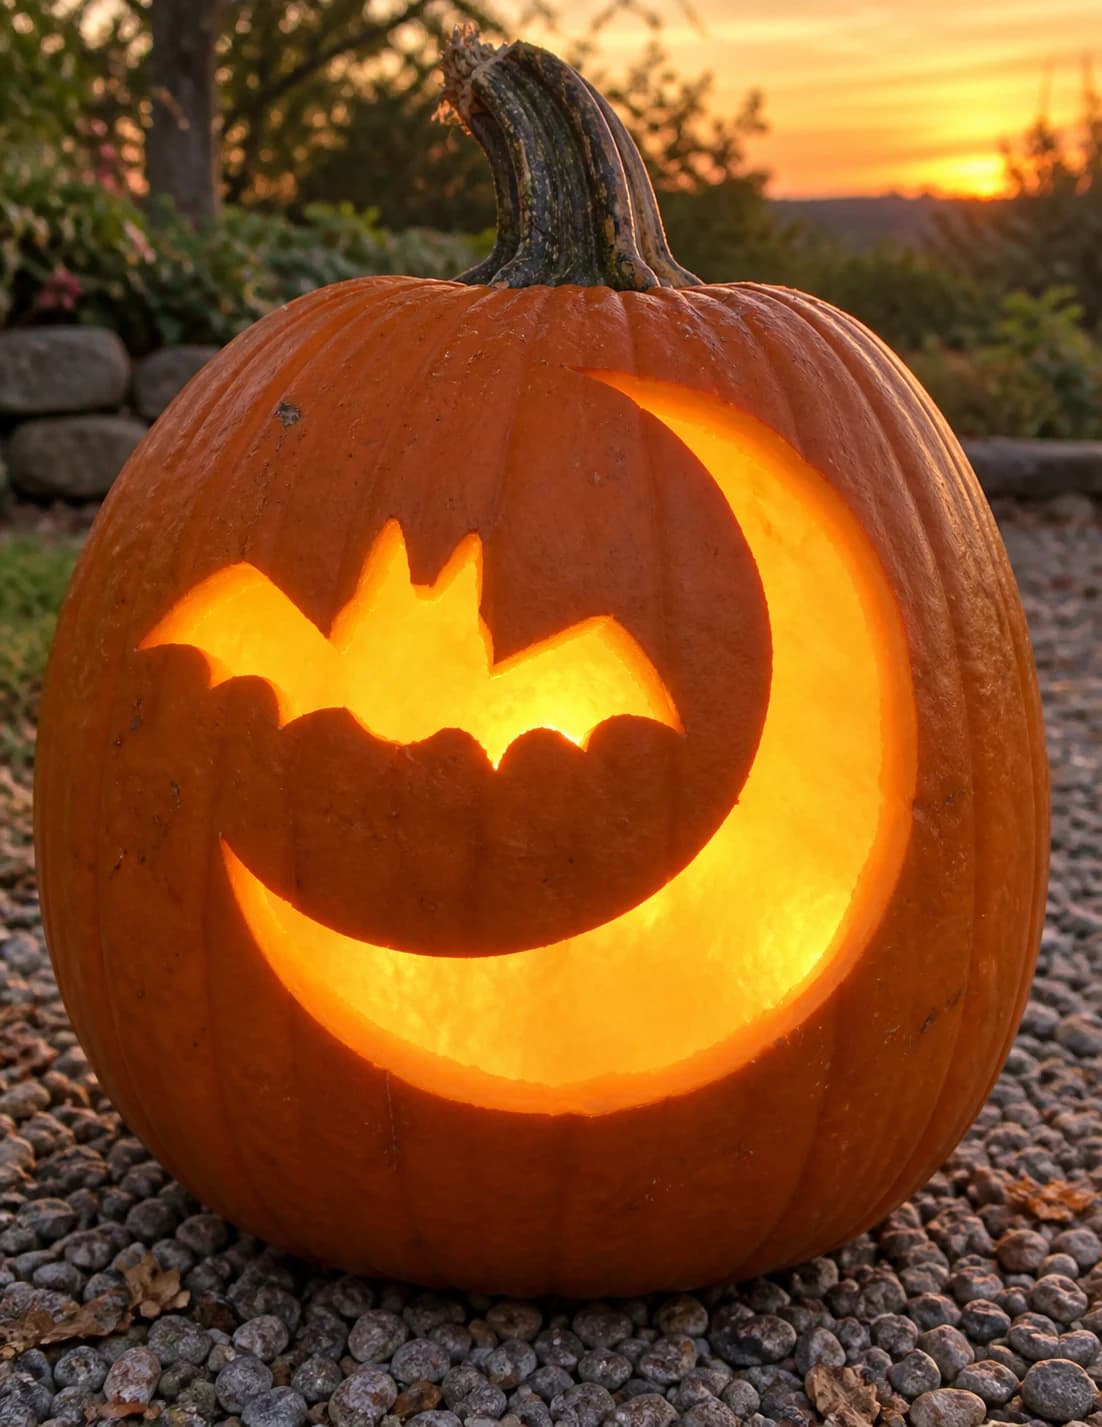
Bat and Moon Pumpkin Stencil
A crescent moon curves across the upper half of the design with a small bat silhouette flying in front of it, both cut through as a single pumpkin stencil. The crescent is a wide sweeping arc and the bat sits slightly below center within the curve, its wings spread and ears pointed. The bat's body stays connected to the moon's surface by a thin shared border; carve the crescent first and leave the bat's outer wing edges touching the moon arc so the bat doesn't shift before you finish the interior.
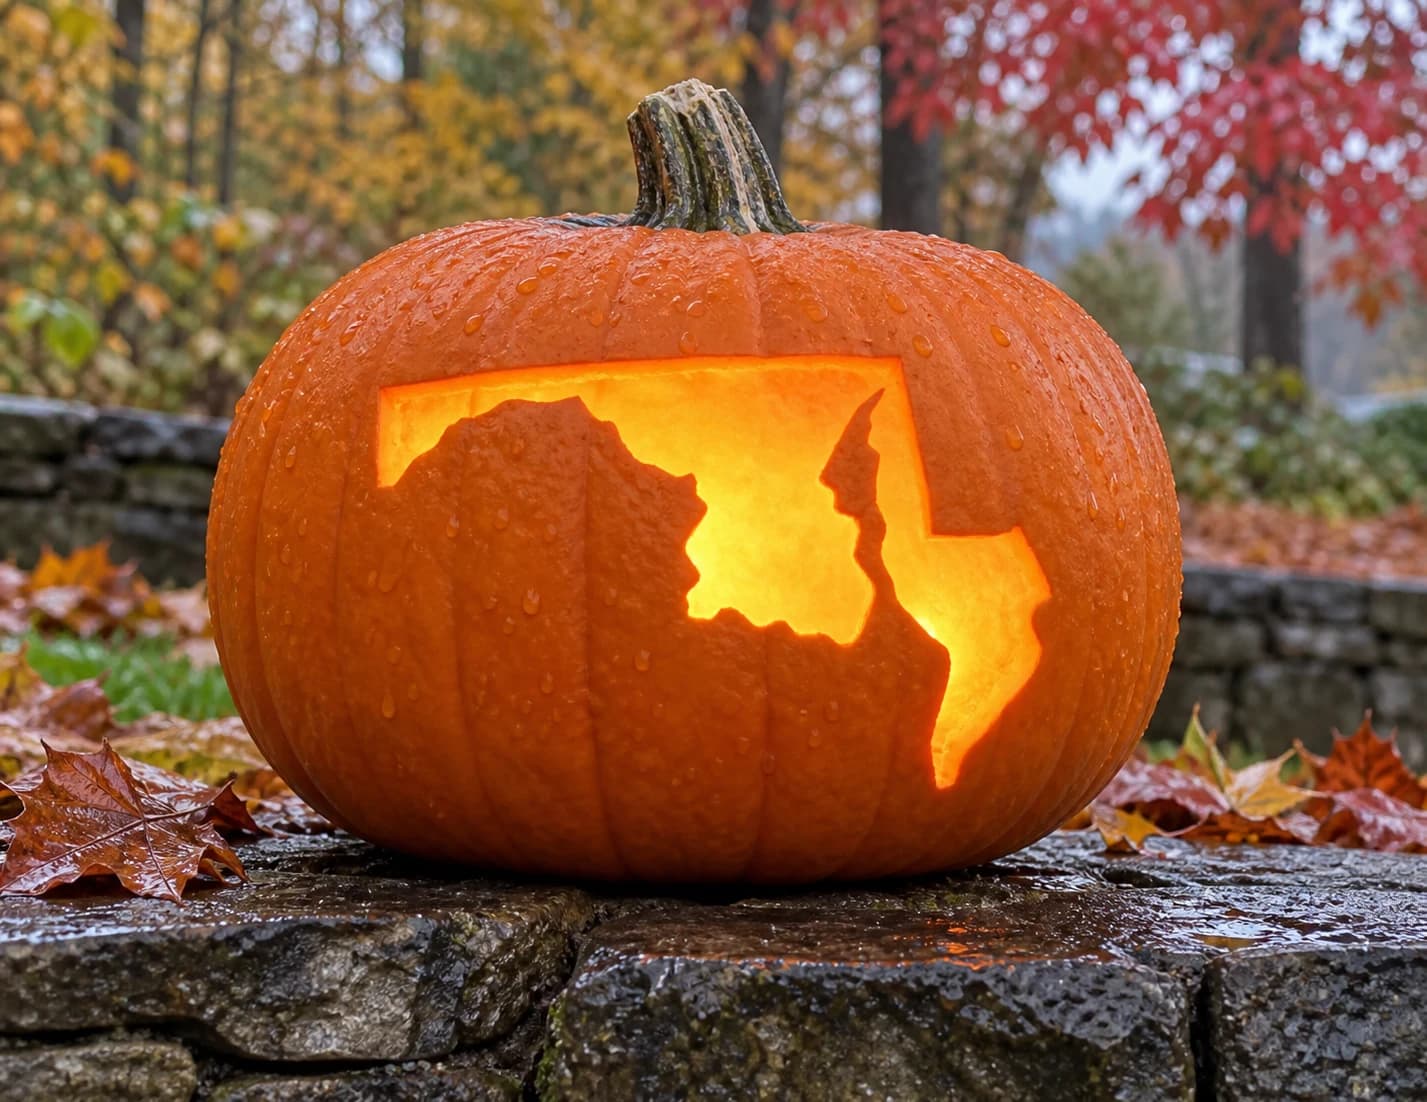
Maryland Pumpkin Stencil
Maryland's instantly recognizable outline appears as a single cut-through silhouette on this pumpkin stencil, showing the state's wide rectangular body, the deeply indented Chesapeake Bay notch along the right side, the narrow Eastern Shore peninsula, and the small western panhandle extending to the left. Because the Bay notch splits the right edge into two separate lobes, the wall between them is slender. Cut the inner Bay-notch corners first using a pointed blade so that delicate section doesn't flex and tear while you remove the larger open areas.
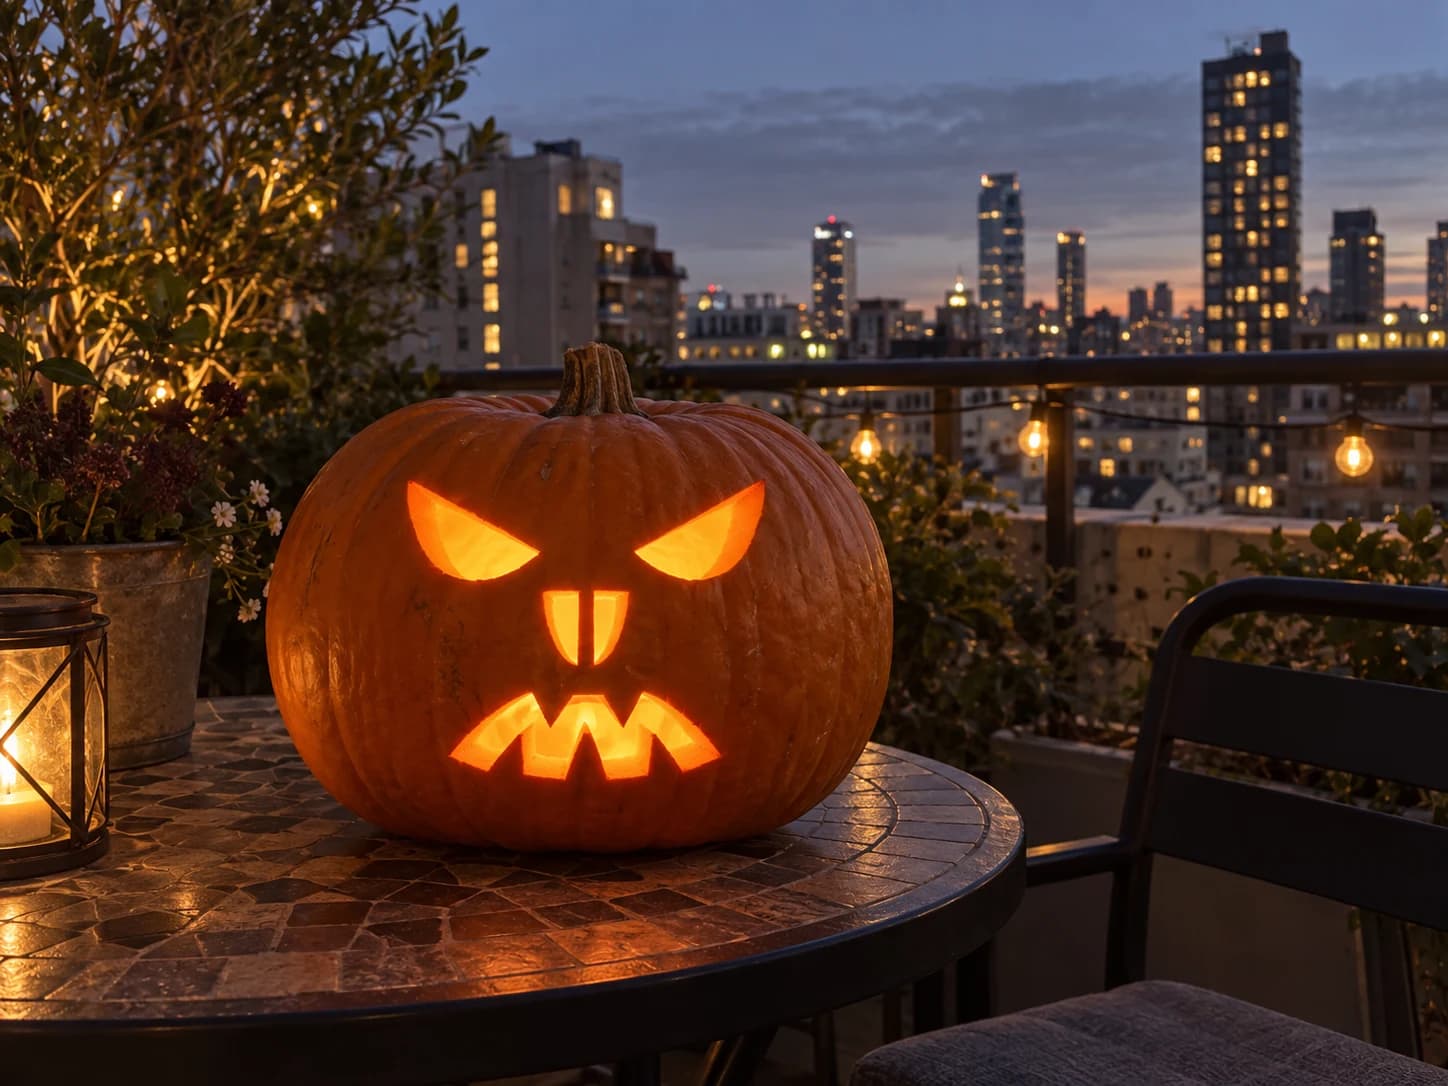
Mean Skull Pumpkin Stencil
Two large angled triangular eyes slash across the upper face of this jack-o-lantern stencil, pointing sharply inward to give the skull an aggressive, furrowed scowl. Below, two narrow rectangular fang-tips drop from the center, and a wide jagged mouth with three upward-pointing teeth stretches across the bottom. All six shapes are cut through individually, leaving solid orange between them to hold the face together. The small central fang-tips are easy to snap, so cut each one from the outer corner inward and avoid side pressure on the blade.
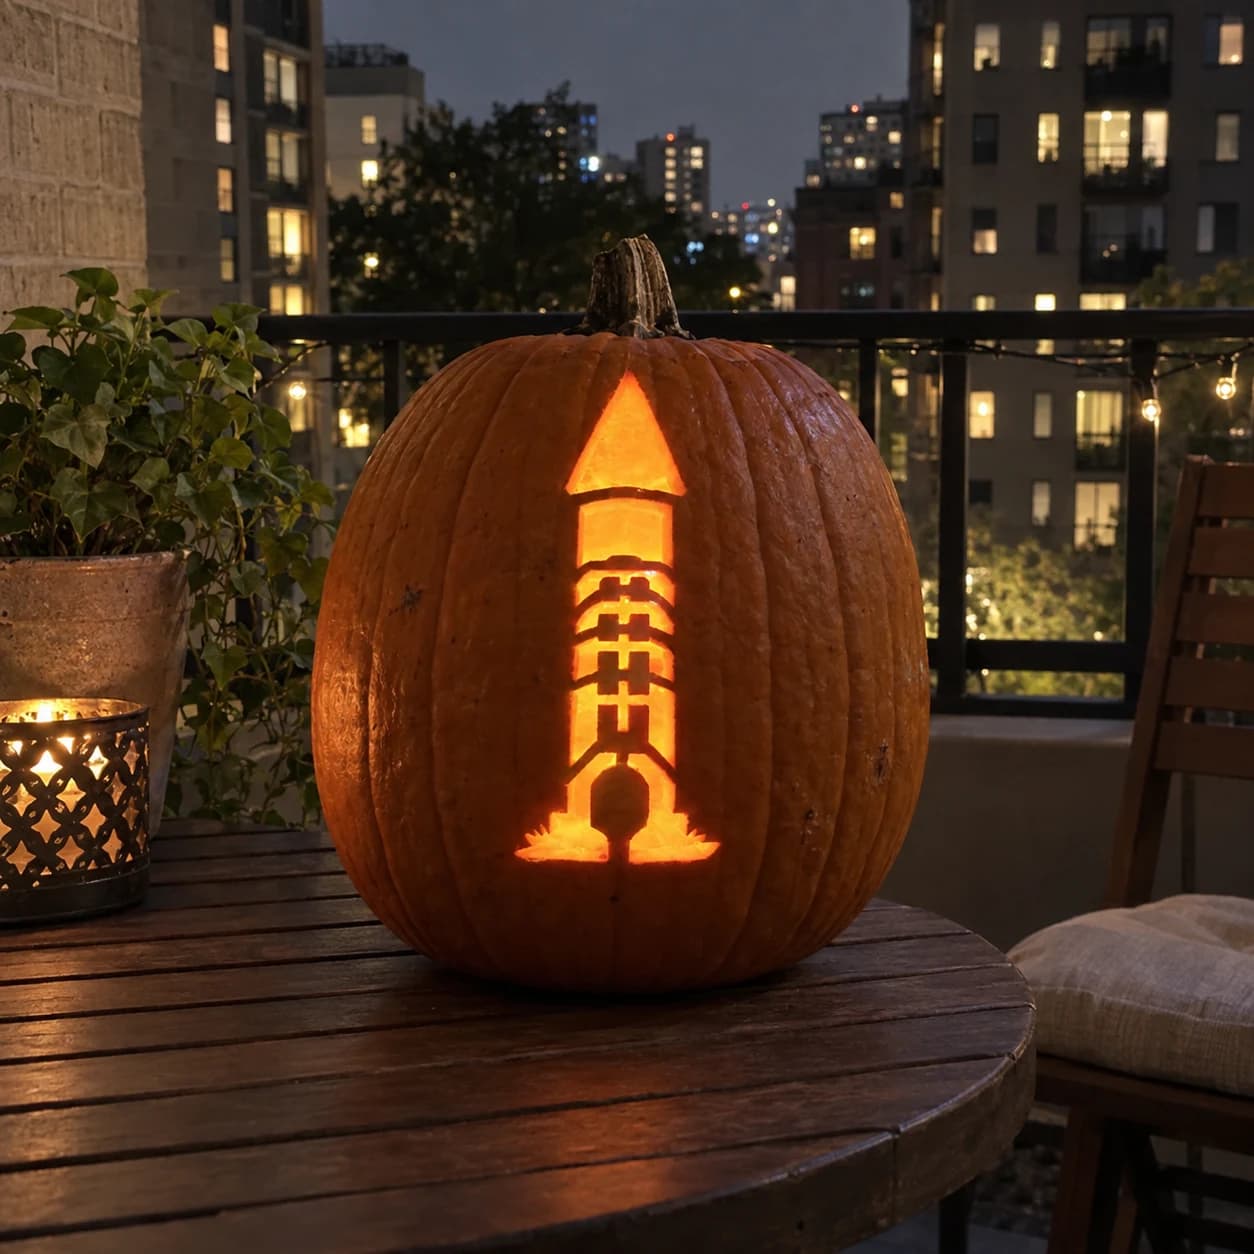
Haunted Mansion Pumpkin Stencil
A tall narrow haunted mansion rises up this pumpkin stencil as a stacked tower: a pointed triangular roof at the top, a rectangular belfry below, then three descending tiers of arched window pairs that grow progressively wider, finishing with a rounded arched doorway and grass tufts at the base. All windows and the door arch are cut through, leaving orange wall between each tier as structural separators. Cut the door arch at the bottom first to relieve pumpkin tension, then work upward tier by tier so the cuts above don't flex the completed windows below.
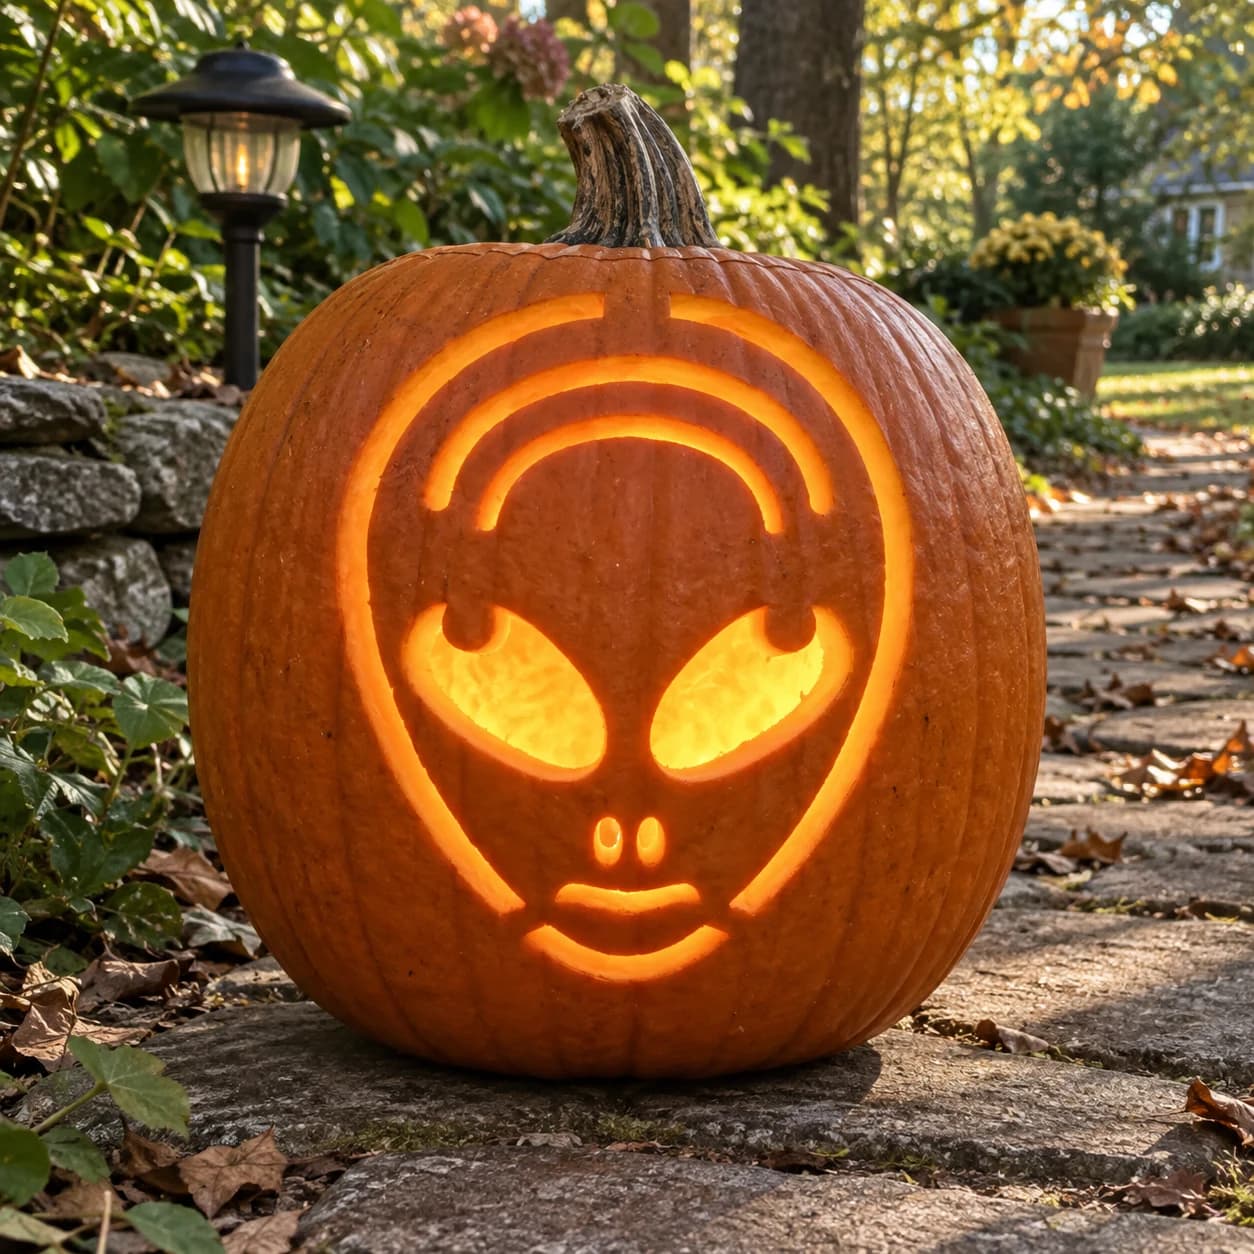
Alien Face Pumpkin Stencil
An alien face with a wide oval cranium fills this pumpkin stencil, featuring two large bulging almond-shaped eyes with small hooked inner corners, a two-dot nose, a curved smile, and a rounded forehead band rendered as arcing cut-through lines. The eye shapes and facial features are each separate pierces, while the outer oval head outline is also cut away, framing everything in open light. The narrow forehead arc is the most fragile element, so score it fully before pushing through to avoid it snapping midway.
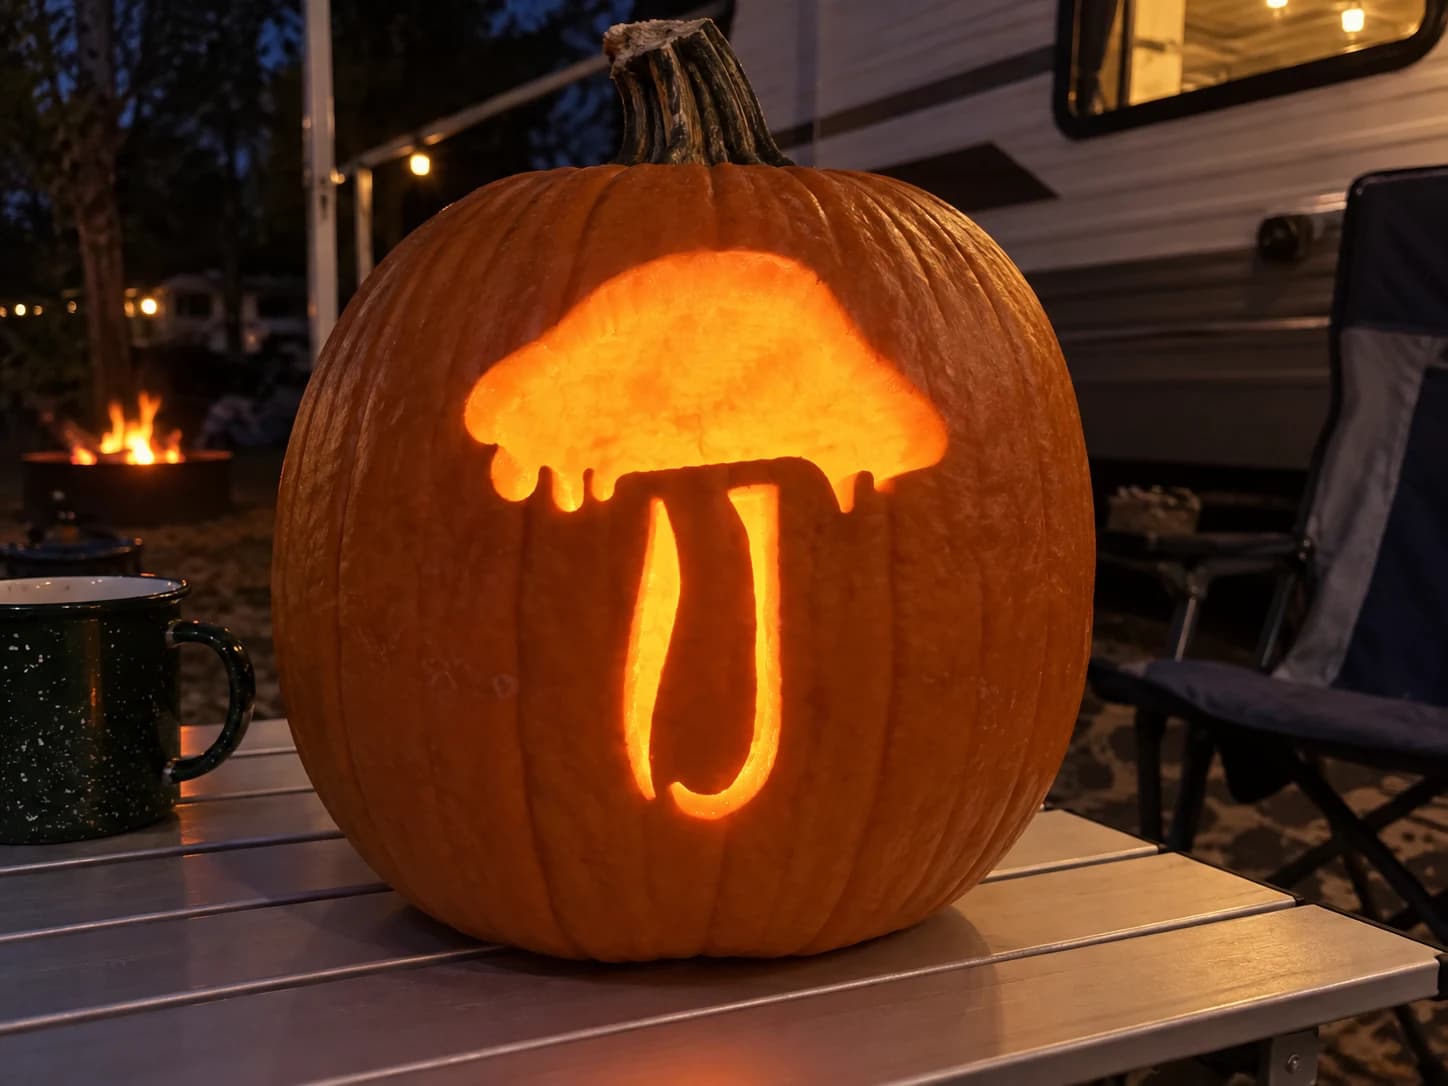
Mushroom Pumpkin Stencil
A single large mushroom silhouette fills this pumpkin stencil, its broad rounded cap dripping with three short gill-like projections and a slender curved stem below. The entire shape is carved out as one open negative space, so candlelight pours through the whole silhouette at once. Because the stem is narrow where it meets the cap, score that junction lightly with a detail knife before cutting through fully to keep the bridge from cracking under pressure.
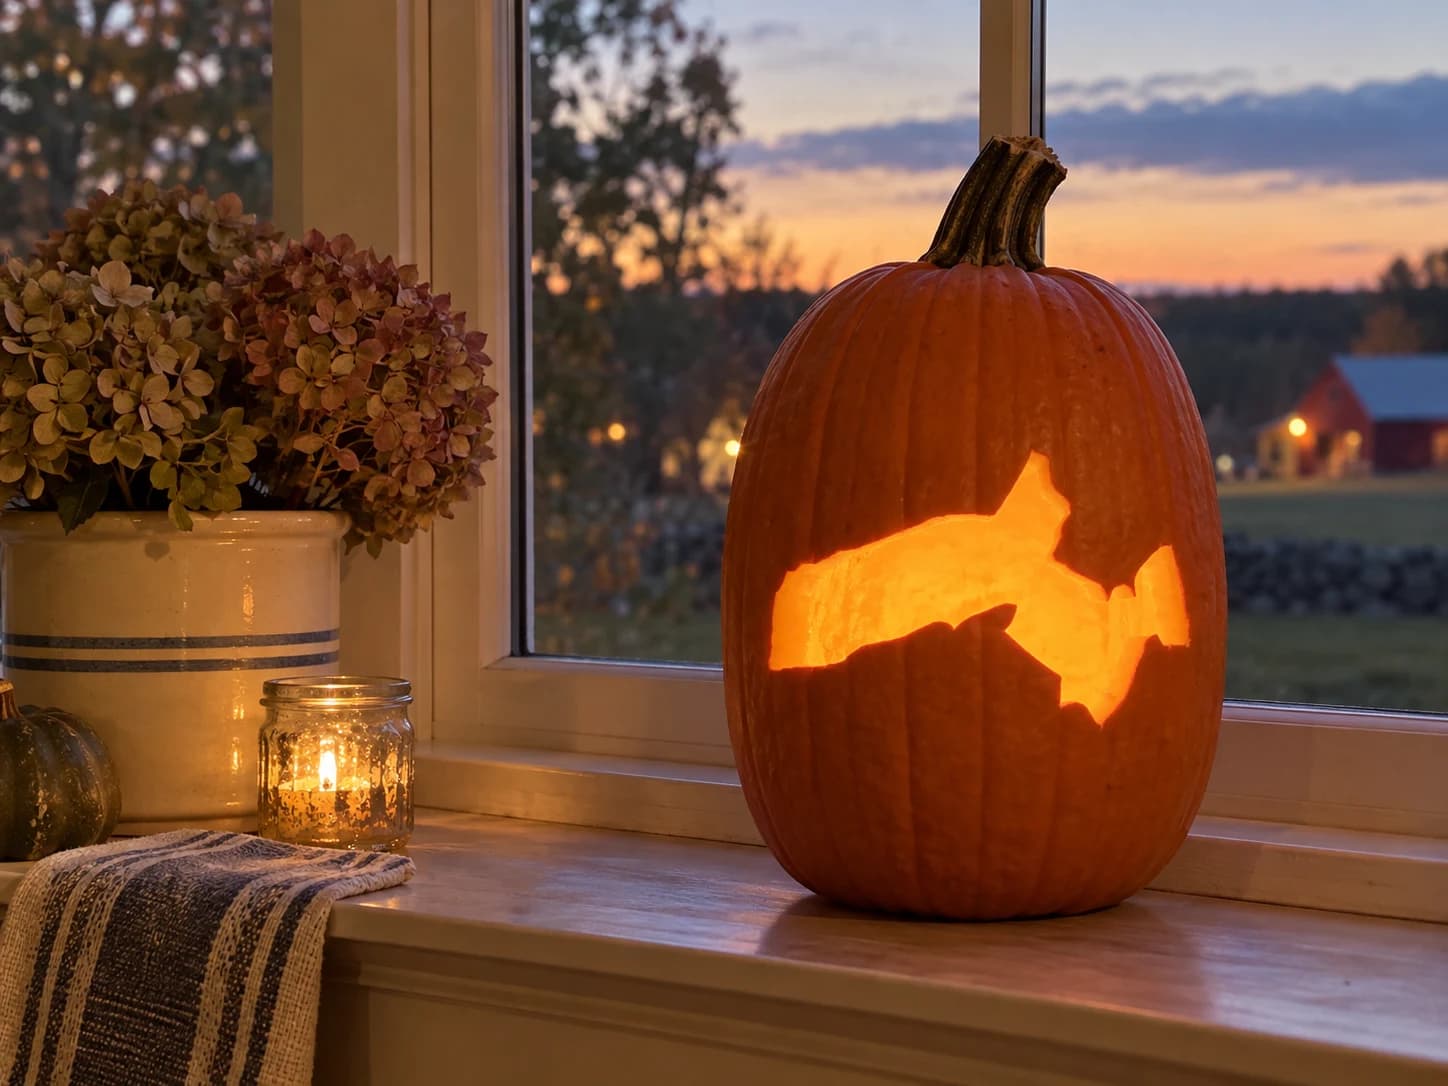
Massachusetts Pumpkin Stencil
Massachusetts appears as a wide, roughly rectangular landmass in this pumpkin stencil, tapering toward a notched right edge that represents Cape Cod's elbow and the smaller hook of the outer cape on the lower right. The entire state outline is carved as one open silhouette, so the jagged southeastern coastline and the separated cape hook both need steady hands. Cut the narrow cape-tip shape separately before removing the large mainland body, keeping that small piece in place with a pin until both cuts are complete.
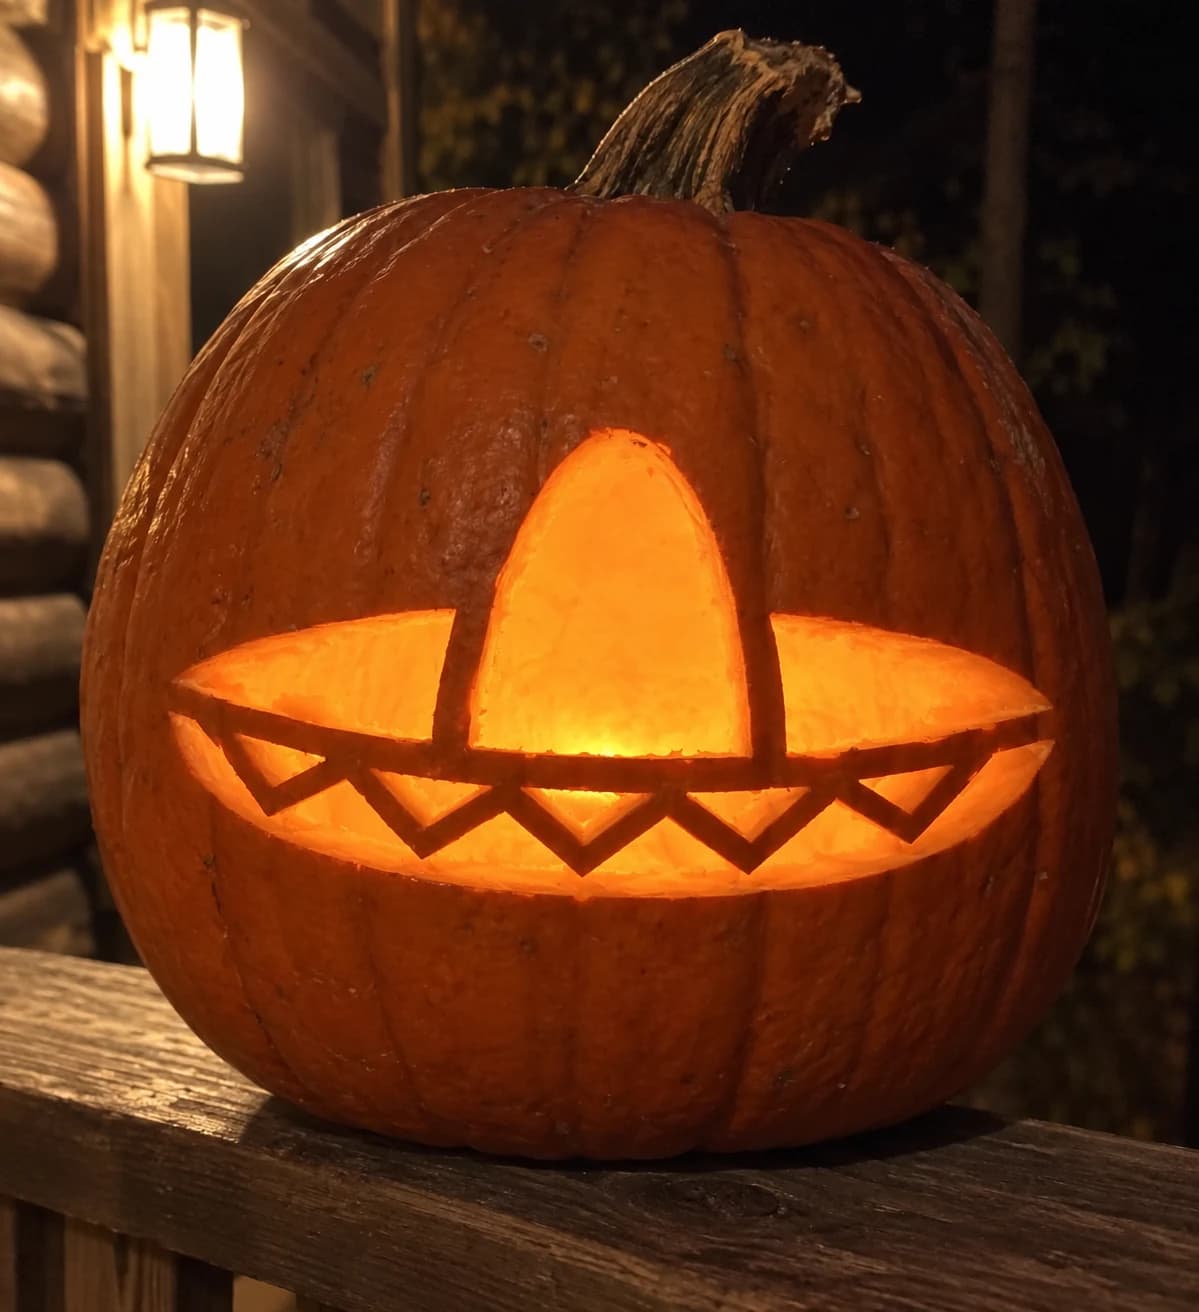
Sombrero Pumpkin Stencil
A wide-brimmed sombrero fills this pumpkin stencil, its high rounded crown pierced as one large cutout and the broad brim divided by a decorative band of repeating V-shaped notches that form a row of open triangles along the lower edge. The hat brim is the negative-space opening, and the triangular notches add festive detail within it. Cut the triangular notches along the band first, from the center outward in each direction, so the thin pumpkin teeth between them remain stable while you remove the larger crown and brim sections.
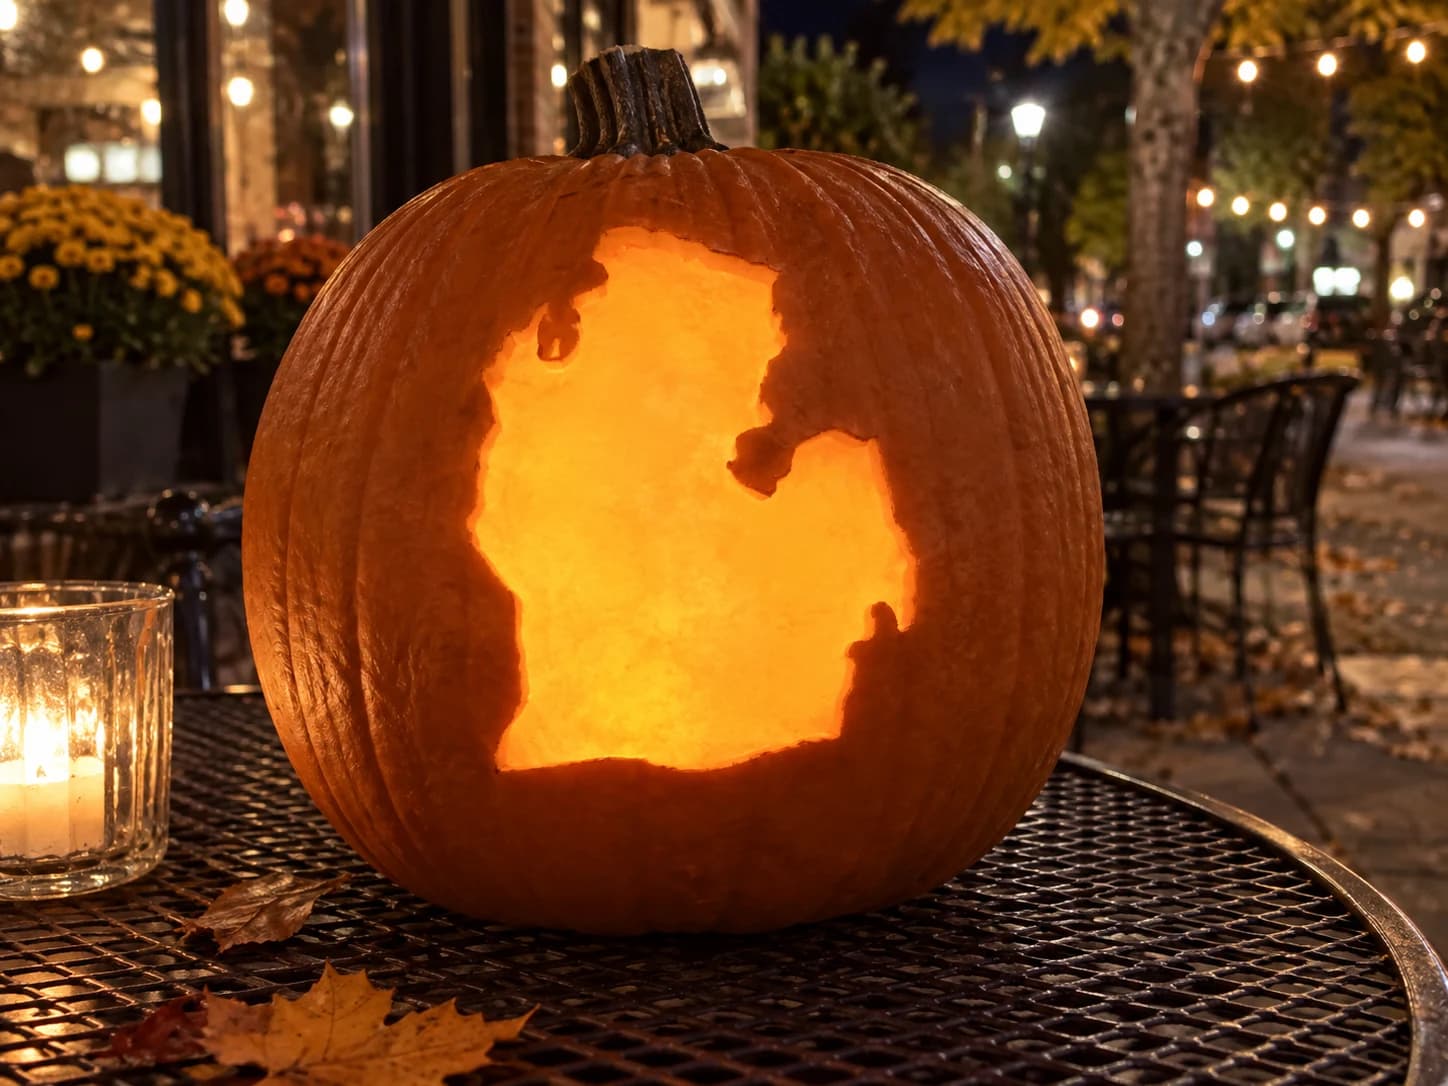
Michigan Pumpkin Stencil
Michigan's Lower Peninsula occupies most of this pumpkin stencil, its mitten-like silhouette instantly recognizable with the distinctive thumb peninsula on the upper right. A small notch at the top indicates where the Upper Peninsula begins, adding geographic accuracy to the outline. The entire shape is carved as a single open cutout, letting candle glow illuminate the full state contour. The thumb peninsula's base is a narrow waist of pumpkin wall, so cut the outer edge of the thumb with a slow controlled stroke before removing the larger lower-peninsula body.
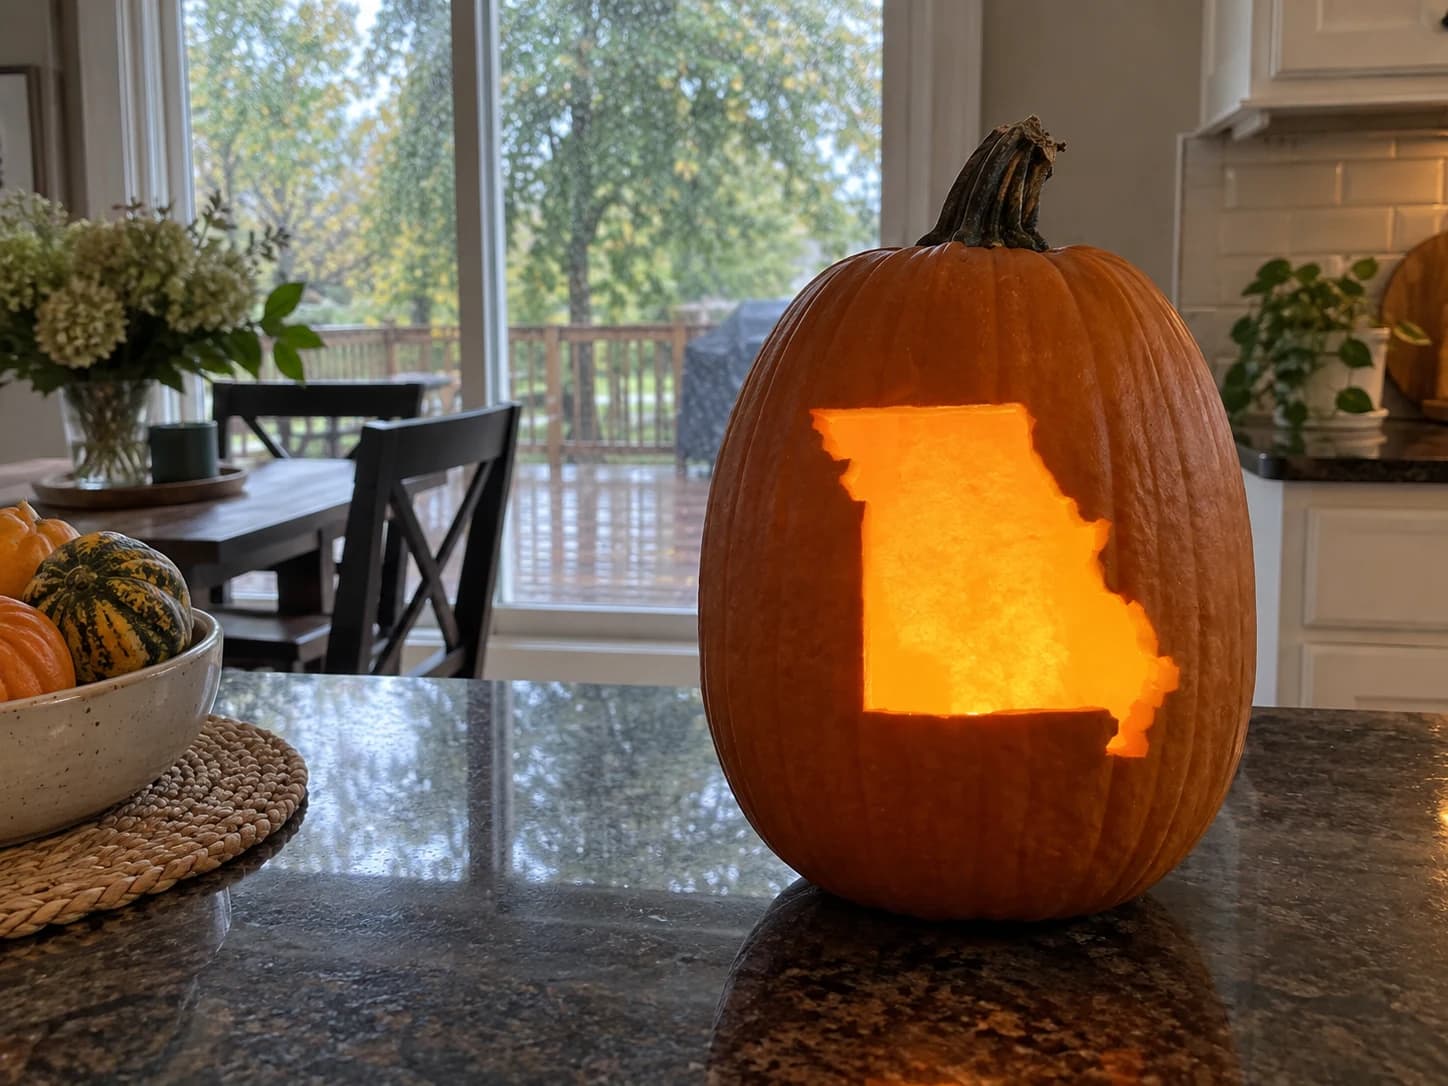
Missouri Pumpkin Stencil
Missouri's broad, roughly rectangular shape fills this pumpkin stencil with a satisfying silhouette. The northern edge is nearly flat, the eastern side curves gently, and the lower-right corner sports the distinctive Missouri Bootheel notch with its stepped extensions reaching down and right. Carved through as a single open shape, the state glows cleanly on a lit jack-o-lantern. Carve the squared main body first, then finish the small Bootheel extensions carefully to avoid snapping those narrow protrusions.
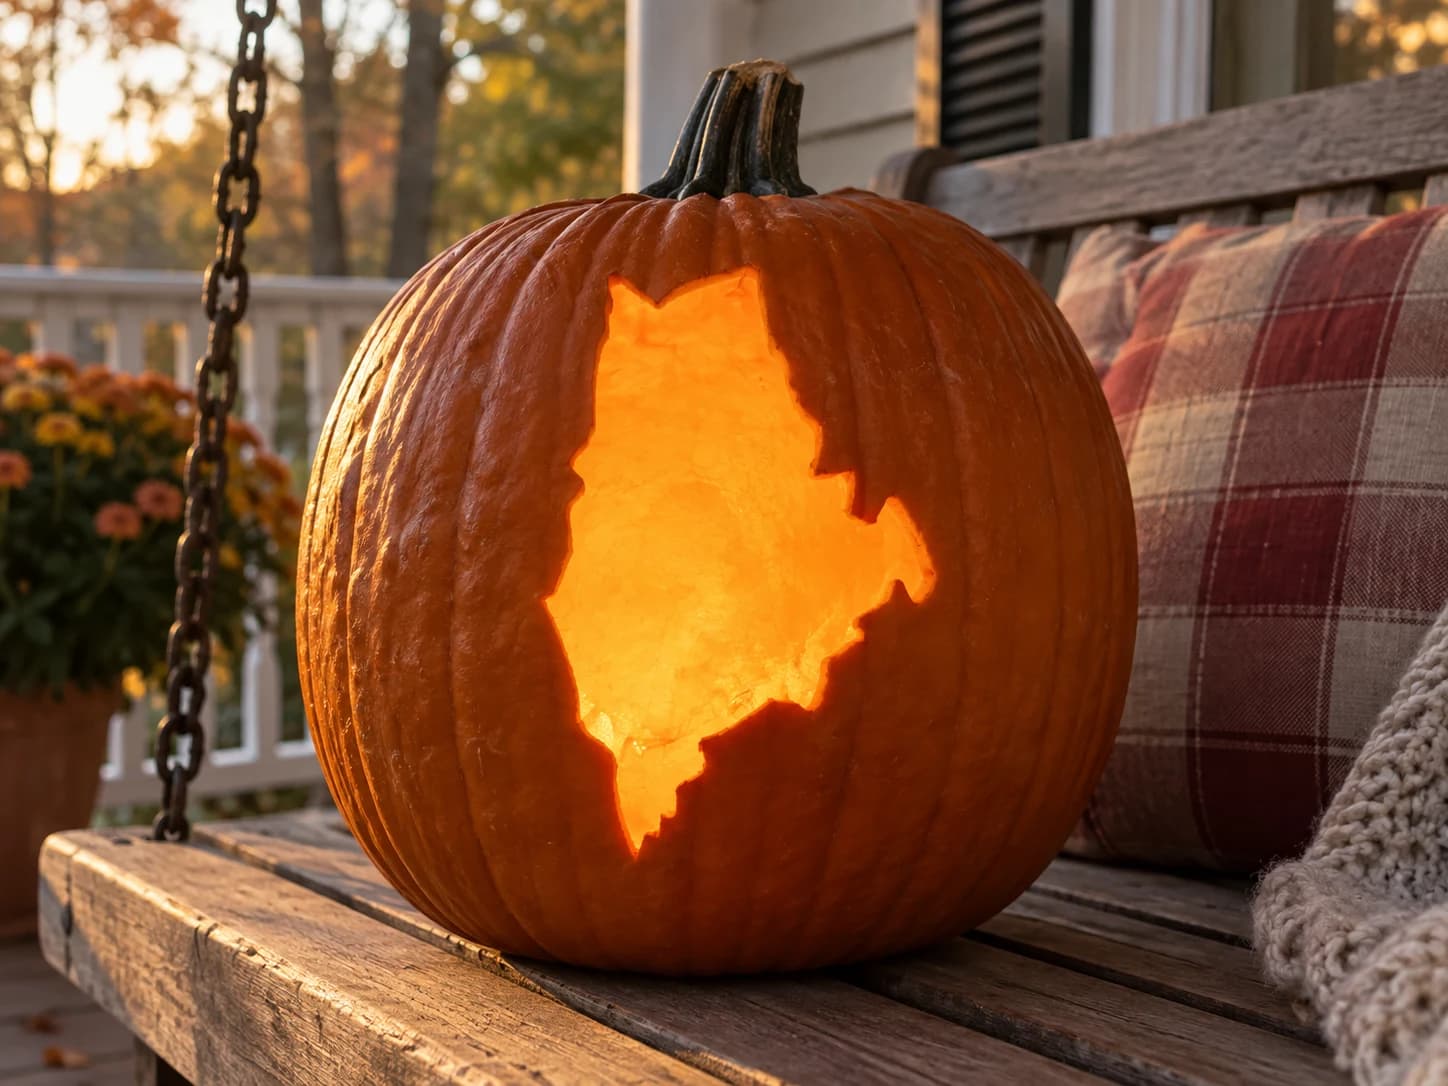
Maine Pumpkin Stencil
Maine's distinctive outline dominates this pumpkin stencil: a roughly triangular mainland mass with a jagged lower-right coastline and a small angular peninsula on the right side. The entire state silhouette is pierced through as a single open cutout, letting candle glow trace every notch of the rocky shoreline. Maine's coastal edge has several tight concave corners, so work those inward points with a narrow craft blade and cut the large flat interior sections last to keep the pumpkin wall stable.
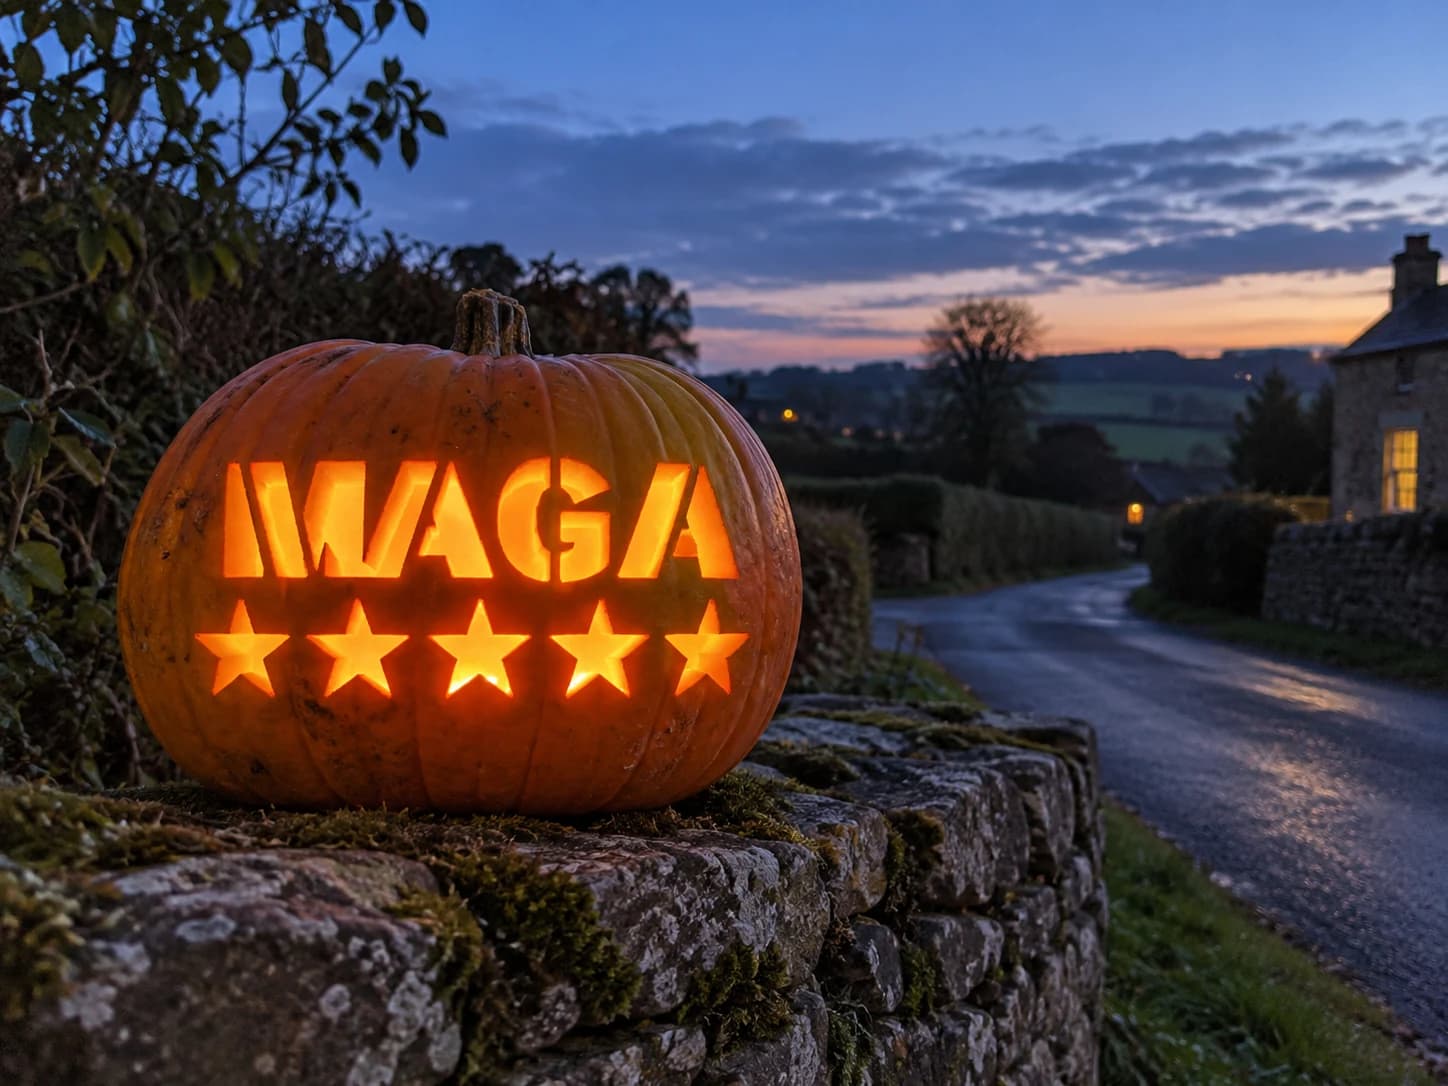
MAGA Pumpkin Stencil
The acronym "MAGA" is set in wide, bold stencil letters on the upper portion, with a row of five evenly spaced five-pointed stars running beneath it. All letters and stars are fully pierced through, so the finished jack-o-lantern glows the text and stars against the night. The star points are the sharpest cuts in this design; carve each star from its center outward to each tip rather than tracing the outer perimeter, which helps keep the thin points from tearing.
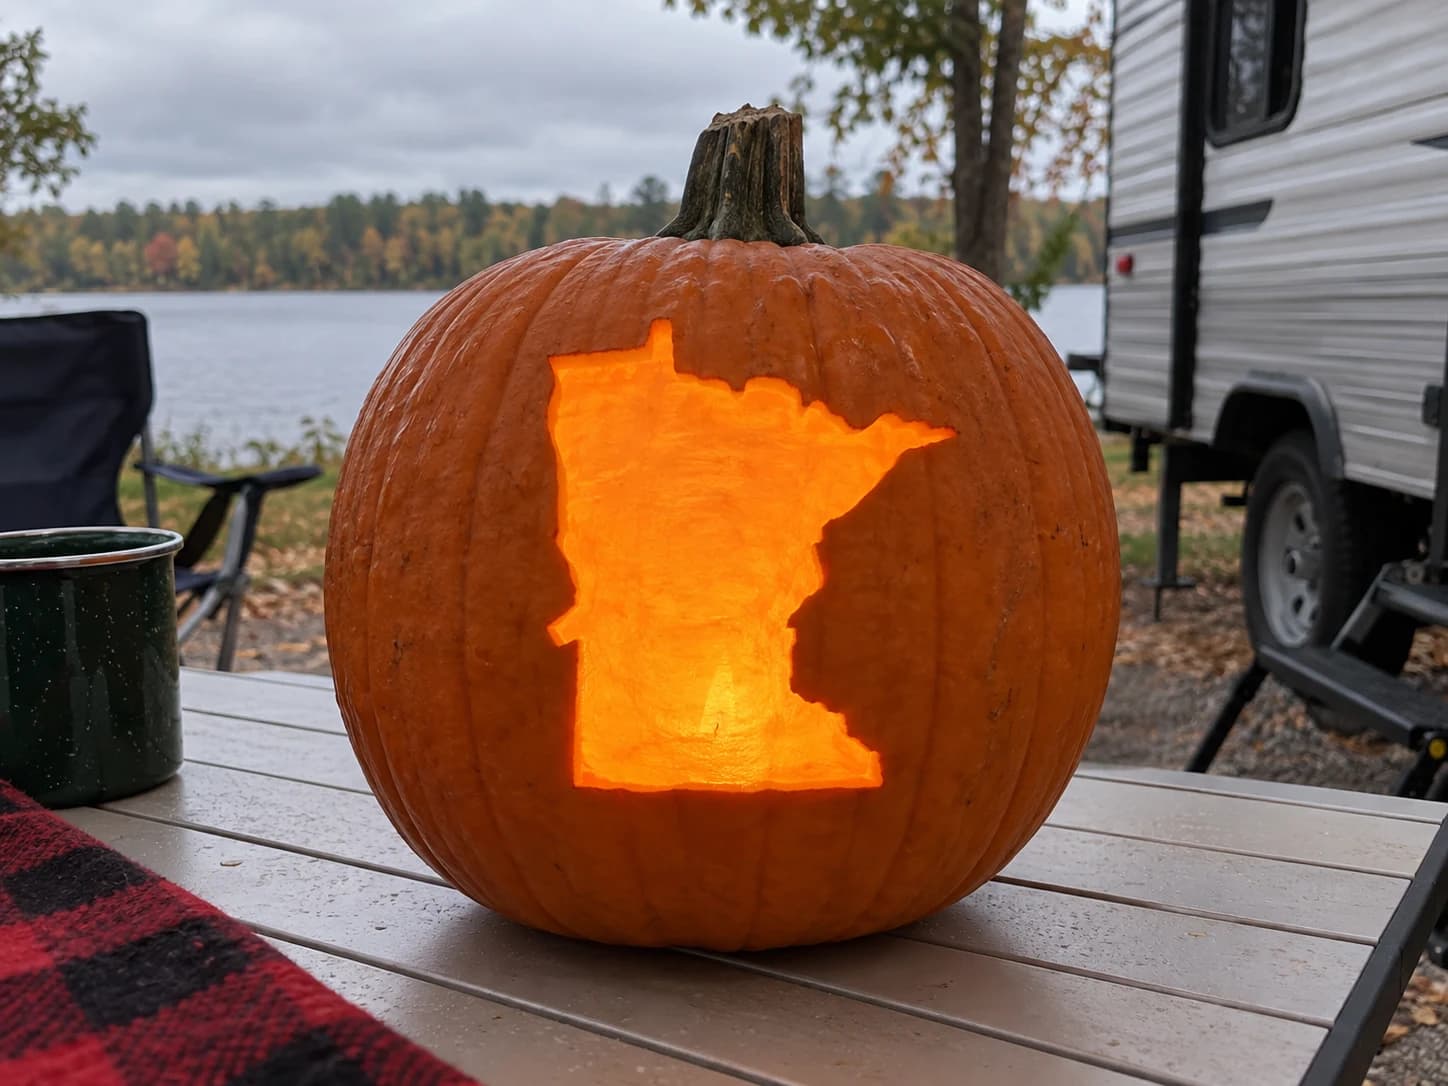
Minnesota Pumpkin Stencil
Minnesota's outline appears in this pumpkin stencil as a broad near-rectangular shape with a small protrusion extending to the upper left for the Northwest Angle and a gentle scalloped northern border that traces the lake-country edge. The entire state silhouette is carved as one open cutout, and the smooth southern and western borders contrast with the more irregular northern and eastern edges. The Northwest Angle nub is a small isolated tip connected by a narrow strip, so cut that corner carefully before removing the main body to prevent it from tearing loose.
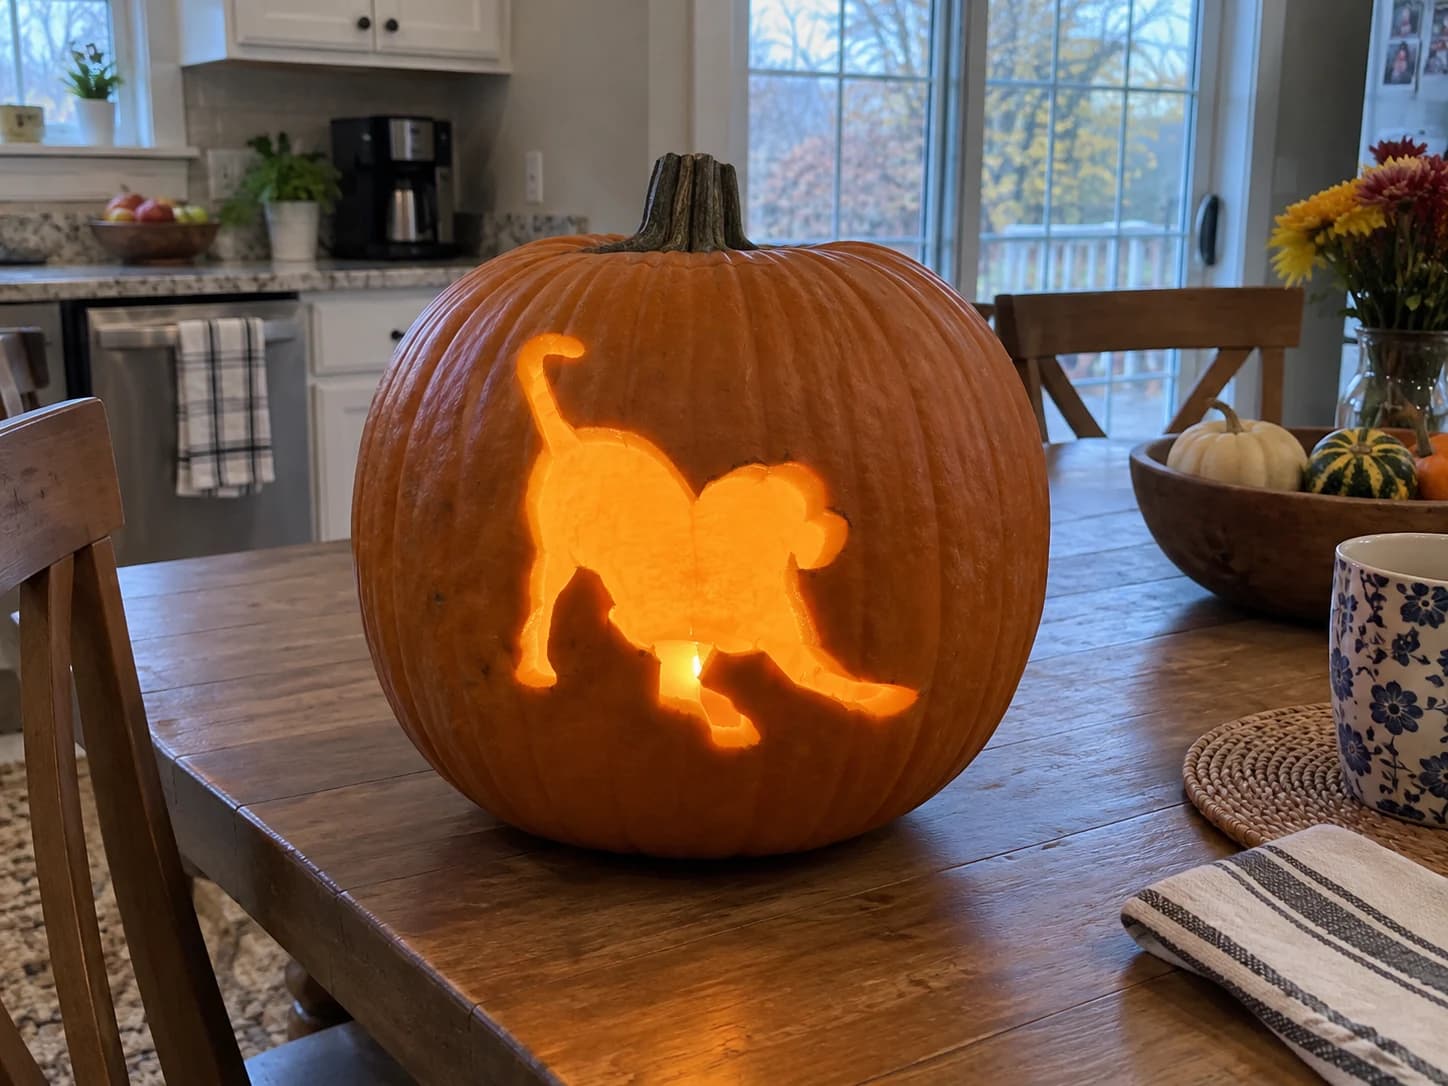
Playful Puppy Pumpkin Stencil
A playful puppy silhouette in a classic play-bow pose, with its rump raised, front paws stretched forward, tail curling up, and round head tilted down, is carved as a single solid cut-through shape. The whole dog reads as one open void so it blazes brightly against the uncut pumpkin surface. Because the tail curls away from the body and connects only at a narrow point near the haunches, cut the tail last after the main body is out to avoid accidentally snapping the thin bridge.
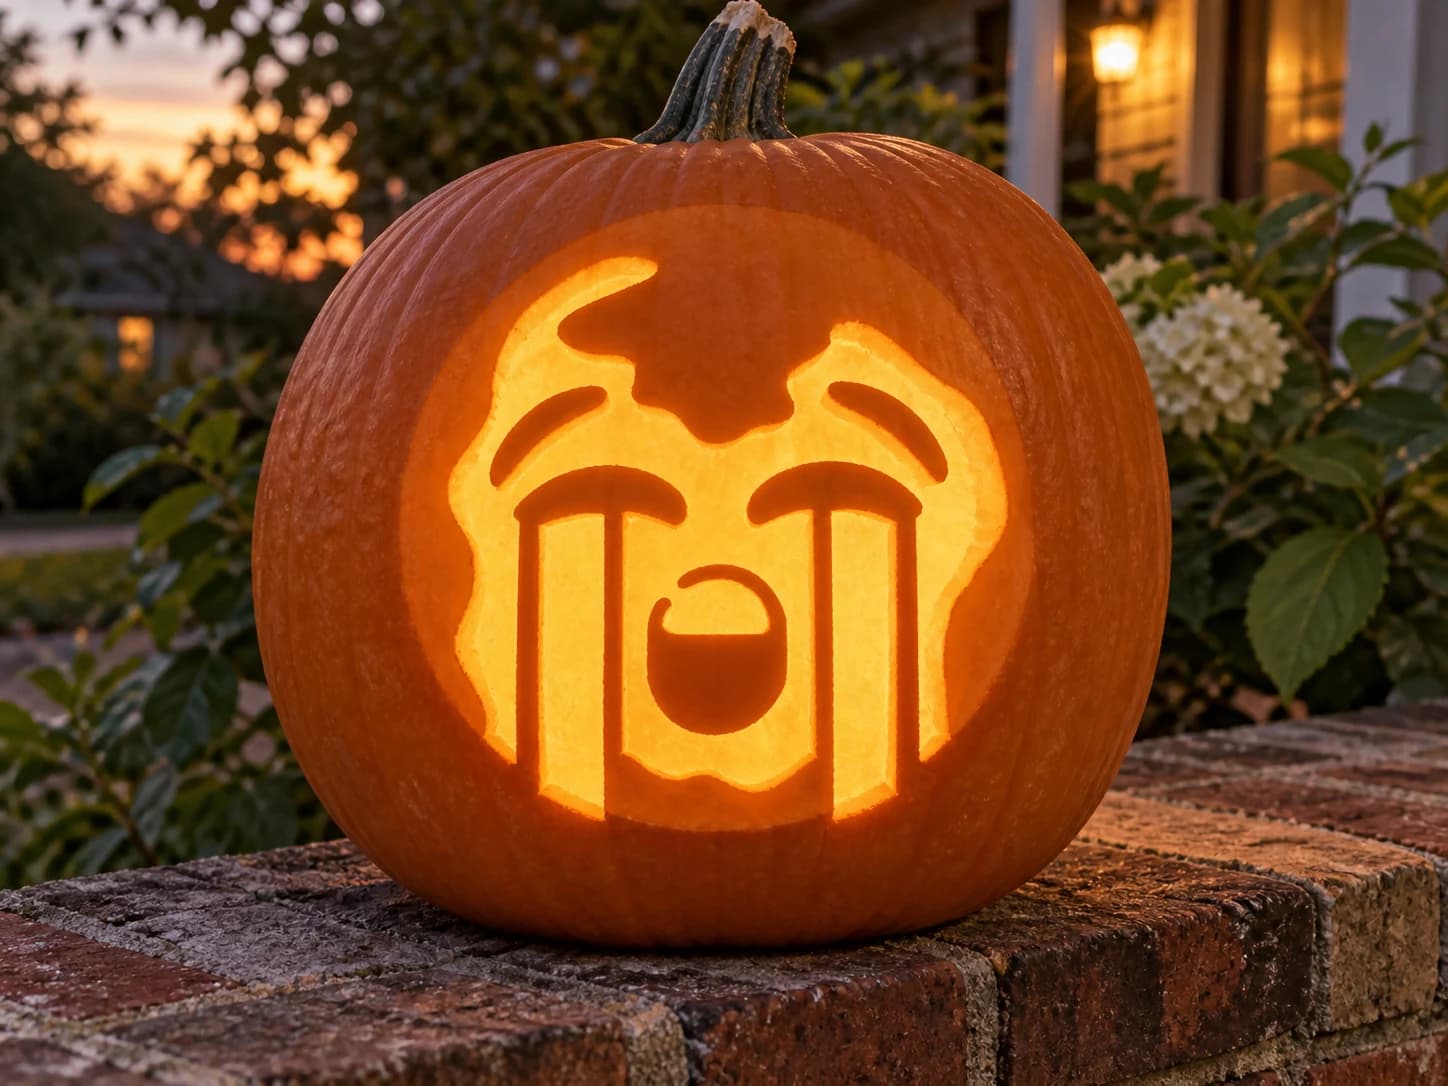
Crying Emoji Pumpkin Stencil
The loudly crying face emoji is rendered as a large circular face with swooping hands pressed to the cheeks, closed scrunched eyes, and twin waterfalls of tears streaming down from the eyes to the chin. The circular outline is pierced through, and the face features are solid orange islands floating within the big cutout. When lit, the pumpkin stencil reads as an instantly recognizable emoji silhouette. The thin vertical tear-stream bridges are the most fragile part of this design; cut the large outer ring first and save the tear columns for last.
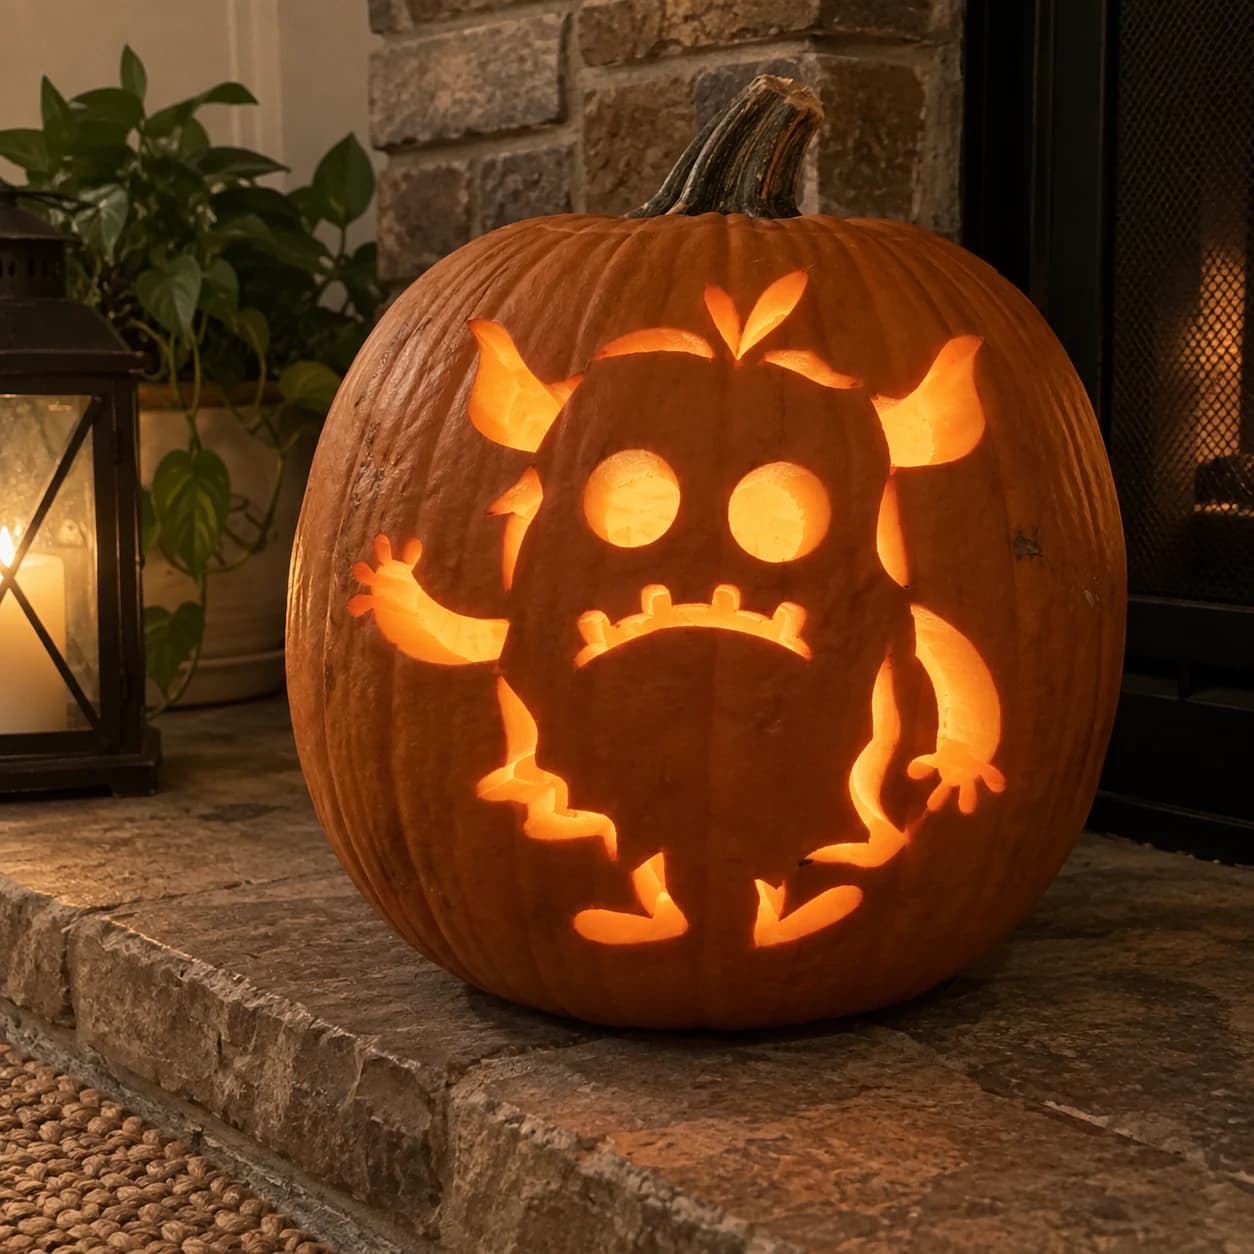
Round Cartoon Monster Pumpkin Stencil
A small round cartoon monster occupies this pumpkin stencil: a chunky body with two large circular eyes, a frowning row of square teeth, a curly stem-like antenna on top, sideways horns, stubby arm appendages, and splayed feet all carved as separate islands of light. The design has many floating cut-through pieces spread across the face of the pumpkin. Start with the two circular eye holes since they are the most central reference points, then position the surrounding appendage cuts relative to them.
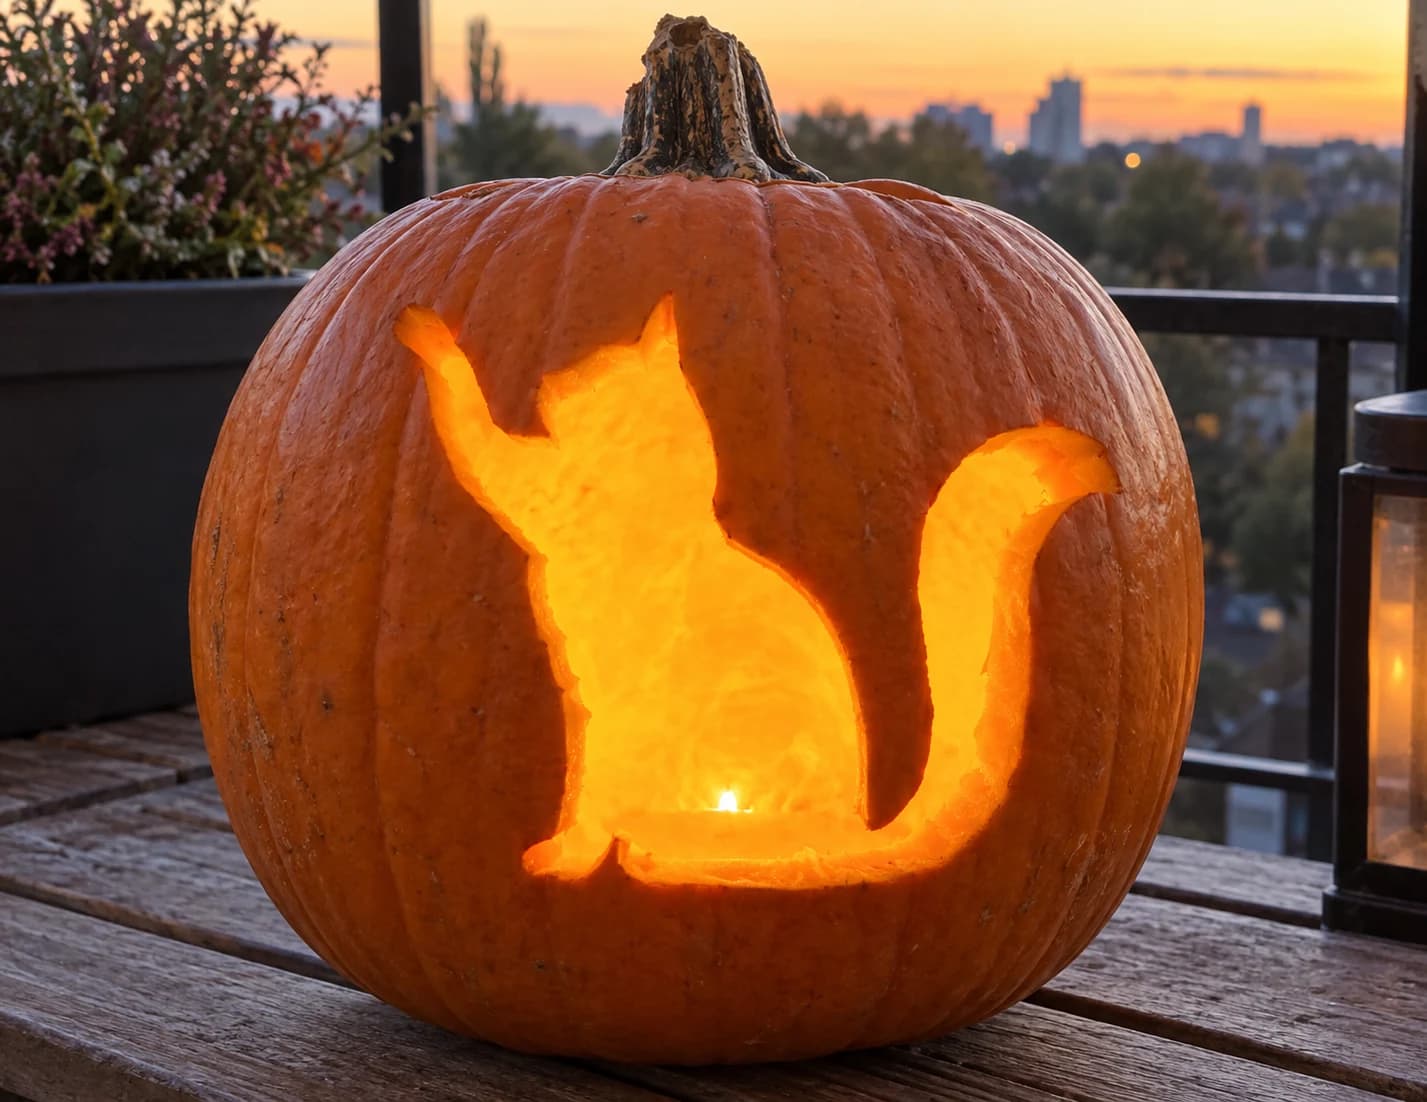
Cat Silhouette Pumpkin Stencil
A seated cat with one front paw raised stretches upward in this clean silhouette pumpkin stencil, the rounded head, pointed ears, compact torso, and curling tail all forming one continuous open cutout with no internal detail cuts. The simplicity of the single-piece design means glow floods the entire cat shape at once for a bold, graphic look. The tail curls away from the body and reconnects at the base, creating a narrow closed loop of pumpkin wall; cut along the inner curve of that tail loop first so the delicate enclosed section stays controlled.
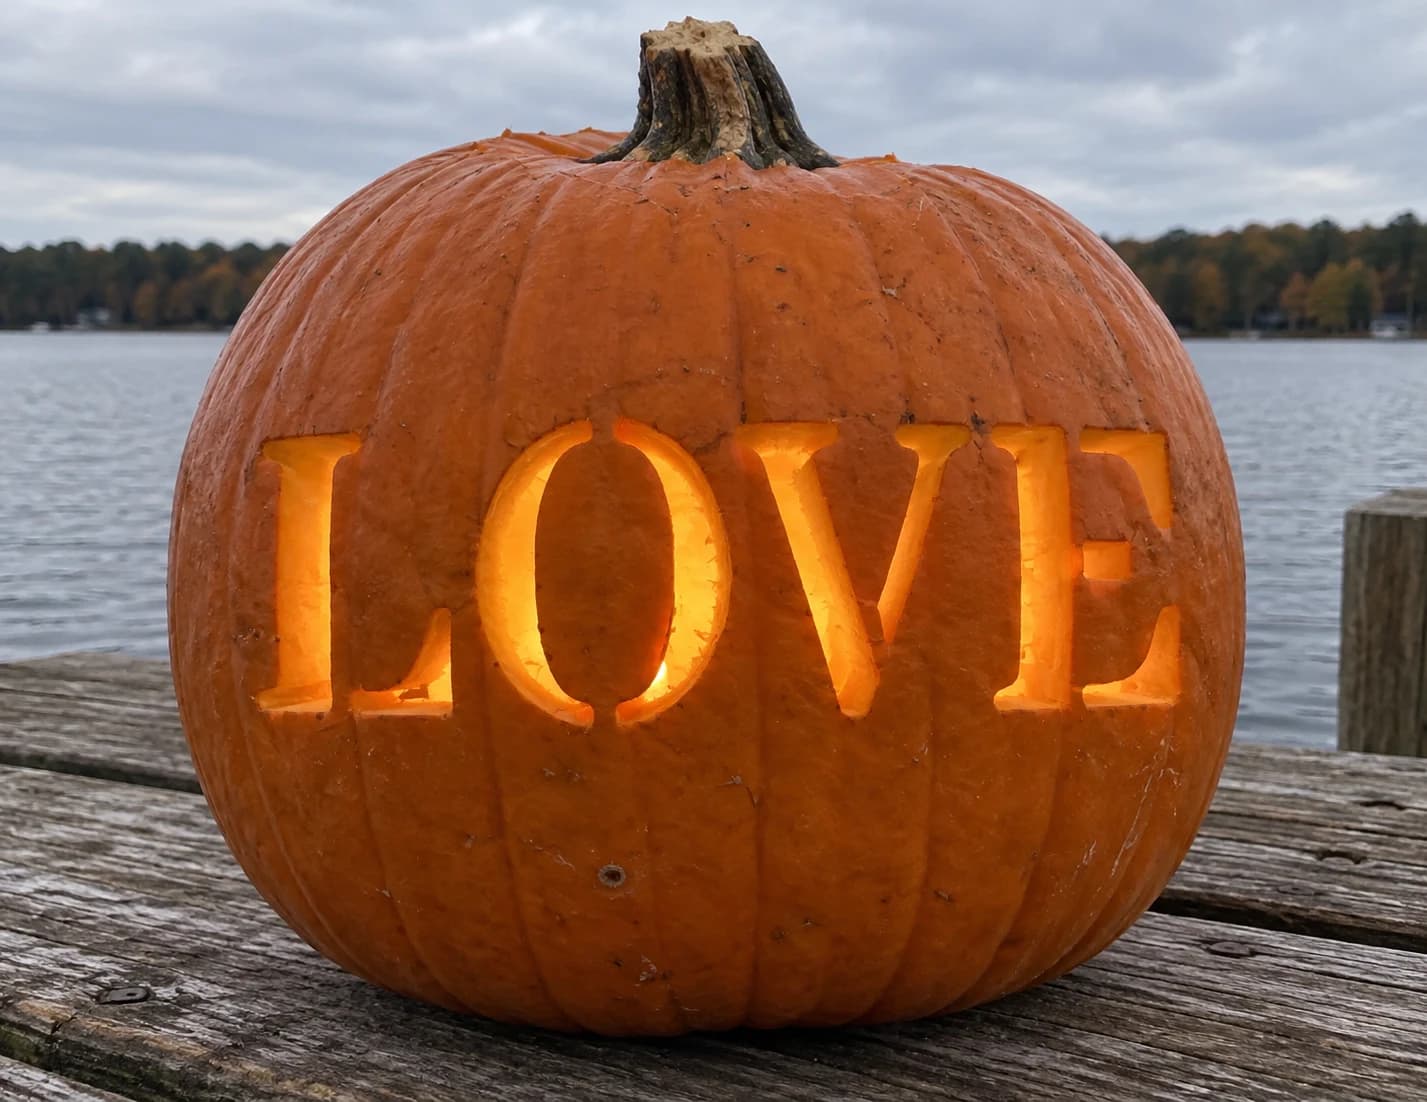
LOVE Pumpkin Stencil
Four tall serif capitals spell out "LOVE" in a single row, each letter sized to span the full height of the pumpkin face, with the word cut completely through so it glows solid when lit. The letterforms use clean, wide strokes with minimal internal bridges, making this one of the most legible word-carving pumpkin stencils in the set. Because the "O" and the interior counter of the "V" require small floating pumpkin islands, remove those internal pieces before fully clearing the surrounding letter to avoid them dropping out unexpectedly.
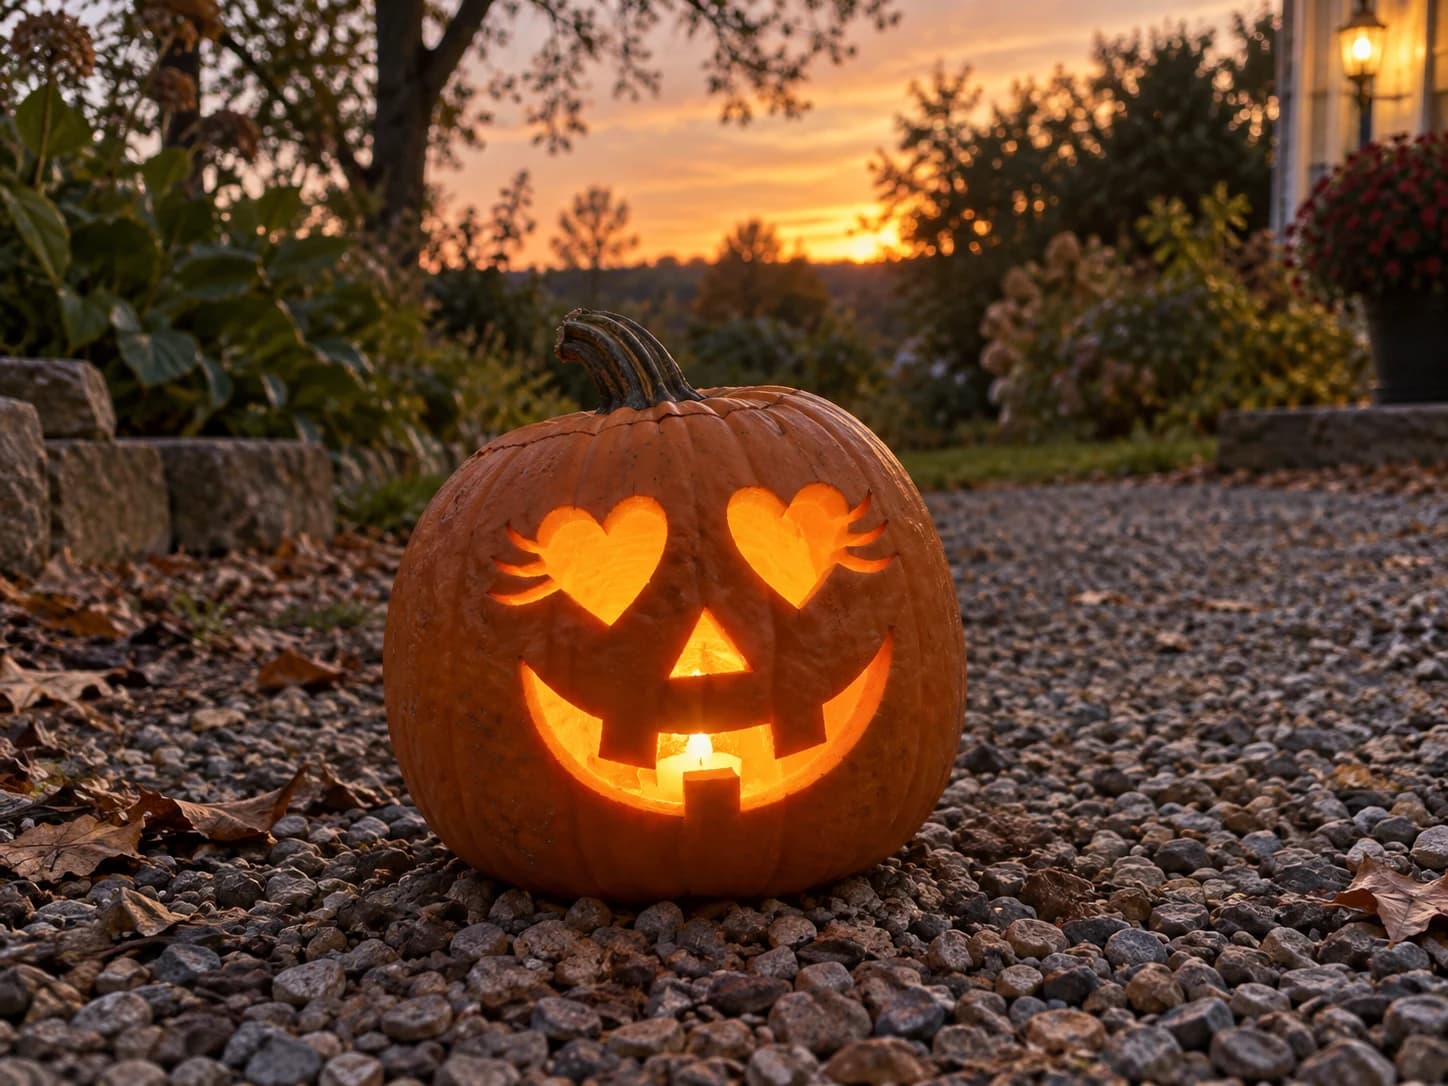
Heart Eyes Jack-o-Lantern Pumpkin Stencil
A classic jack-o-lantern face gets a romantic twist: two heart-shaped cutouts replace the usual triangle eyes, each framed by three curling eyelash strokes, above a wide crescent grin with three rectangular tooth gaps. The design is beginner-level with large, easy-to-cut openings and gentle curves throughout. Cut each heart eye from the inner point downward and around the lobes rather than starting at the curved top, which helps you keep the heart shape symmetrical on the pumpkin's curved surface.
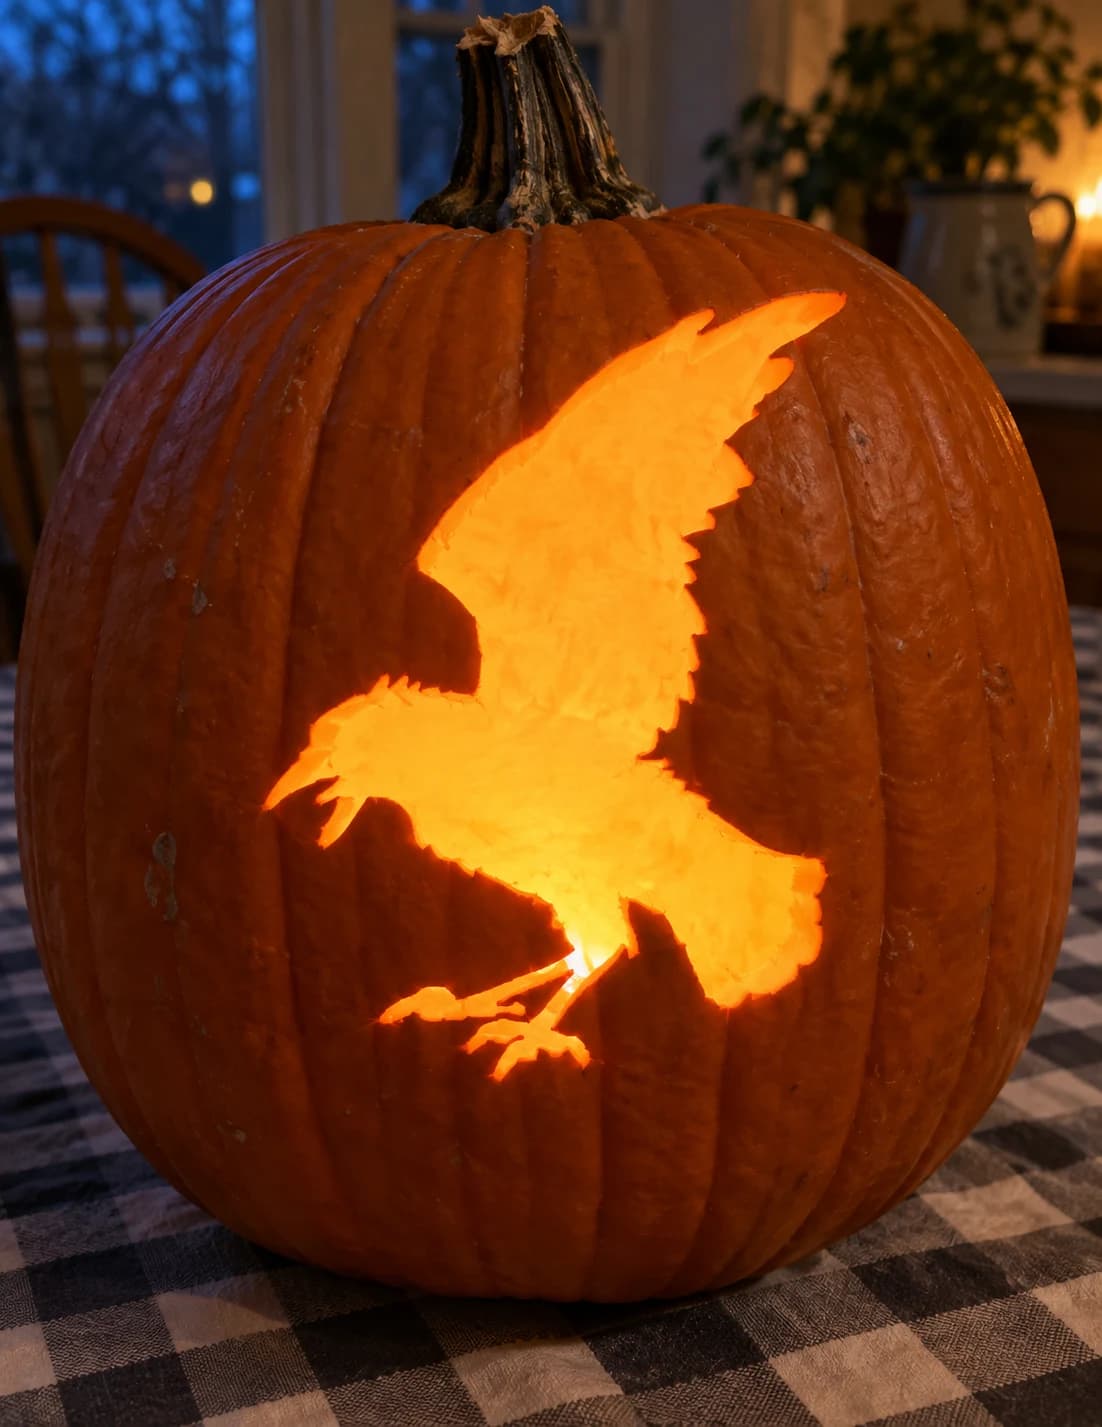
Landing Crow Pumpkin Stencil
A crow lands with wings spread wide in this pumpkin stencil, its whole body carved as a single flowing silhouette: broad fanned primary feathers stretch across the top, the compact body curves in the center, and sharp talons reach downward at the bottom. The entire bird shape is one large open cutout, so the glow forms a clean winged-bird shadow on the pumpkin's orange skin at the edges. The outermost wing-tip feathers taper to fine points, so trace and cut those tips before sawing into the larger body to prevent cracking the thin ends.
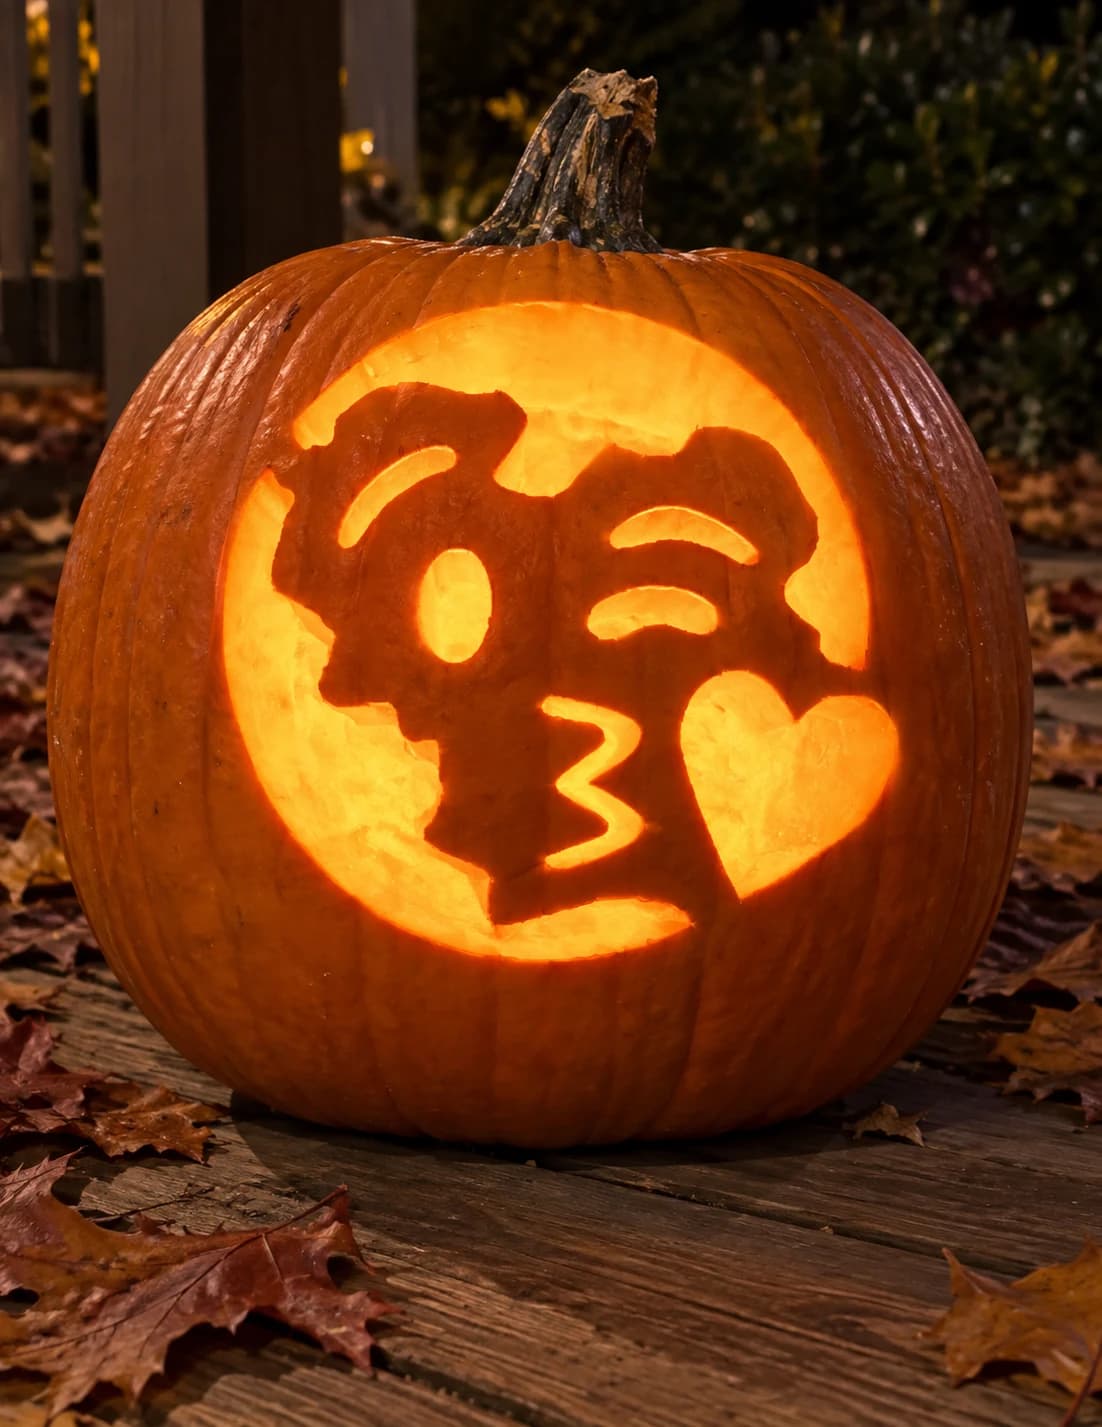
Kiss Emoji Pumpkin Stencil
The love heart kiss emoji fills the design: a round yellow face in profile with one visible winking eye, rosy cheek, puckered kissing lips, and a heart shape floating beside the mouth. The face is set against a large circular pierced background, with the facial features rendered as solid orange islands within the opening. The tiny oval winking-eye island and the small heart shape are the parts most likely to fall out during carving; cut the large circular outer ring last so the wall holds those islands in place until they are secured by their surrounding bridges.
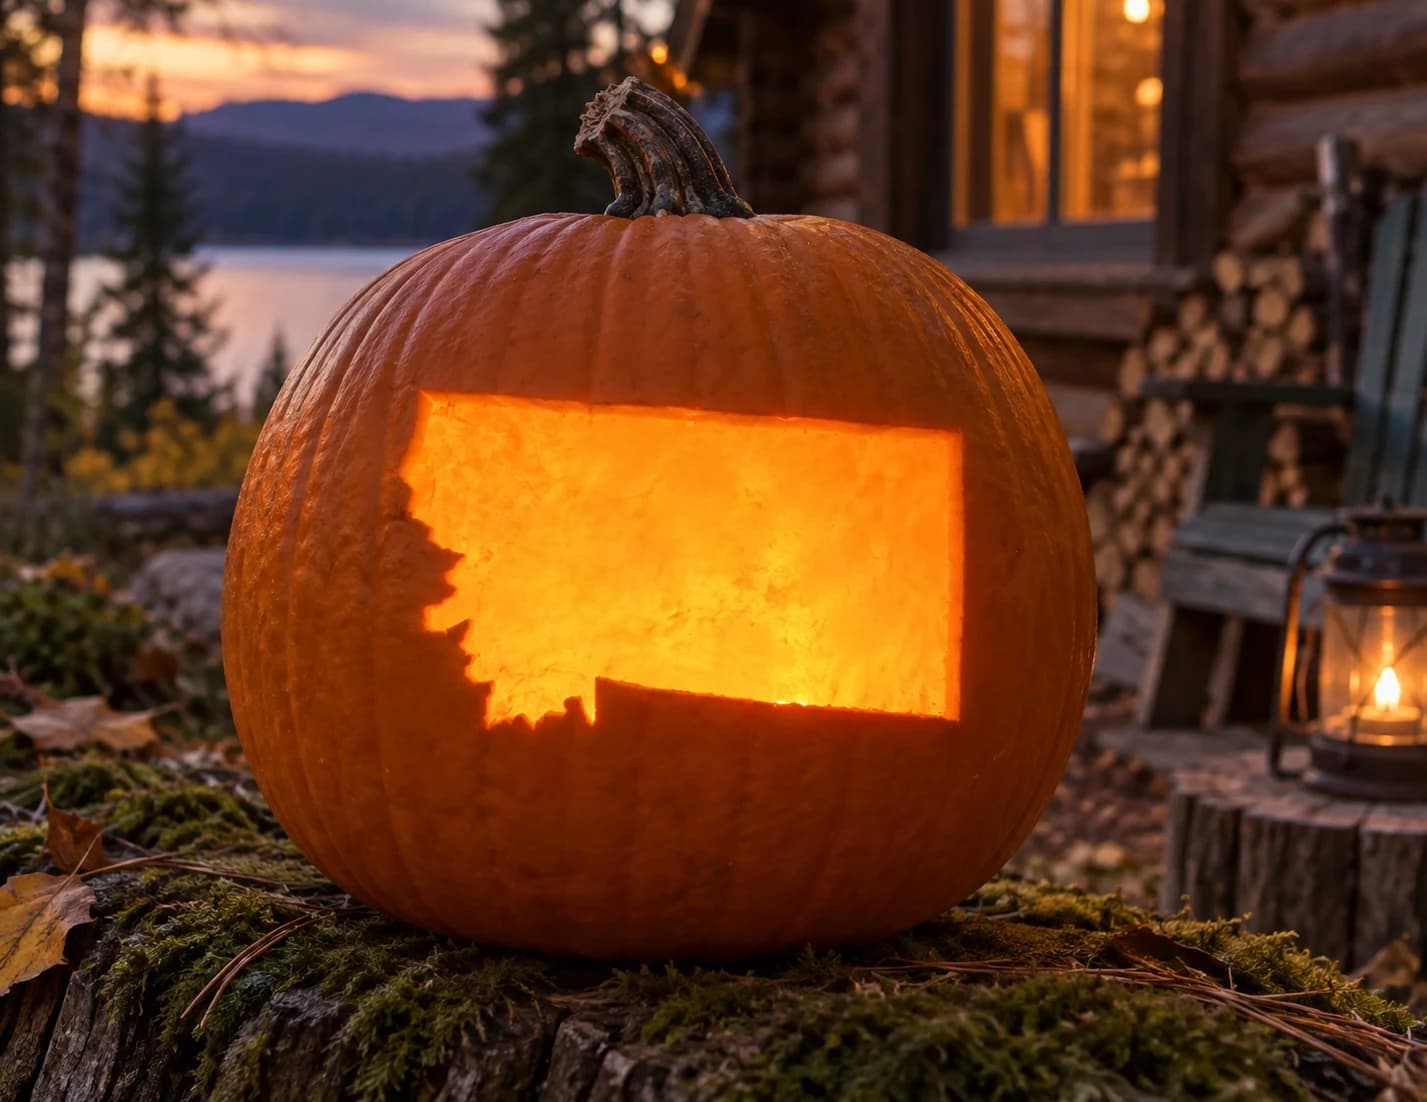
Montana Pumpkin Stencil
Montana's wide, nearly rectangular silhouette makes this an approachable pumpkin stencil for beginners. The top and right edges are almost straight, while the left side carries the state's characteristic jagged, glacier-cut western border that dips in irregular steps down toward the southwestern corner. A small panhandle-like indent near the bottom center adds the final identifying detail. Carving the whole shape as a single open cut lets the jack-o-lantern glow brightly; trace the western zigzag border slowly with a detail blade to keep those steps sharp.
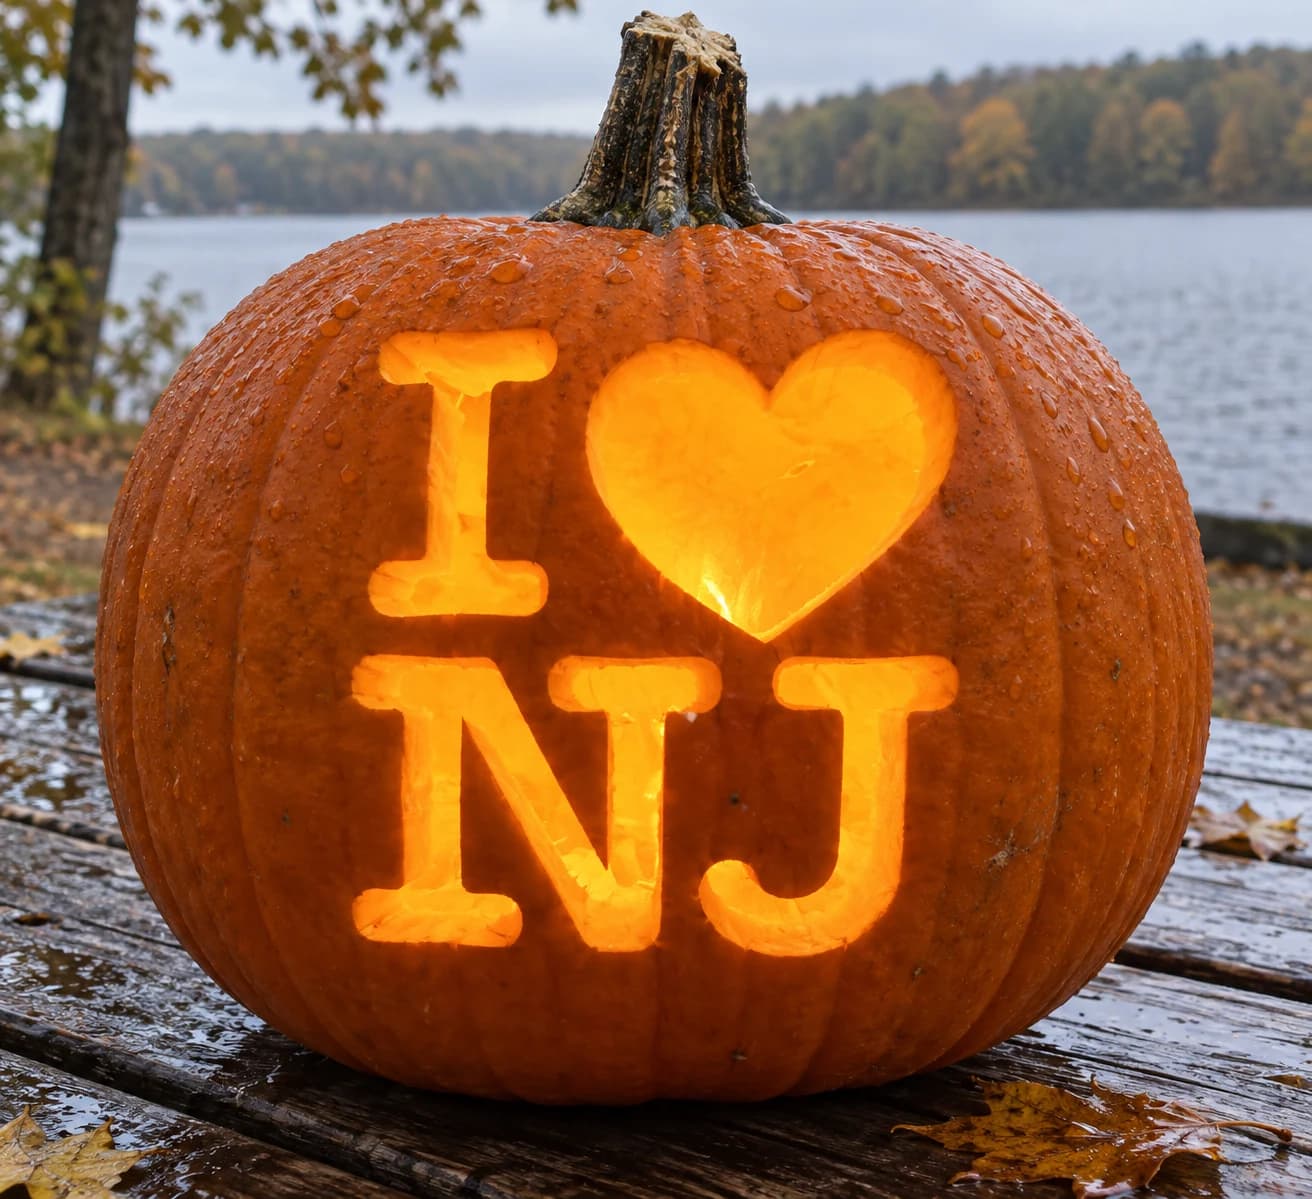
I Love New Jersey Pumpkin Stencil
New Jersey's pumpkin stencil carves the classic "I [heart] NJ" in two rows with a tall slender "I", a large rounded heart, and the letters "NJ" in rounded block type. The "J" hooks at the bottom with a curved terminal, making it the trickiest stroke in this otherwise beginner-friendly design. To keep that curved hook crisp, slow your saw strokes as you round the bottom of the "J" and avoid rocking the blade side to side.
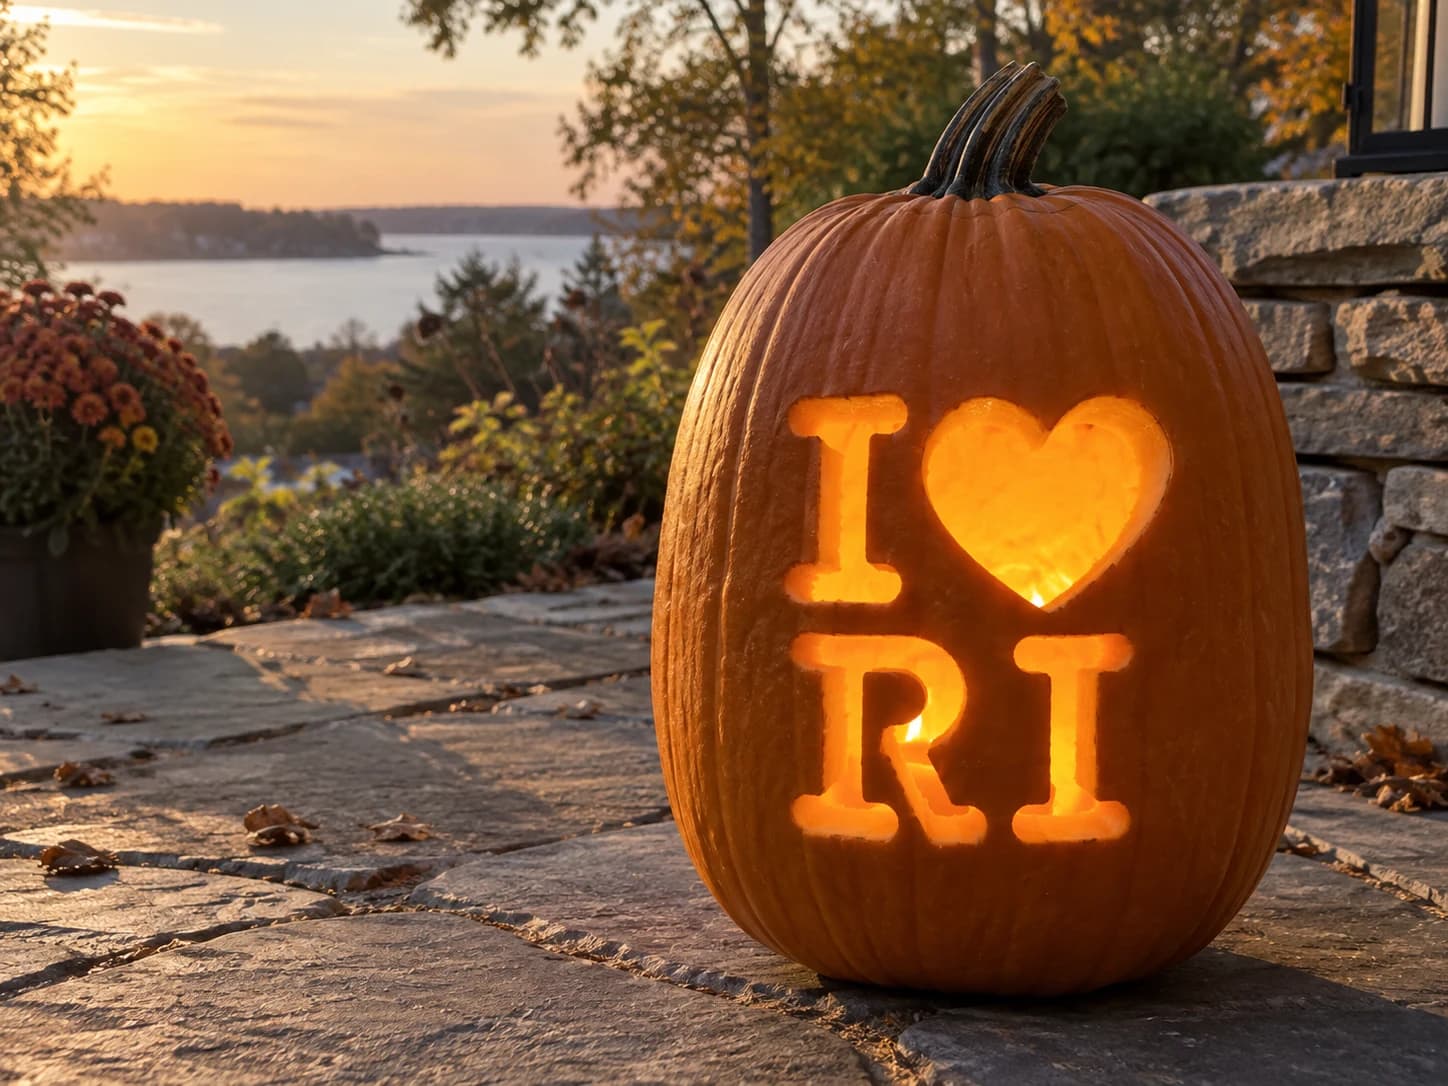
I Love Rhode Island Pumpkin Stencil
Rhode Island's pumpkin stencil carves "I [heart] RI" in two open rows, with a tall "I", a wide rounded heart, and the block letters "R" and "I" below. The "R" has a curved lobe on top and a diagonal leg at the bottom right, while the second "I" is a simple vertical bar. Cut the heart and the top "I" first, then the standalone bottom "I", saving the "R" for last since the diagonal leg is the most structurally complex stroke and benefits from a firm, still pumpkin.
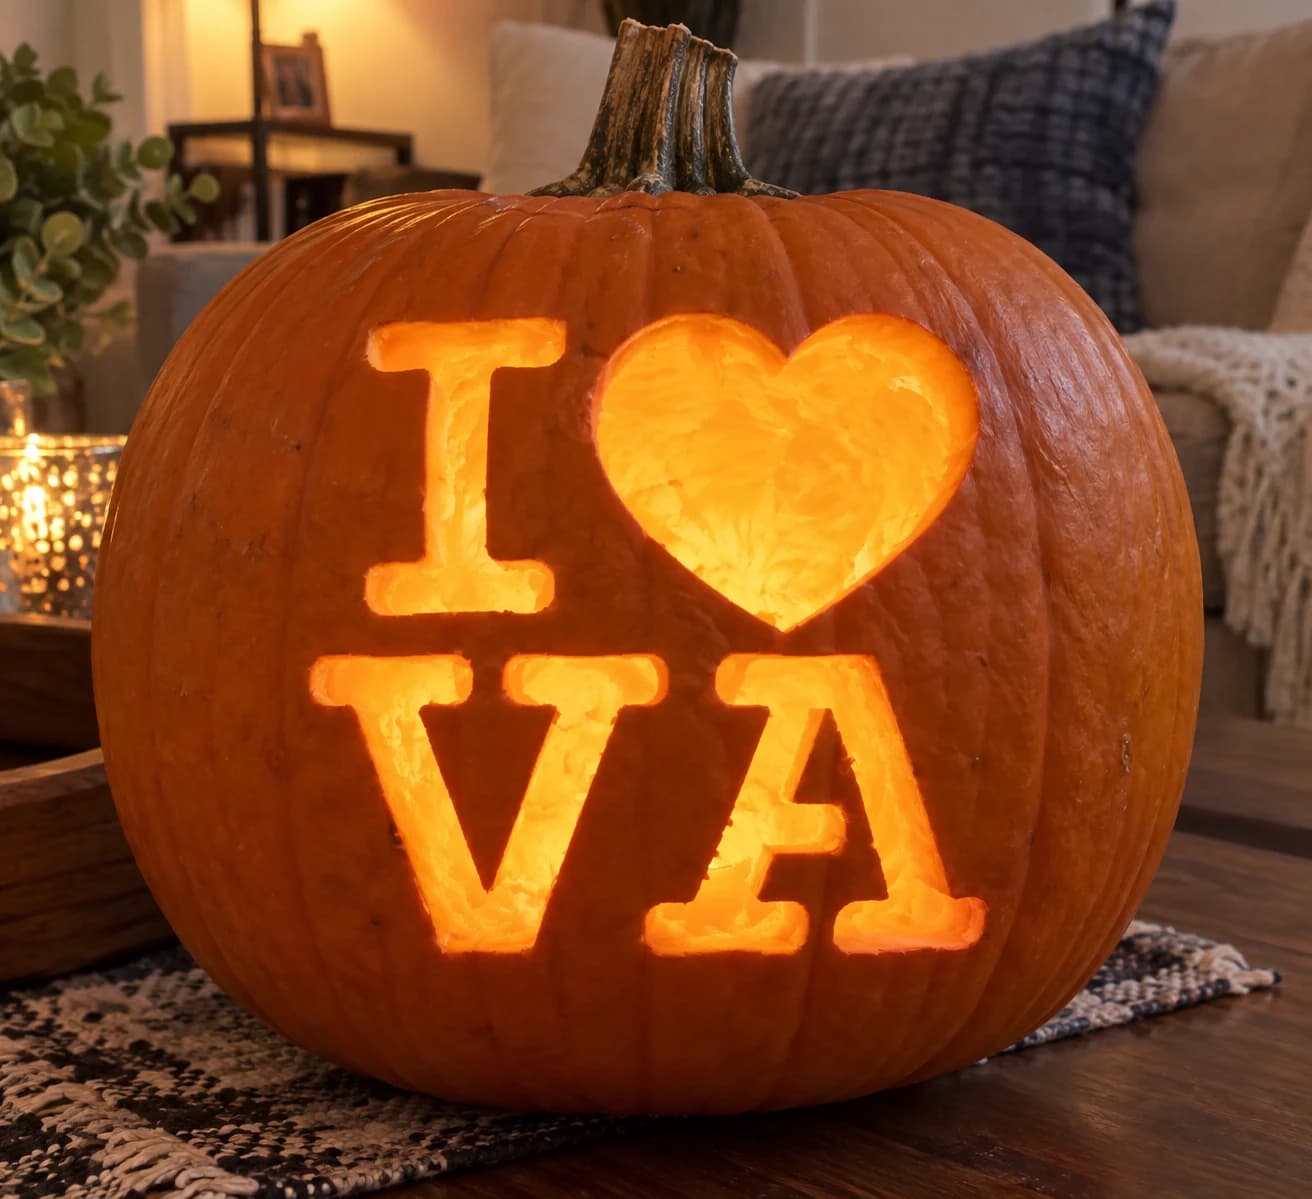
I Love Virginia Pumpkin Stencil
Four thick, serif-style shapes form an "I heart VA" layout on this Virginia pumpkin stencil: a tall I on the upper left, a wide heart on the upper right, and the letters V and A filling the lower half, each one fully cut through so the jack-o-lantern glows with clean, recognizable state pride. The cut-outs are generously sized with tight serif terminals; use a detail blade to navigate the inside corners of the A's crossbar without snapping the narrow bridge connecting it to the outer counter.
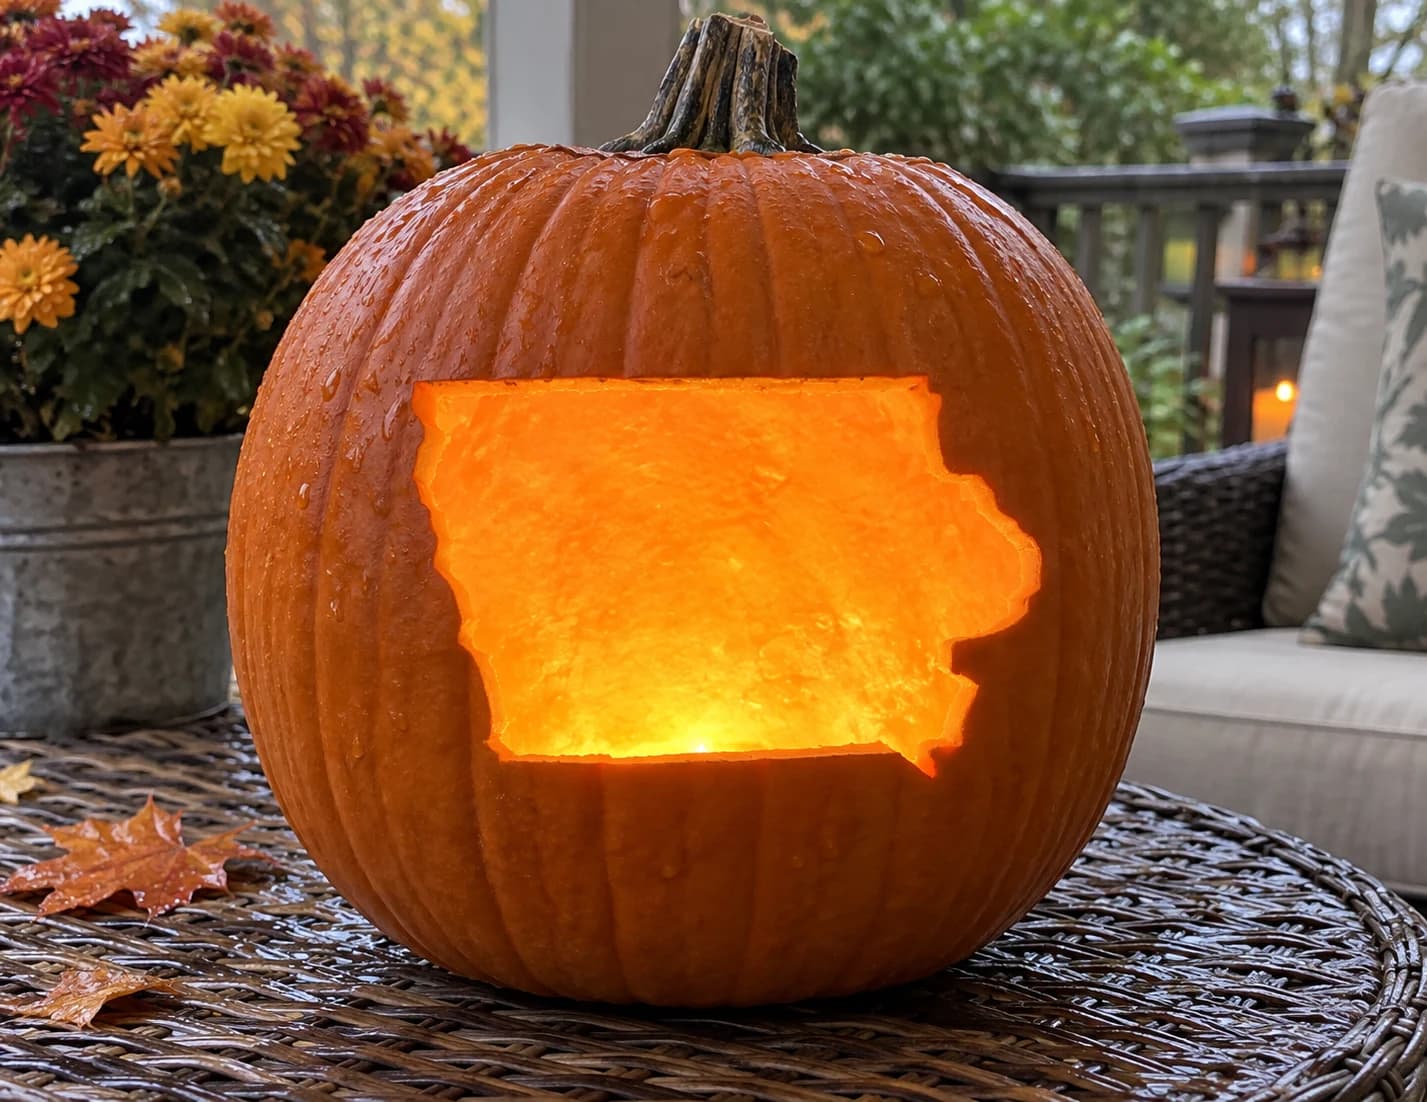
Iowa State Shape Pumpkin Stencil
Iowa carves as a single wide silhouette on this pumpkin stencil: a nearly rectangular block with a gently irregular northern border, a slight jog on the eastern edge, a smooth southern line broken by a small notch where the Des Moines River meets the state boundary, and a stepped southwestern corner. The broadly rectangular shape means the opening is large relative to the pumpkin, so use a firm-walled pumpkin and carve from the center outward to avoid the sides flexing inward during cutting.
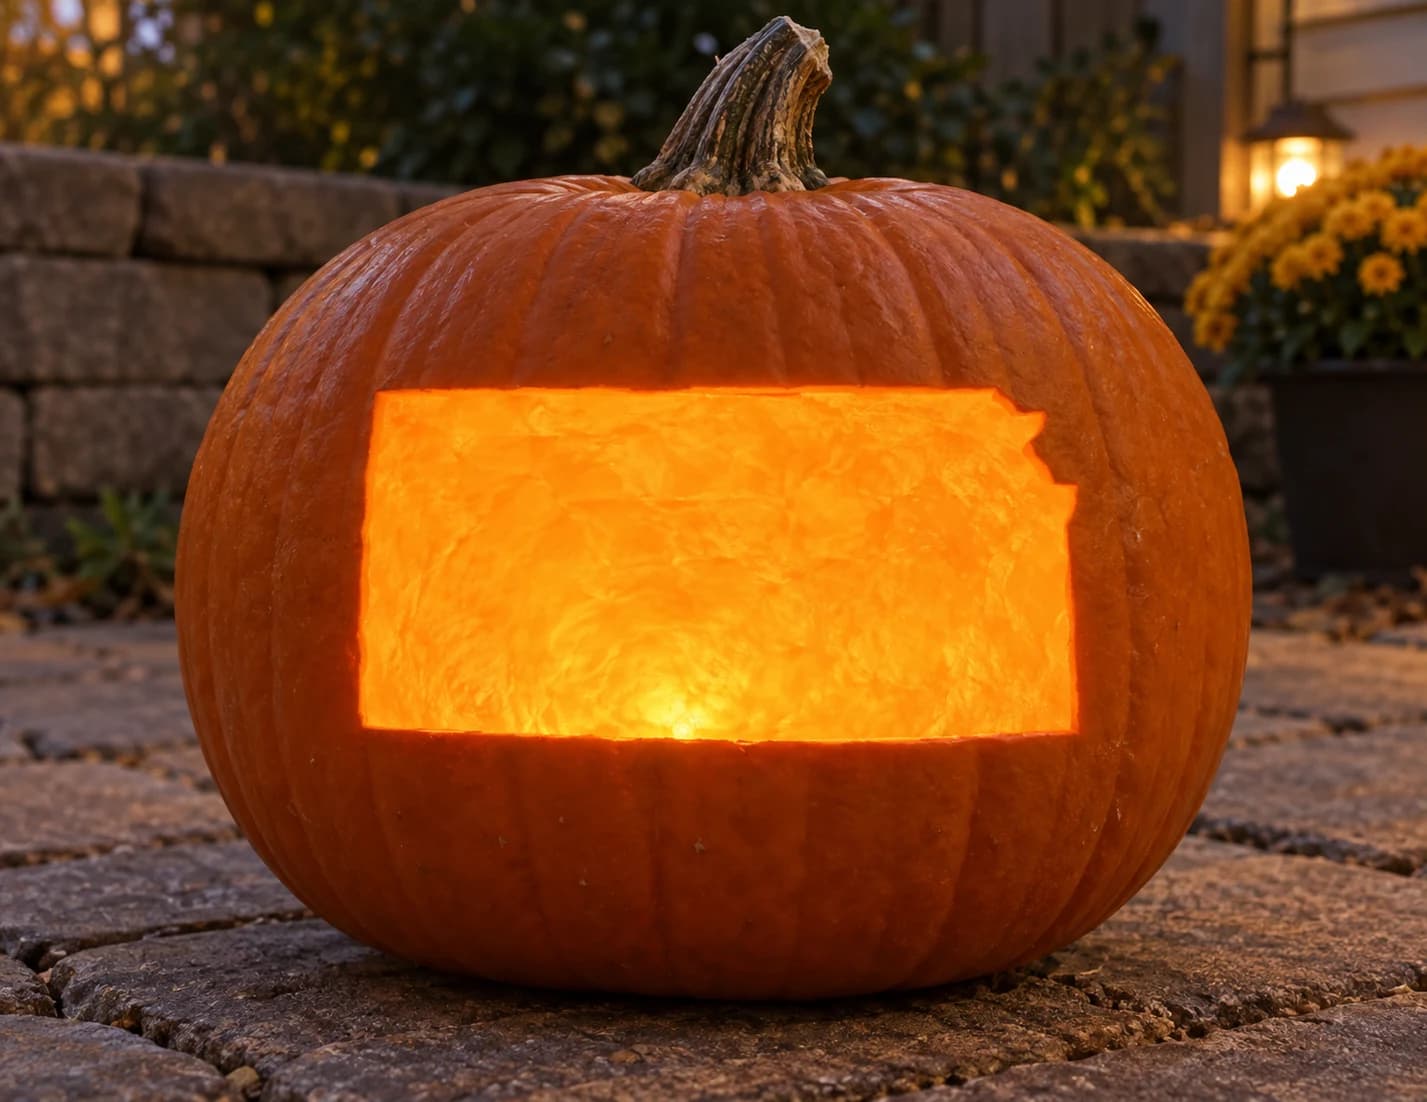
Kansas State Shape Pumpkin Stencil
Kansas appears as a nearly perfect rectangle on this pumpkin stencil, distinguished by a small notched step in the upper-right corner where the state's northeastern border jogs to follow the Missouri River. The entire shape is cut as one large open window, making this one of the broadest single-piece openings in any state stencil. Because the wide horizontal cut-out can weaken the pumpkin, place a support skewer through the pumpkin's interior wall before carving to keep the top from sagging while you work the lower edge.
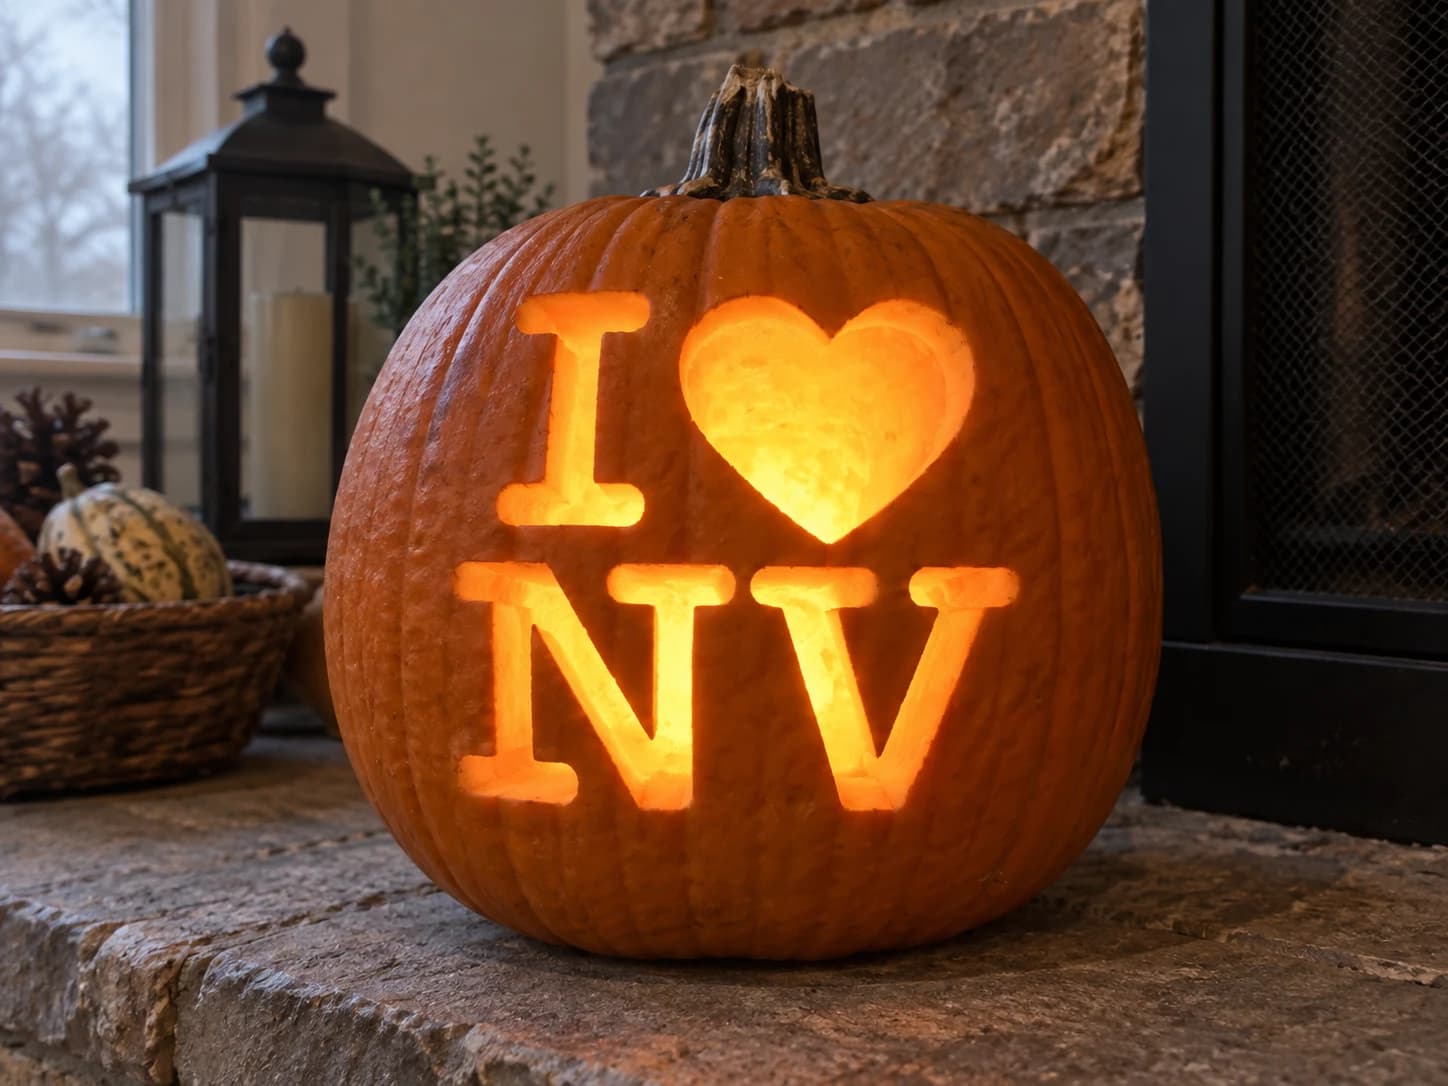
I Love Nevada Pumpkin Stencil
This Nevada pumpkin stencil uses the two-row "I [heart] NV" layout, with a squat "I", a wide rounded heart, and the letters "N" and "V" in chunky rounded sans-serif type. The "V" shape is a large open wedge that tapers to a blunt rounded tip, making it one of the easier letter forms to carve cleanly. Cut along the diagonal left side of the "V" first, then the right, meeting at the rounded bottom tip with a short rocking motion to avoid over-cutting past the point.
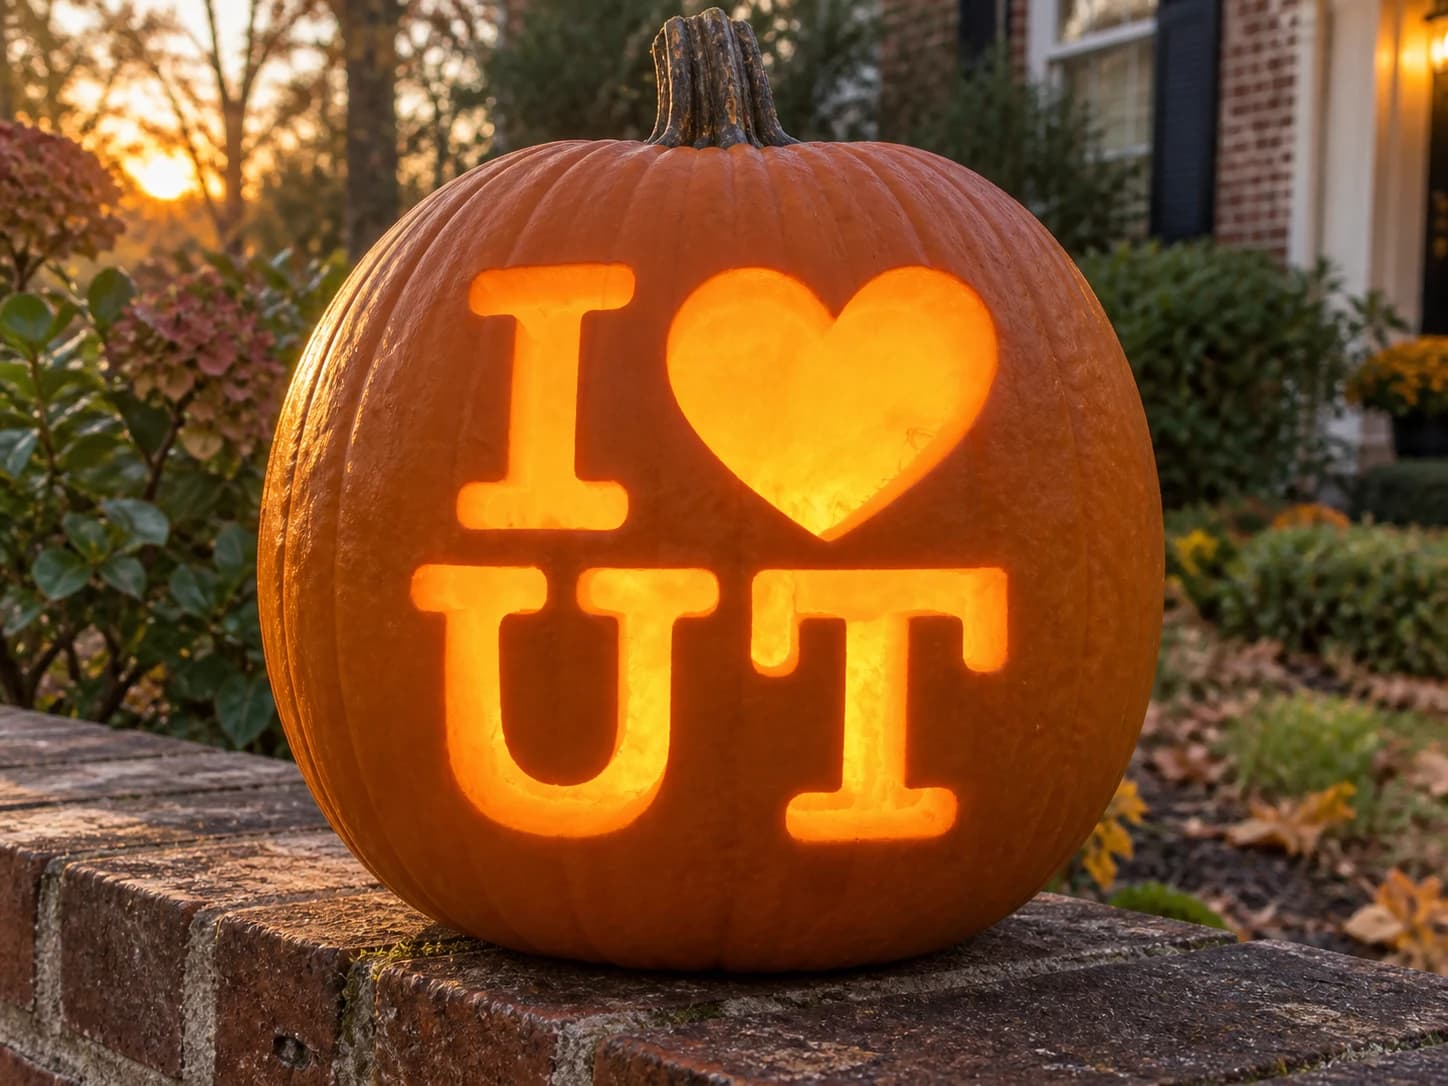
I Love Utah Pumpkin Stencil
Utah's pumpkin stencil uses the two-row "I [heart] UT" layout with a large smooth heart flanked by a slim "I" above and the letters "UT" below in wide rounded caps. The "U" is a curved trough open at the top, while the "T" features a horizontal crossbar above the stem. Carve the open "U" trough first since it has no internal bridges, then tackle the "T" crossbar last, freeing it with a single controlled pass after the surrounding spaces are already open.
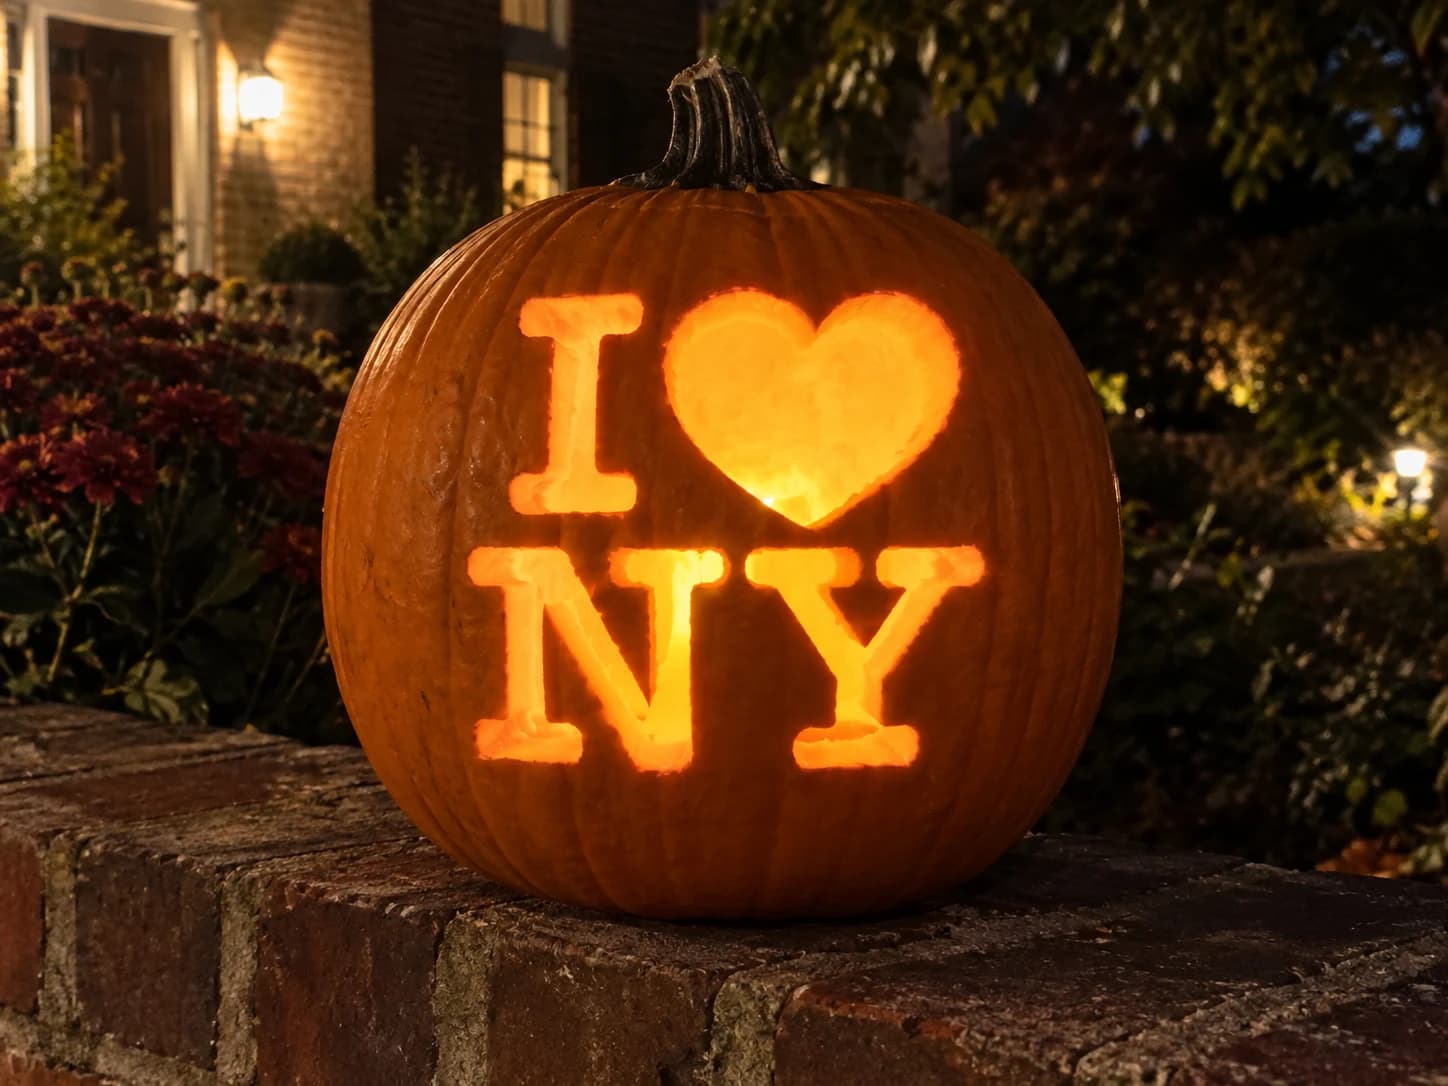
I Love New York Pumpkin Stencil
The New York pumpkin stencil uses the beloved "I [heart] NY" layout, with a small slab-serif "I", a broad smooth heart, and the letters "NY" in wide rounded caps occupying the lower row. All four shapes are fully pierced through for maximum glow. The "Y" forks into two diagonal arms that taper to rounded tips, and those two diagonal cuts converge on a single vertical stem, so carve each arm in one continuous stroke from tip to center to keep the fork junction clean.
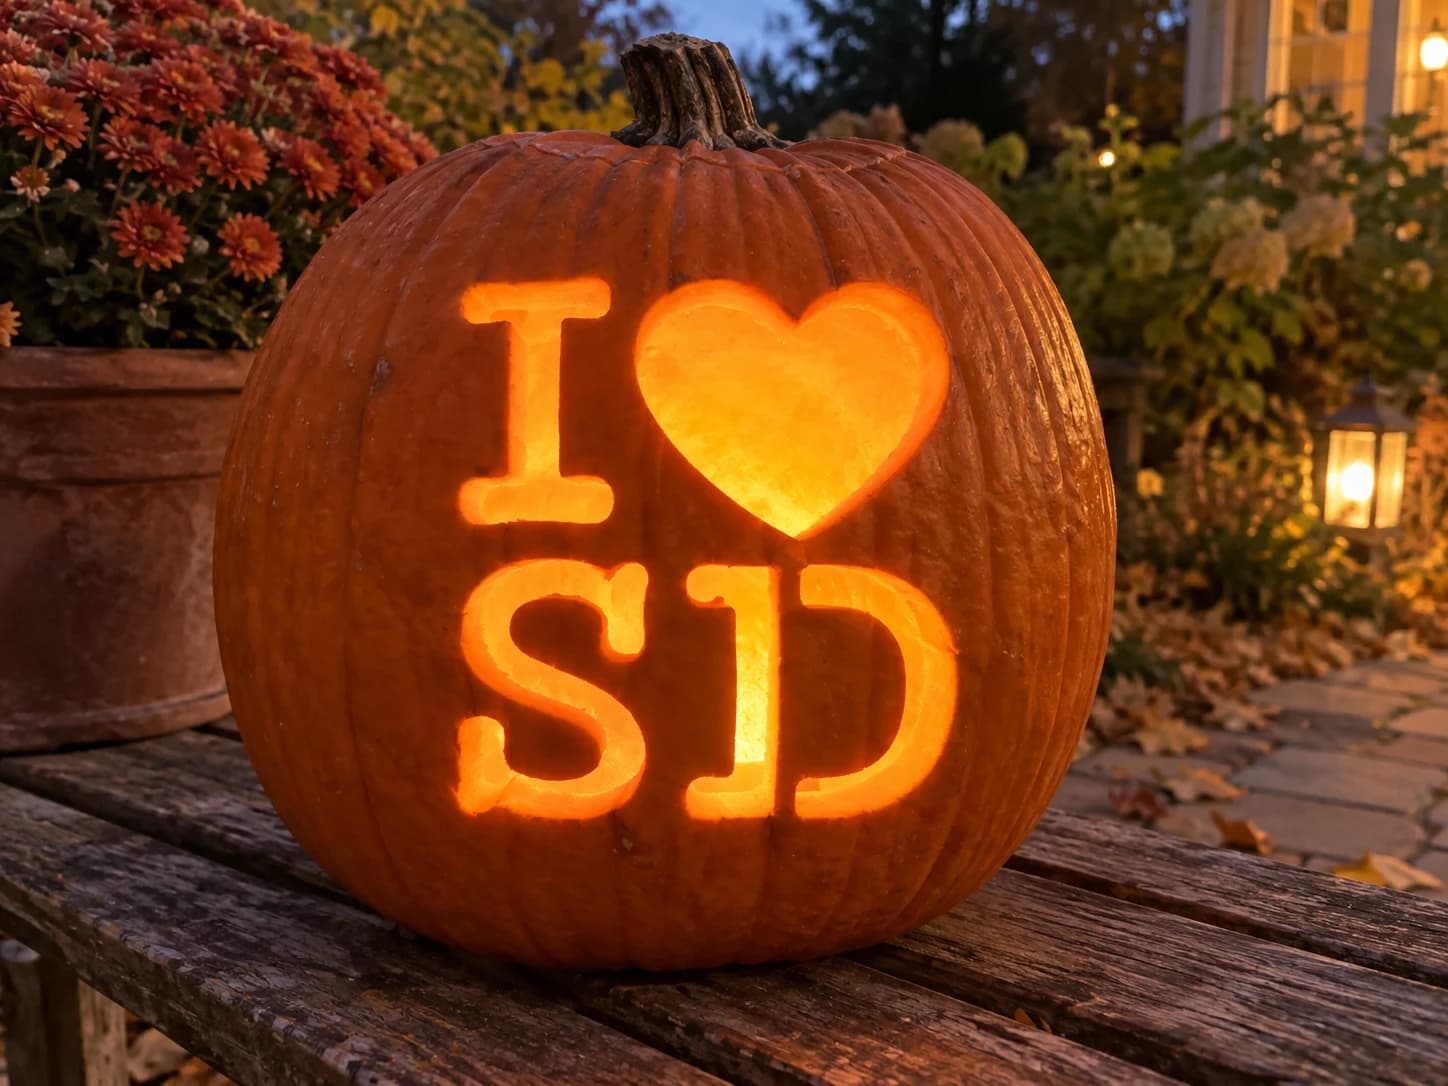
I Love South Dakota Pumpkin Stencil
South Dakota's pumpkin stencil presents "I [heart] SD" in two rows of rounded block type, with a large heart above and the state abbreviation "SD" below. The "S" curves in two opposing arcs while the "D" is a straight upright with a large curved lobe. Carve the "D" first since its single lobe shape is easier to control, then tackle the reverse-curve "S" from top to bottom in one continuous stroke to keep the waist of the letter smooth.
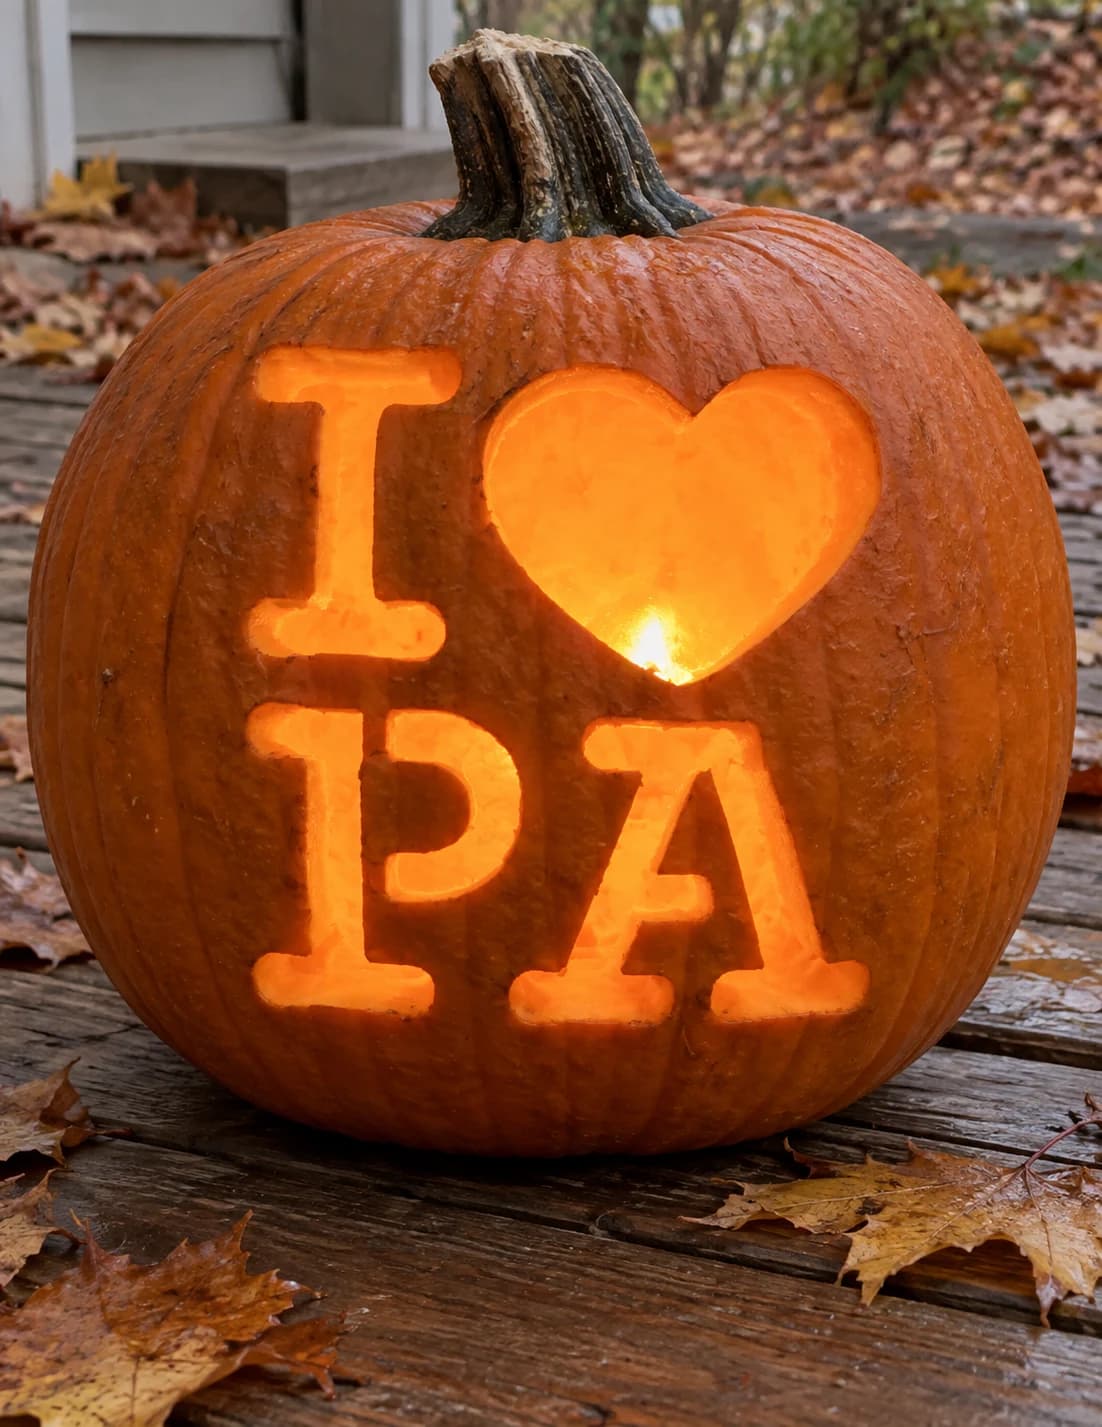
I Love Pennsylvania Pumpkin Stencil
Pennsylvania's pumpkin stencil lays out "I [heart] PA" in two rows, with the large heart dominating the upper row and the bold rounded letters "PA" filling the lower. The "A" contains a triangular counter inside, making it the trickiest cut in an otherwise simple design. Carve the small triangular hole inside the "A" first, then work around the outer body of the letter so the completed pumpkin shows the "A" as a glowing shape with a solid dark triangle at its center.
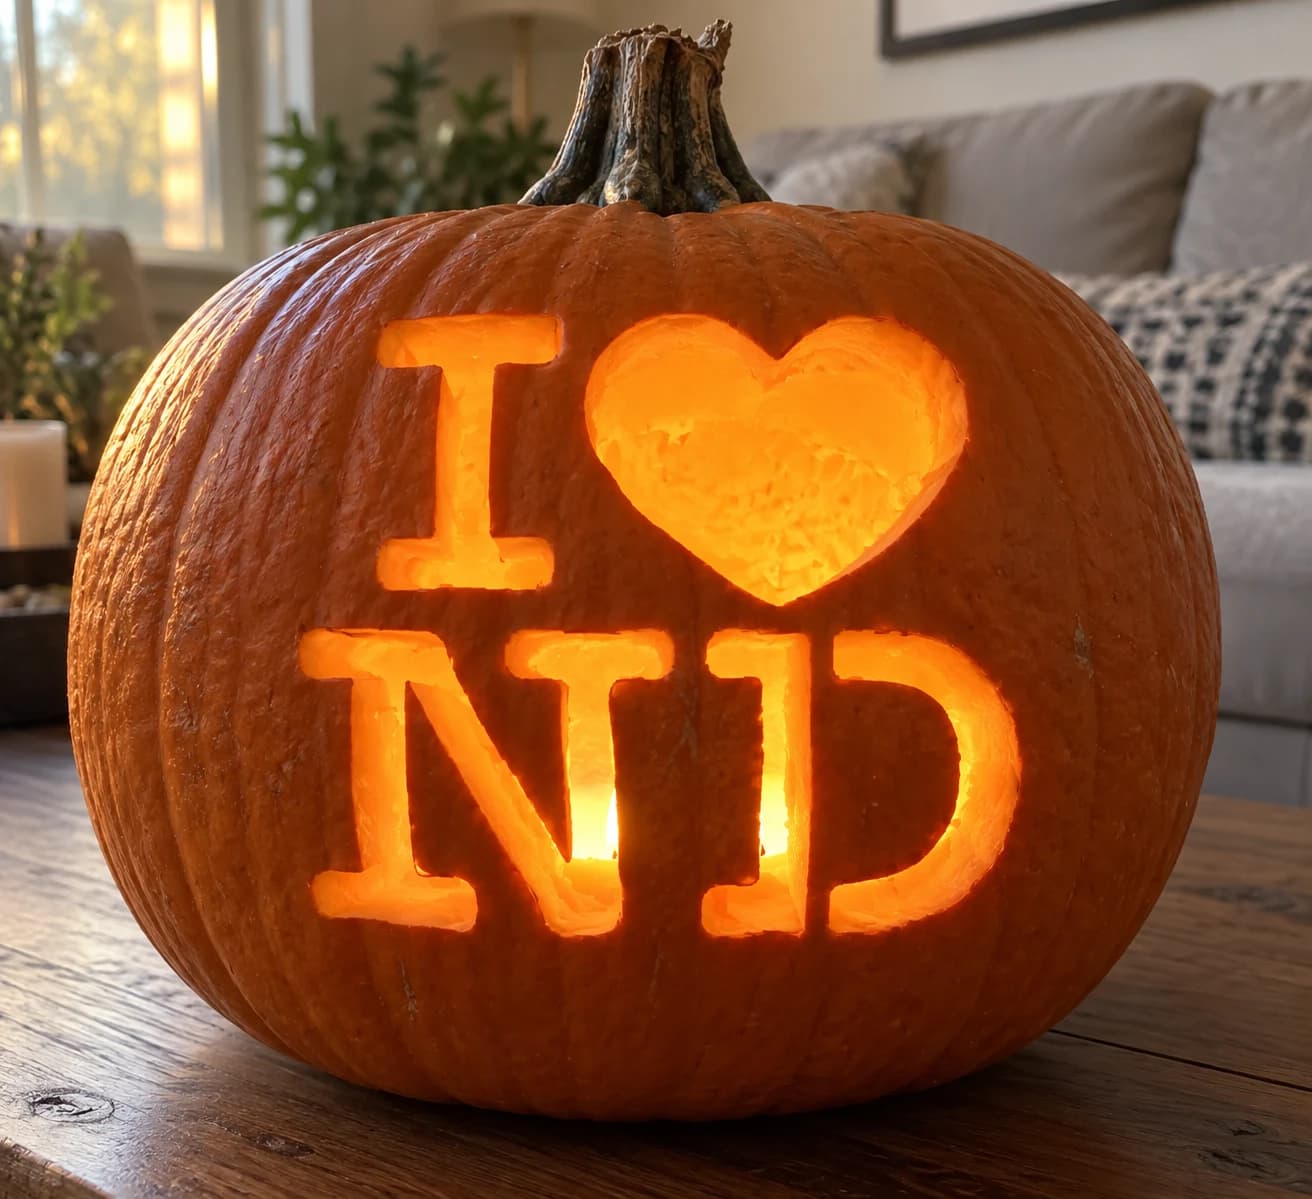
I Love North Dakota Pumpkin Stencil
North Dakota's pumpkin stencil delivers the "I [heart] ND" message in bold rounded type across two rows, the heart flanked by a slender "I" above and the letters "ND" below. The "D" is an upright with a large curved lobe on the right, and its wide open interior means you remove a single large piece of pumpkin skin. Score the straight left edge of the "D" first, then cut the curve in one sweeping arc to keep the lobe smooth and symmetrical on the finished jack-o-lantern.
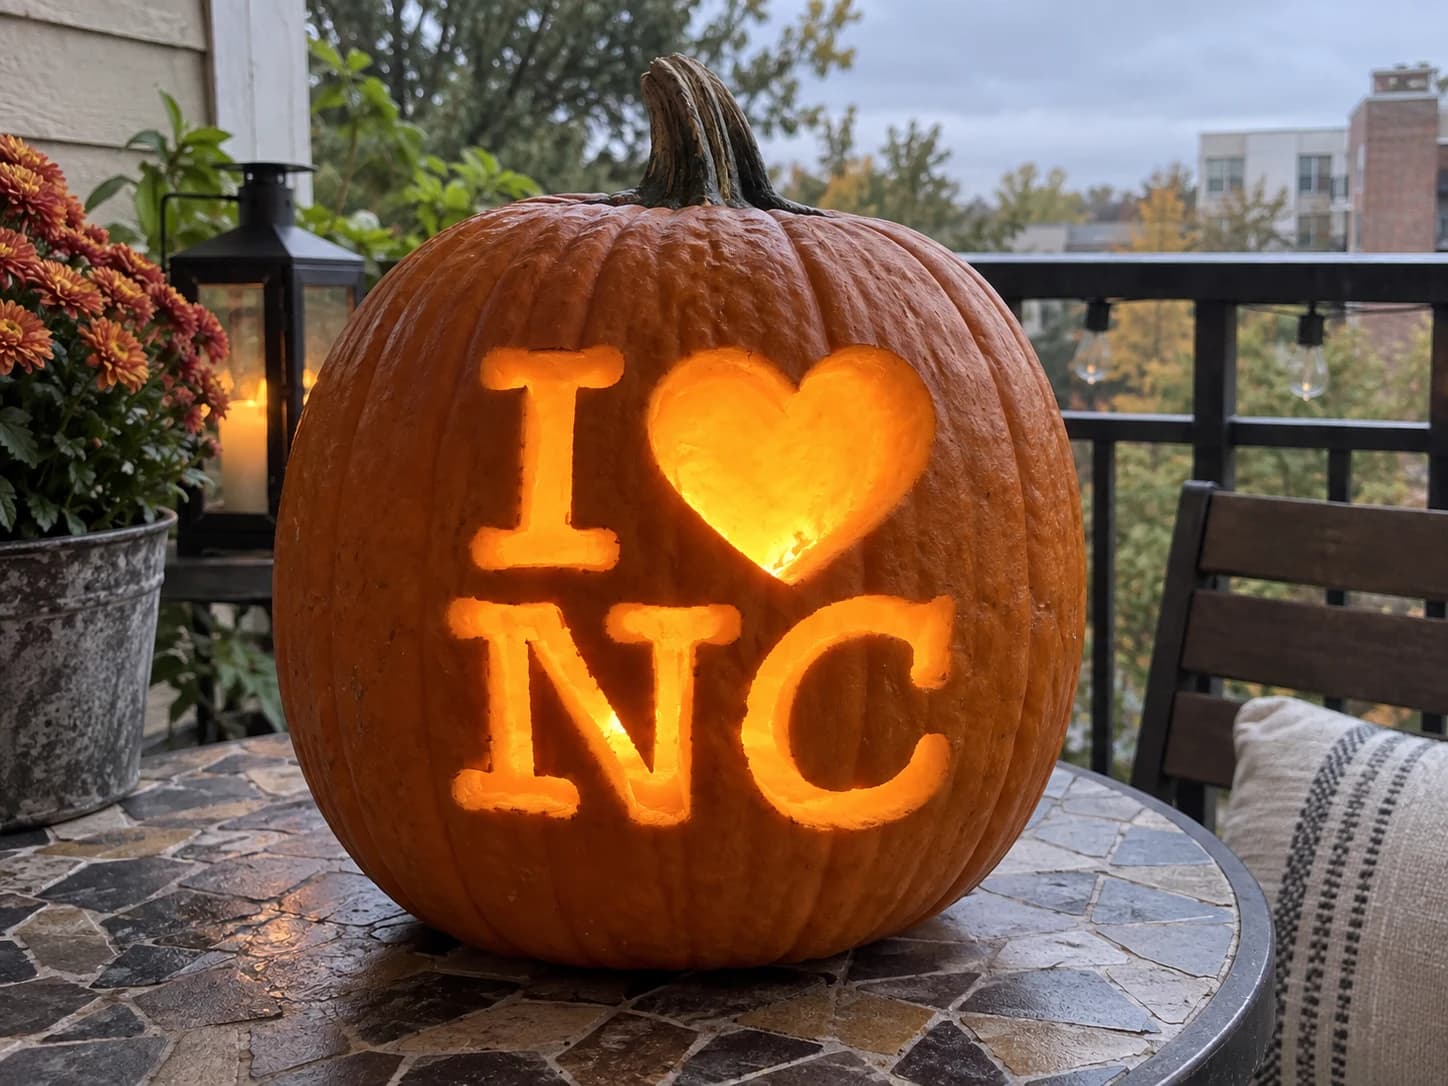
I Love North Carolina Pumpkin Stencil
This North Carolina pumpkin stencil arranges "I [heart] NC" in the familiar two-row tourist-logo grid, with the large heart as the focal point and bold rounded letters "NC" below. The "C" is an open arc with a thick rounded terminal on each end, which makes it one of the most forgiving letter forms to carve. Keep both terminals intact by stopping your cut just before each rounded end rather than sawing straight through, letting the arc pop free cleanly.
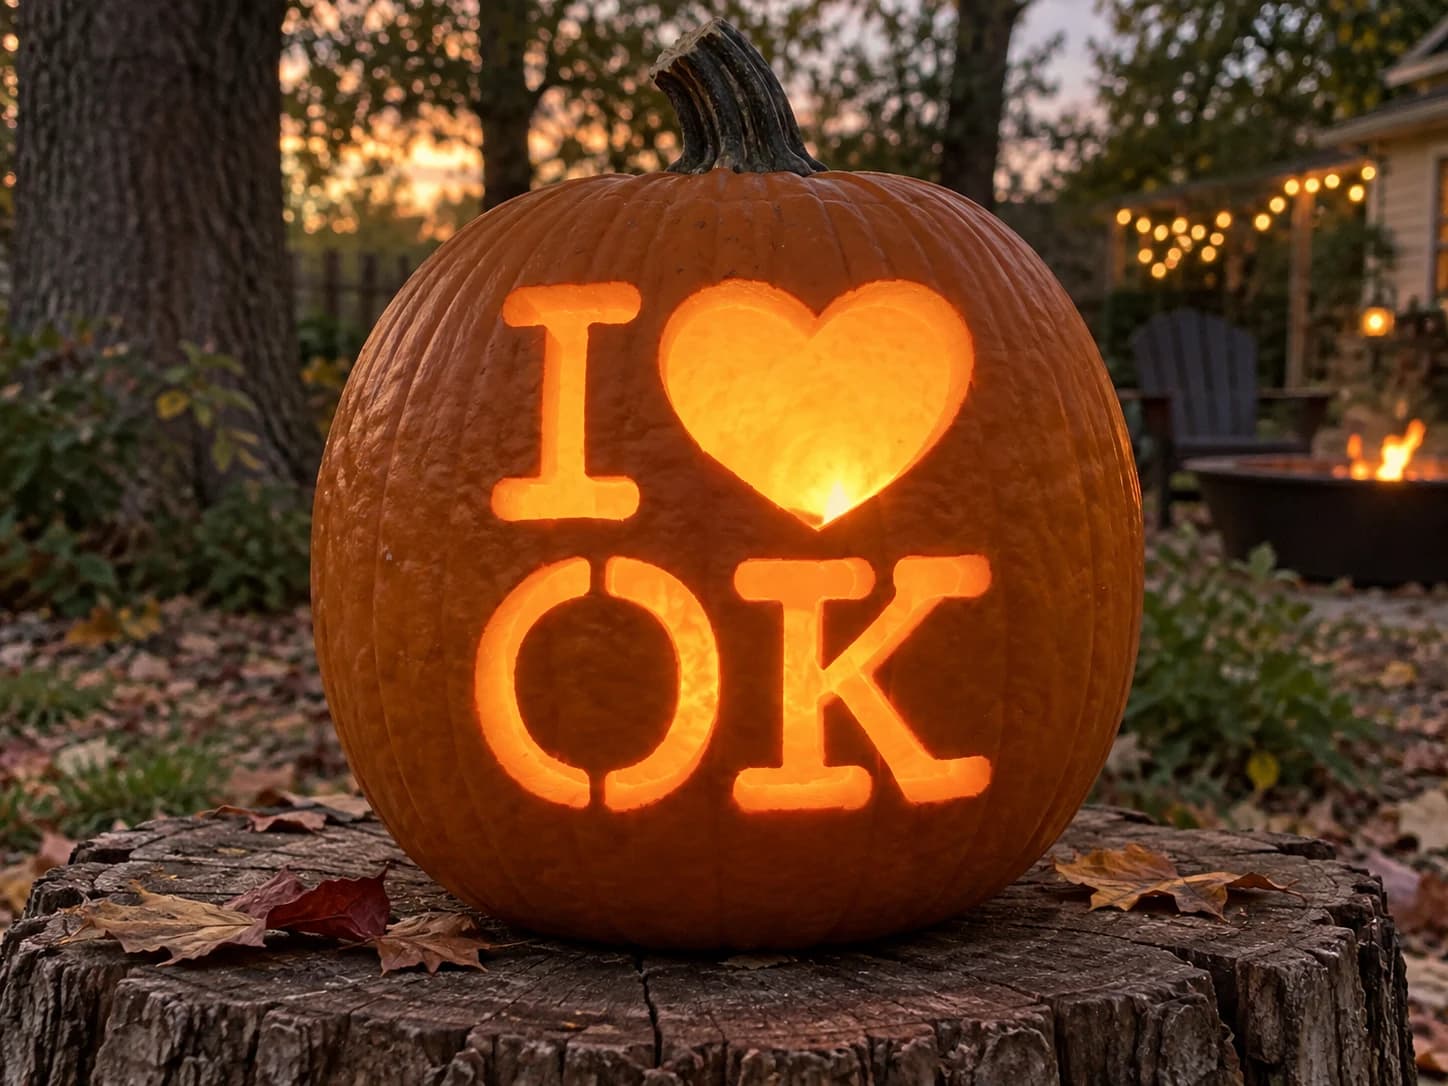
I Love Oklahoma Pumpkin Stencil
Oklahoma's pumpkin stencil carves "I [heart] OK" in chunky rounded type across two rows. Like the Ohio design, the letter "O" in "OK" is a ring with a small circular counter inside, creating two concentric cut lines. The "K" adds three strokes, including a diagonal upper arm and a diagonal lower leg meeting the vertical at a sharp interior junction. Cut the "O" ring first, then carve the "K" starting with the vertical stem before tackling the two diagonals from the junction outward.
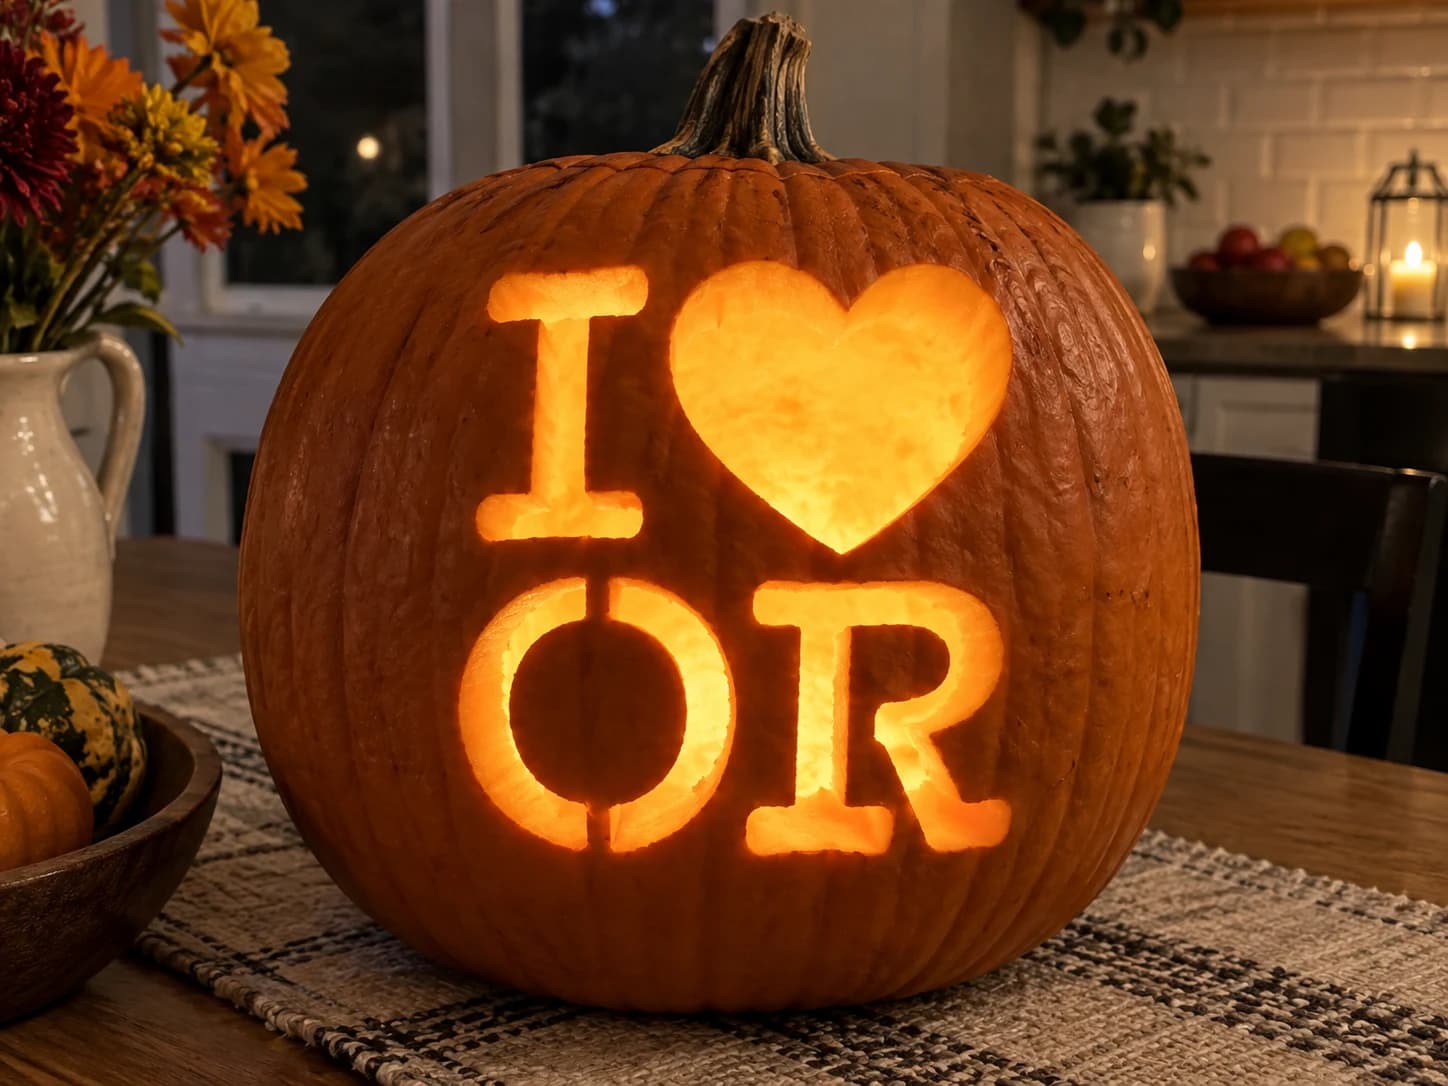
I Love Oregon Pumpkin Stencil
Oregon's pumpkin stencil presents "I [heart] OR" in two rows with bold open letters. The "O" in "OR" is again a ring shape with an inner counter, while the "R" has a vertical stem, a curved upper lobe, and a diagonal leg kicking out to the lower right. Cut the "O" ring early in the session, then move to the "R", carving the stem and lobe before finishing with the diagonal leg, which should be released last to keep the lobe supported until the final stroke.
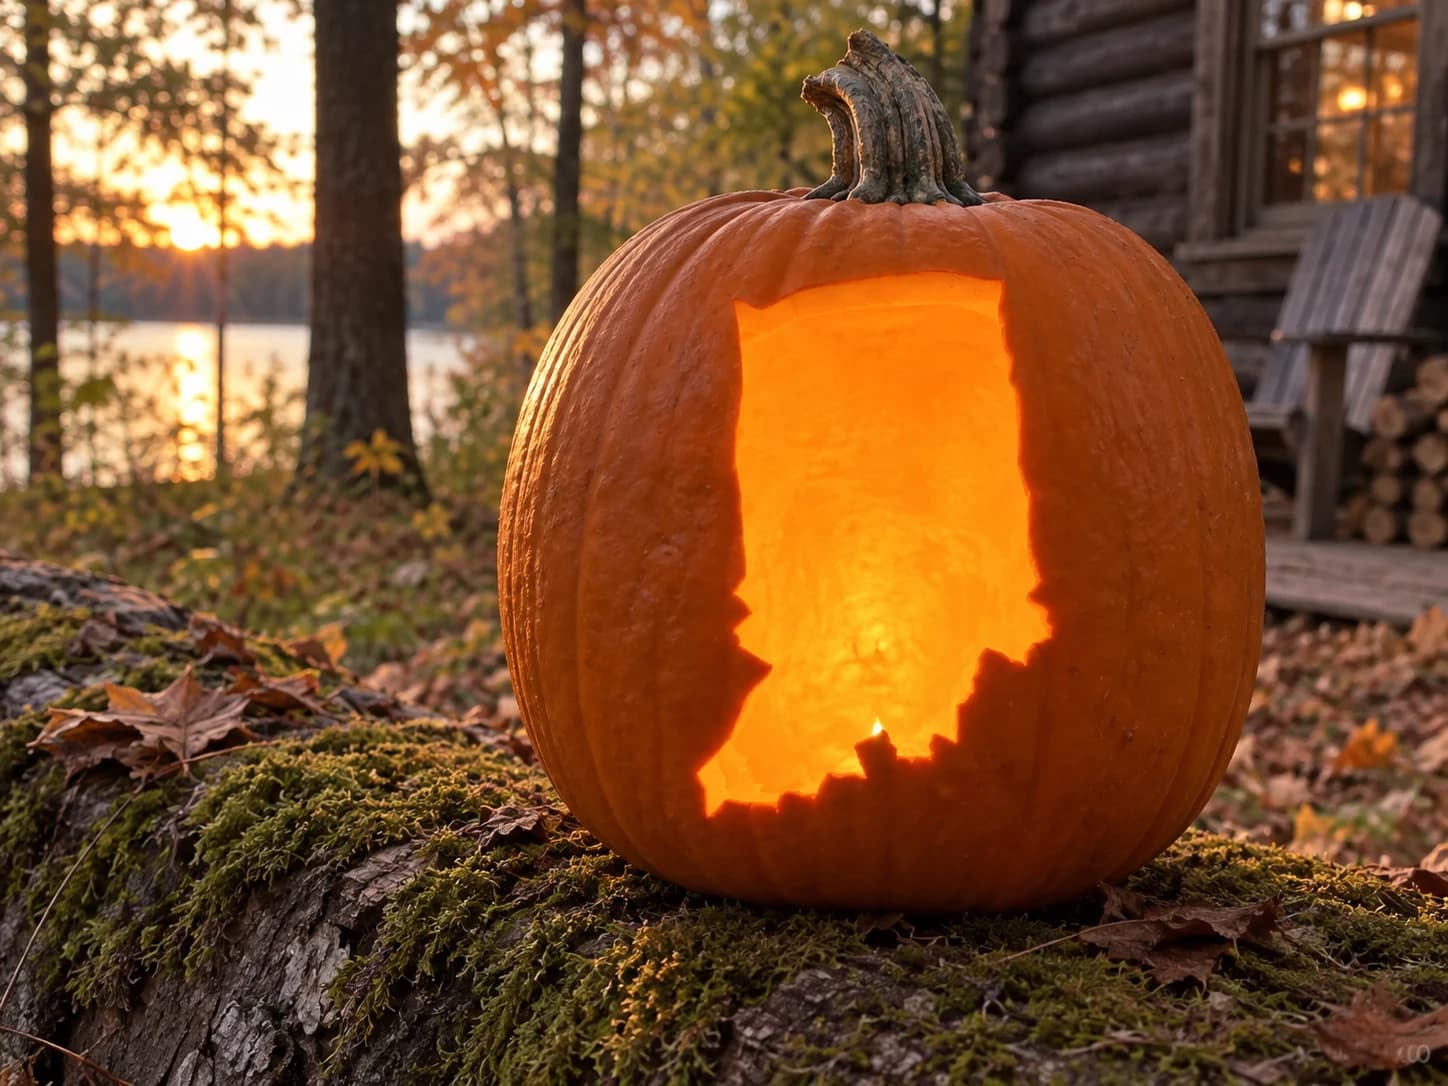
Indiana State Shape Pumpkin Stencil
Indiana's outline appears as a single large pierced shape on this pumpkin stencil: a nearly rectangular top edge with a subtle upward jog, gently scalloped western and eastern borders, and a distinctive stepped lower-right section that marks the Ohio River boundary. Lit from inside, the shape fills with warm light and the stepped southeastern corner creates a readable silhouette any Hoosier will recognize. Carve the long straight top edge first to anchor the cut, then follow the scalloped sides before finishing the stepped lower corner.
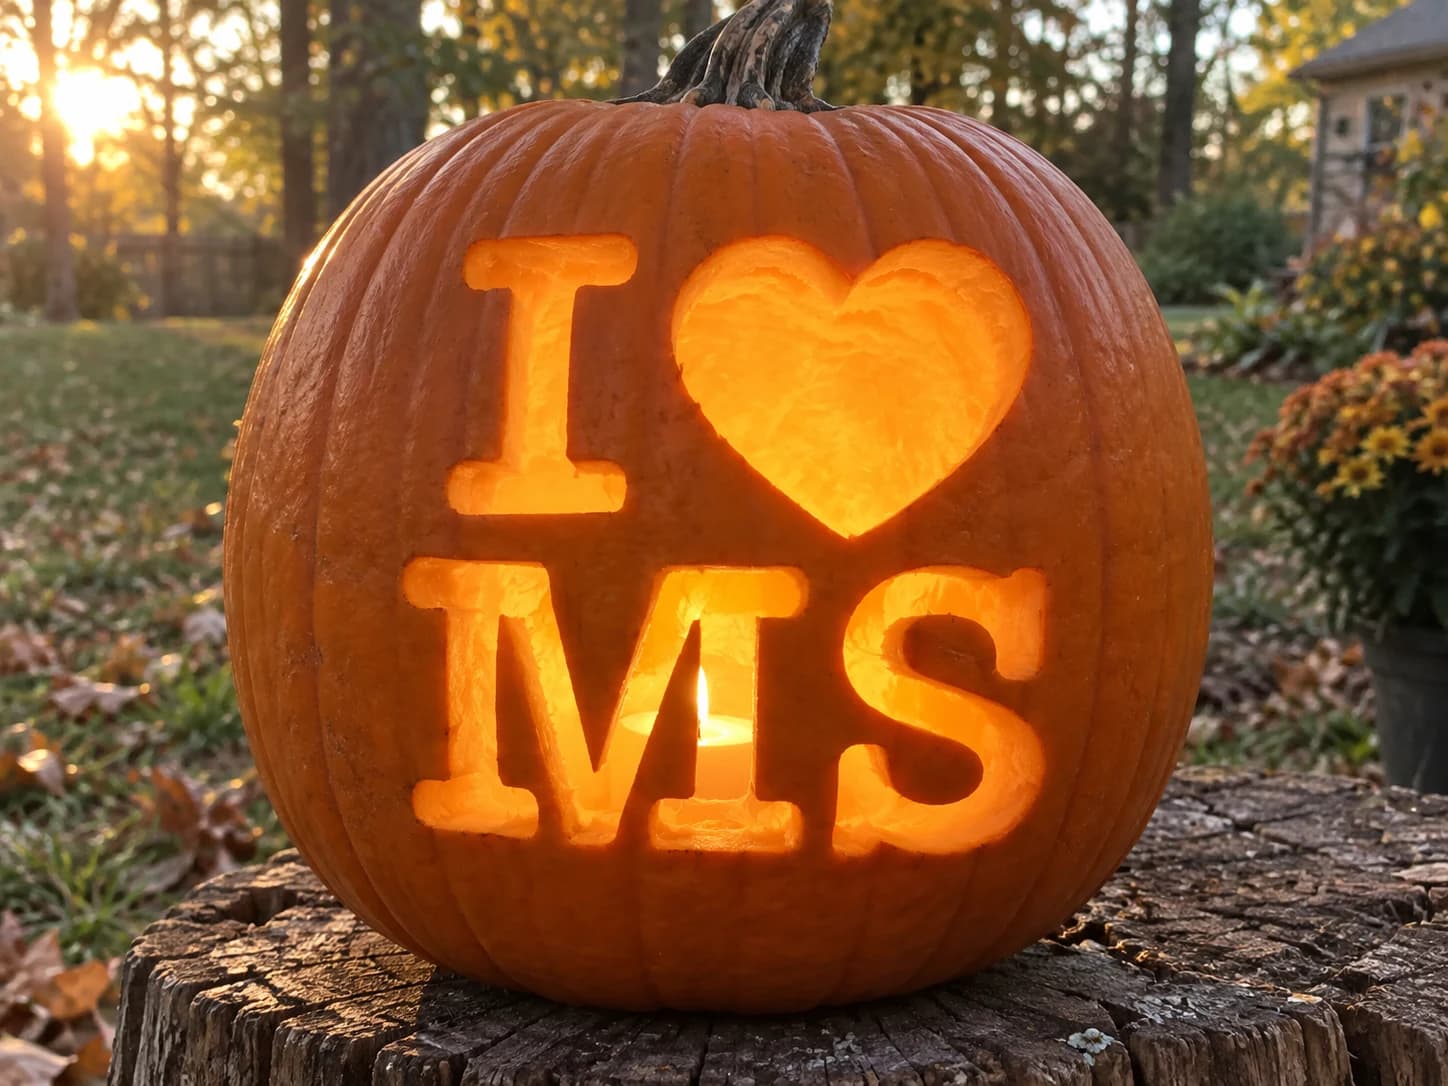
I Love Mississippi Pumpkin Stencil
This Mississippi pumpkin stencil displays the crowd-pleasing "I [heart] MS" grid, with a tall slab-serif "I", a large smooth heart, and the rounded-type abbreviation "MS" in the lower row. All shapes are fully cut through for a clean, glowing jack-o-lantern face. The sweeping curves of the "S" require smooth, continuous saw strokes rather than short choppy cuts, so keep your blade moving steadily all the way through each curve to avoid a jagged edge.
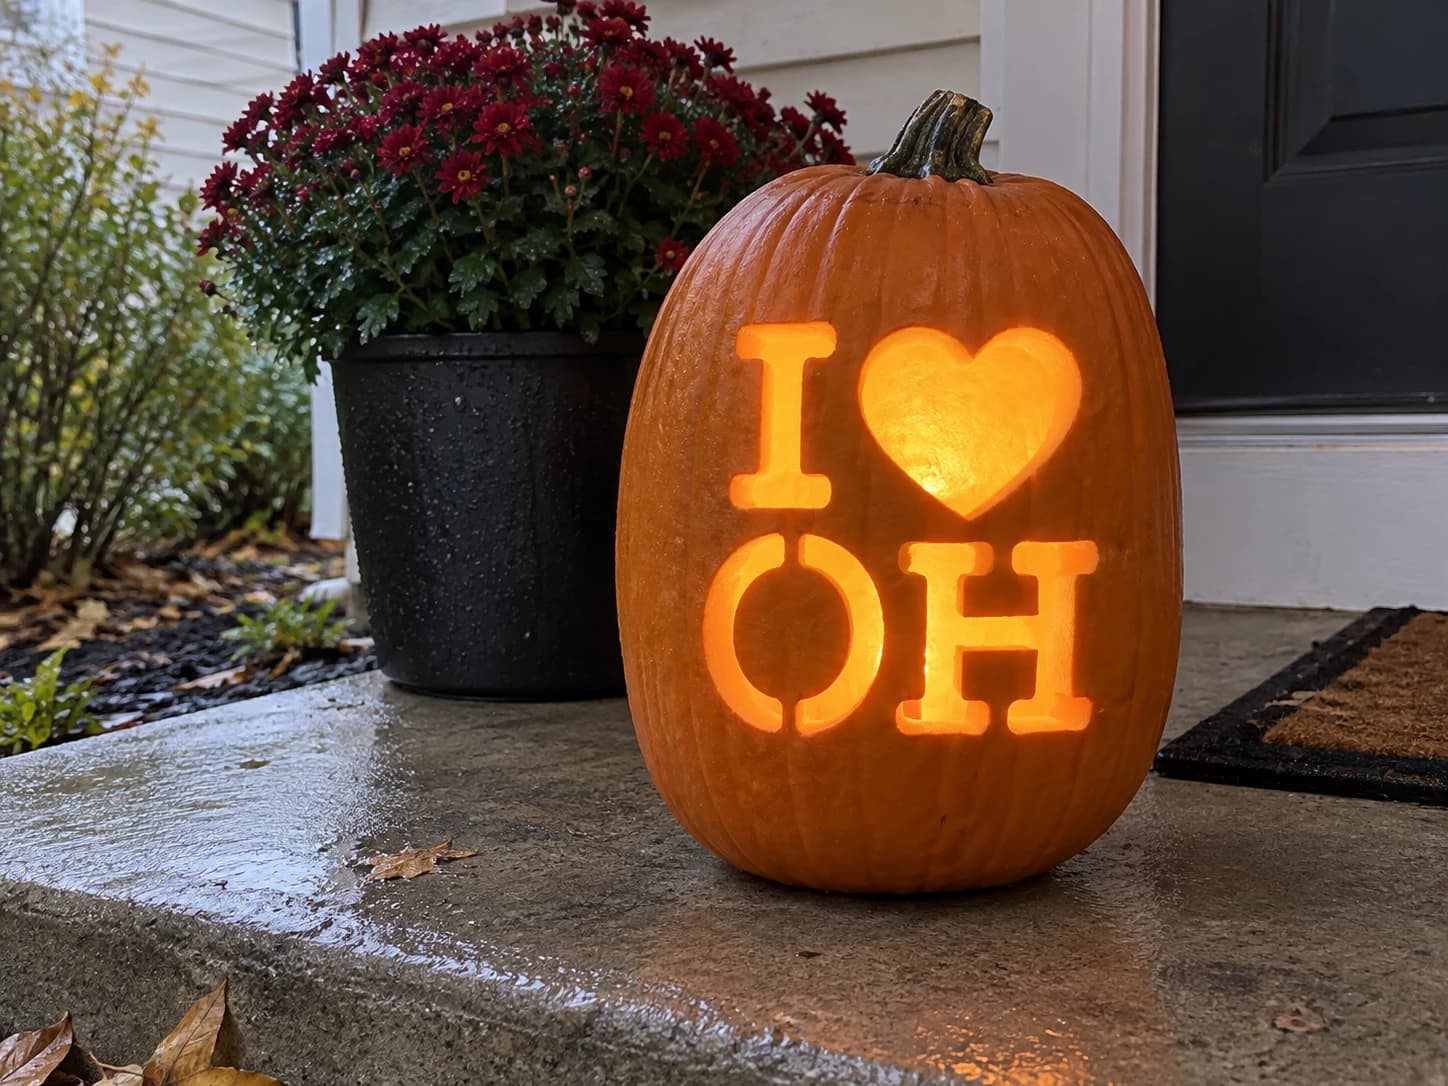
I Love Ohio Pumpkin Stencil
Ohio's pumpkin stencil carves "I [heart] OH" in two rows, but the letter "O" in "OH" stands out: it is a full circle with a smaller circular counter inside, so the carved pumpkin shows a glowing ring rather than a solid disc. That narrow ring of pumpkin between the two concentric cuts is the most fragile feature in this design. Carve the inner circle first, then the outer circle, and handle the pumpkin as little as possible between the two cuts to avoid cracking the ring.
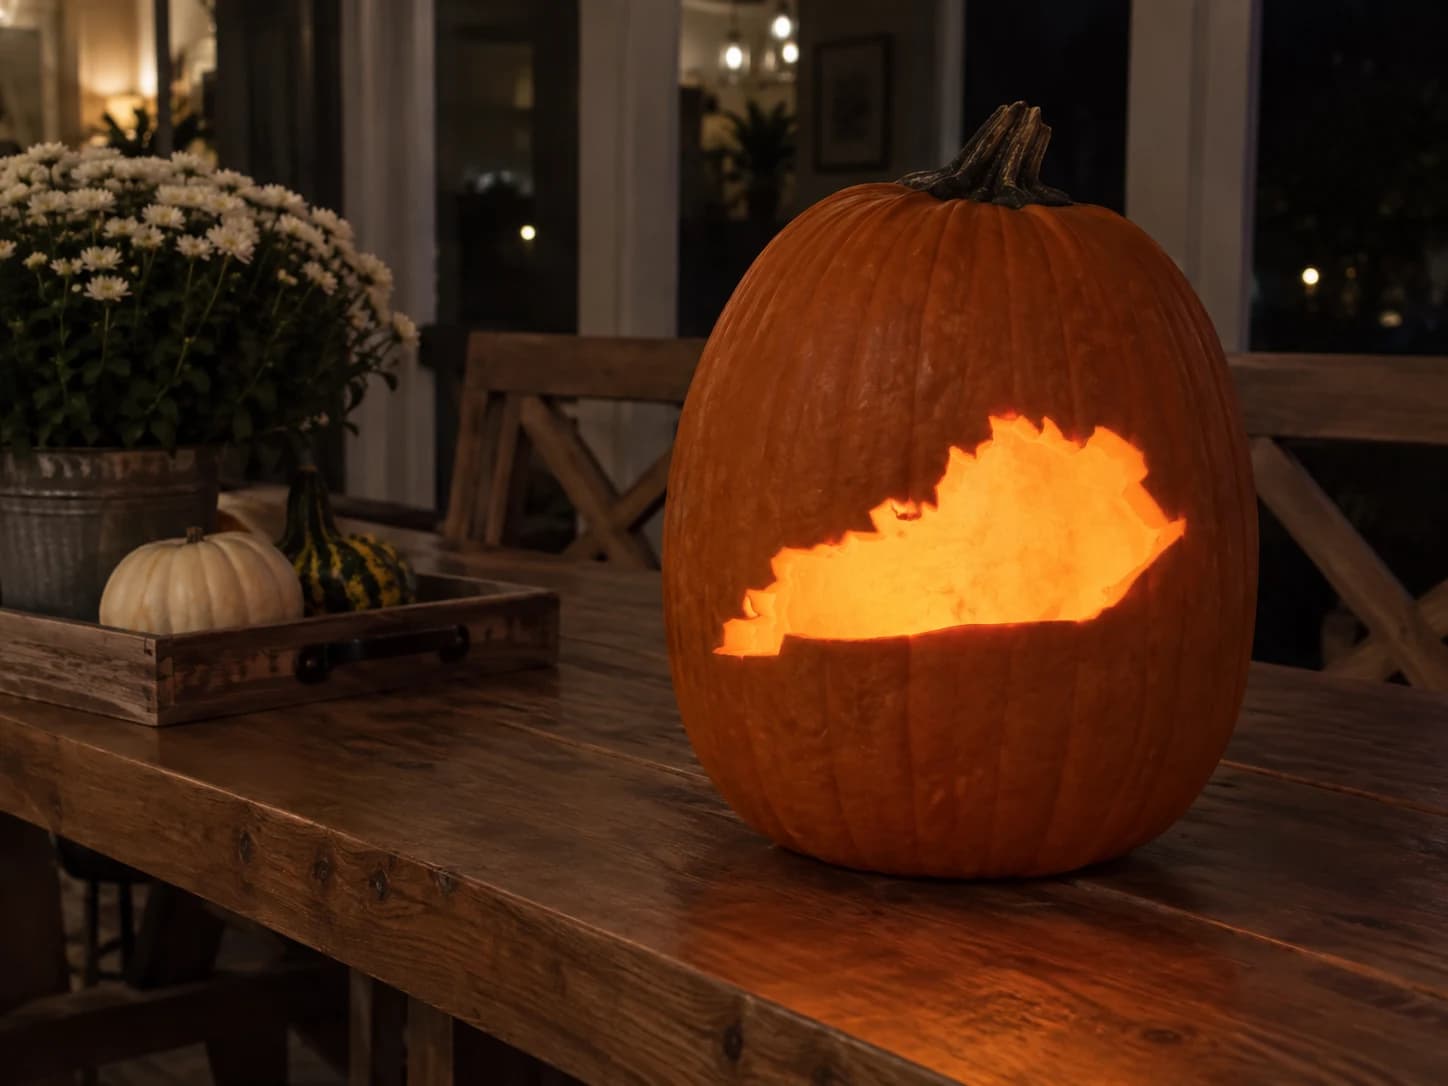
Kentucky State Shape Pumpkin Stencil
Kentucky's silhouette on this pumpkin stencil is immediately recognizable: a wide horizontal shape with a jagged, highly irregular northern border formed by the Ohio and Big Sandy River lines, a relatively smooth southern edge, and a narrow western tail that extends down and to the left. The northern border has the most intricate linework of any state stencil in this series; work those small notches with a narrow pointed blade, making short plunge cuts at each concave corner rather than trying to sweep around them.
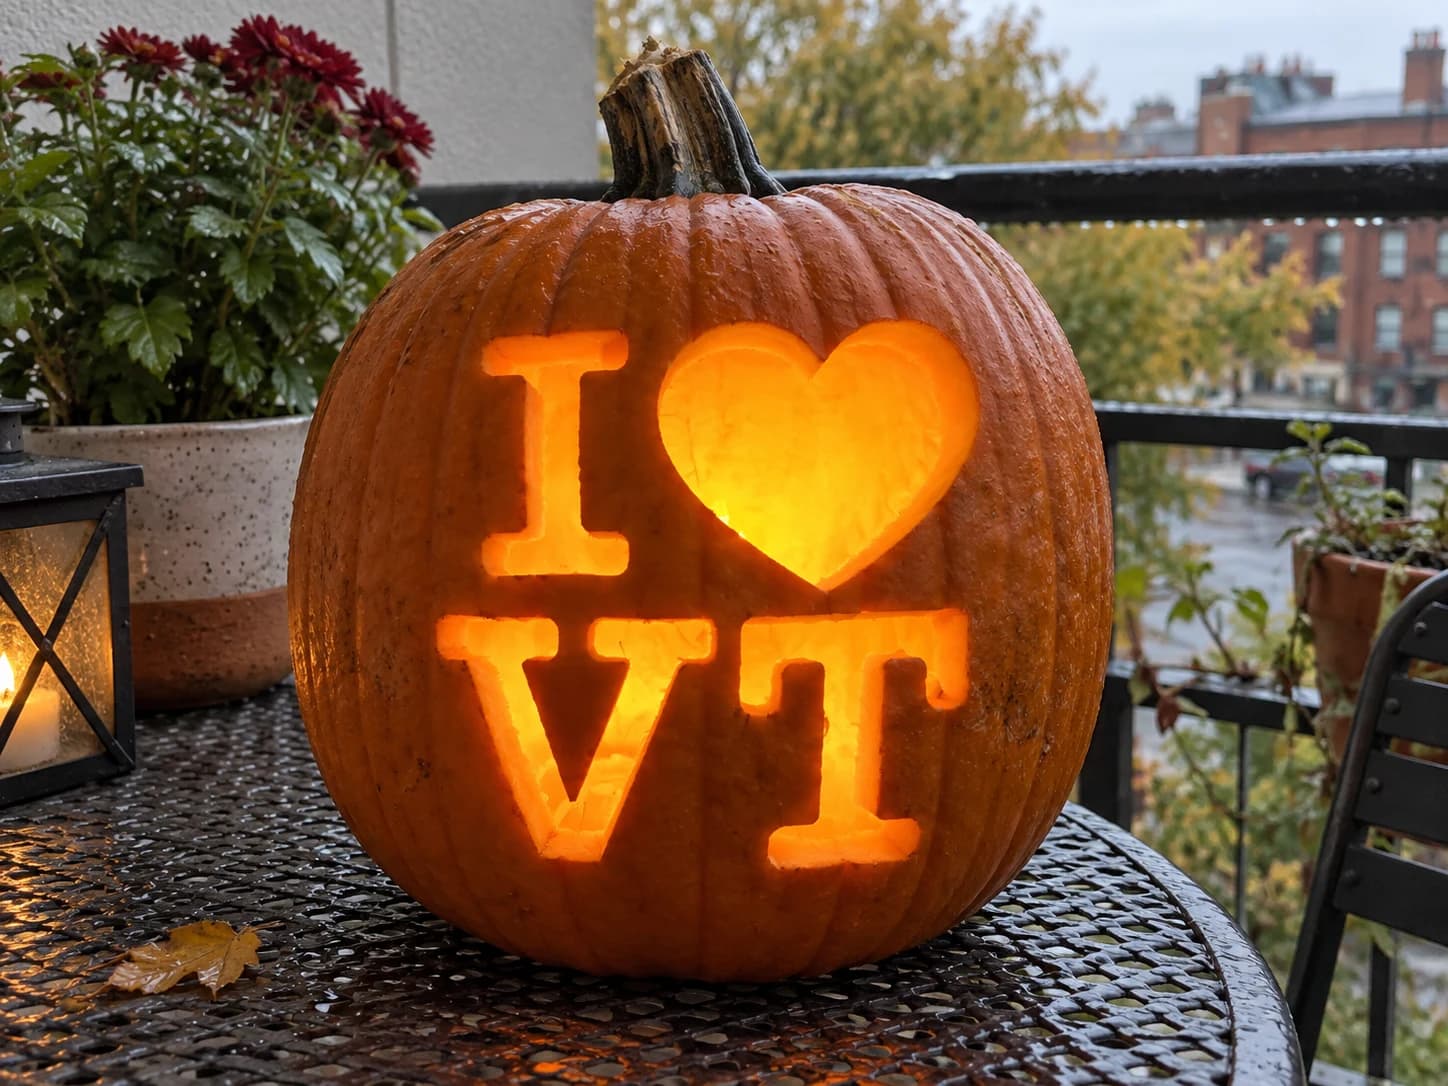
I Love Vermont Pumpkin Stencil
This pumpkin stencil spells out "I VT" in four chunky, rounded shapes: a bold letter I, a large centered heart, and the state abbreviation V-T below, each piece fully pierced so candlelight pours through all four forms at once. The simple block letterforms have generous rounded corners that hold up well with a linoleum cutter or small saw. Carve the heart first, then work outward to the letters, leaving the uncut pumpkin skin between each shape intact to keep the composition from collapsing.
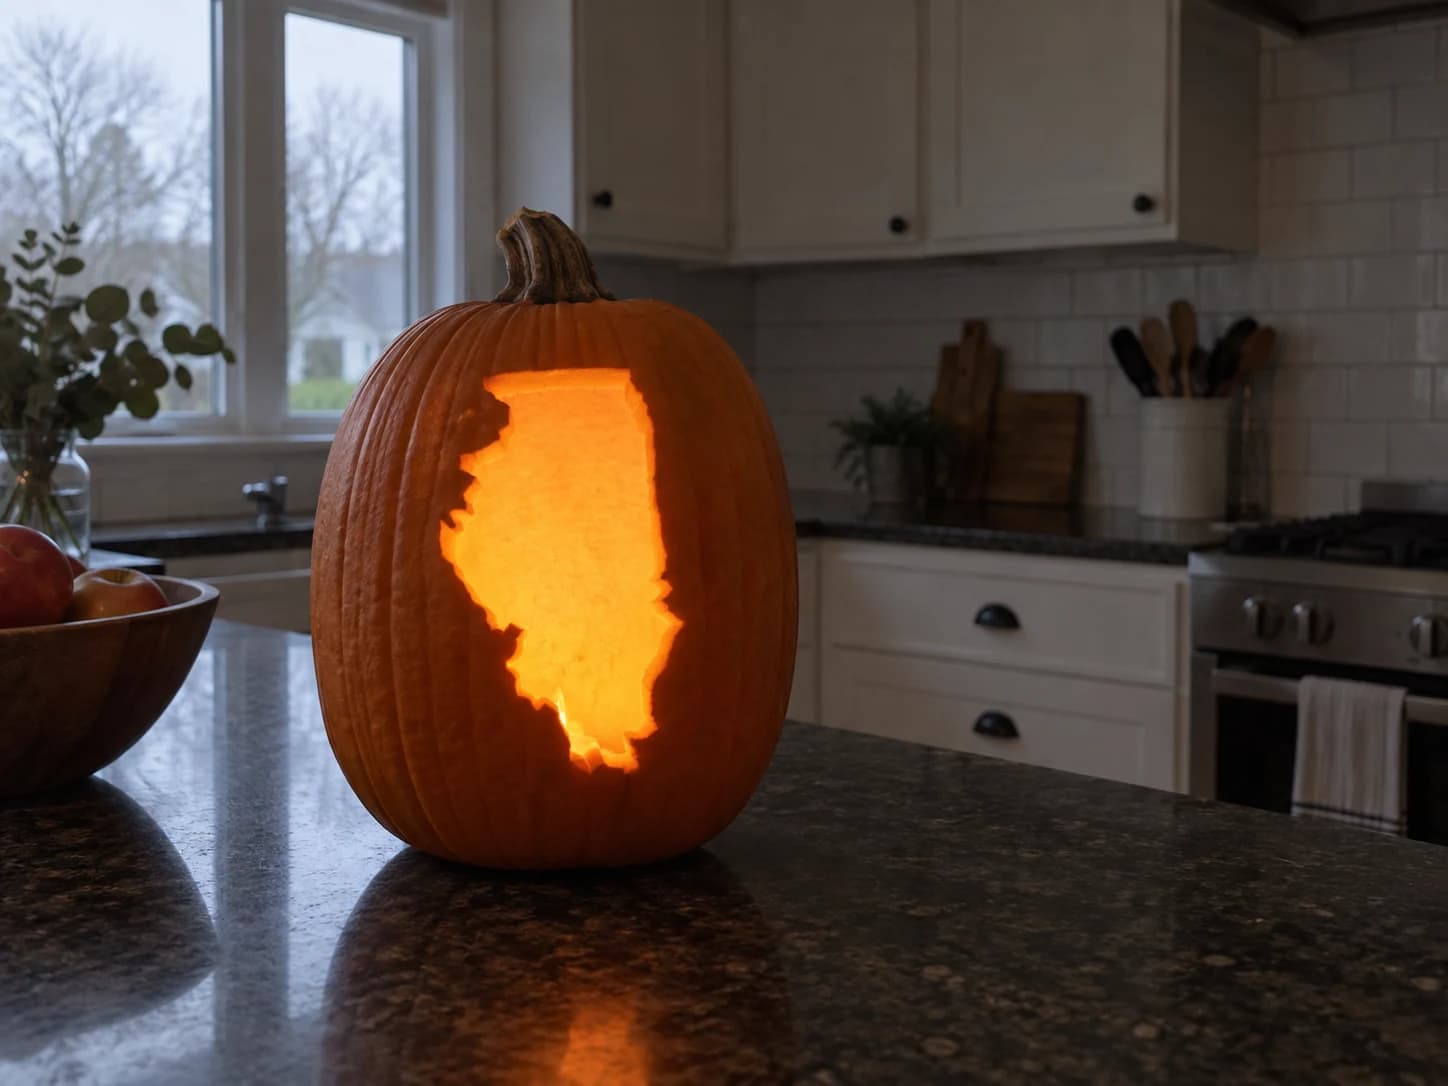
Illinois State Shape Pumpkin Stencil
Illinois carves as a single bold silhouette on this pumpkin stencil: a gently irregular vertical shape wider at the top, with a notched northwest corner and a distinctive southward-pointing tip at the lower right where the state meets the Ohio River confluence. The entire outline is pierced through, so the glowing window reads cleanly as Illinois's unmistakable profile. Work the concave northwest notch with short controlled strokes, and save the delicate southern tip for last to keep the stencil firmly attached during the earlier cuts.
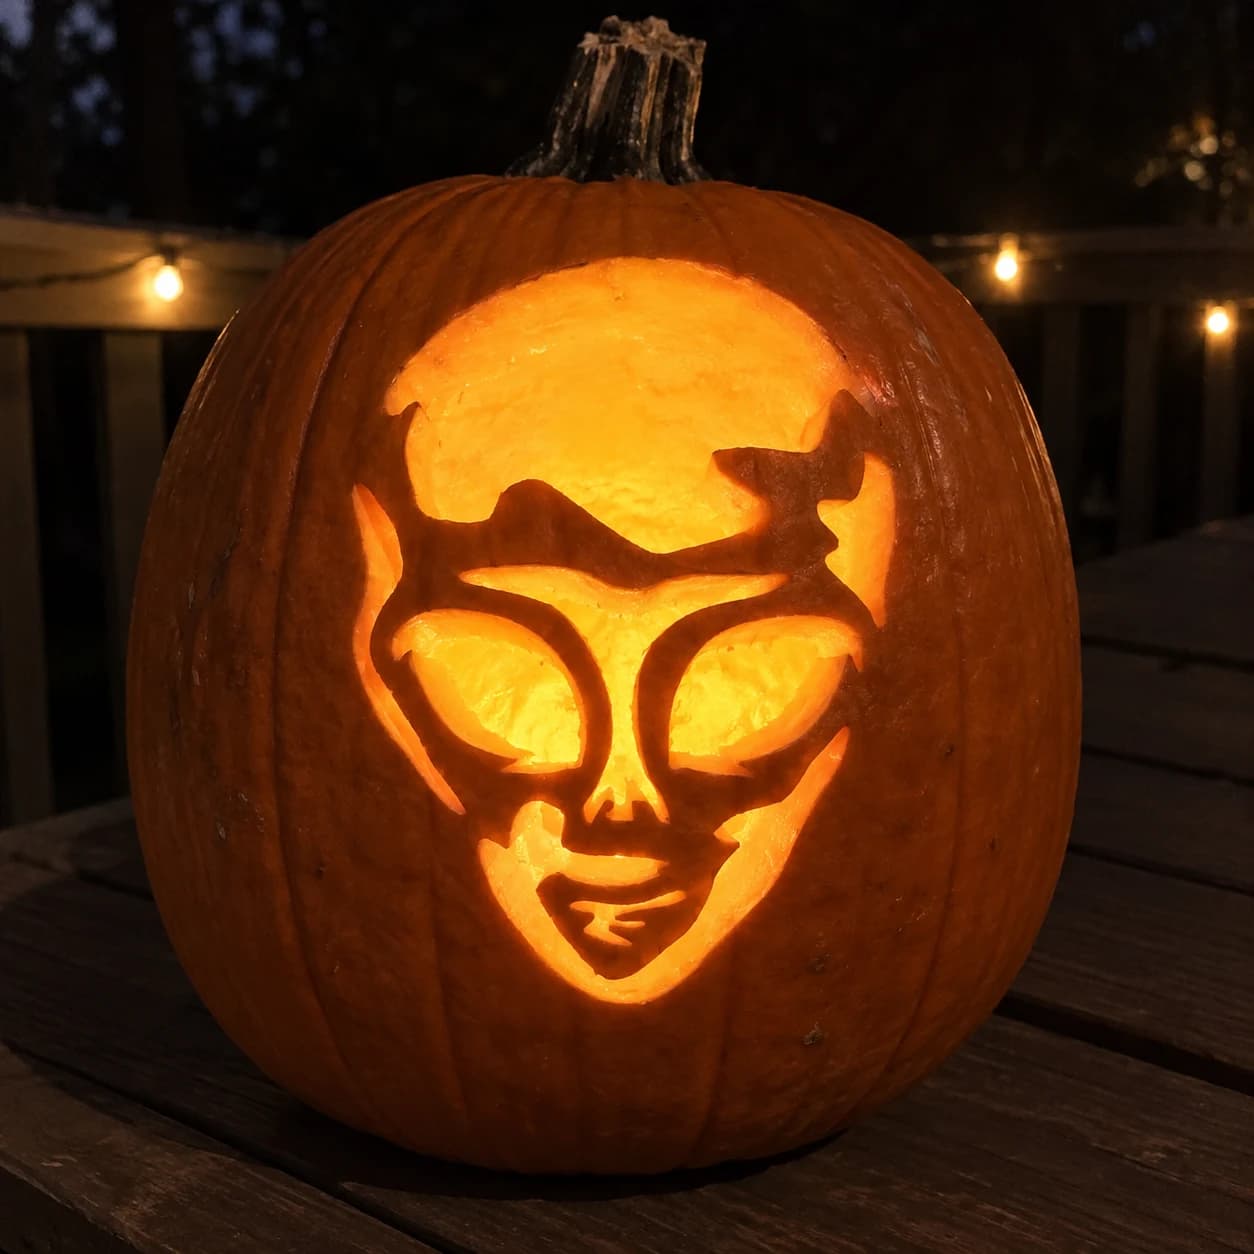
Alien Face Pumpkin Stencil
An alien face with oversized teardrop eyes, a broad domed cranium, and subtle nostril and lip details fills this space pumpkin stencil as a single large cut-out with internal skin bridges defining the facial features. The large eyes are open negative spaces separated from the head background by thin arching brow ridges, which are easily the most fragile element. Carve the outer head silhouette first, then remove the large eye areas, keeping the blade tight against the brow-ridge boundary to preserve that thin curved strip of pumpkin skin.
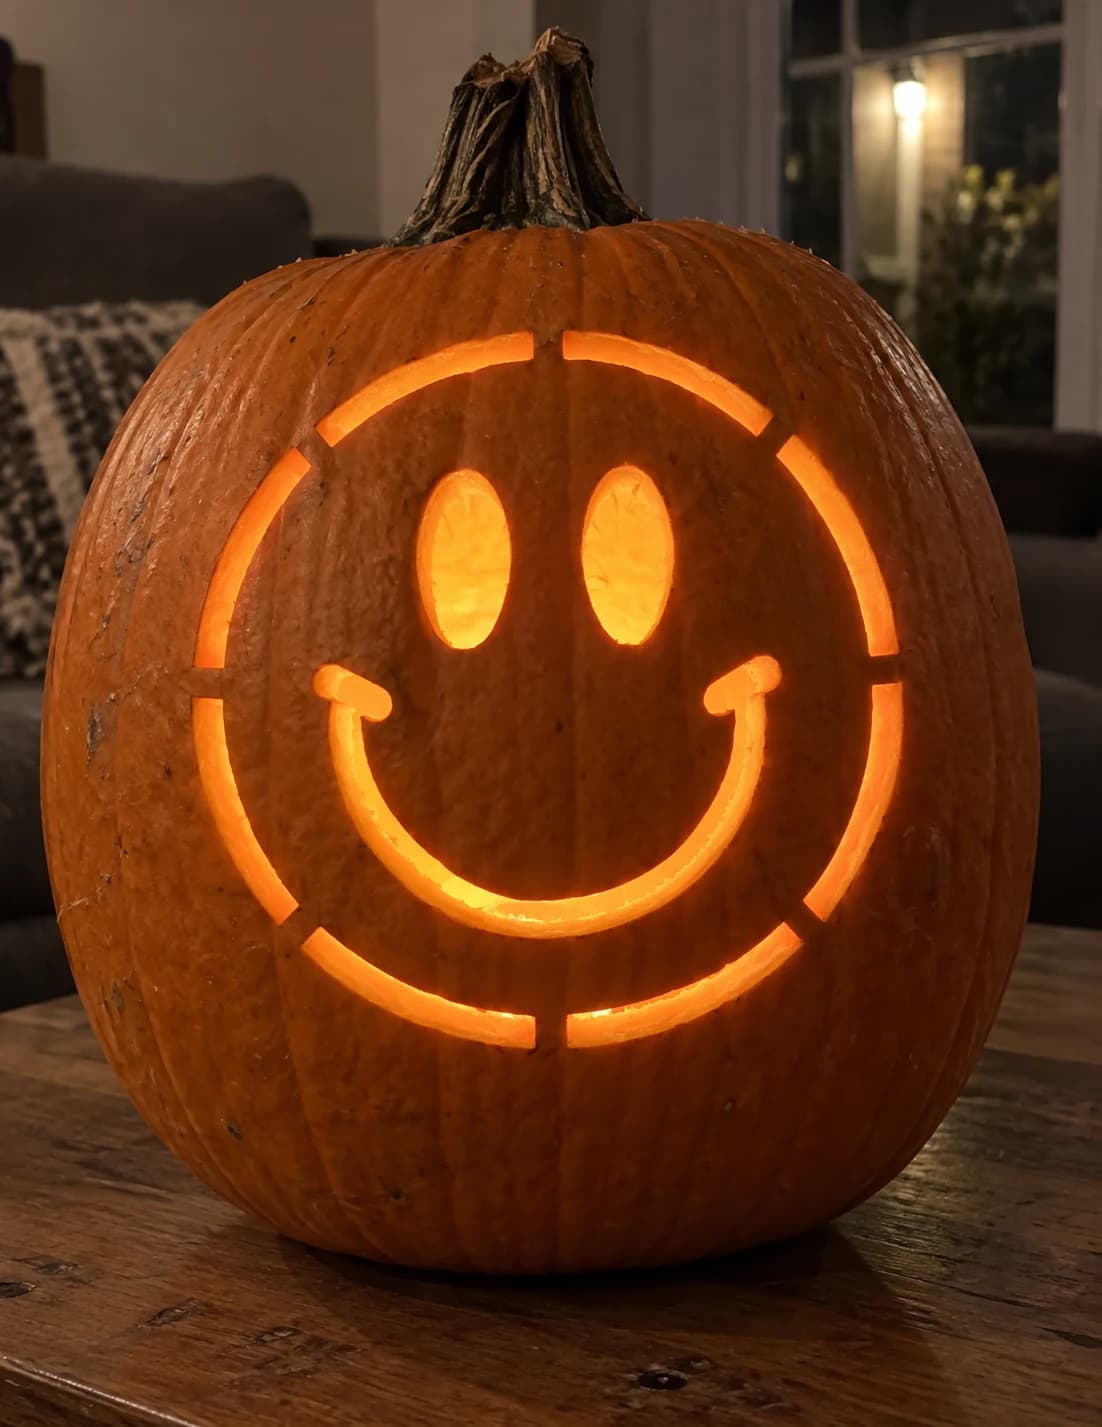
Smiley Face Pumpkin Stencil
A classic smiley face fills this easy pumpkin stencil: a broken circle made of twelve short arc segments forms the head outline, two tall oval eyes sit in the upper face, and a wide curved smile with rounded upturn ends completes the expression, all cut through as open negative space. The twelve dash segments that form the outer circle are separated by small uncut gaps, creating a dotted-ring effect when lit. Carve the outer arc segments first to define the circle, then cut the eyes and smile; the uncut gaps between segments are intentional and should be left untouched.
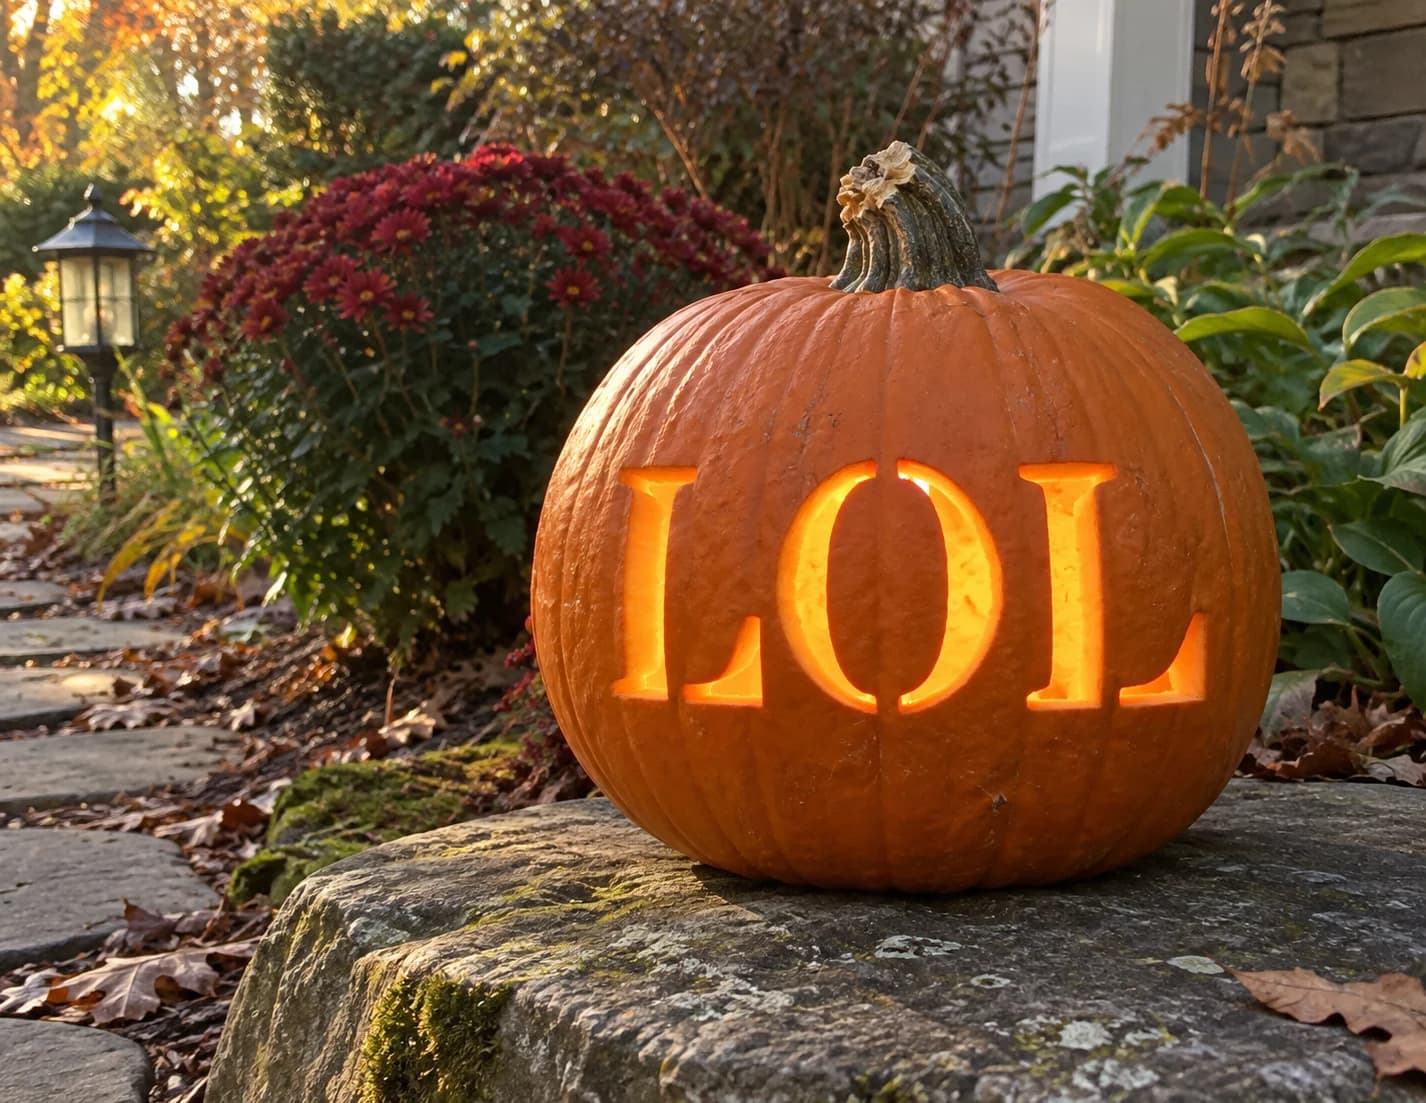
LOL Pumpkin Stencil
Three bold serif letters spell out "LOL" in a wide horizontal layout, each character sized to fill the pumpkin face from top to bottom. The letters are fully pierced through, so the finished jack-o-lantern reads the internet acronym in glowing orange against the night. Cut the interior counters of the "O" first, since those small oval shapes can crack if you clear the surrounding area before removing them.
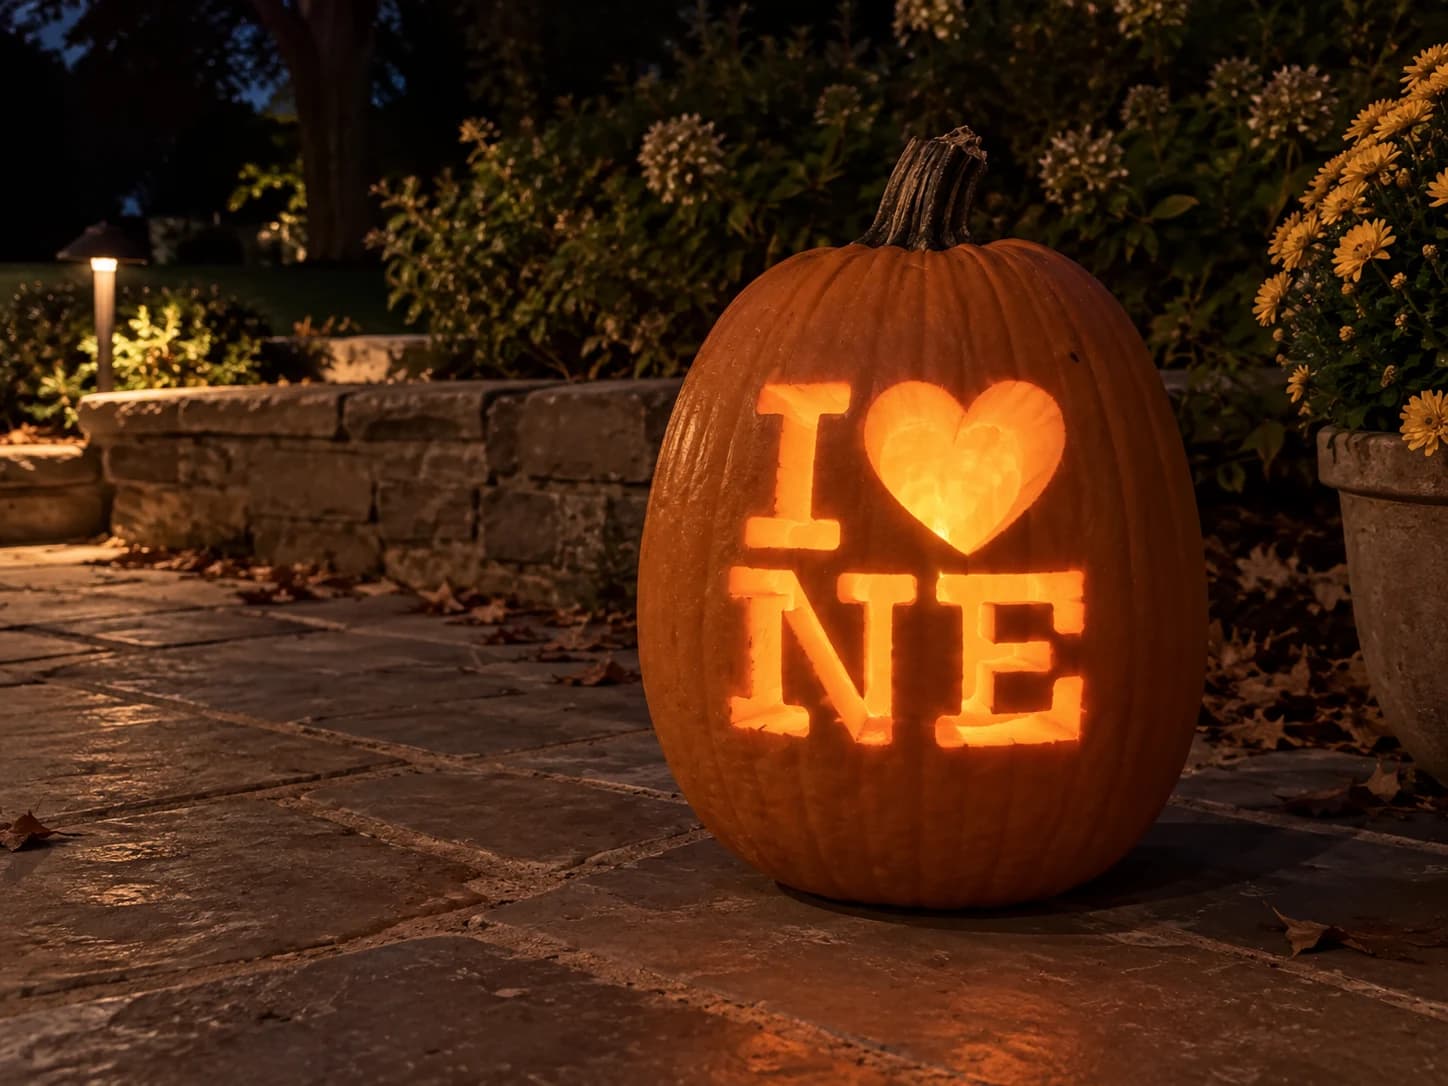
I Love Nebraska Pumpkin Stencil
Nebraska's pride pumpkin stencil lays out "I [heart] NE" in two tidy rows, with the heart anchoring the center and bold rounded letters "NE" filling the lower half. All shapes are complete pierce-through cutouts that glow evenly when lit. The "E" features three horizontal bars extending from a vertical spine, and those thin bars are the narrowest cuts in this design, so work from the outer tips inward on each bar to keep them from cracking before you complete the vertical spine.
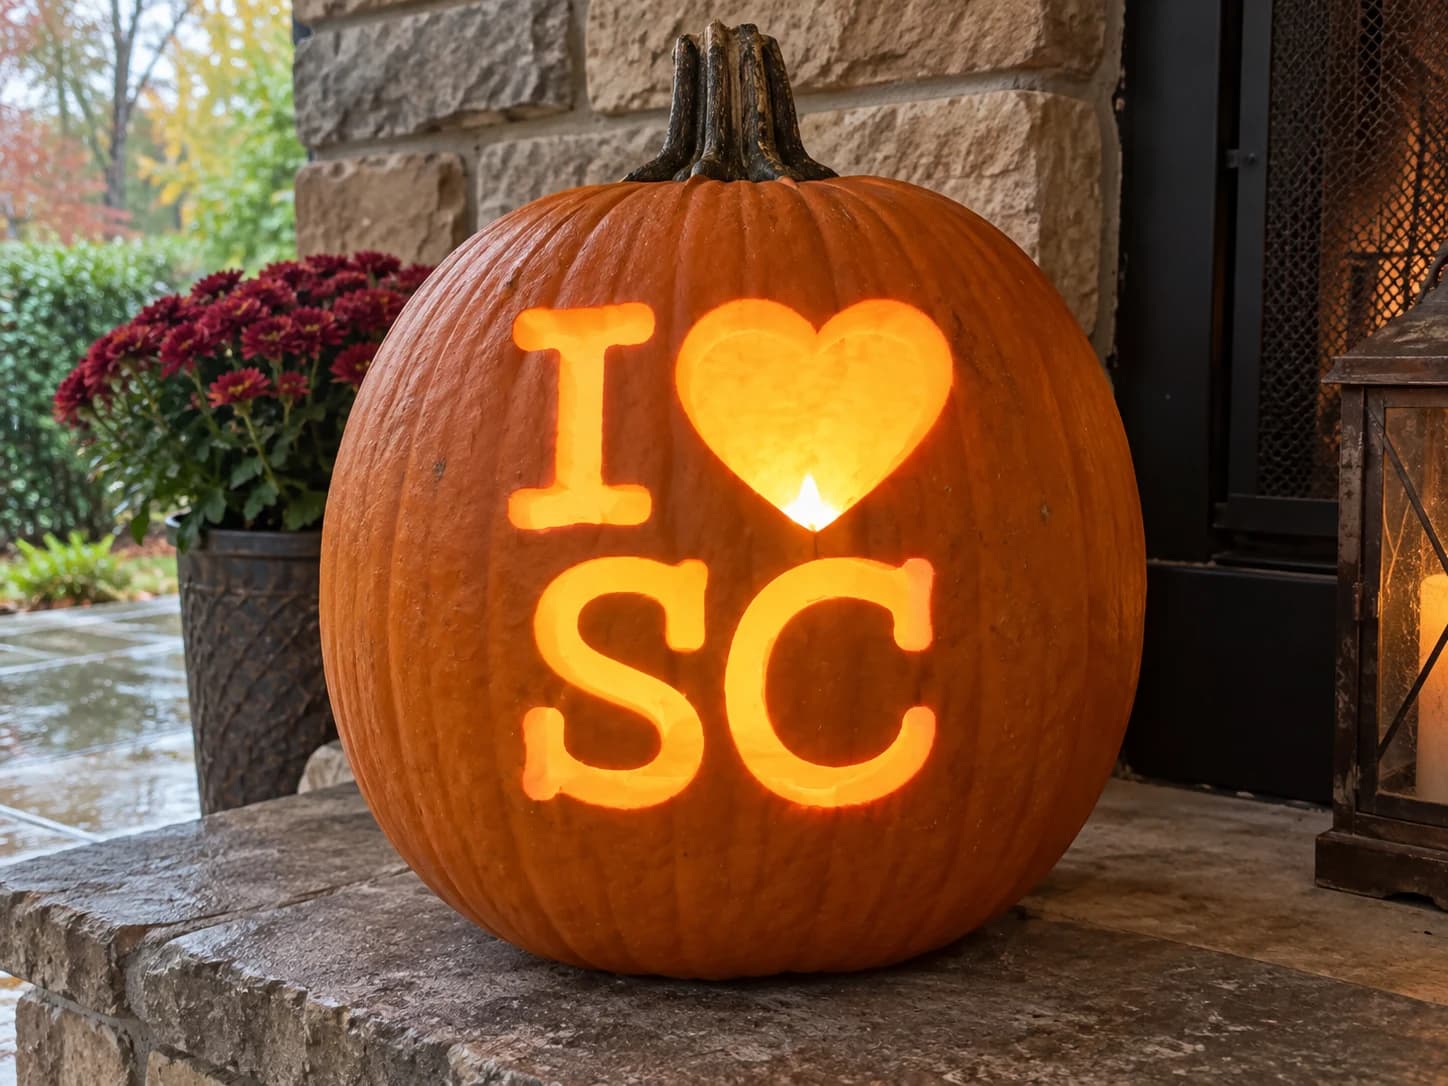
I Love South Carolina Pumpkin Stencil
South Carolina's pumpkin stencil features the "I [heart] SC" layout in rounded bubbly type, with the heart anchoring the top row and the large letters "SC" filling the lower half. The "S" in this design is notably wide and rounded, with two sweeping reverse curves that demand smooth, confident cuts. Run your carving blade in one uninterrupted arc down the full length of the "S" rather than pivoting midway, which keeps the edges even and prevents a notched-looking curve on the finished jack-o-lantern.
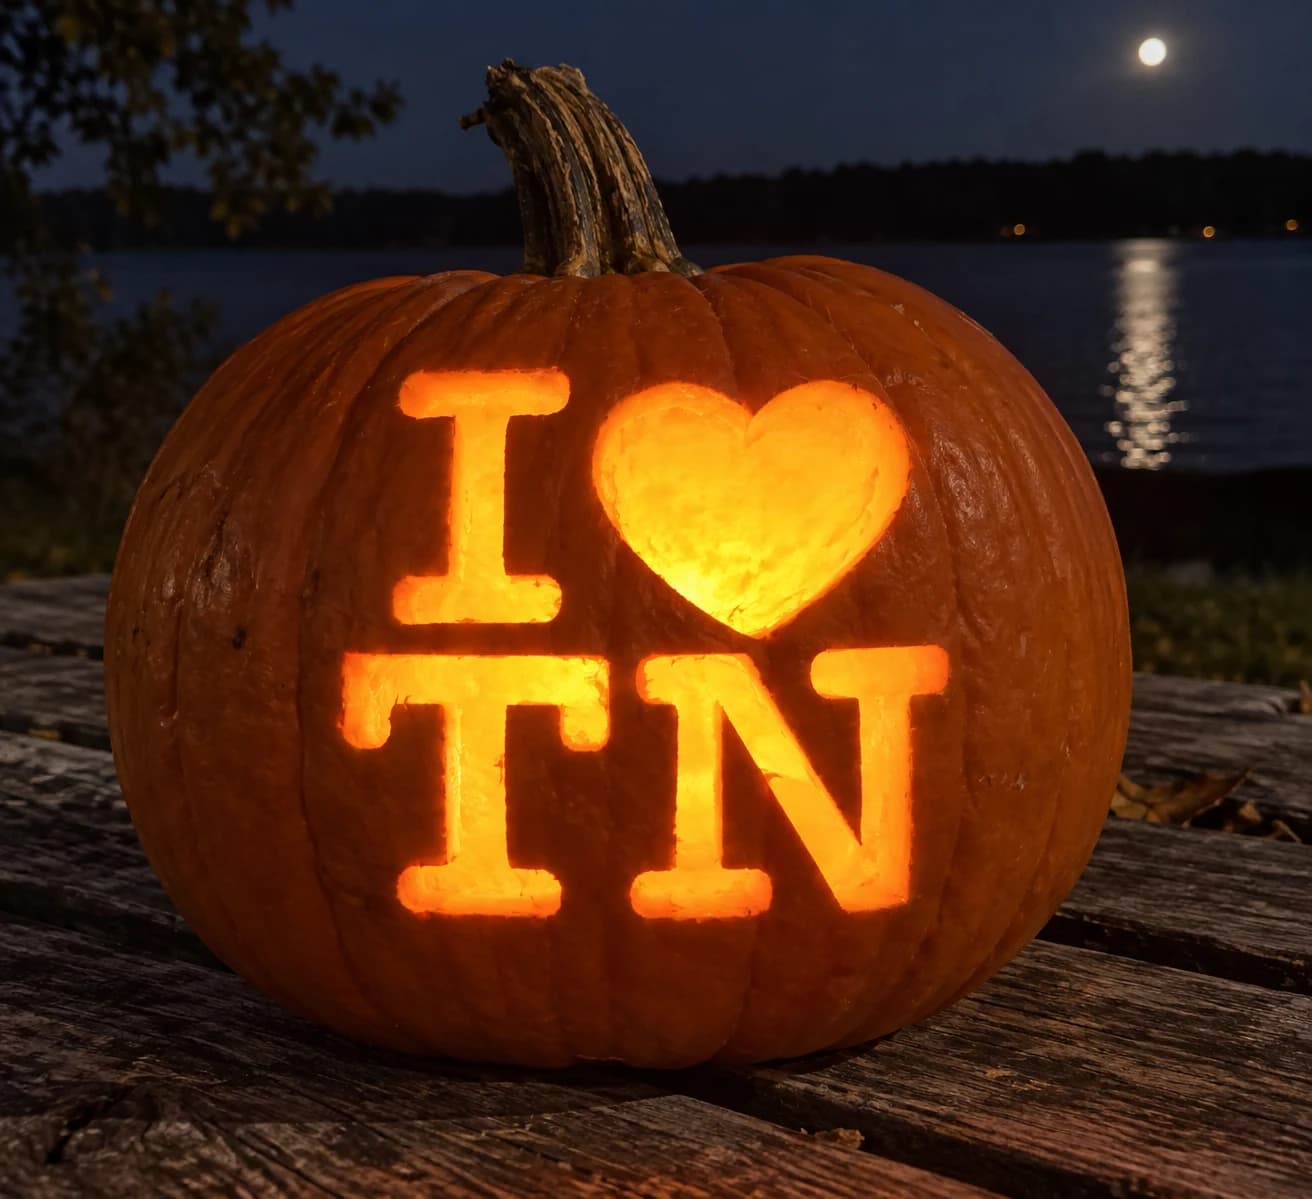
I Love Tennessee Pumpkin Stencil
Tennessee's pumpkin stencil delivers "I [heart] TN" in two rows with wide rounded caps. The letter "T" is a horizontal bar sitting atop a vertical stem, while the "N" has a diagonal stroke creating a narrow internal wedge. The "T" crossbar is the thinnest structural element in this stencil, so carve it near the end of the session: cut the two open spaces on each side of the vertical stem first, then free the crossbar in a single left-to-right pass with a sharp blade tip.
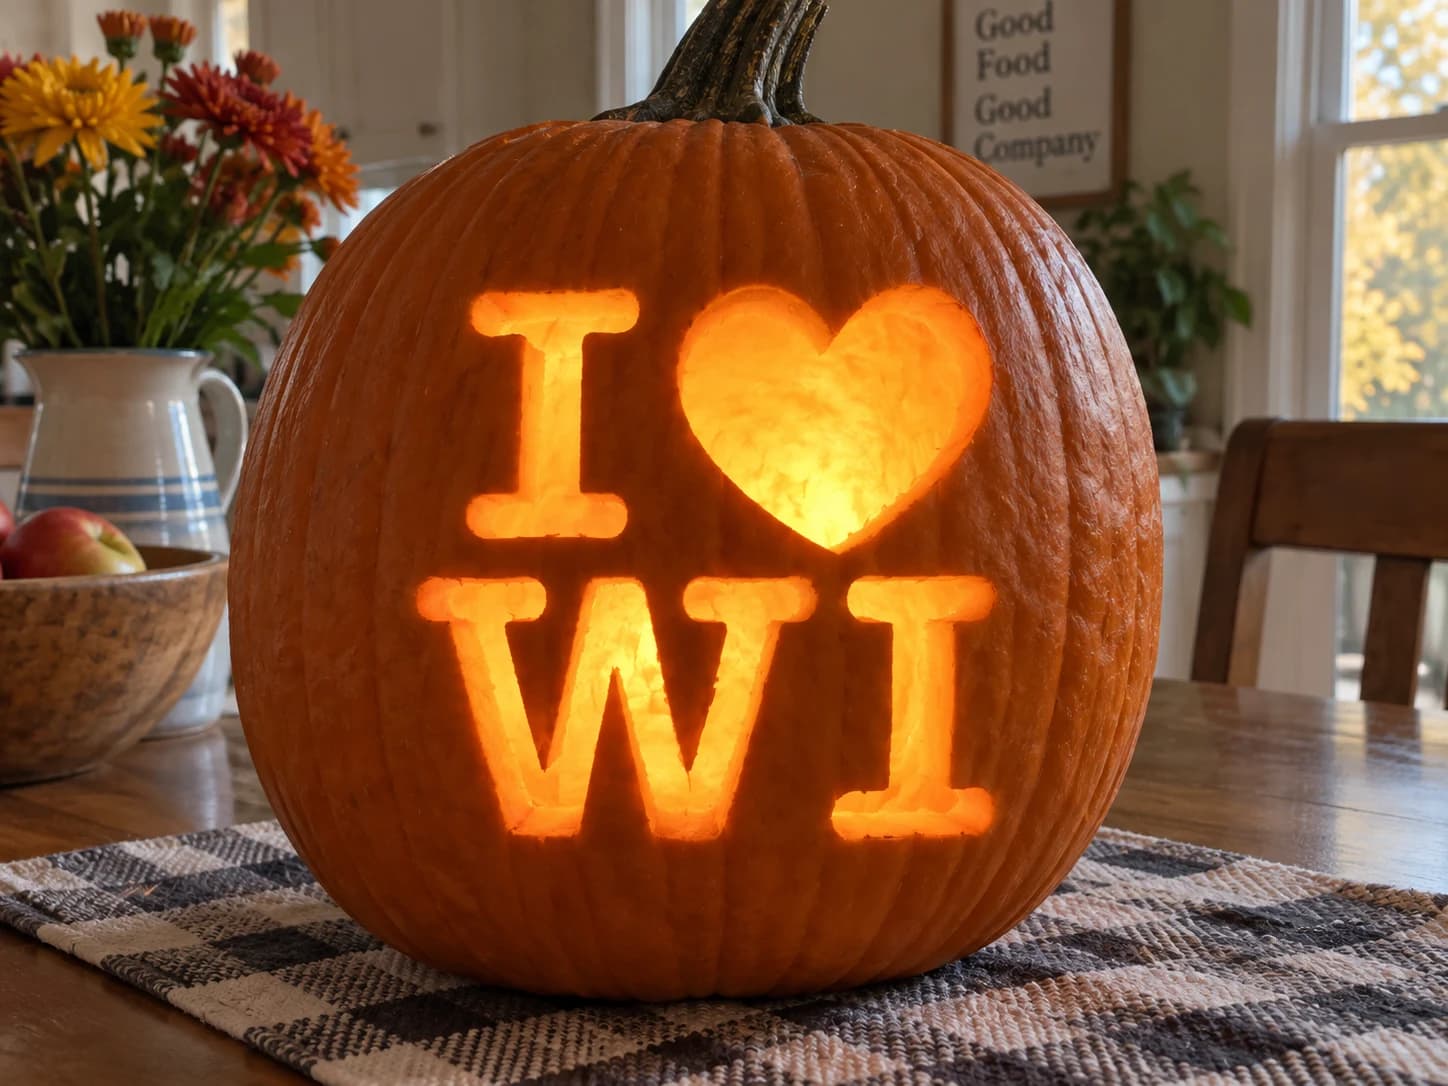
I Love Wisconsin Pumpkin Stencil
Rounded block letters arrange into the familiar "I heart WI" layout on this Wisconsin pumpkin stencil, with a tall I, a full heart, and the state abbreviation W-I each carved as separate open windows. The W is notably wide with three sharp inner valleys; carve it last so the pumpkin stays rigid while you finish the simpler shapes first. A single candle centered inside throws even light through all four forms, making the design legible from across the yard.
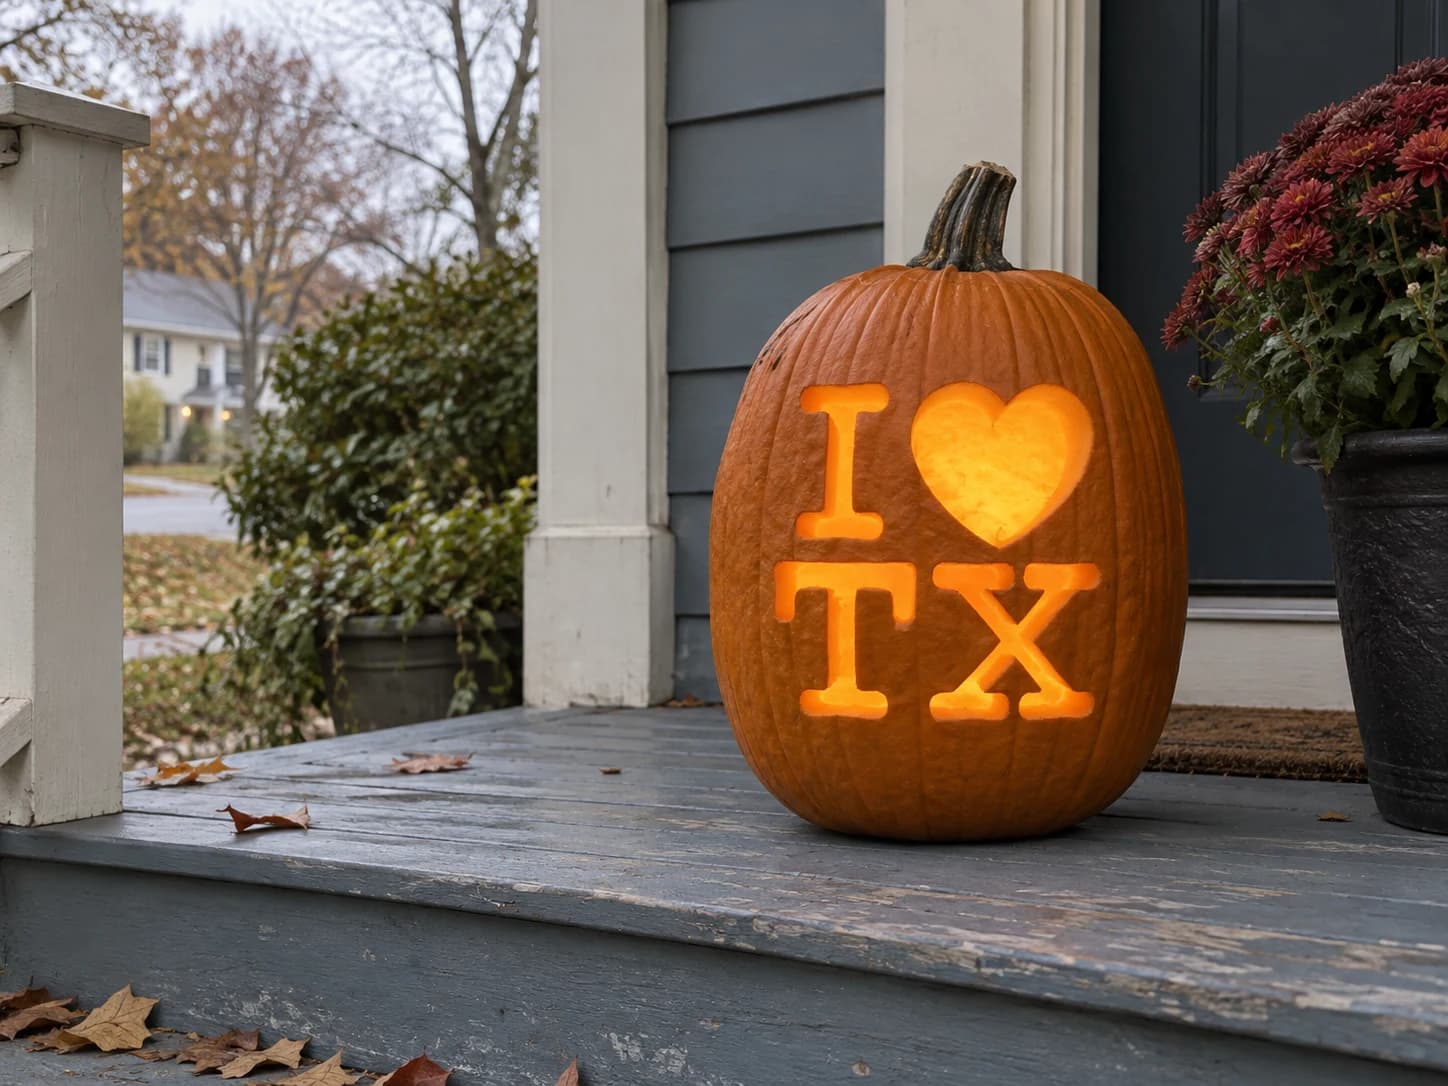
I Love Texas Pumpkin Stencil
Texas's pumpkin stencil carves the iconic "I [heart] TX" across two rows in bold rounded letterforms. The "X" is the standout shape: two diagonal strokes crossing at the center, leaving four triangular cutout wedges separated by the thin intersection point. Carve one diagonal of the "X" completely before starting the second, and use a plunge cut at the center crossing point to avoid tearing the pumpkin at the junction where the two strokes meet.
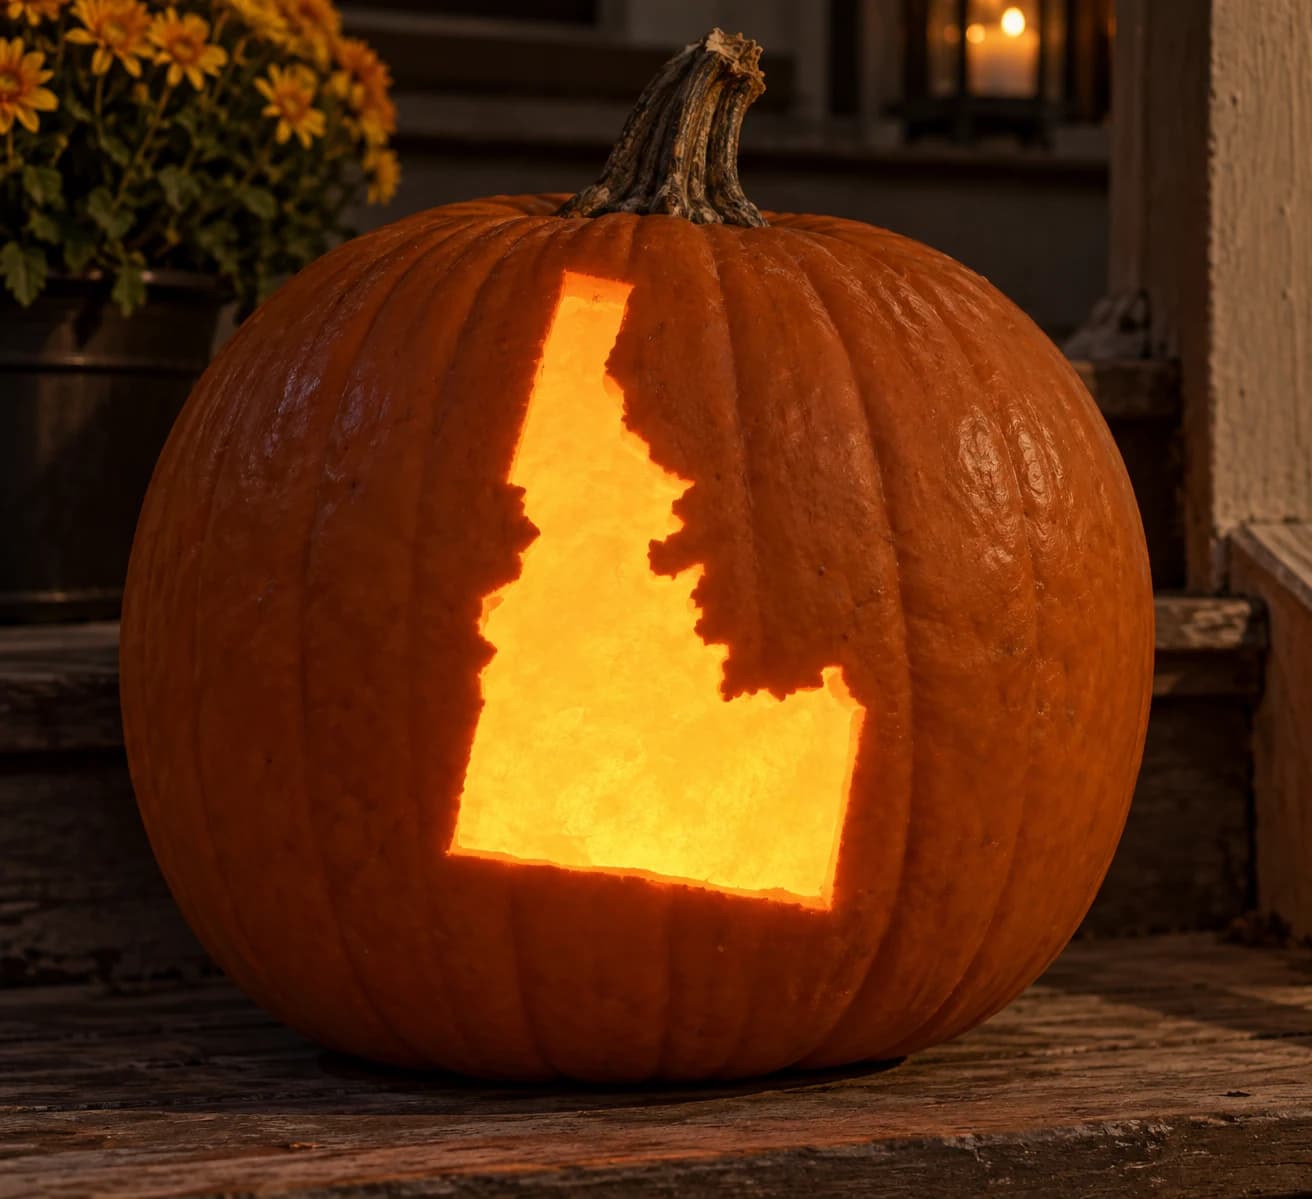
Idaho State Shape Pumpkin Stencil
Idaho's distinctive outline fills this pumpkin stencil as a single large cut-out: the tall rectangular panhandle at top, the jagged stepped eastern border descending through several notches, and the broader southwestern base, all pierced through to let candlelight define the state's shape. Because the panhandle is narrow relative to the body, carve the wider base first and work upward, keeping the thin panhandle as the last cut so the stencil holds its shape on the pumpkin surface until the very end.
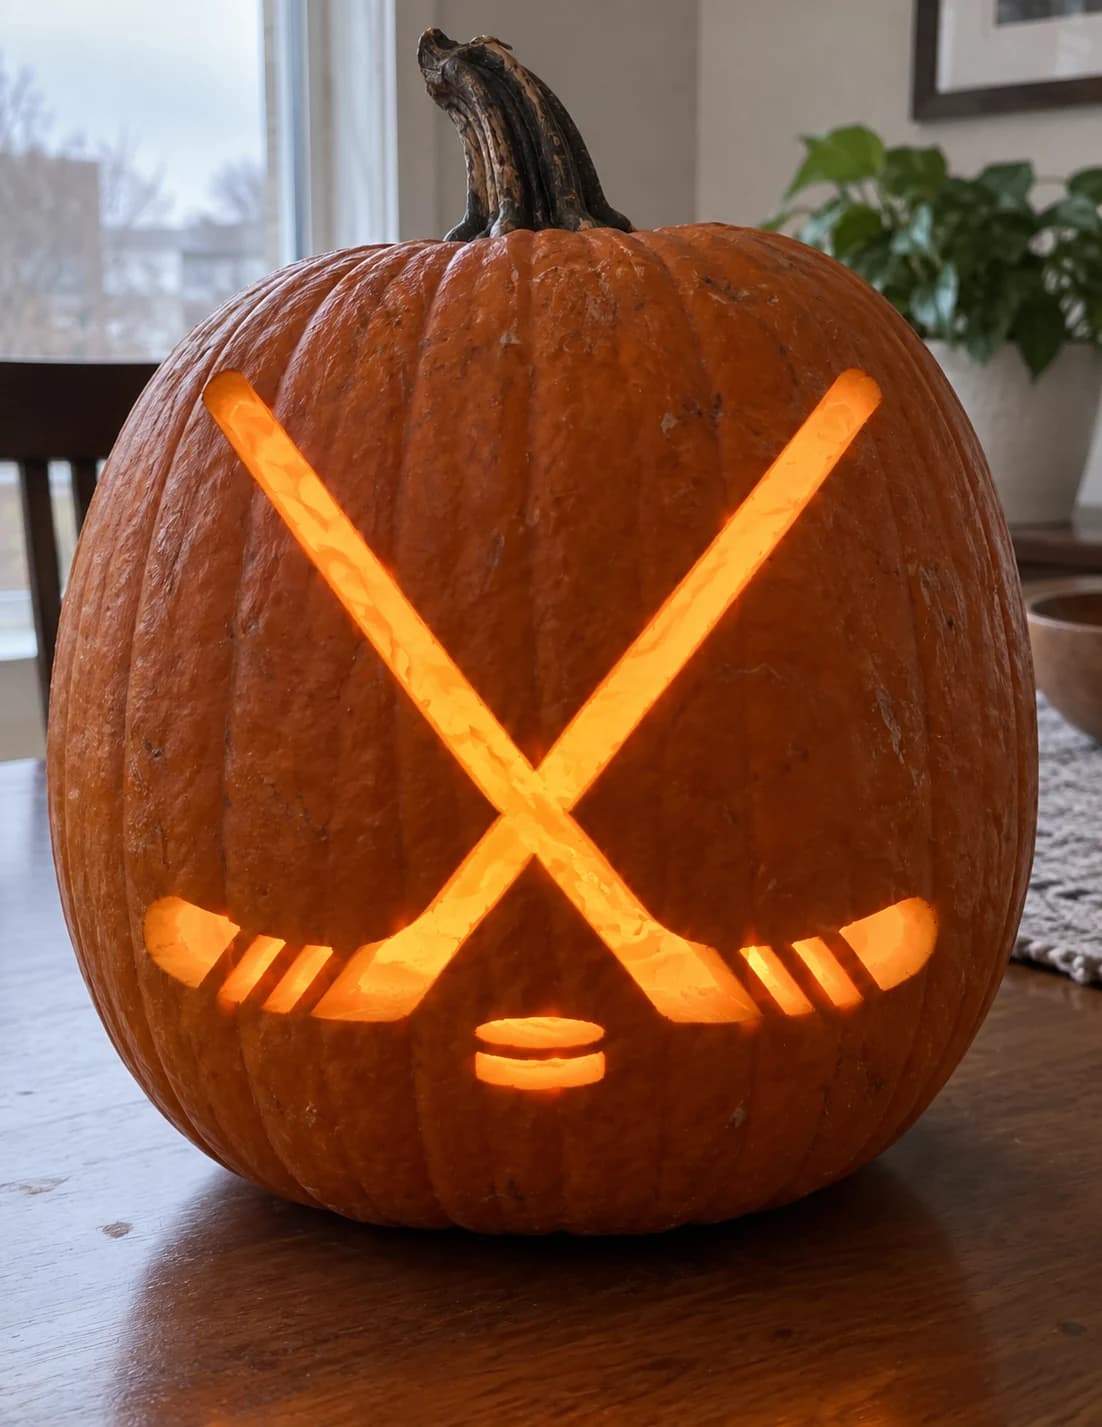
Crossed Hockey Sticks Pumpkin Stencil
Two crossed hockey sticks dominate this jack-o-lantern stencil, their long shafts forming an X at center with the curved blade ends fanning out left and right; a small round puck sits below the crossing point. The stick shafts are cut as long thin negative spaces flanking the solid X-shaped pumpkin skin bridge, and each blade features short hatching cuts that add texture on the lit pumpkin. Leave the central skin bridge where the two shafts cross untouched last so the structure stays rigid while you complete the outer blade details.
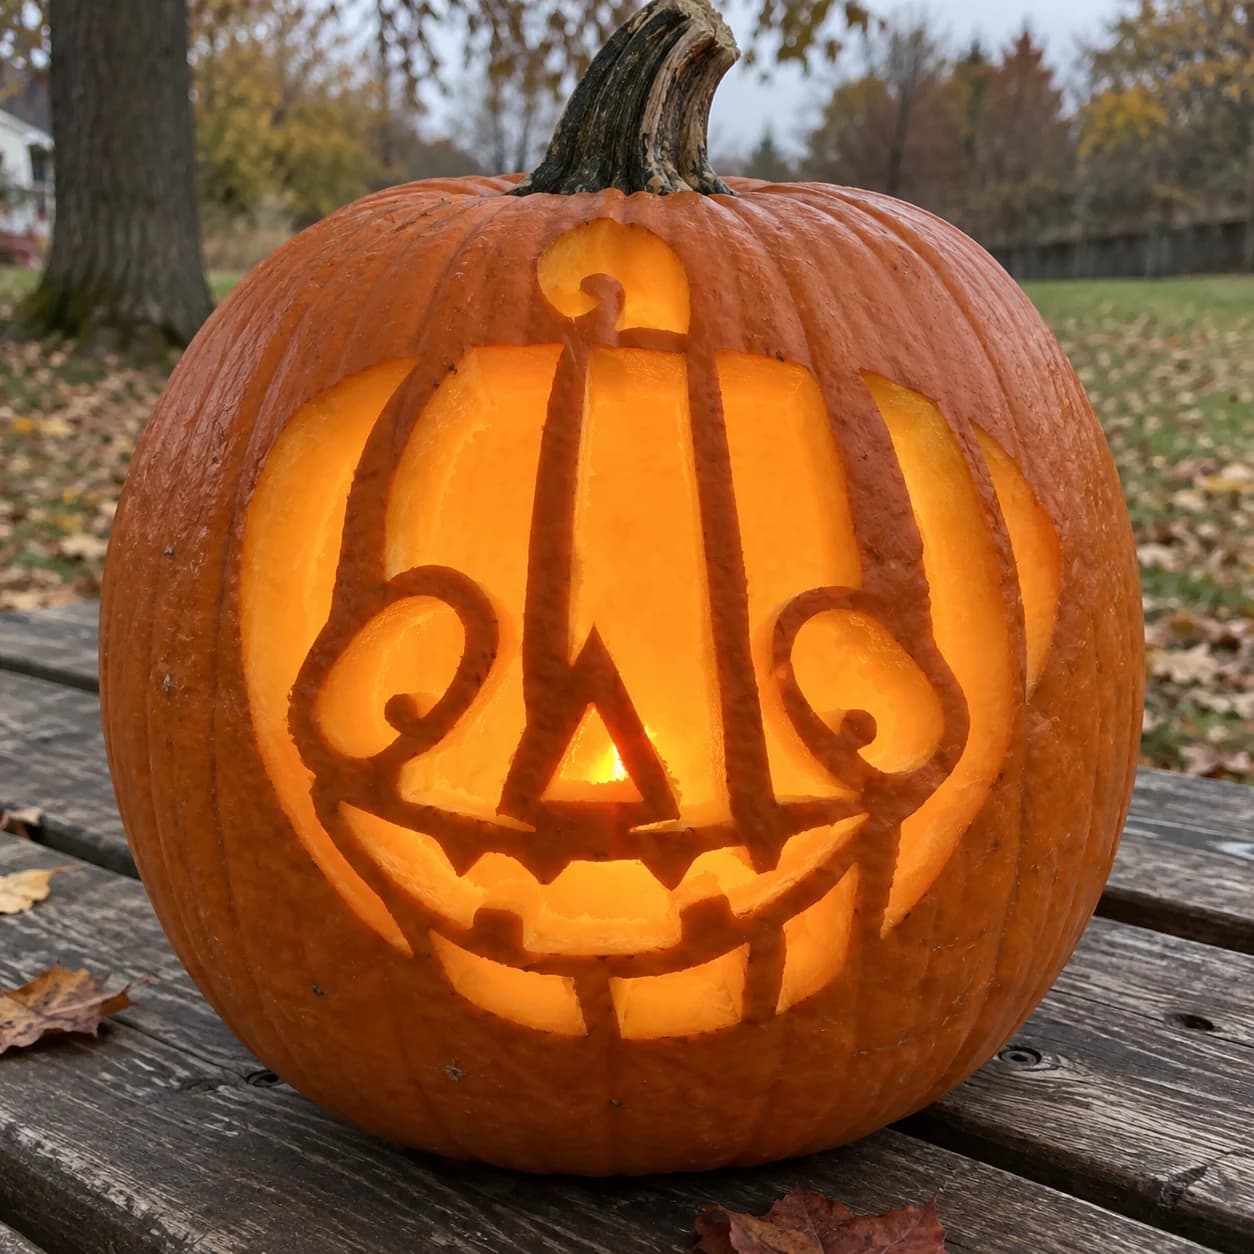
Jack-o-Lantern Face Pumpkin Stencil
This cheerful pumpkin stencil depicts a pumpkin-within-a-pumpkin: a wide jack-o-lantern face with a curling stem at top, four vertical rib lines crossing the body, and a grinning mouth with curling lip ends and individual tooth segments, all cut as negative space on the outer pumpkin. The vertical rib lines are the thinnest elements, each only a slim channel of open space; carve them with a single guided stroke from stem to mouth to avoid a wavy line. A warm candle light inside makes the rib lines read as glowing stripes across the face.
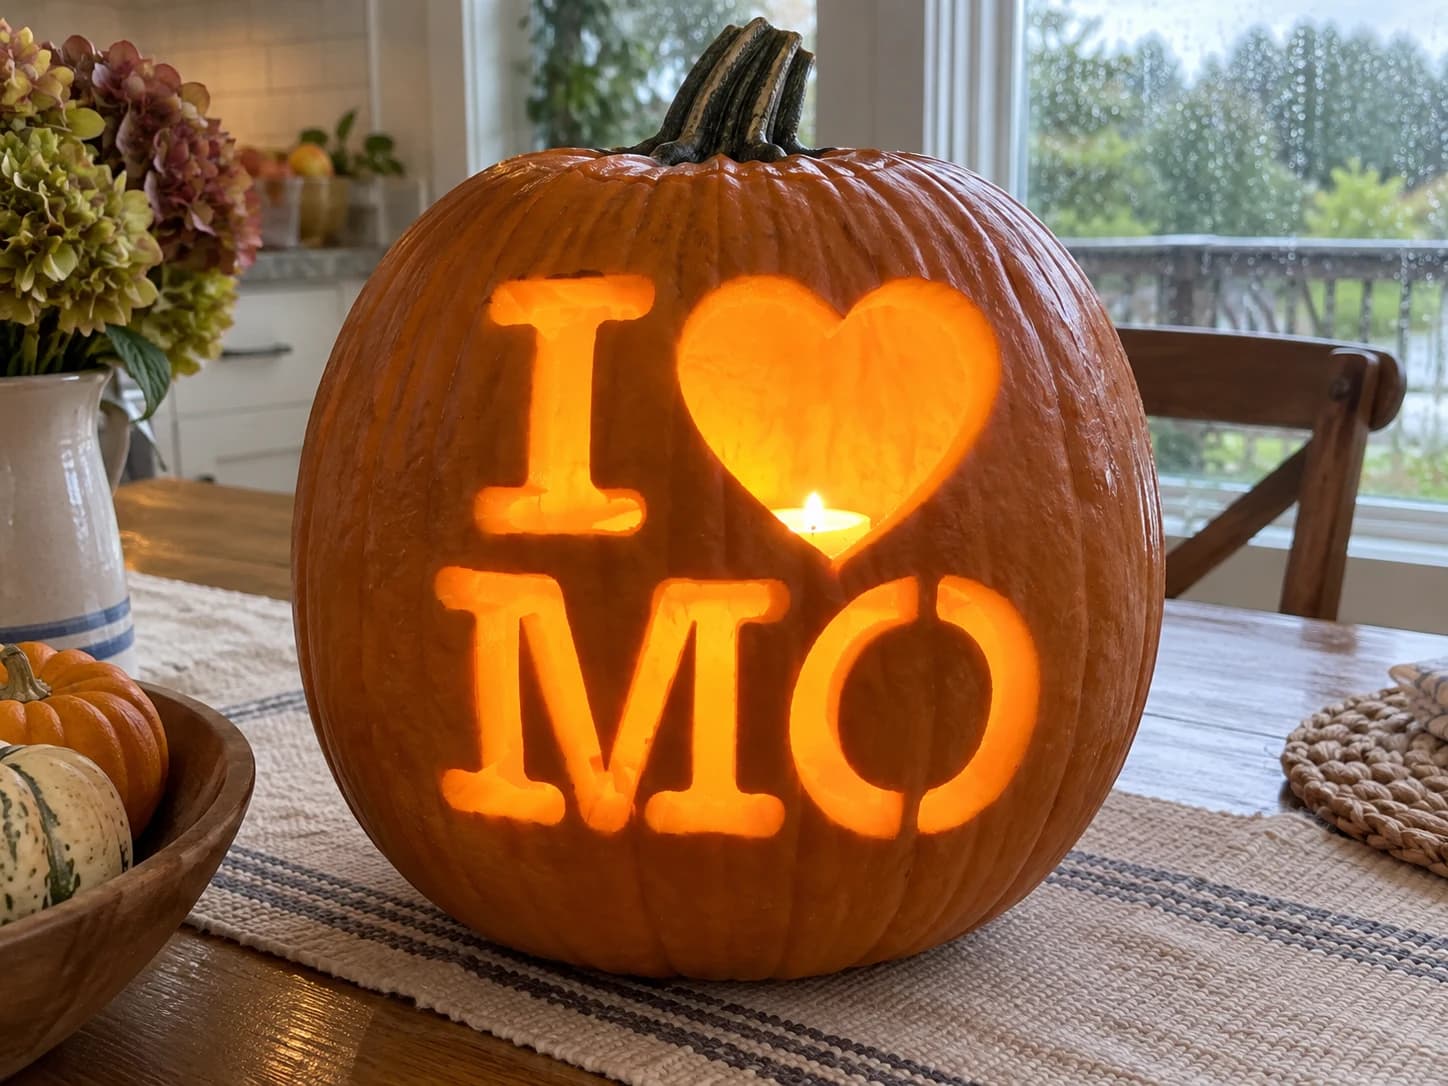
I Love Missouri Pumpkin Stencil
The Missouri pumpkin stencil arranges "I [heart] MO" across two rows in chunky rounded type, with a large open heart as the visual center. The letter "O" in "MO" is a round shape with a solid ring of pumpkin left between its outer edge and the surrounding wall, making it the most structurally delicate piece of this design. Score the outer circle of the "O" before the inner opening, then carefully extract the ring section to keep the thin bridge intact.
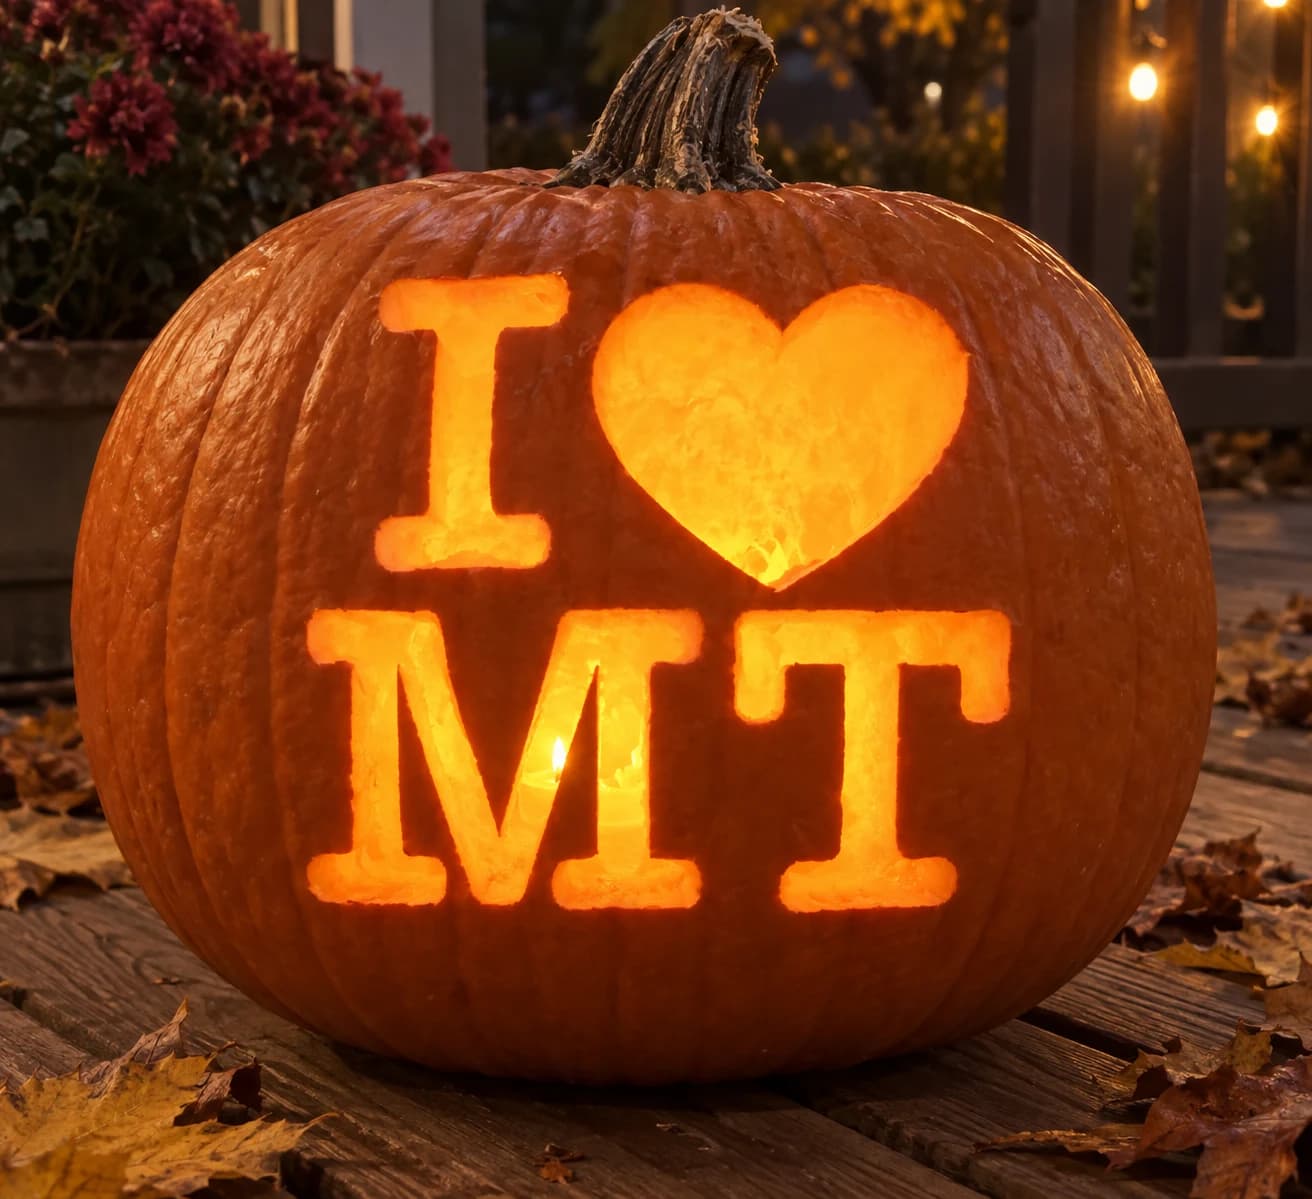
I Love Montana Pumpkin Stencil
Montana's pumpkin stencil brings the "I [heart] MT" message to life with an airy two-row grid: a slim "I", a broad heart, and the state abbreviation "MT" in bold rounded letterforms. Every element is pierced through cleanly for a bright, full-glow jack-o-lantern. The cross-bar on the "T" is a thin horizontal strip bridging two open voids, so carve it last and use a fine-pointed blade to sever the bar from the surrounding pumpkin skin without flexing it too far.
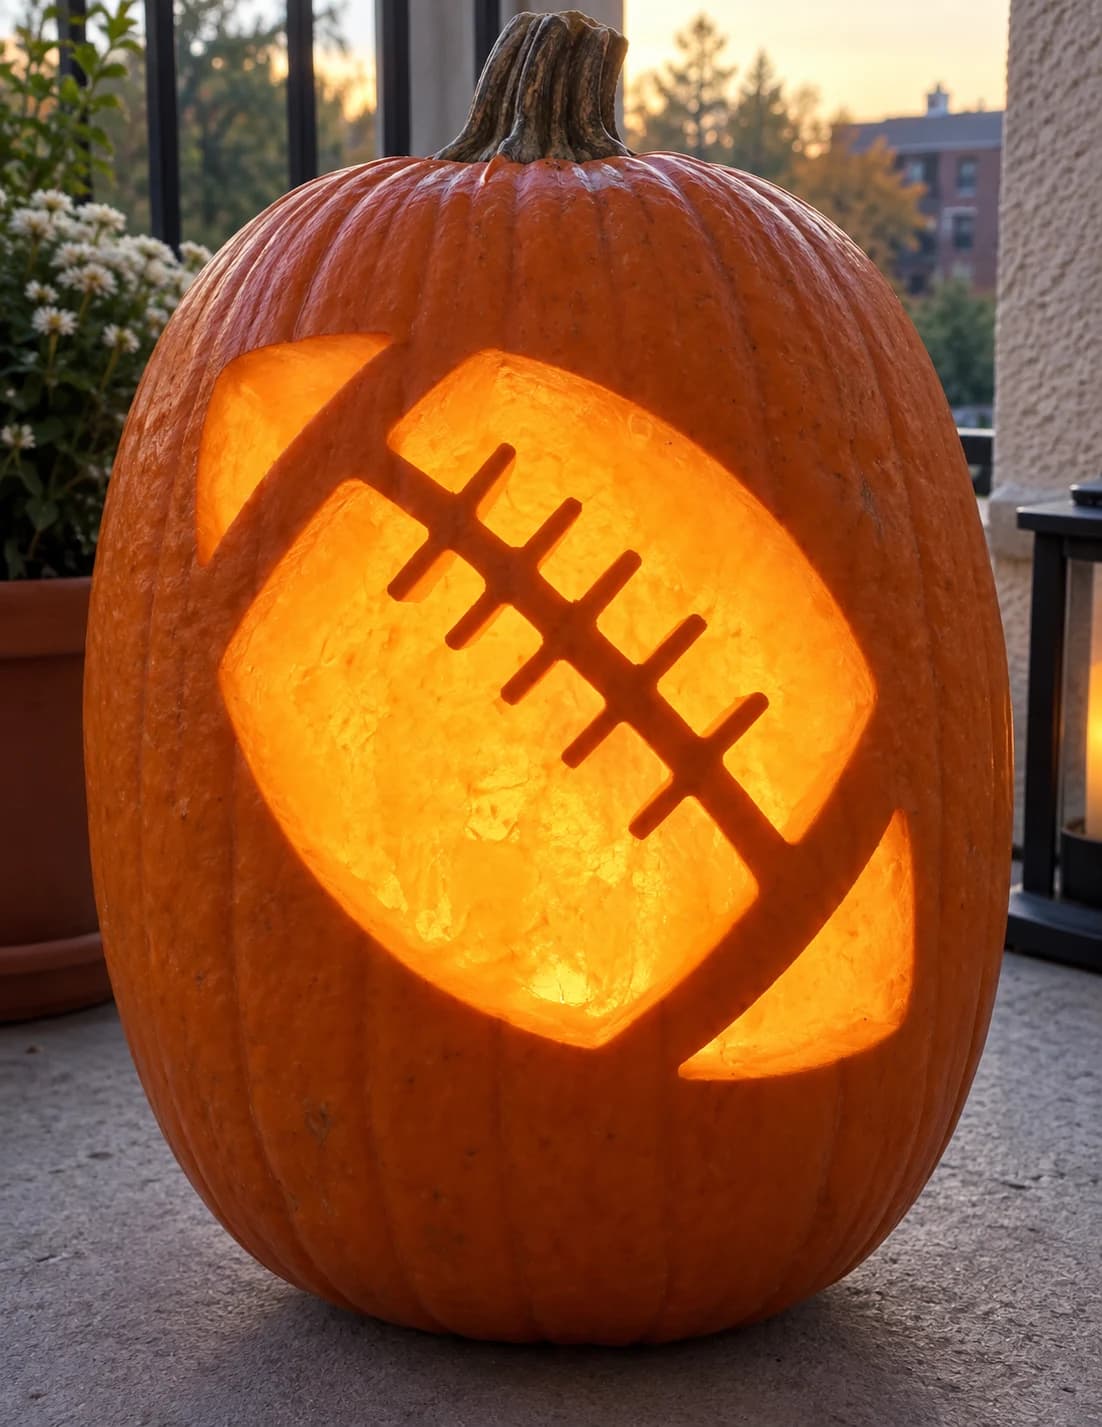
Football Pumpkin Stencil
An American football seen at a slight angle fills this pumpkin stencil, showing the oval ball body with a central lace strip of intersecting horizontal and vertical bars, plus two pointed corner panels at upper left and lower right that indicate the ball's tips extending beyond the oval. The entire ball outline, including the lace grid, is a single large pierced-through area that blazes with light against the solid pumpkin skin. Keep the lace crossbar strips intact while carving the surrounding oval by making your entry cuts along the ball's outer edge rather than through the lace bars.
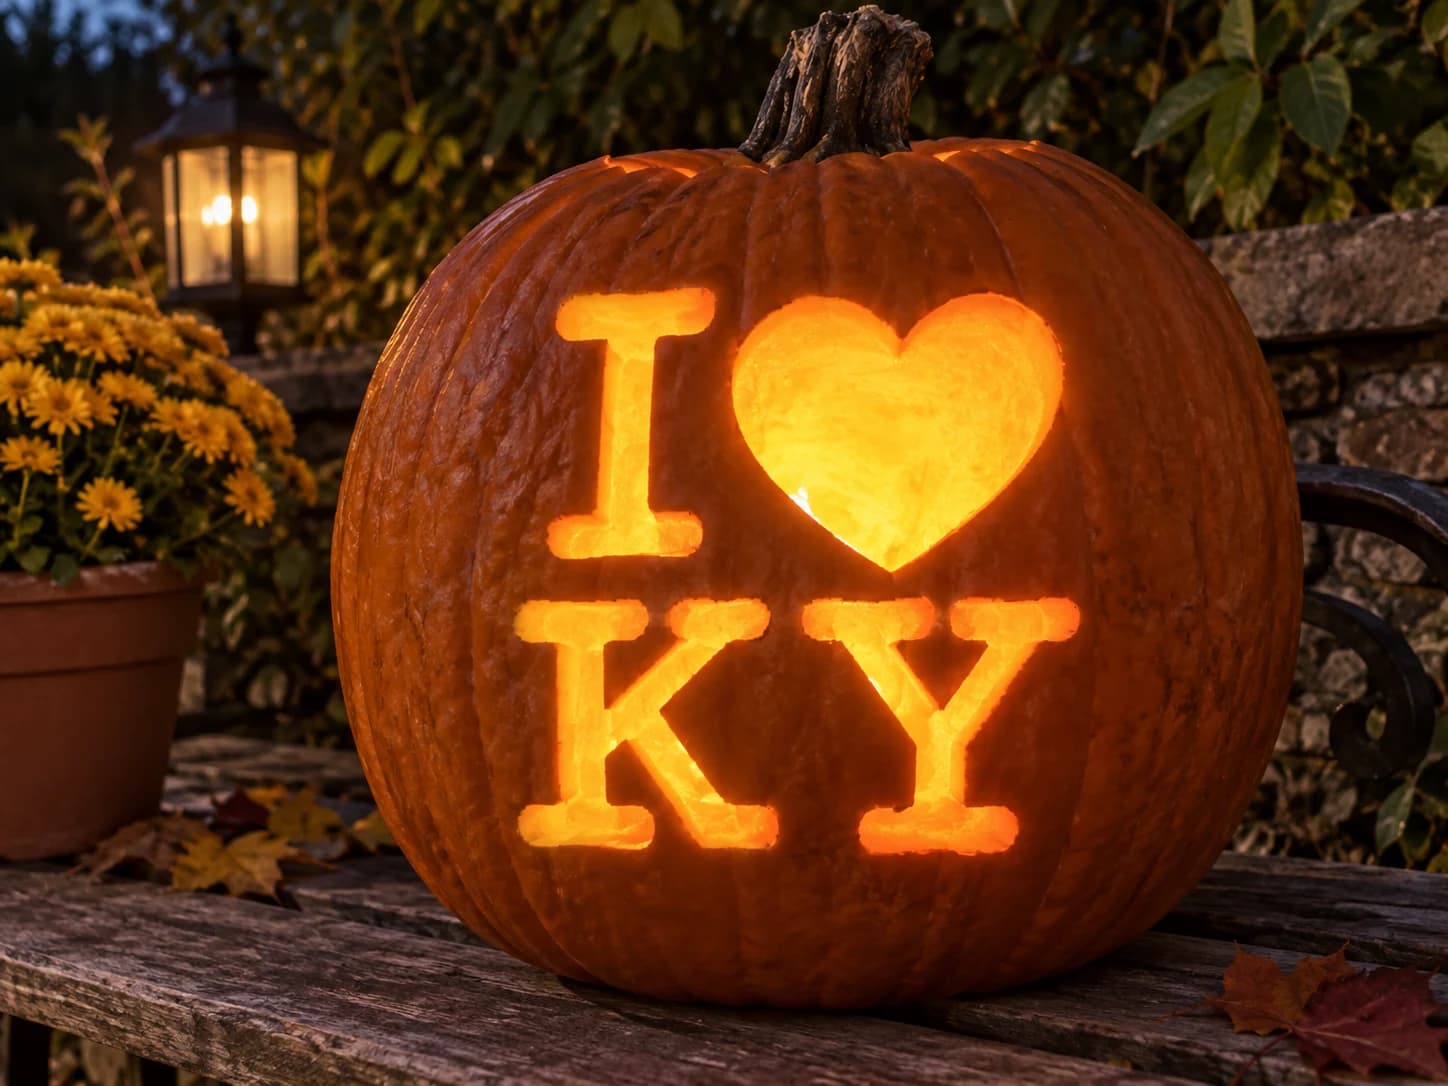
I Love Kentucky Pumpkin Stencil
Kentucky's "I Love KY" stencil uses the two-row grid with block I and heart above, and the letters K and Y below in rounded block type. The Y's upper two diagonal arms and straight lower stem form a clean open silhouette with no counters, while the K mirrors the structure described for the Kansas stencil. When lit, both bottom letters glow as bright filled shapes. For the Y, make the two upper arm cuts first, meeting at the center junction, then cut straight down the stem to complete the shape cleanly.
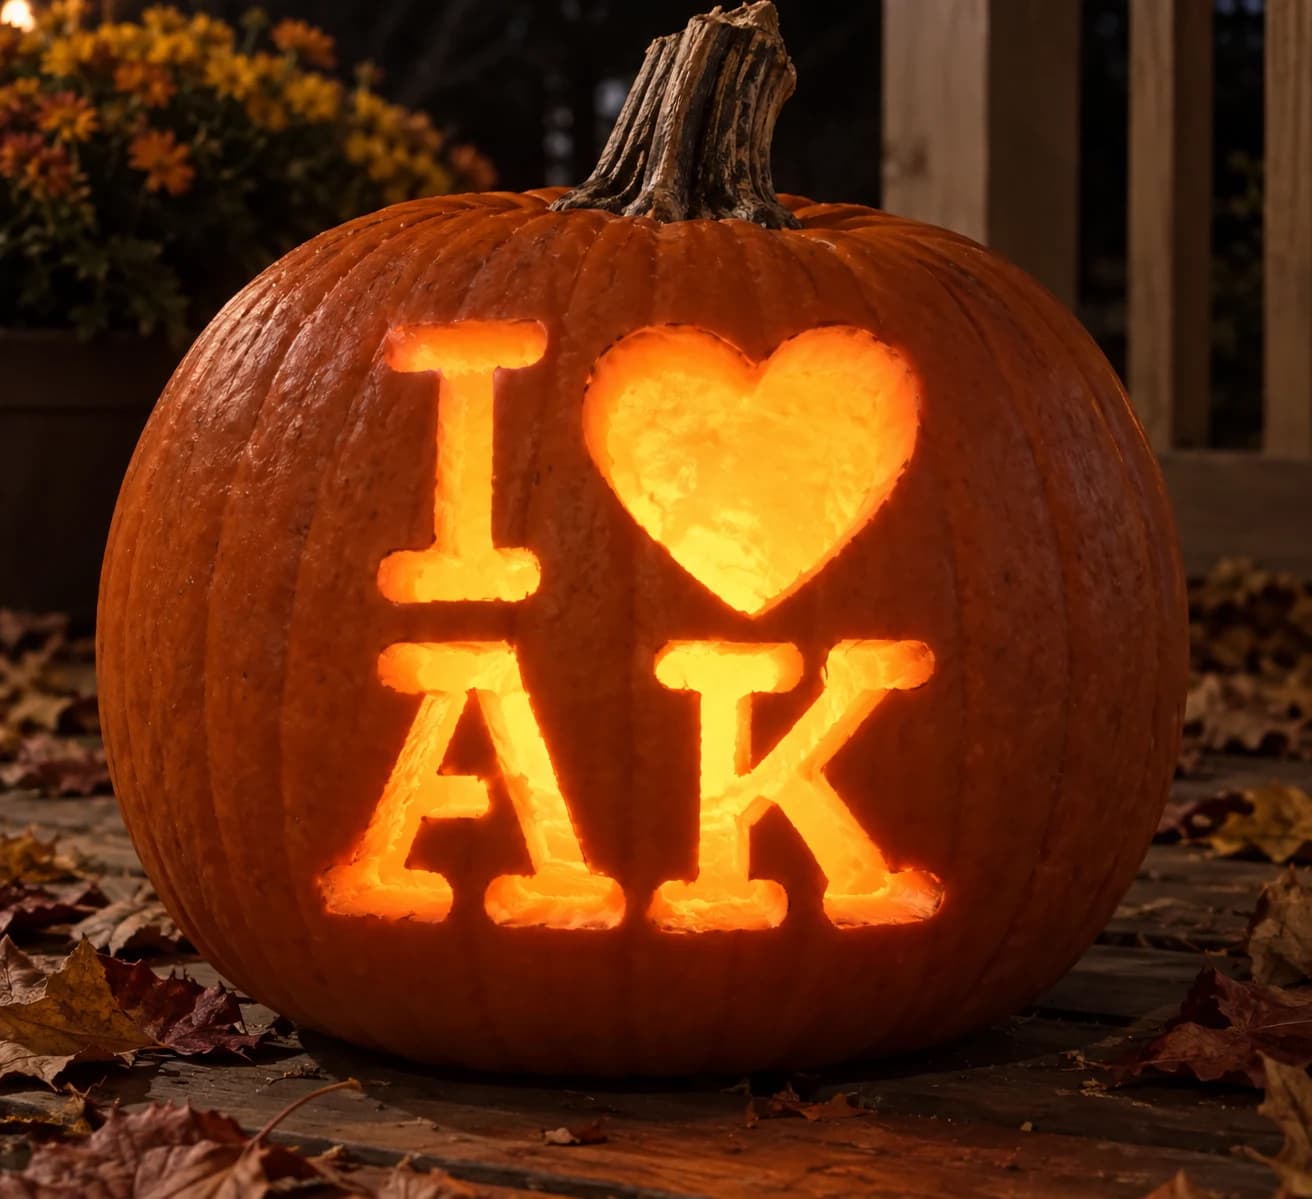
I Love Alaska Pumpkin Stencil
The Alaska state-pride stencil arranges a block letter I, a solid heart, and the bold two-letter abbreviation AK across the pumpkin face in the familiar "I Love" grid format. Each element is a separate pierced shape: the I, the heart, the A (with its internal triangular counter retained as a solid island), and the K. Lit from inside, all four shapes glow simultaneously as bright cutouts. Before cutting the A, score the small triangular counter at its center first so you can remove it cleanly without bumping the outer letter legs.
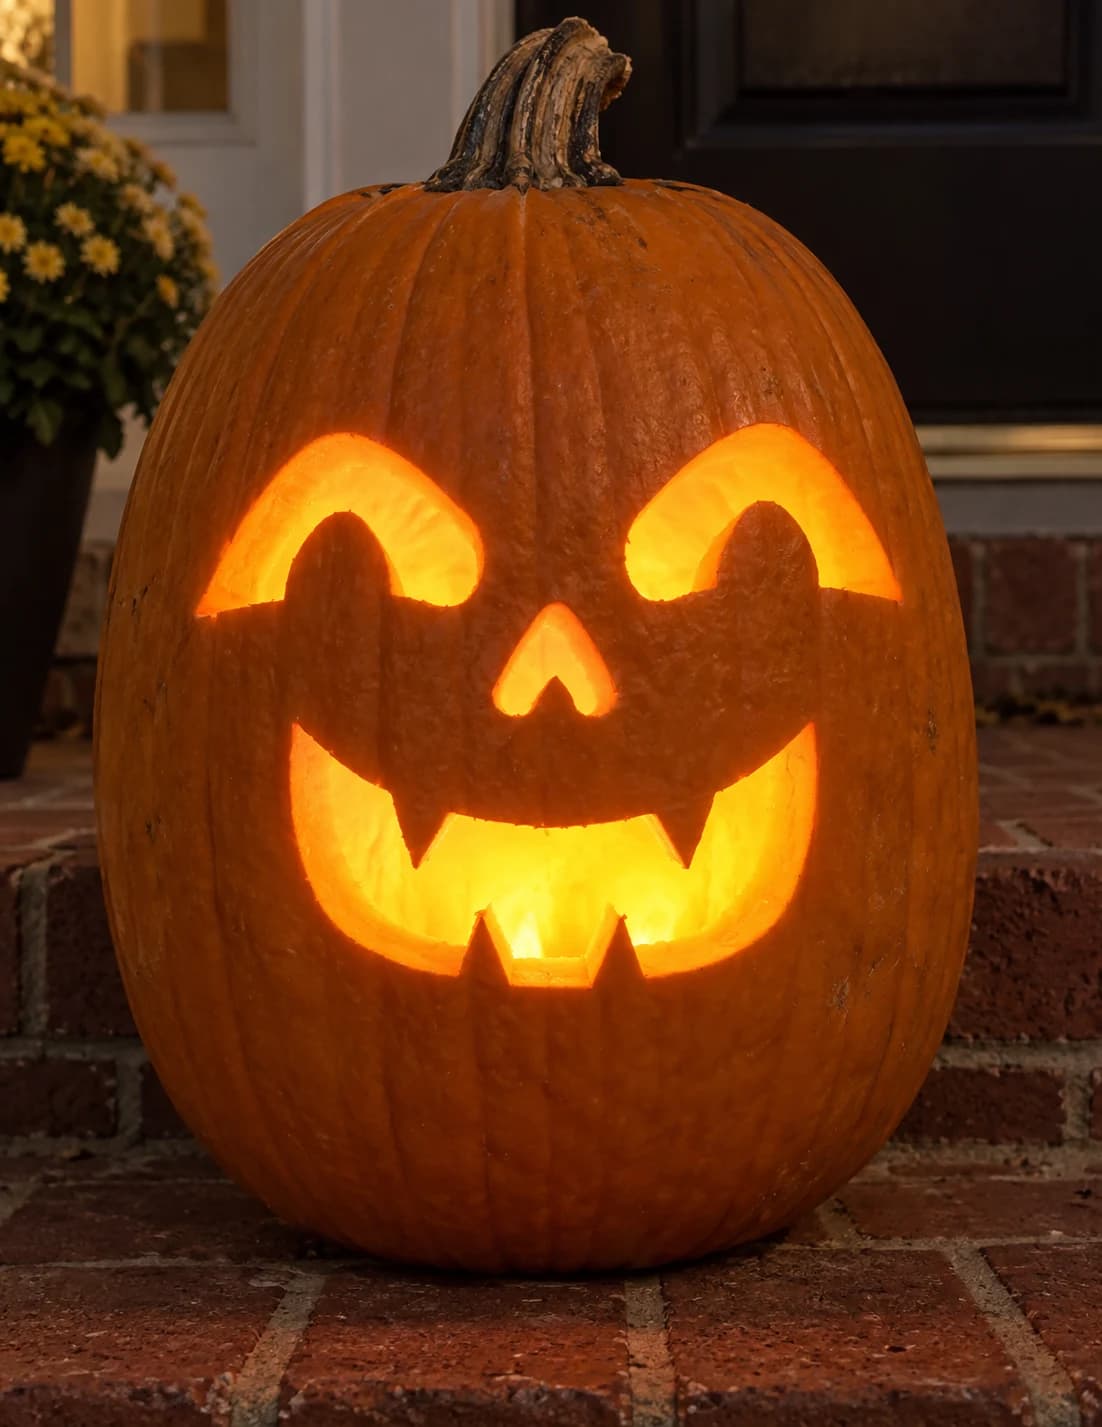
Happy Vampire Pumpkin Stencil
A cheerful jack-o-lantern face with vampire character fills this beginner-friendly pumpkin stencil: two large arching eye openings each cradle a small solid half-moon pupil, a small heart-shaped nose cutout sits in the center, and a wide grinning mouth shows two prominent pointed fangs flanked by rows of square teeth. Each feature is a distinct pierced-through shape separated by solid pumpkin bridges. Start with the heart-shaped nose and the small pupil islands inside each eye before opening the bigger eye arches, so those internal solid pieces stay anchored while you work.
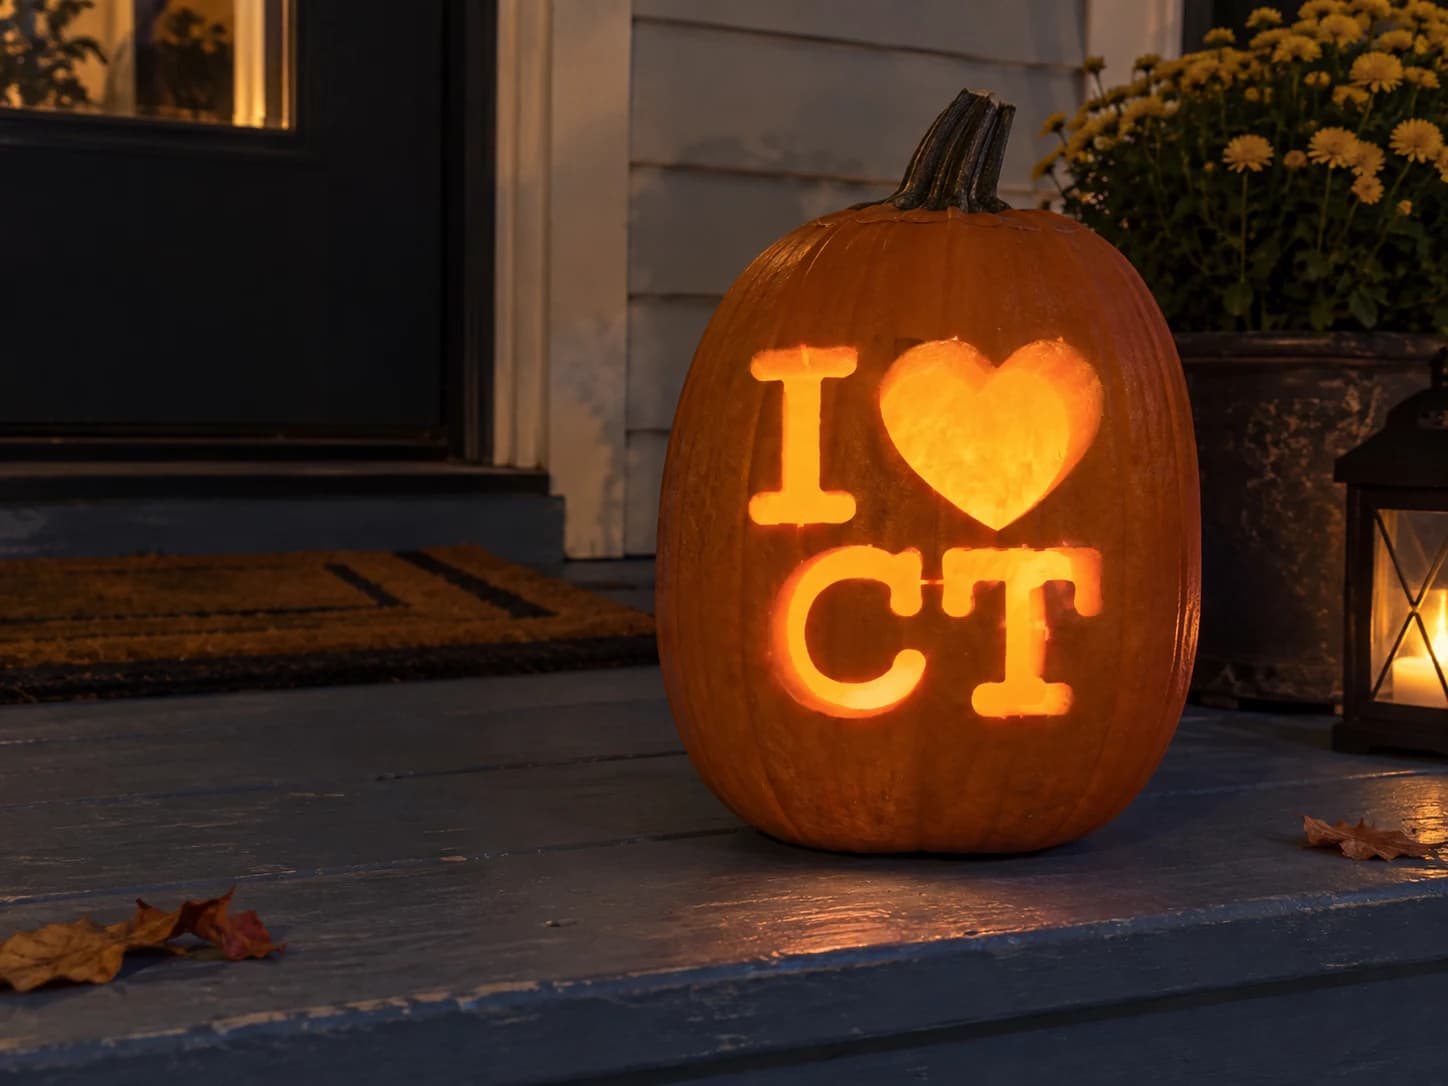
I Love Connecticut Pumpkin Stencil
Connecticut's "I Love CT" stencil is built from a block I, a solid heart, and the letters CT in bold rounded type. The C is a simple open arc with no counter, and the T has a wide crossbar and a straight stem, both cut as one continuous open silhouette. All four shapes pierce cleanly with no floating islands, making this one of the simpler state stencils in the series. Keep the horizontal bridge between the top row and the bottom CT row at least a half-inch thick to support the finished carving.
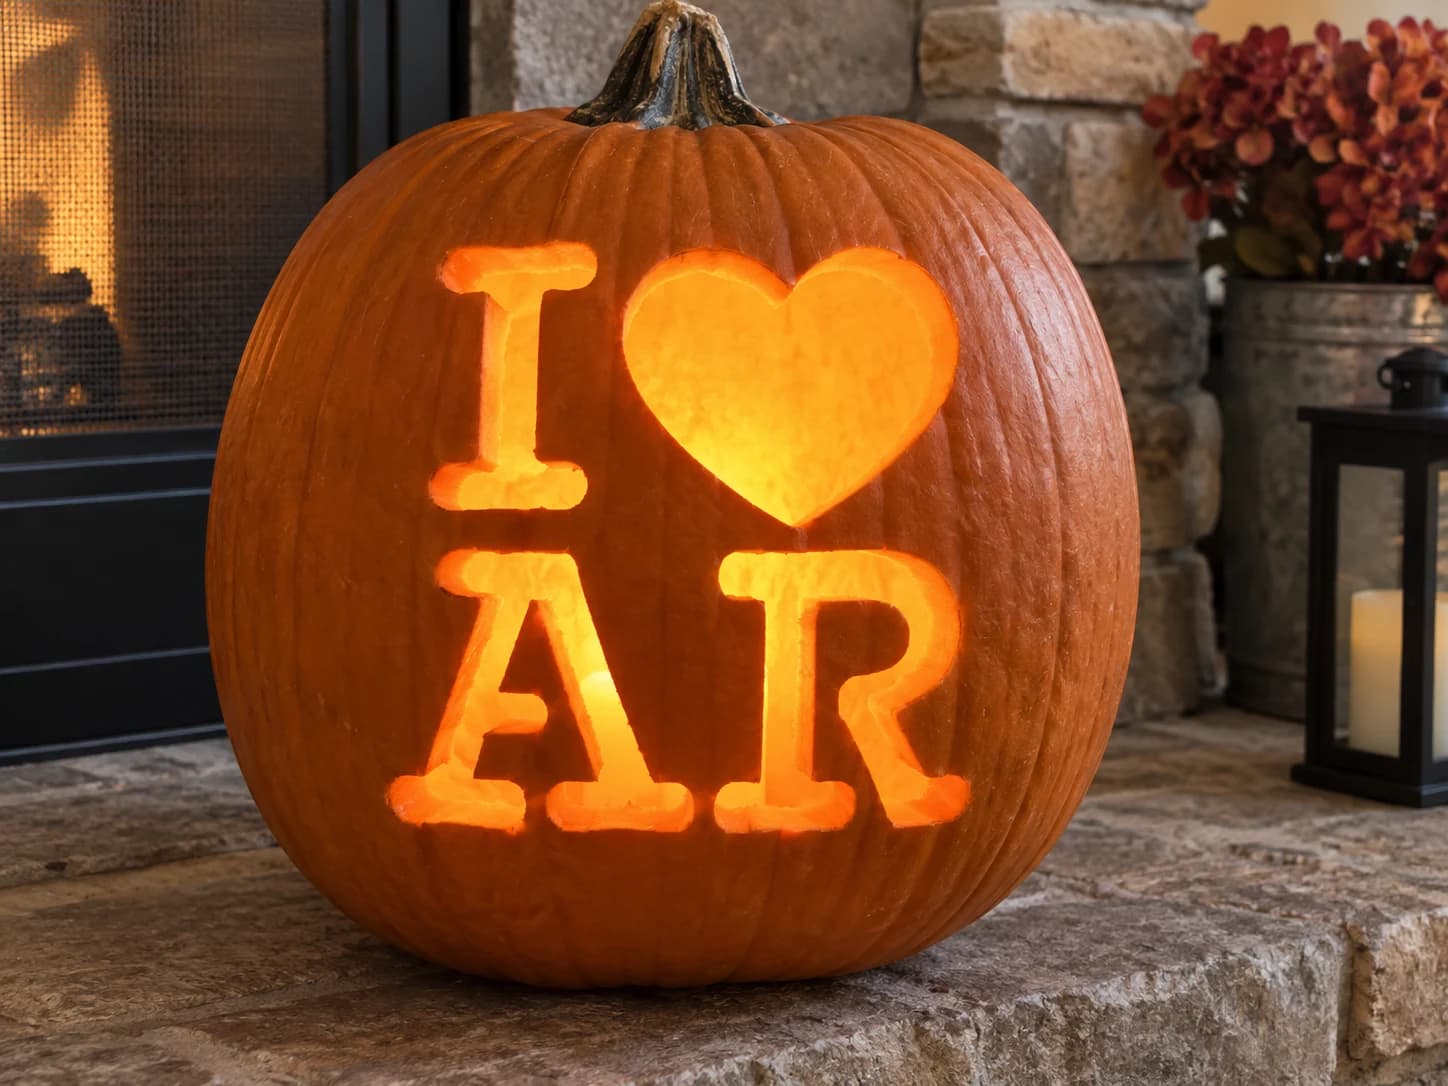
I Love Arkansas Pumpkin Stencil
The Arkansas stencil uses the standard "I Love" pumpkin layout: a block I, a full heart, and the two-letter abbreviation AR in rounded type. Both letters are open silhouettes with no interior counters, making this a clean, beginner-friendly carve with four distinct glowing shapes. The R's open leg curves slightly inward, so trace it with a pin tool before cutting to confirm the exact endpoint of that stroke before committing the blade.
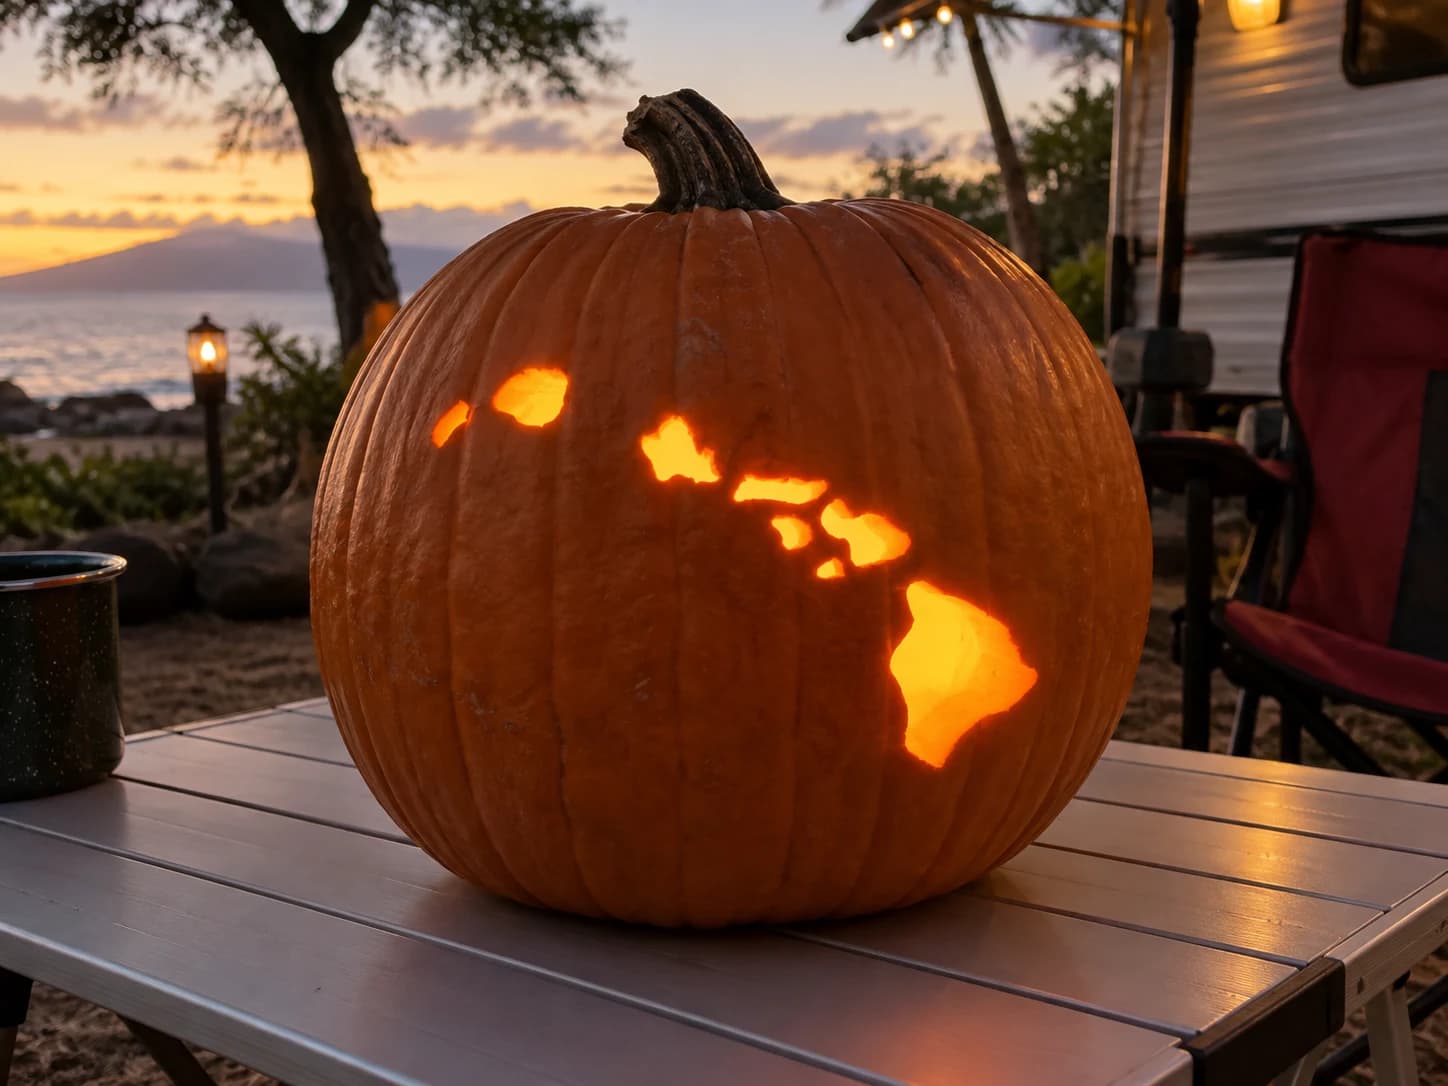
Hawaii Pumpkin Stencil
The Hawaiian island chain appears as a scatter of eight organic island shapes across this pumpkin stencil, ranging from the tiny northwestern islets at upper left down to the large triangular mass of the Big Island at lower right, all correctly spaced in their northwest-to-southeast arc. Each island is an individual pierced-through cutout, so the lit jack-o-lantern glows with the archipelago floating in a dark pumpkin sky. Cut the three smallest islets at the upper left first before carving the larger islands, so the thin walls between the close-spaced upper shapes stay intact while you work toward the spacious lower portion.
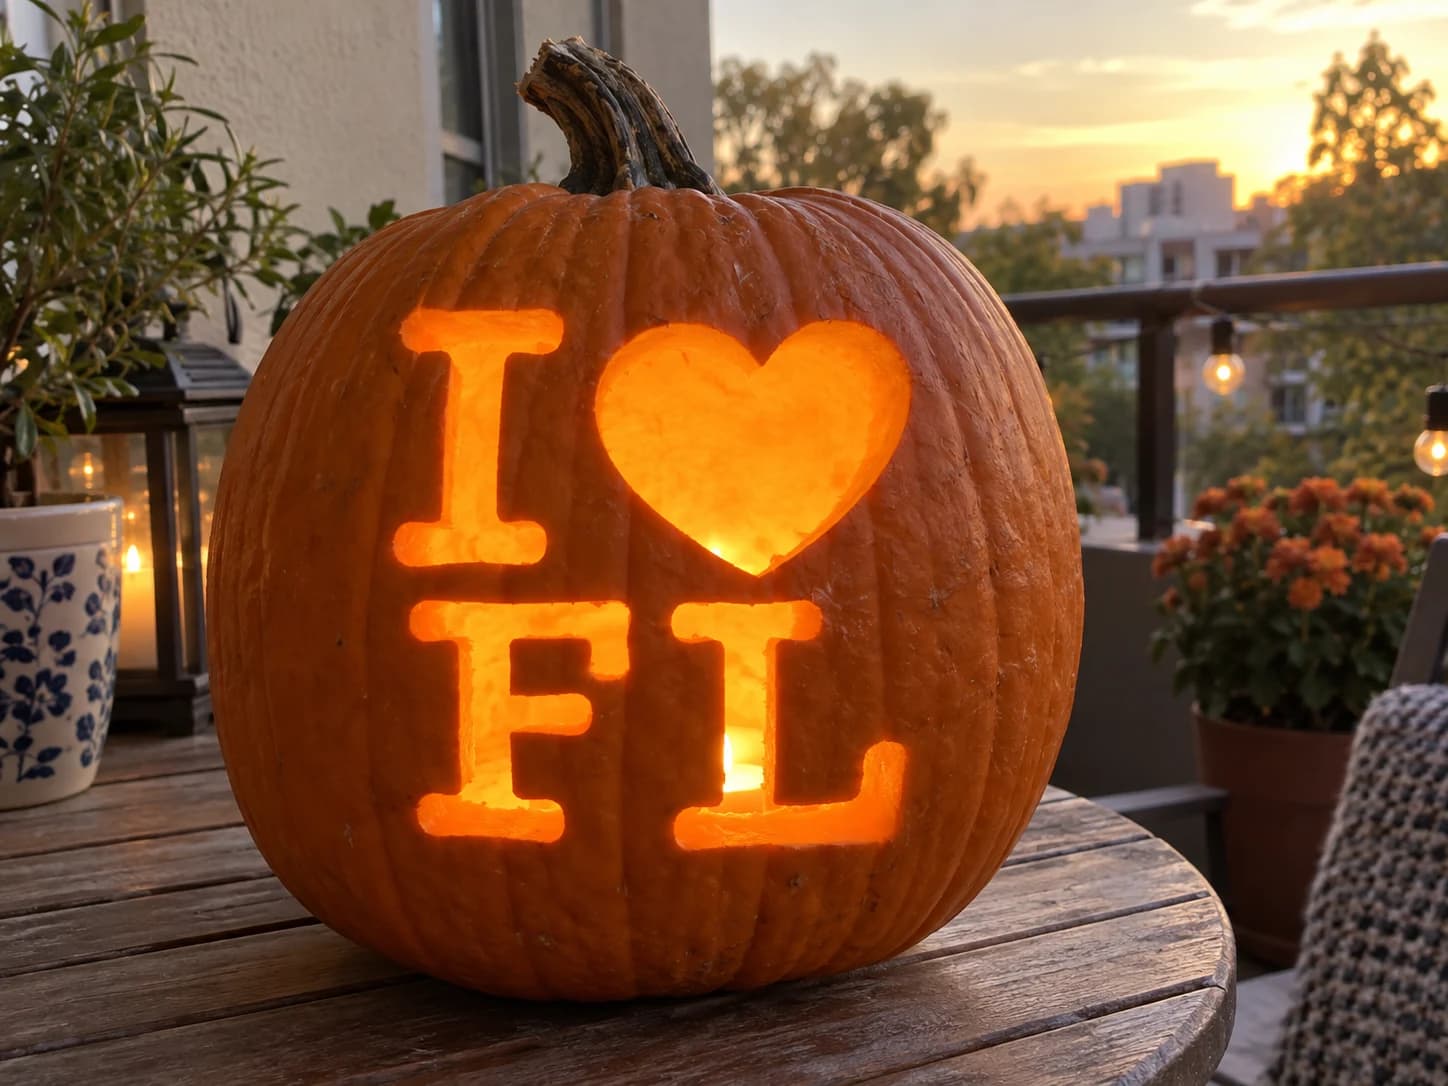
I Love Florida Pumpkin Stencil
Florida's "I Love FL" pumpkin stencil sets a rounded block I and heart on the top row, with a wide F and a tall L below in the same chunky typeface used throughout the state series. The F has two open horizontal slots forming its crossbars, while the L is a simple open L-shape with no counters, making both letters straightforward to cut. Place your first cut on the F's upper slot, then the lower slot, before moving to the L and the top-row shapes, so the most structurally complex letter is handled while the pumpkin wall is still fully intact.
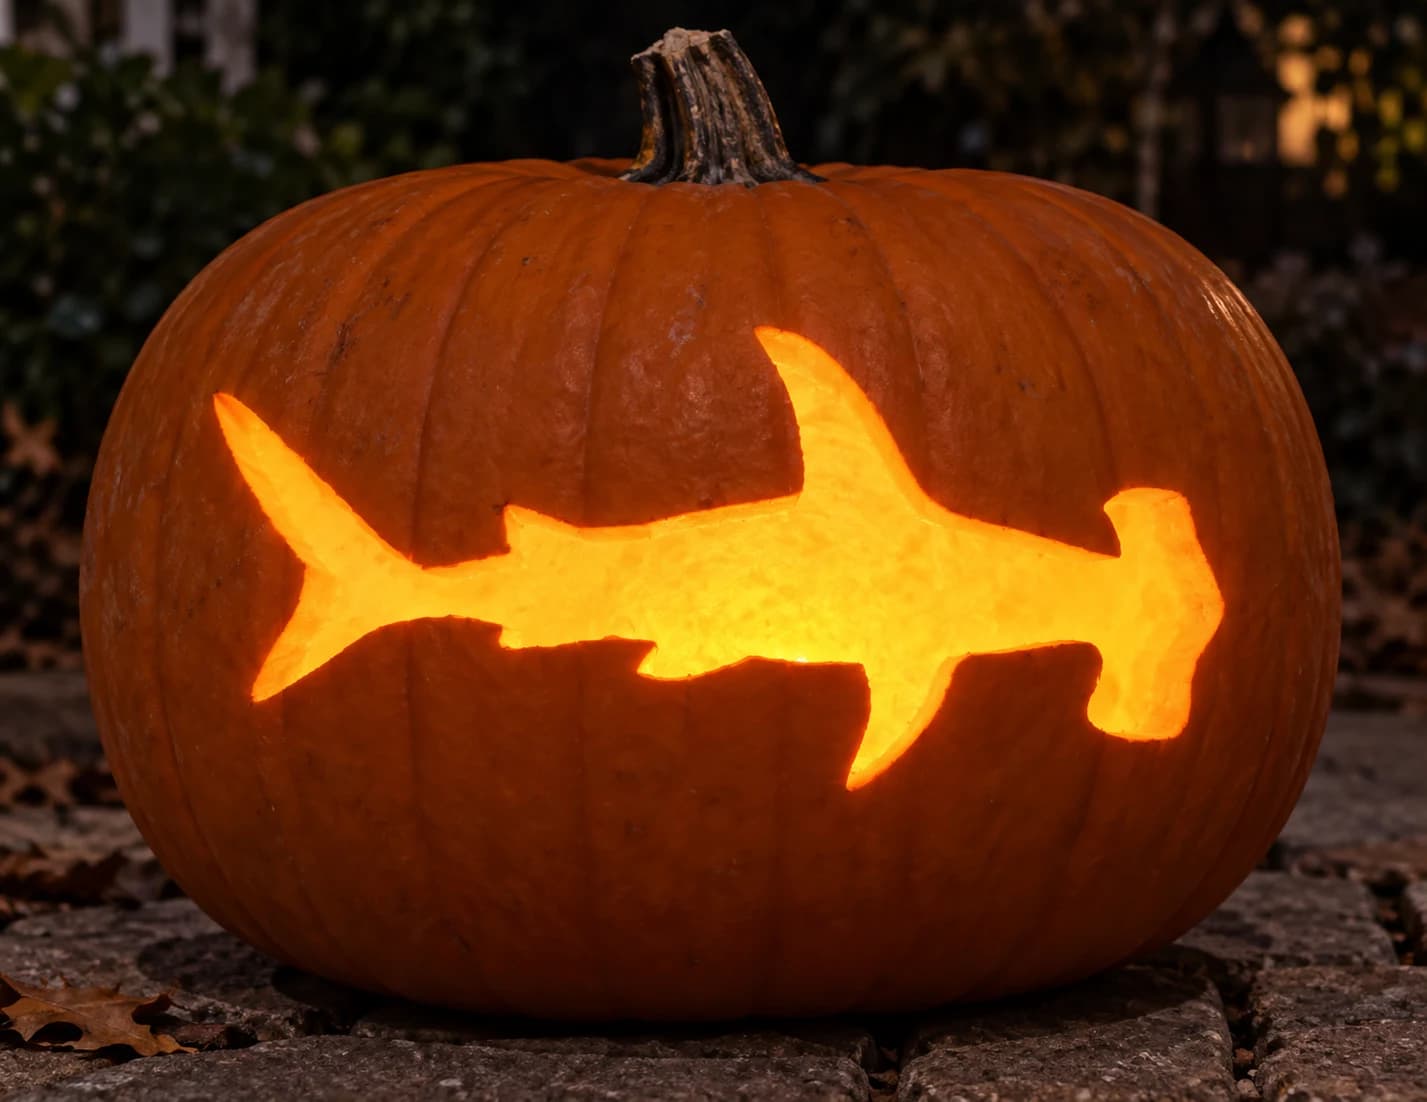
Hammerhead Shark Pumpkin Stencil
A hammerhead shark cruises horizontally across this pumpkin stencil, its body a wide flat silhouette with a tall dorsal fin, swept pectoral fins, and the distinctive wide rectangular head that gives the species its name. The entire shark body is one single large open cut-out, so the finished jack-o-lantern glows with a full bright shark shape against the dark pumpkin skin. Position the stencil so the shark's tail end and dorsal fin tip stay at least one inch from the pumpkin's edge, which keeps enough wall intact to stop the broad head from drooping under its own weight.
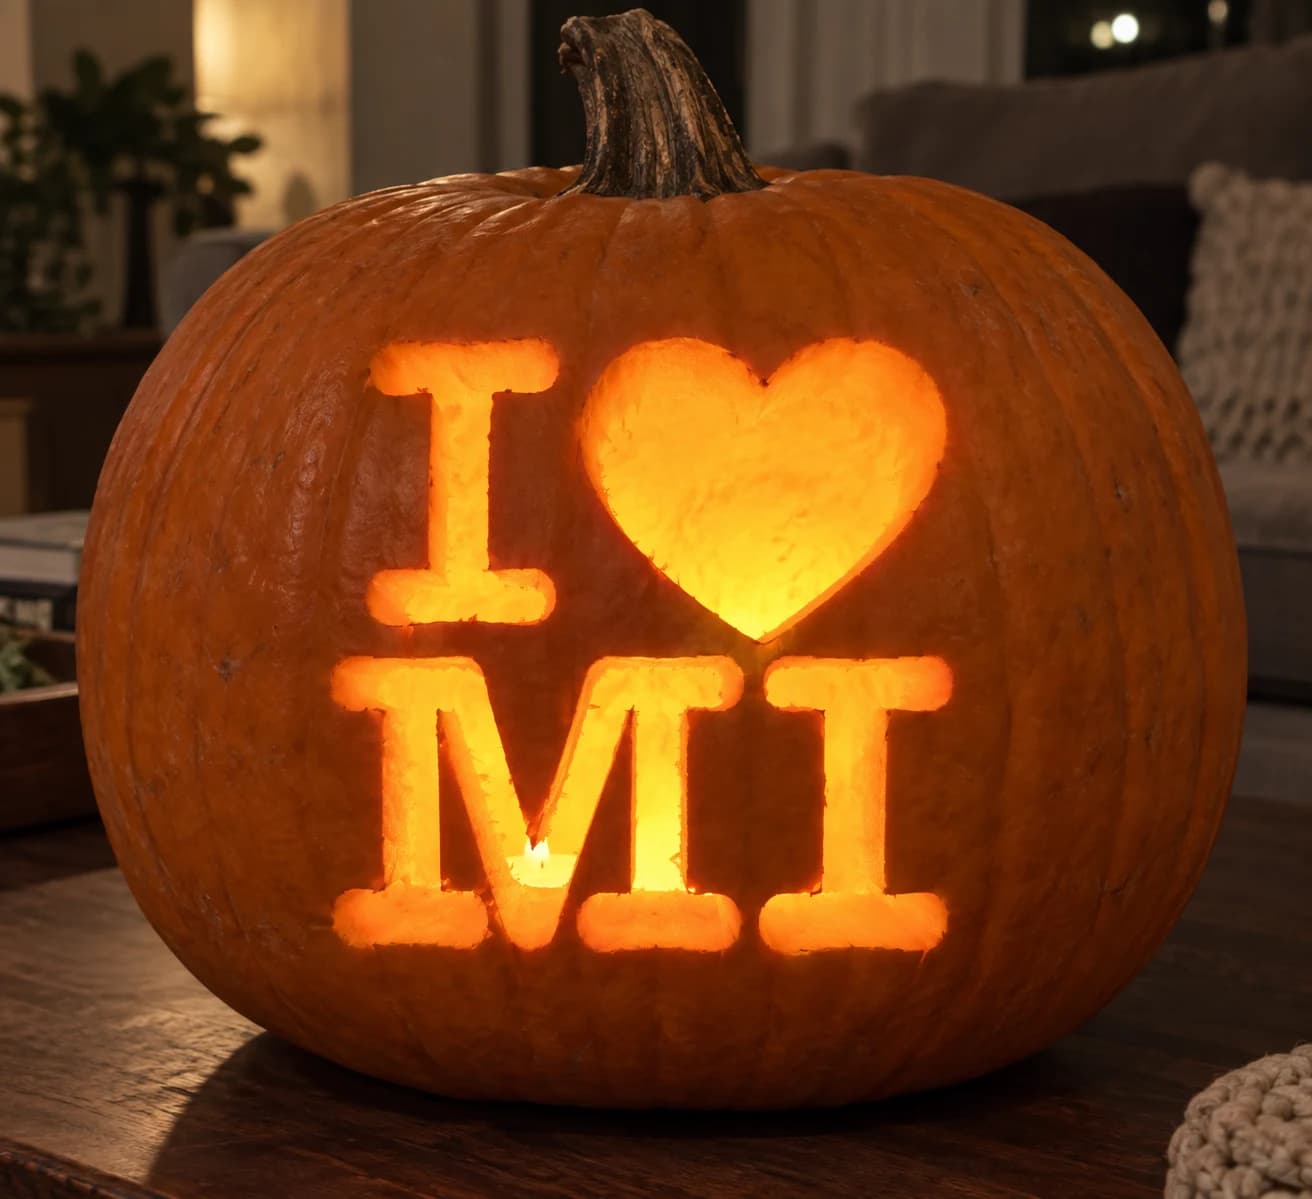
I Love Michigan Pumpkin Stencil
A Michigan pride pumpkin stencil featuring the two-row "I [heart] MI" layout: a slim upright "I", a large rounded heart, and the state abbreviation "MI" in wide rounded caps. All three elements are cut completely through, producing bold backlit glyphs on a carved jack-o-lantern. The letter "I" in "MI" is a narrow vertical bar, so take short, controlled strokes with your carving tool to keep both long edges clean and parallel.
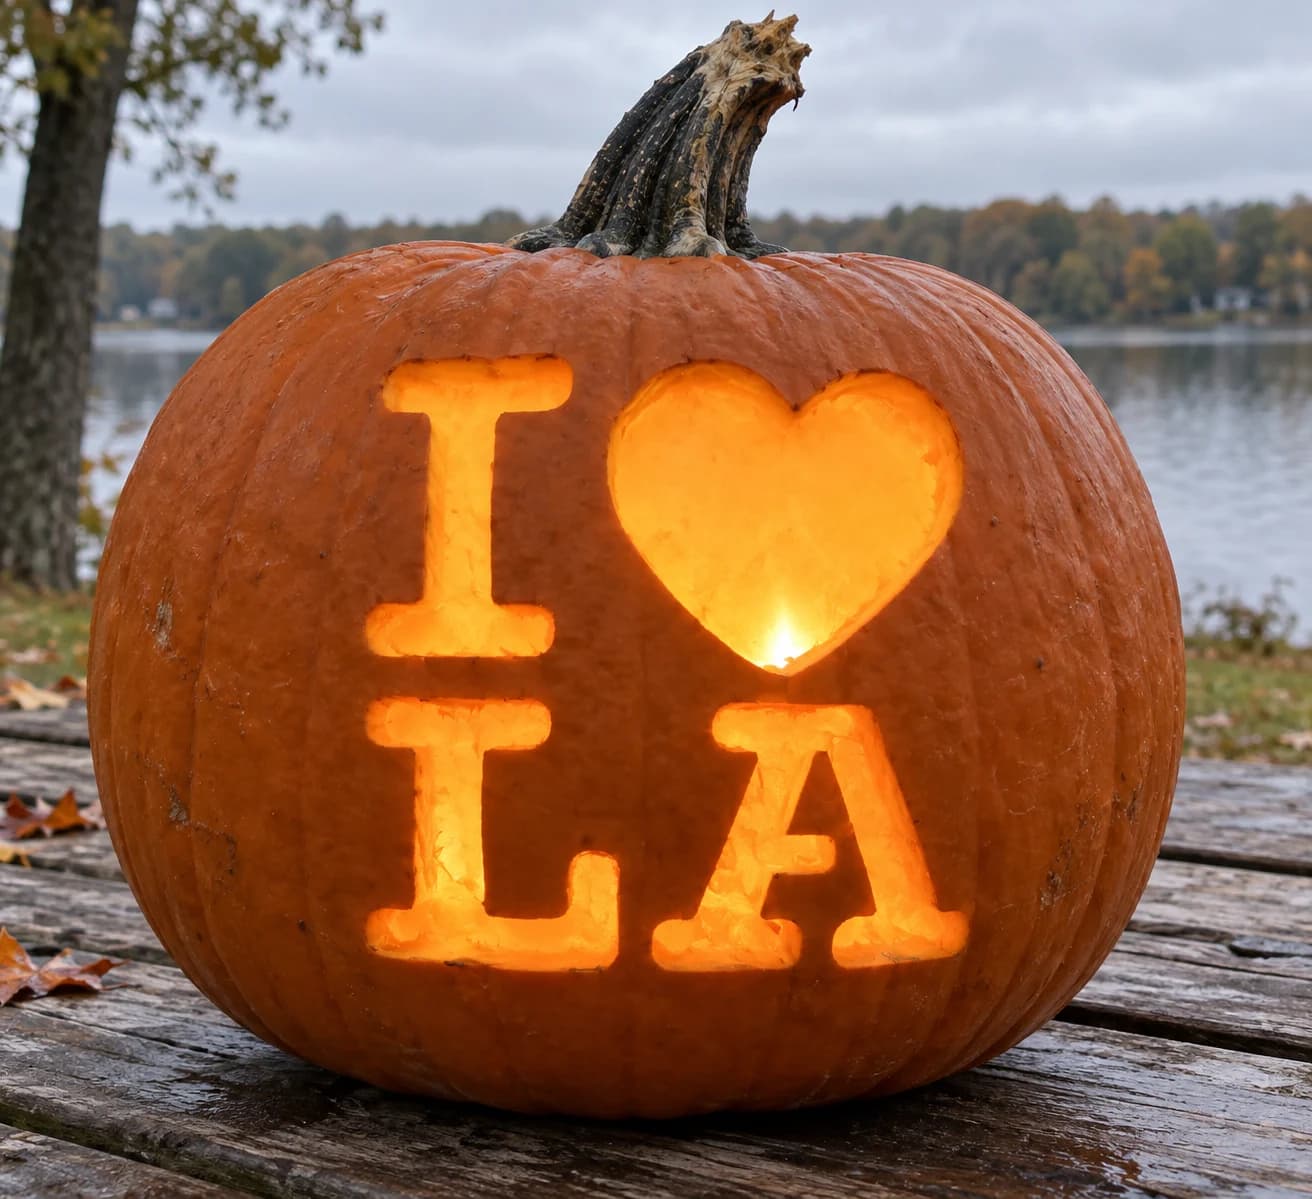
I Love Louisiana Pumpkin Stencil
Louisiana's "I Love LA" stencil pairs the block I and heart on the top row with the letters L and A below in the same rounded slab typeface used throughout the state series. The A again has its triangular interior counter, and the L is a simple open shape. One distinction visible in the line art: the L is noticeably wider than most other single-letter shapes in the series, giving the bottom row a slightly lopsided but bold visual weight. Cut the A's outer shape first, then carefully remove the interior triangle, keeping the pumpkin wall steady from behind with your non-cutting hand.
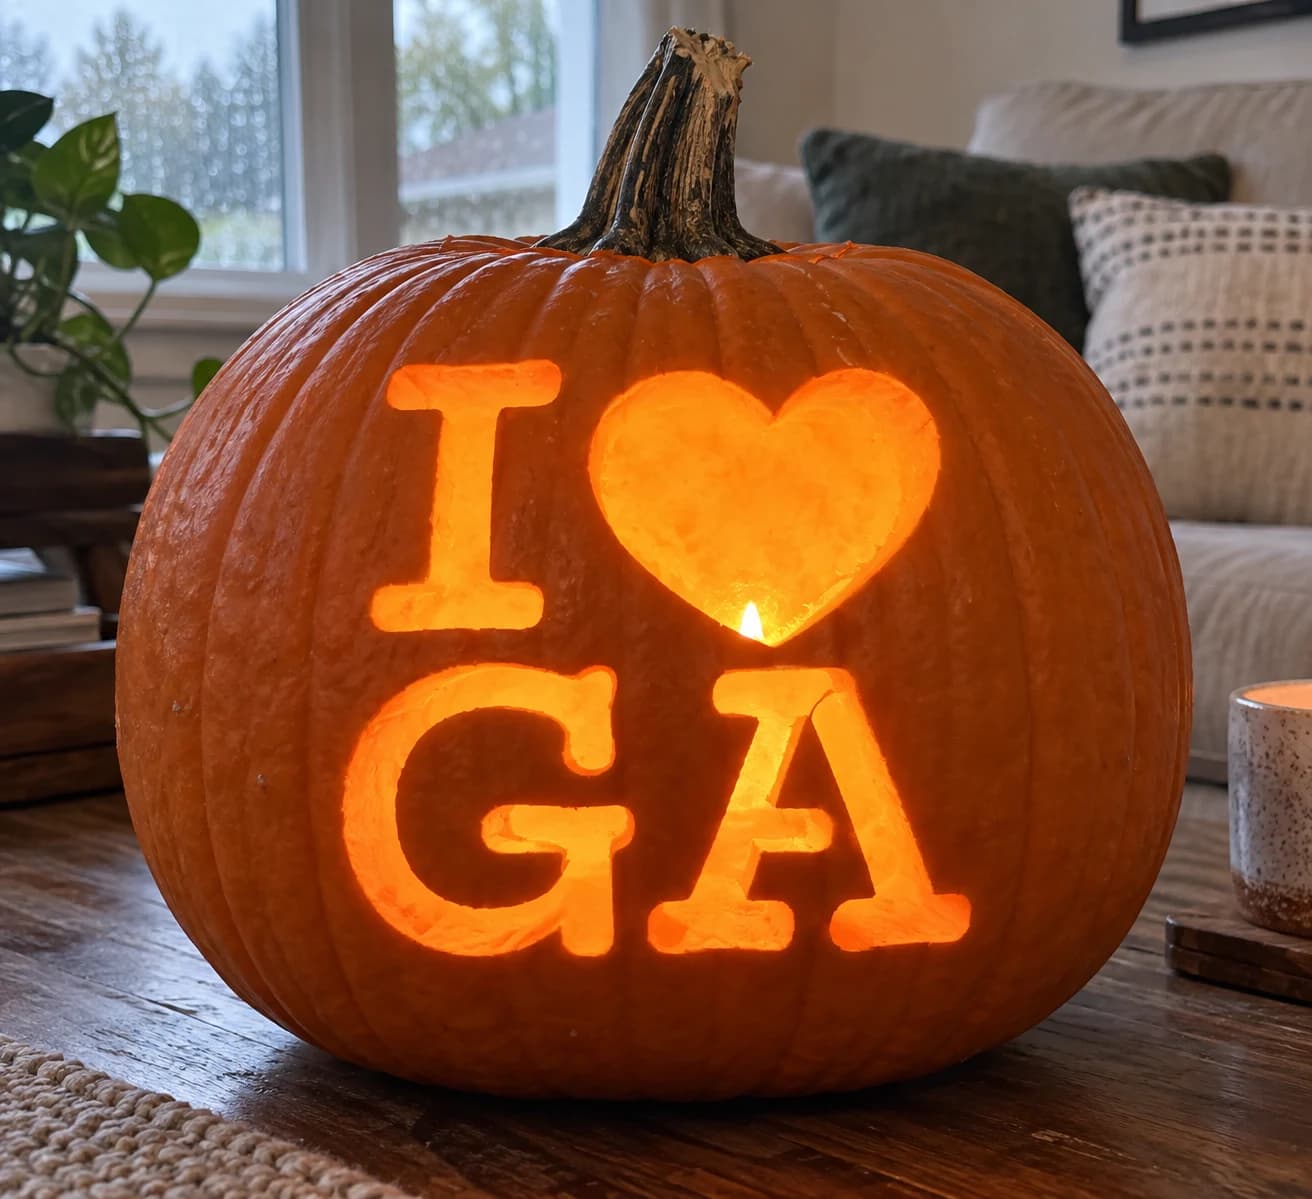
I Love Georgia Pumpkin Stencil
Georgia's state stencil arranges the "I Love GA" message in a two-row grid: the I and heart sit on top, and the large letters G and A fill the bottom row. The G is a wide open C-shape with a short horizontal bar extending inward from its right side, and the A has the familiar triangular interior counter. Cut the G's inner bar from the opening side inward rather than pushing through from the back, and retain the A's triangle counter as a solid island by cutting around it in two separate arcs.
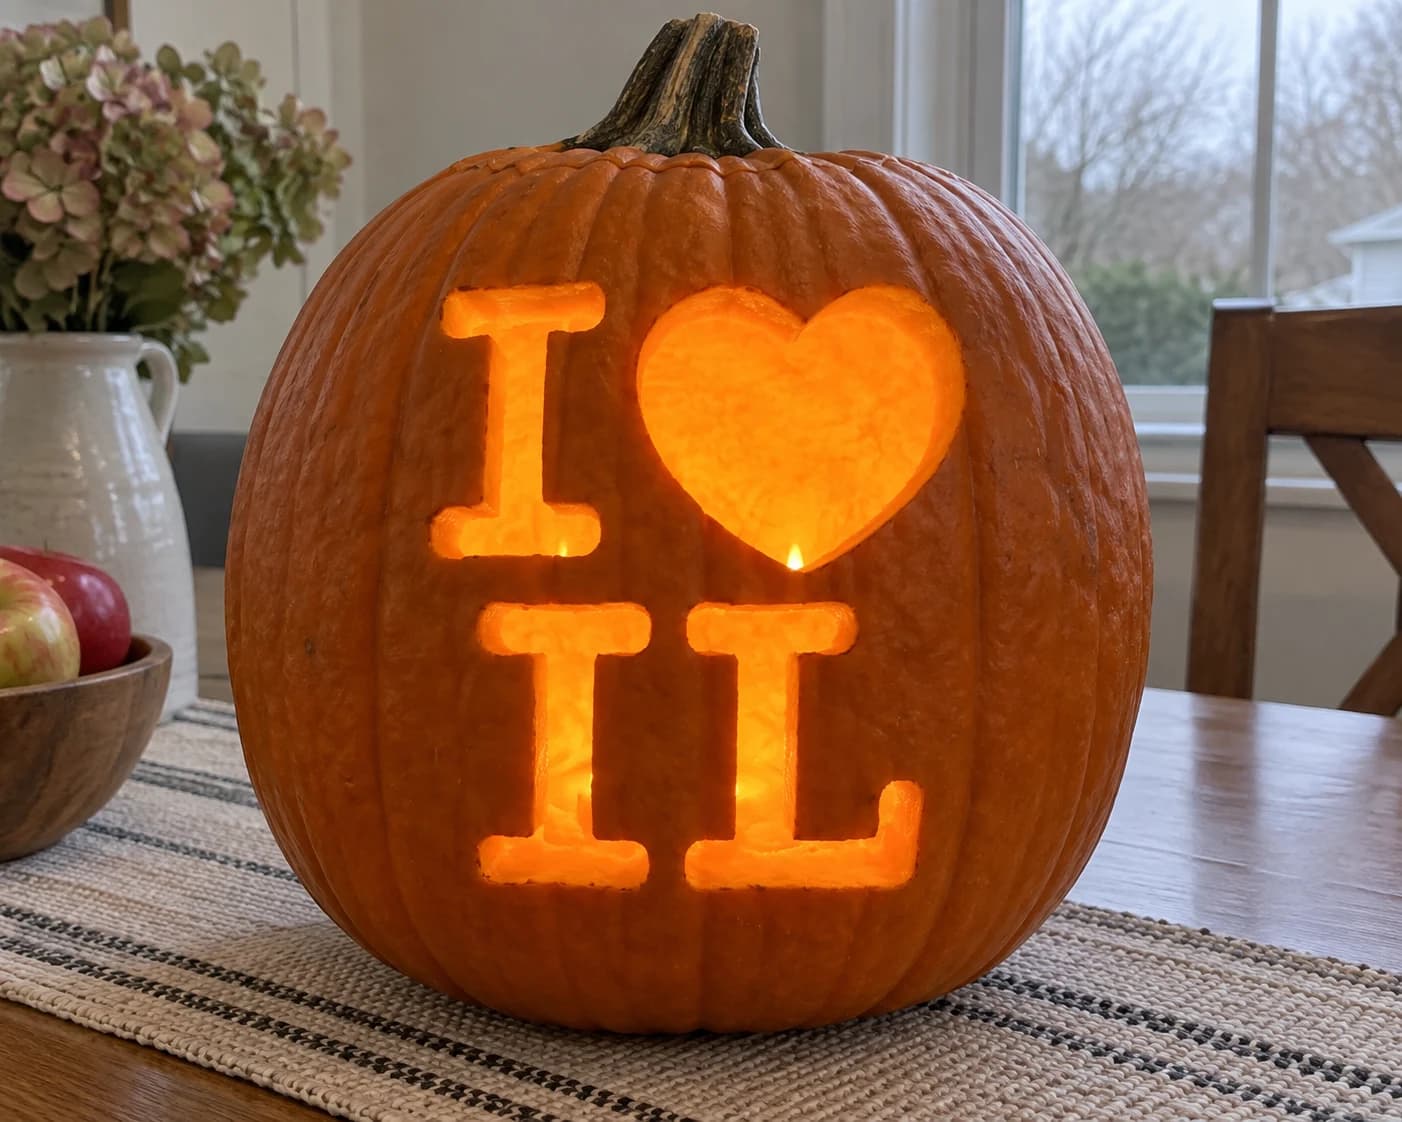
I Love Illinois Pumpkin Stencil
Illinois' "I Love IL" stencil places the block I and heart on the top row, then the letters I and L below in matching rounded type. Both letters are open silhouettes with no interior counters, making the bottom row a pair of the cleanest cuts in the state series. The visual interest comes from the different proportions: the lower I is wider and taller than the top-row I, while the L's horizontal foot extends well to the right. Cut the L's foot last, working from the corner outward, to prevent the thin pumpkin strip at the foot from flexing loose too early.
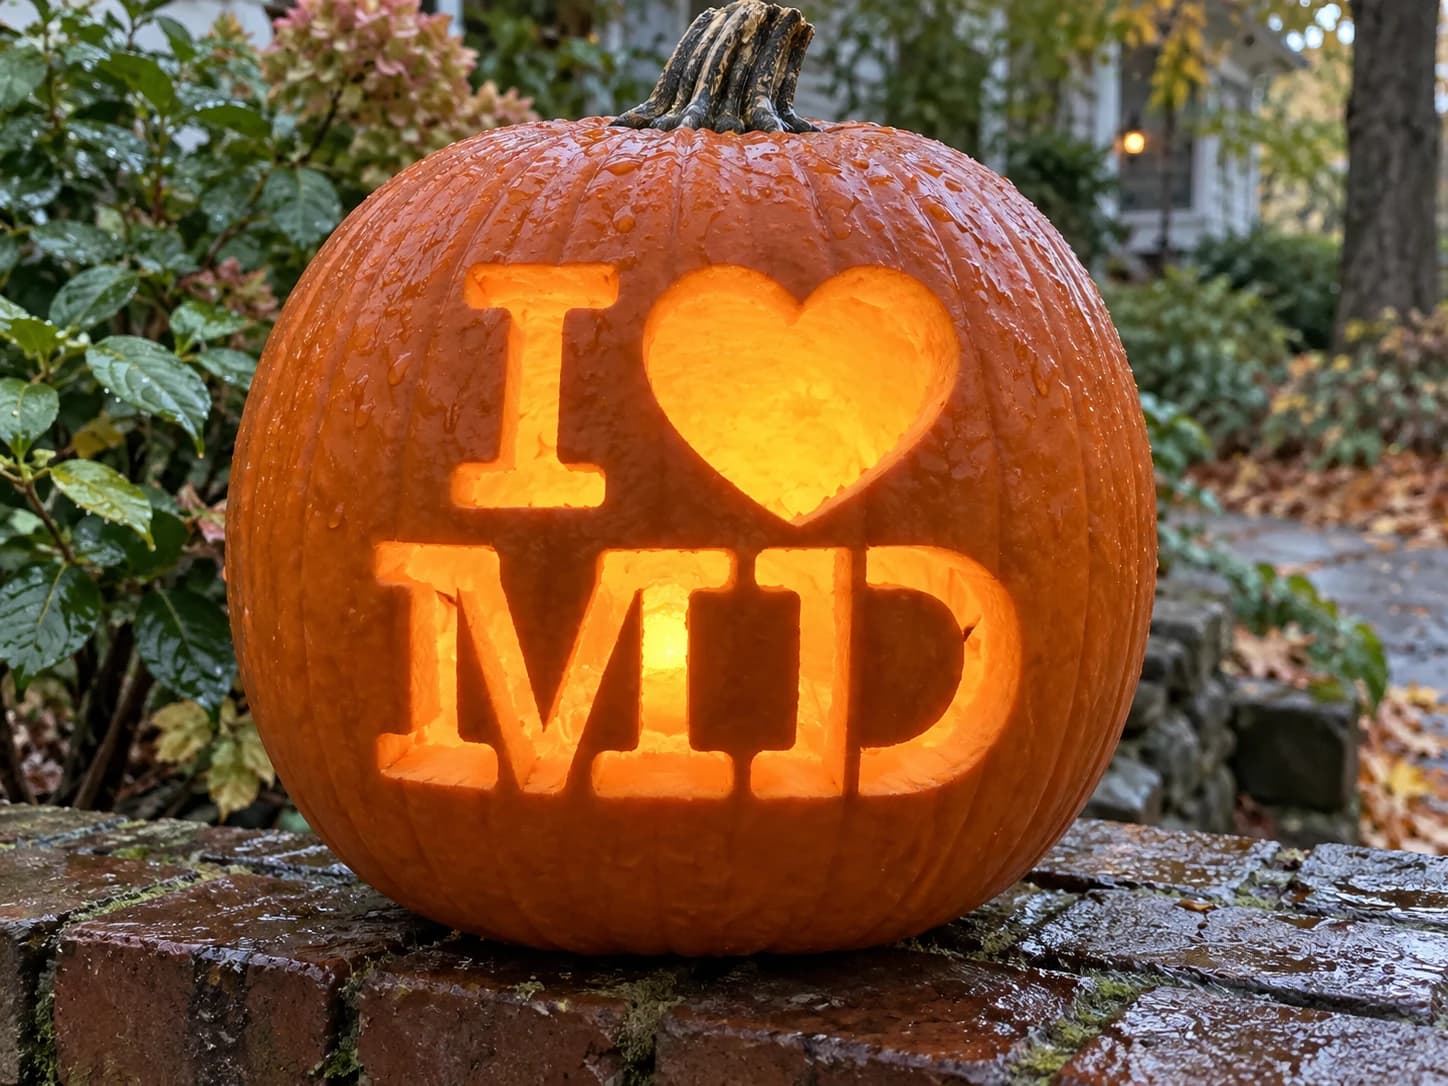
I Love Maryland Pumpkin Stencil
Built on the classic "I Love" tourist-logo format, this Maryland pumpkin stencil shows a small serif "I", a large smooth heart, and the bold two-letter abbreviation "MD" in blocky rounded type arranged in a two-row grid. All shapes are cut through entirely, giving the finished jack-o-lantern high contrast against candlelight. The "D" has an open interior, so keep your blade angled slightly inward on that curve to prevent the narrow outer wall from cracking.
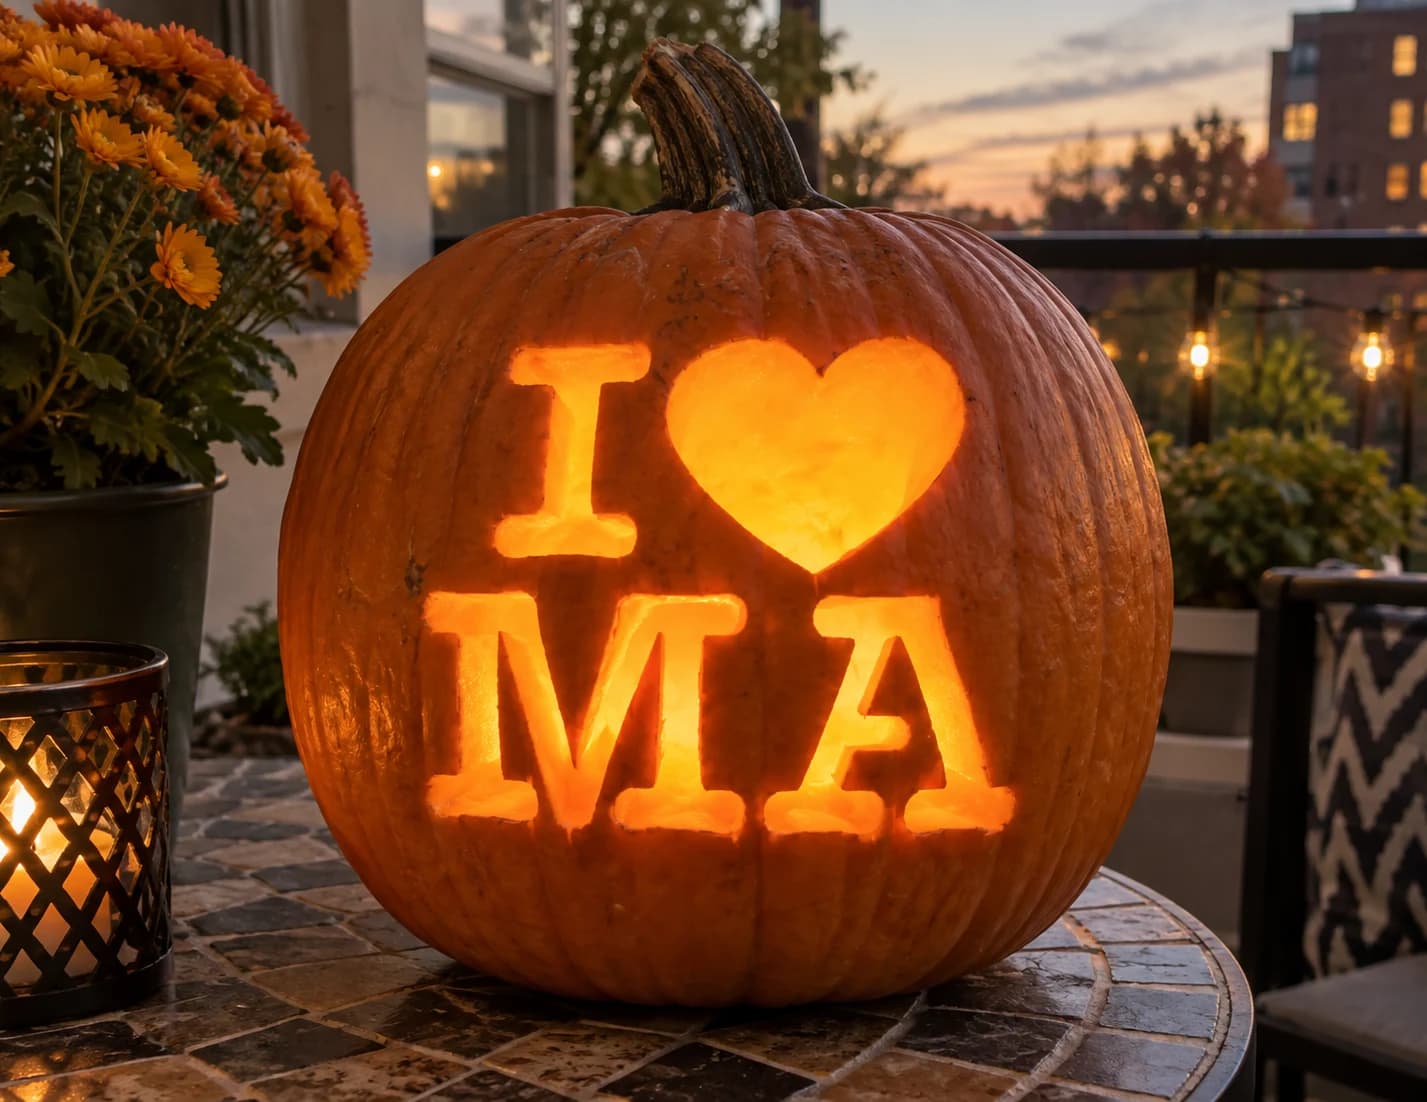
I Love Massachusetts Pumpkin Stencil
This Massachusetts pumpkin stencil uses the familiar tourist-logo grid: a compact "I", a large rounded heart, and bold block letters "MA" arranged across two rows. Every shape is a simple pierce-through, making this a solid beginner-level carving project. The "A" in "MA" includes an open triangular counter inside the letter, so use the tip of your carving knife to score around that small interior shape first before removing the surrounding body of the letter.
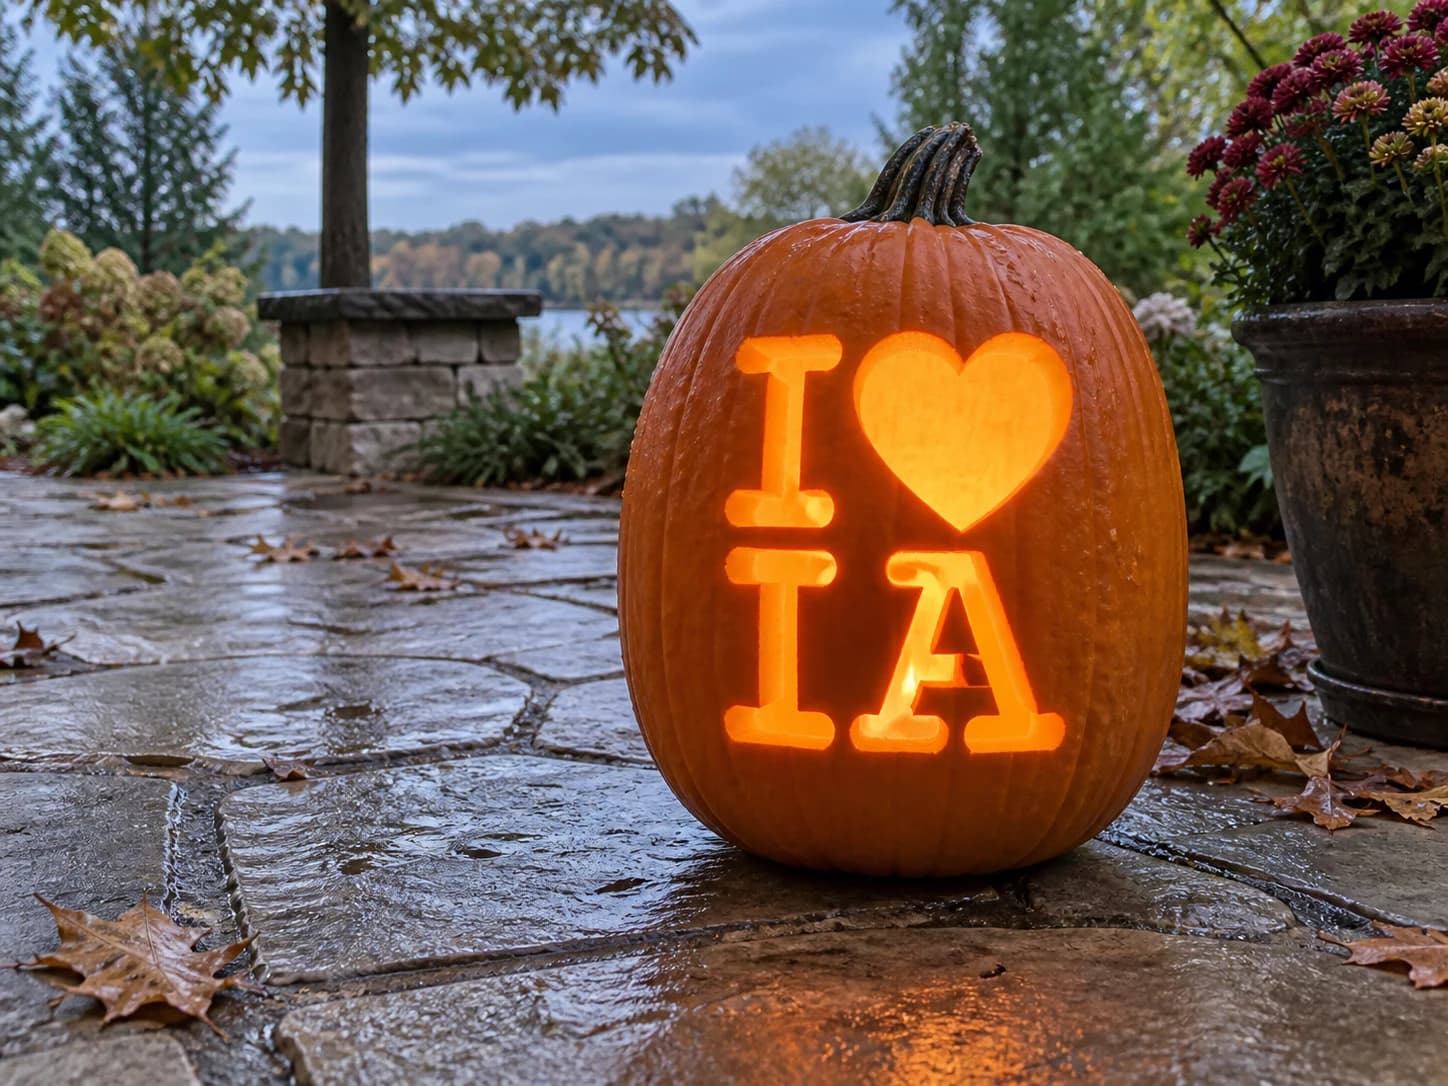
I Love Iowa Pumpkin Stencil
Iowa's "I Love IA" stencil arranges the block I and heart on the top row, with the letters I and A below in the same rounded slab typeface. The A carries the familiar triangular interior counter that keeps the letter recognizable; the I beside it is a plain open rectangle. Because the A counter sits close to the lower edge of the letter, cut the outer A shape fully before addressing the counter, so the surrounding wall is already stable when you remove the small triangle.
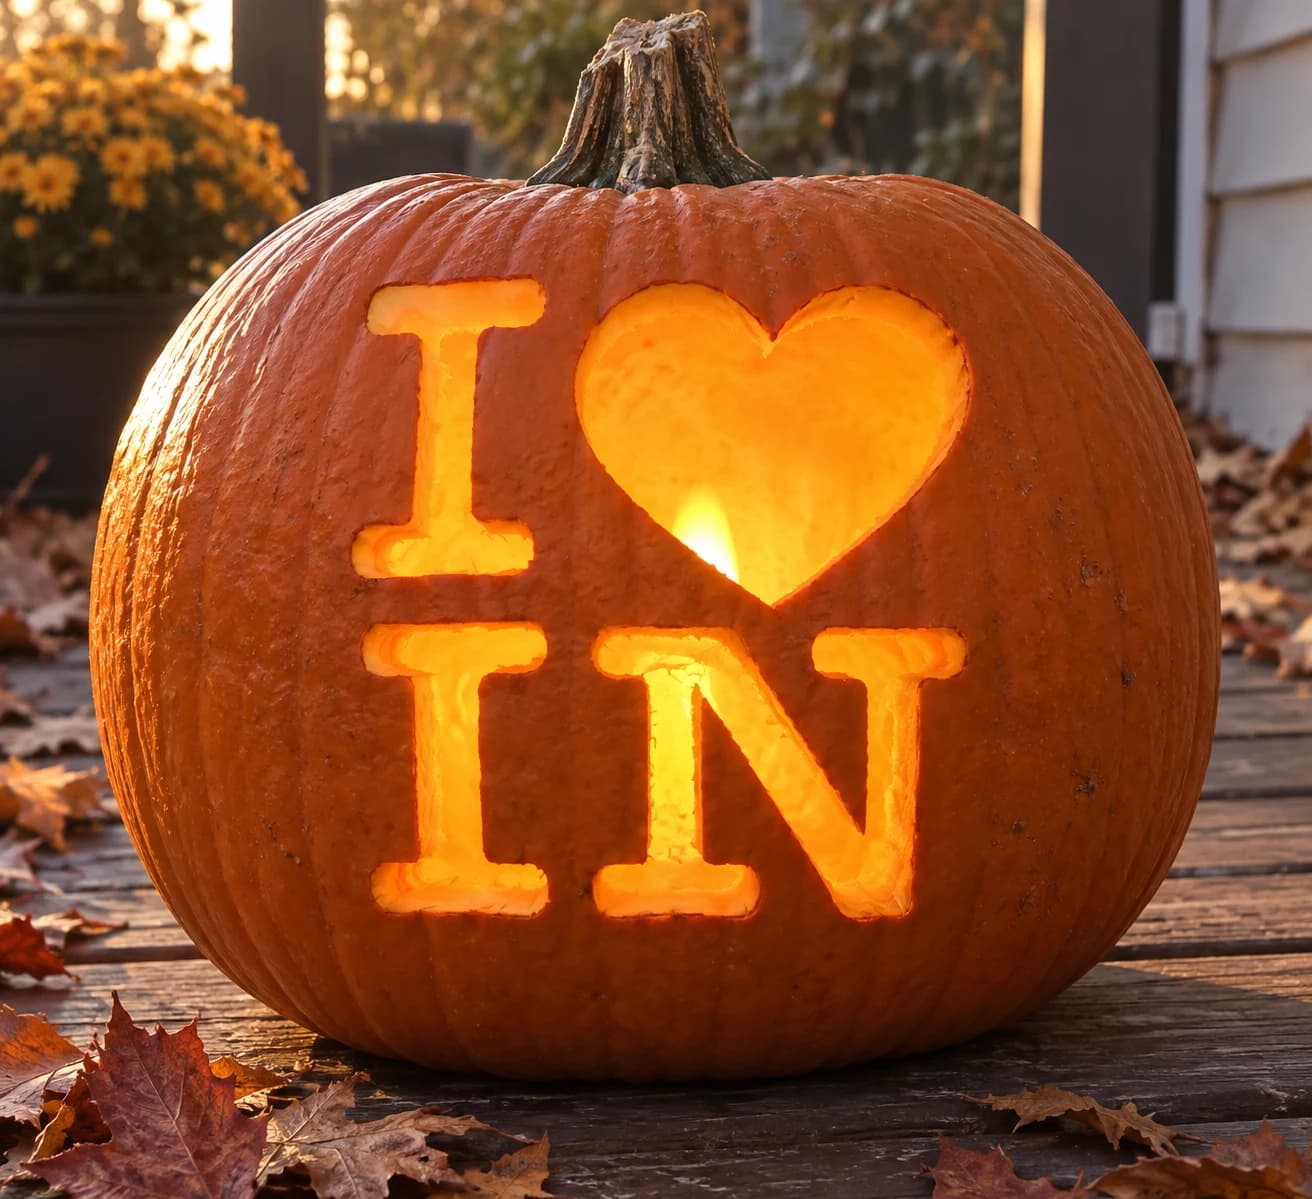
I Love Indiana Pumpkin Stencil
Indiana's "I Love IN" stencil uses the standard two-row grid with block I and heart above, and the letters I and N below in chunky rounded type. The N's two diagonal strokes create a triangular interior space that is left solid rather than cut, so the letter reads as a heavy outline with a solid fill. The carved pumpkin shows the N as a bright outline shape with orange glow around its perimeter and a solid center. Cut the N's two vertical legs first, then the diagonal interior, keeping each stroke short and deliberate to follow the letter's angle accurately.
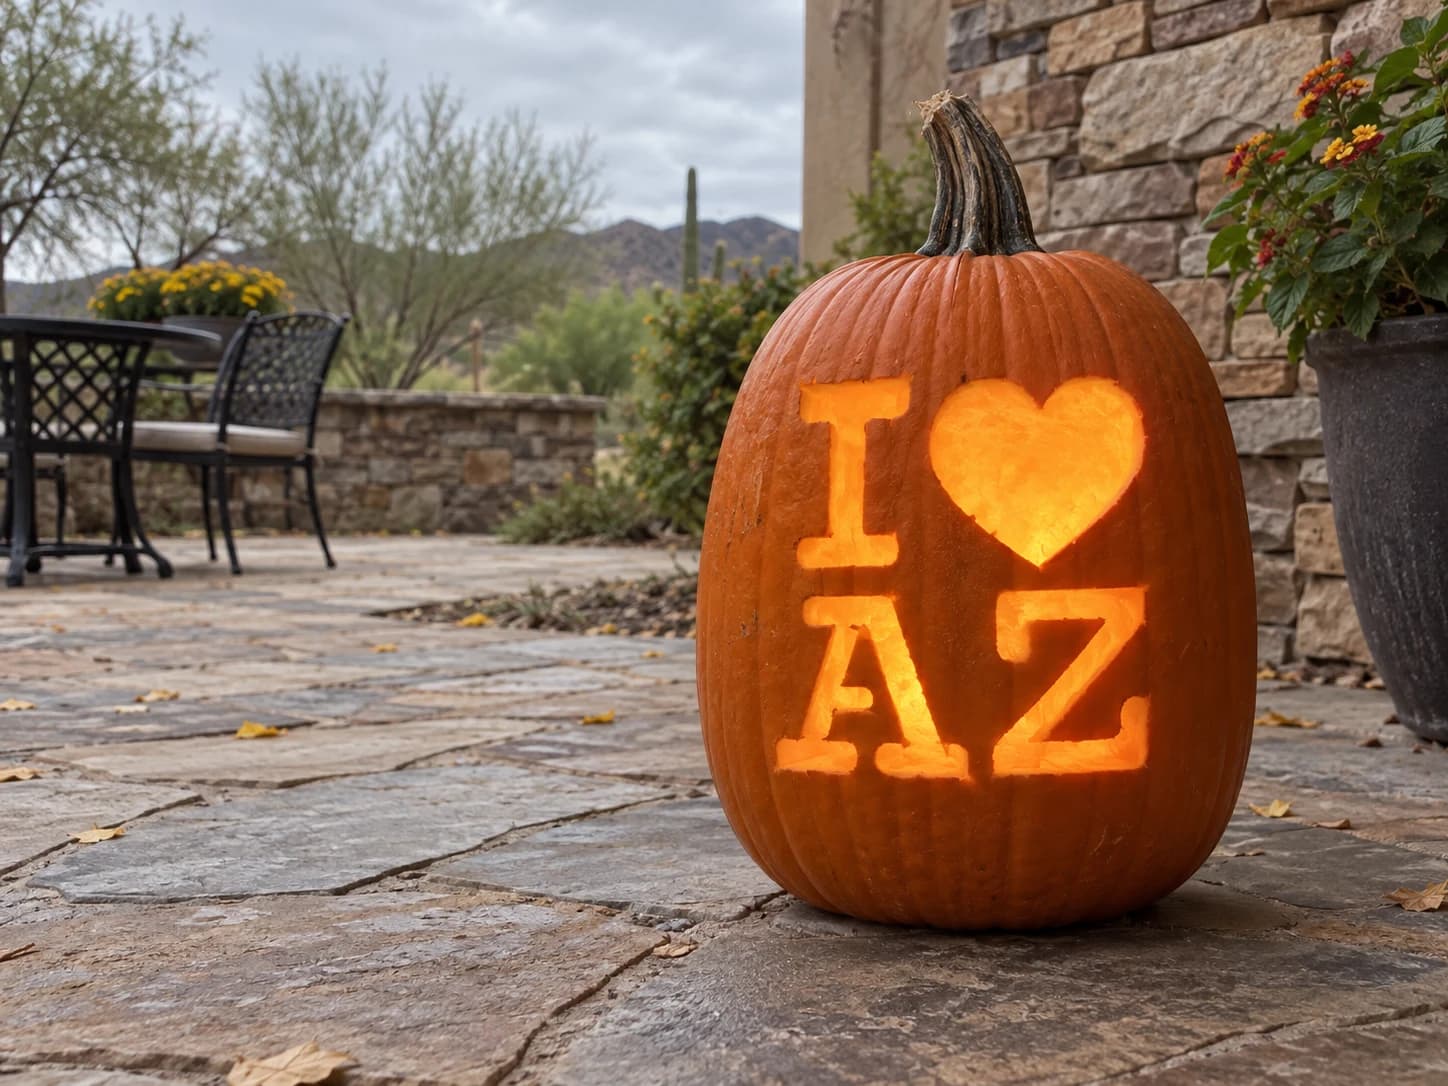
I Love Arizona Pumpkin Stencil
This Arizona pumpkin stencil follows the same bold "I Love" grid layout: block letter I, large solid heart, and the state abbreviation AZ in chunky rounded letters. The Z's diagonal stroke makes it distinctive among state stencils, and the lack of interior counters means all four shapes cut cleanly as open silhouettes with no floating islands to worry about. Keep the gap between the bottom of the heart and the top of the A narrow enough to leave an unbroken pumpkin bridge between the two rows of letters.
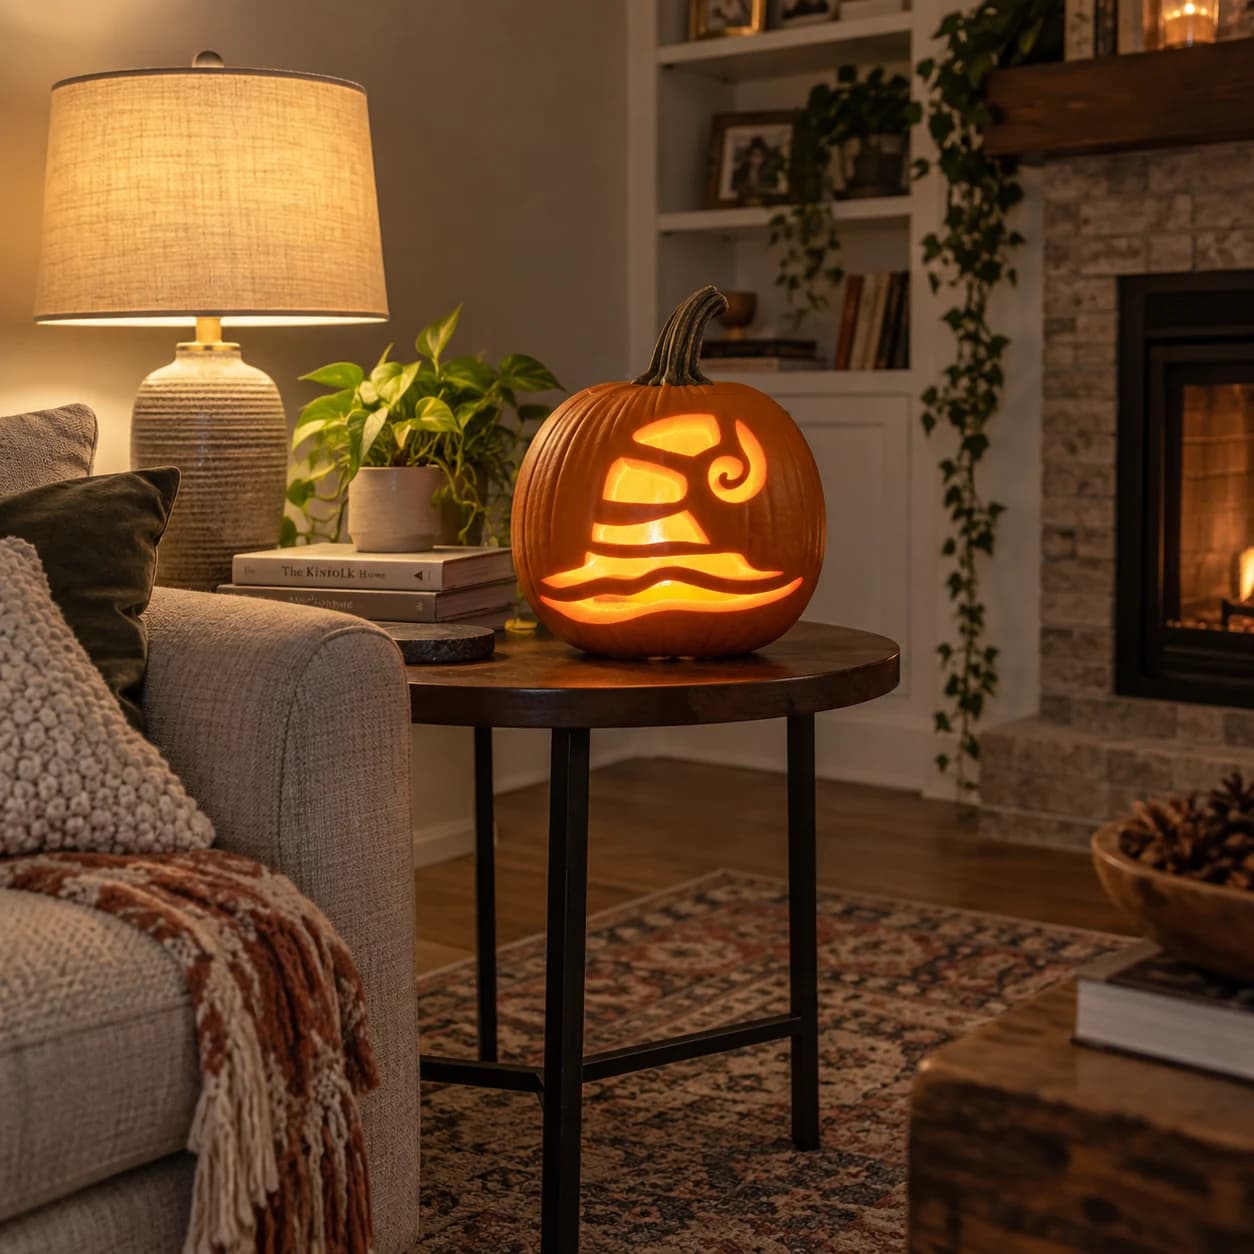
Witch Hat Pumpkin Stencil
This witch-hat pumpkin stencil reduces the classic Halloween icon to its boldest shapes: a wide, wavy brim in two swooping cut-out bands, a trapezoidal crown, and a tight spiral curl at the hat's tip. The large open areas mean the design reads clearly even on a small pumpkin, and the lit result is a silhouette-style hat floating against glowing orange. Cut the lower brim band first, then the upper brim, and finally the crown, so the spiral finial stays supported until the end.
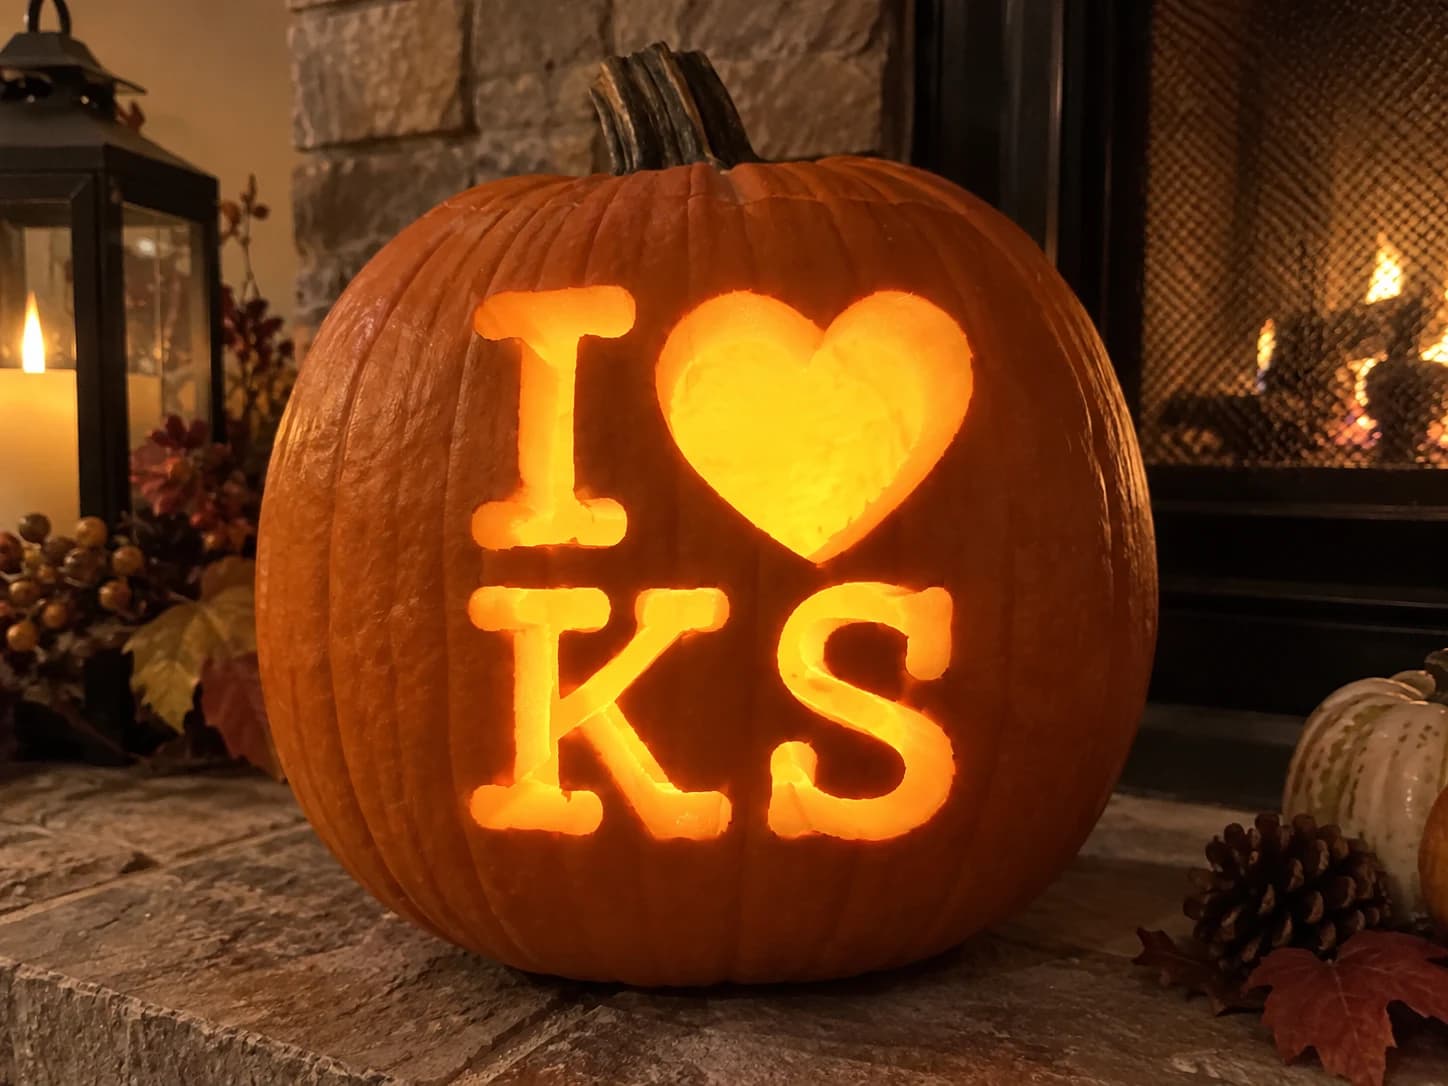
I Love Kansas Pumpkin Stencil
Kansas' "I Love KS" stencil puts the bold block I and heart on top, with the letters K and S filling the lower row in chunky rounded type. The S has no interior counter and its two open curves create an interesting top-and-bottom glow when lit, while the K's diagonal arm and leg leave a large open central area. Cut the K's arm first from the spine outward, then the leg from the spine downward, to avoid a meeting-cut problem at the central junction point.
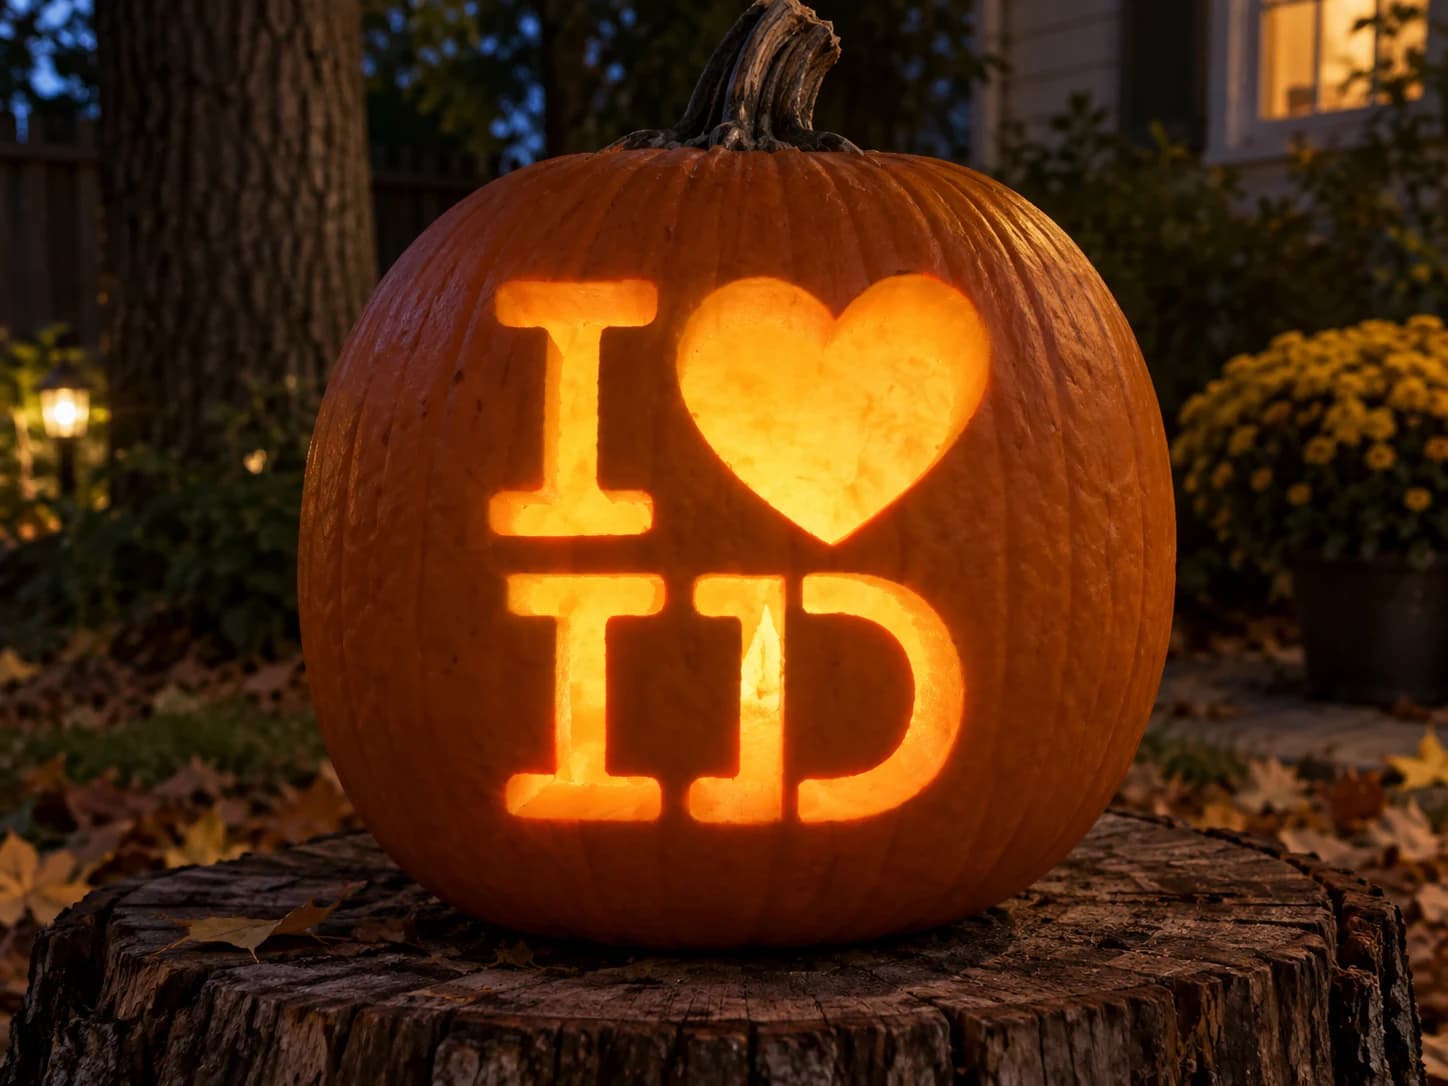
I Love Idaho Pumpkin Stencil
Idaho's "I Love ID" stencil follows the familiar two-row grid with a block I and heart on top, and the letters I and D below. The lower I is a simple open rectangle, while the D is a large rounded-rectangle counter that needs its curved interior removed as one piece. Because the D's inner oval is large, make a relief cut at the top before removing to avoid the pumpkin wall flexing and cracking as the piece comes free.
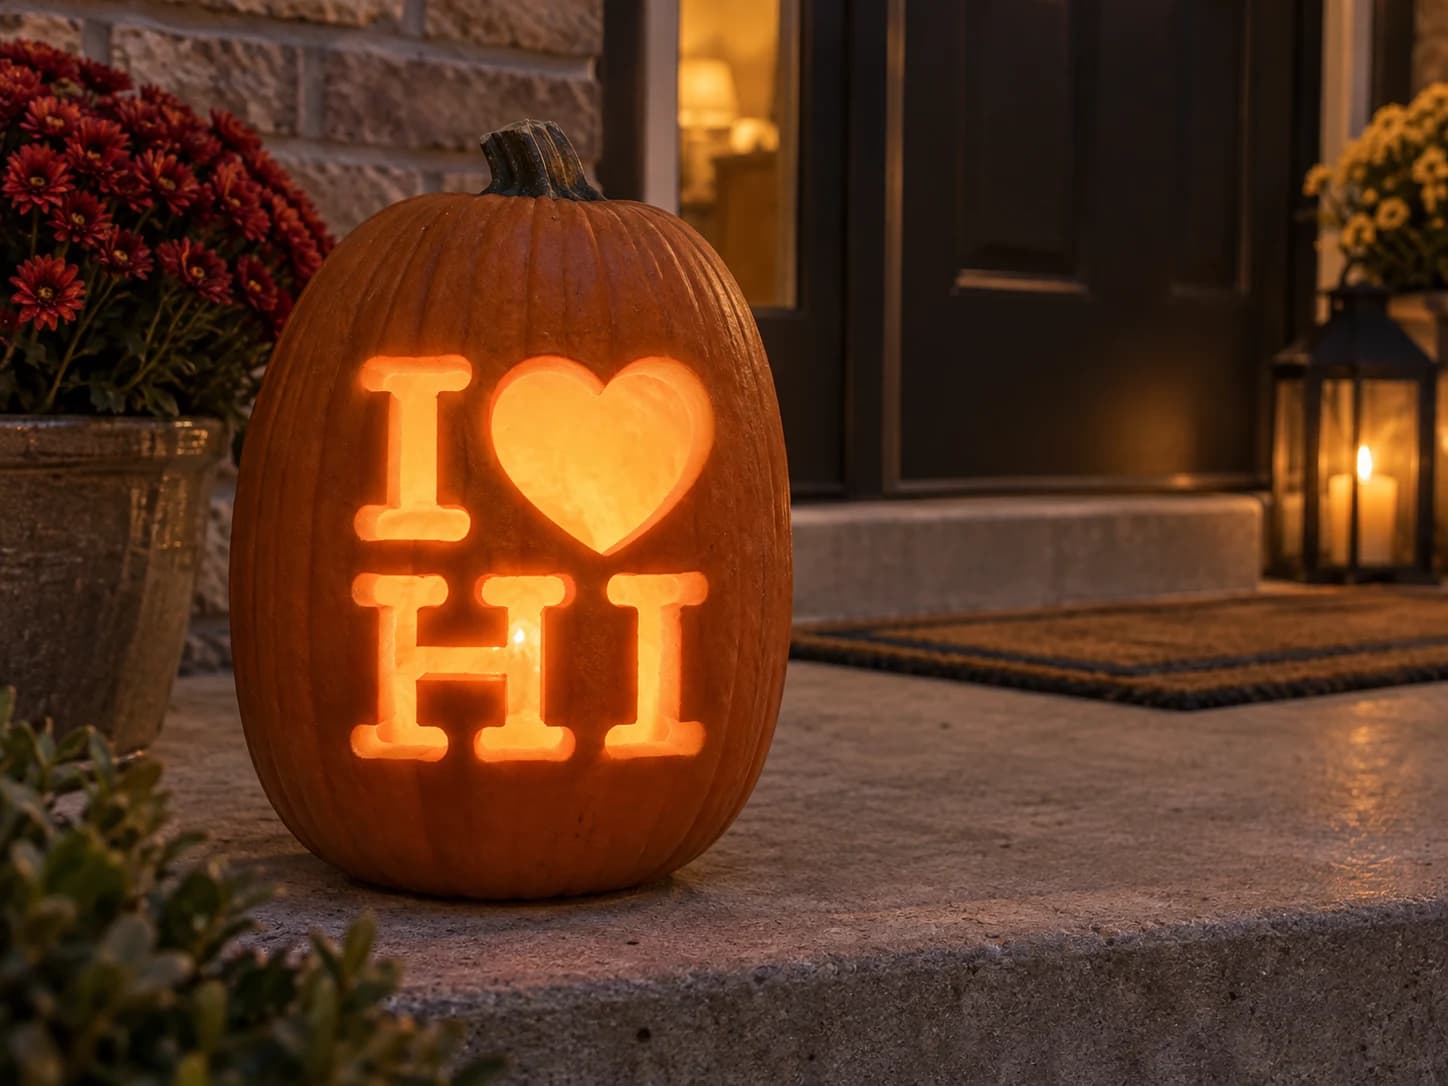
I Love Hawaii Pumpkin Stencil
Hawaii's "I Love HI" pumpkin stencil puts the block I and heart on the top row, with the letters H and I below in a rounded slab typeface. The H is a wide open shape with two vertical slots and a crossbar counter between them; the counter must stay solid or the letter reads as two separate rectangles. The second I below mirrors the top-row I. Cut the H's three openings carefully, leaving the crossbar bridge at exactly the height shown on the stencil so the letter stays legible when lit.
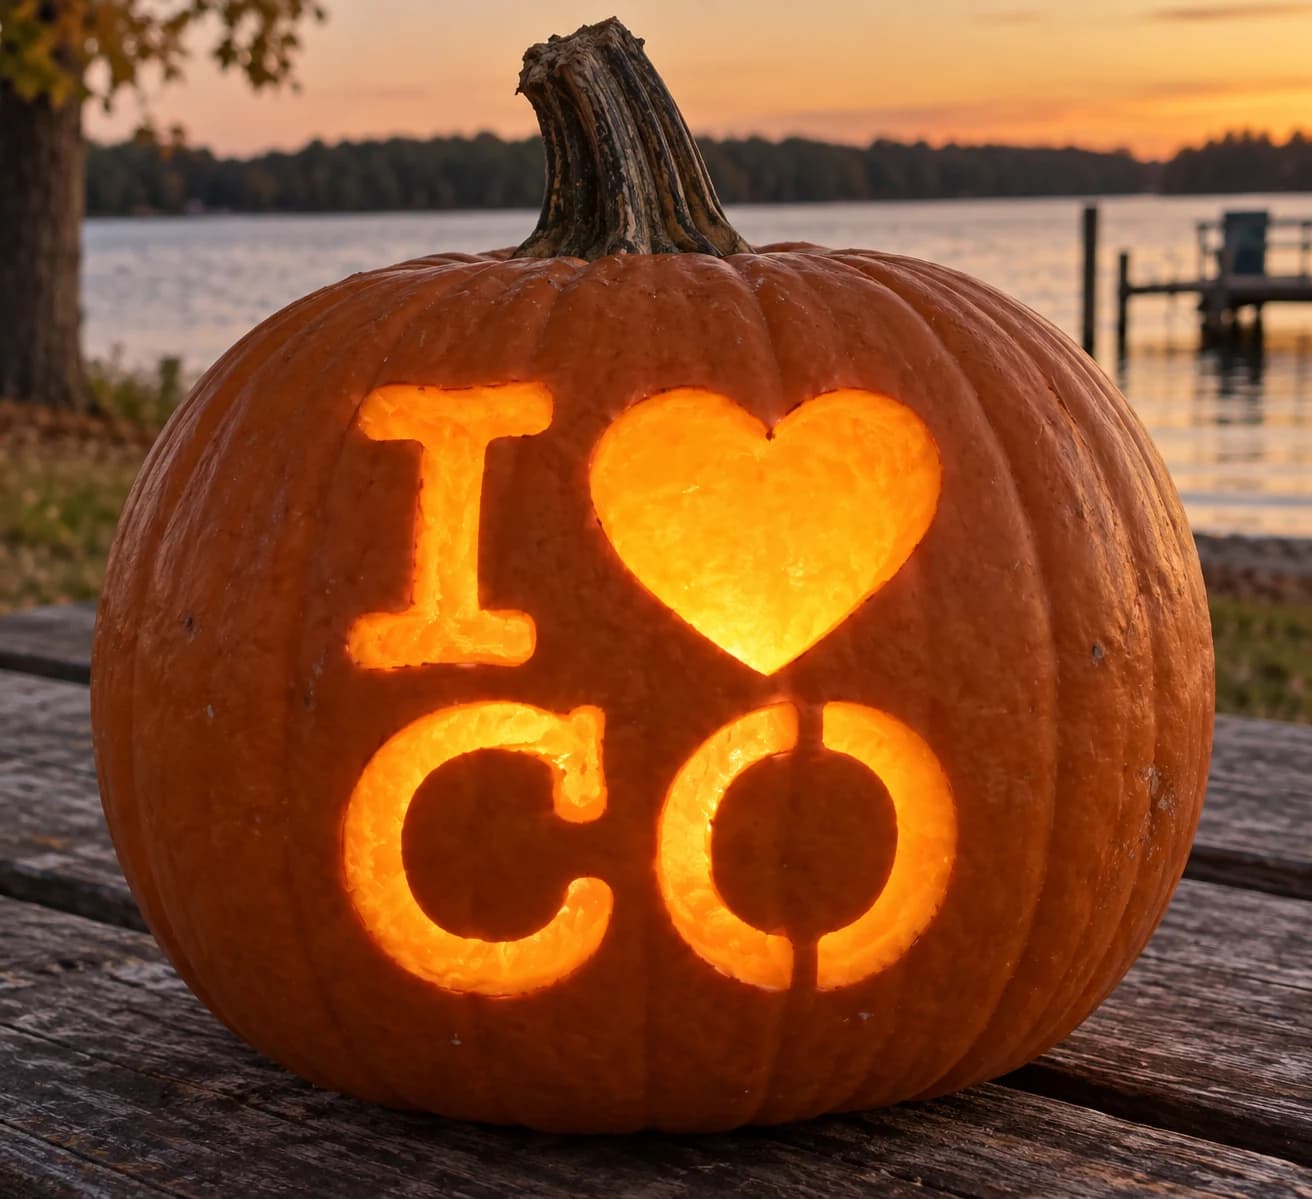
I Love Colorado Pumpkin Stencil
Colorado's state-pride stencil follows the familiar "I Love" grid with a block I, a large heart, and the abbreviation CO. The O presents the key carving challenge: it requires an interior oval counter to remain as a solid island inside the letter, or the O collapses to a plain hole. On the carved pumpkin the O's counter glows as a bright orange oval surrounded by a dark ring, giving the letter its shape. Cut the outer O first, then switch to a fine blade to cut the inner oval, leaving that center disk attached to nothing, it will hold in place by friction until gently pushed out.
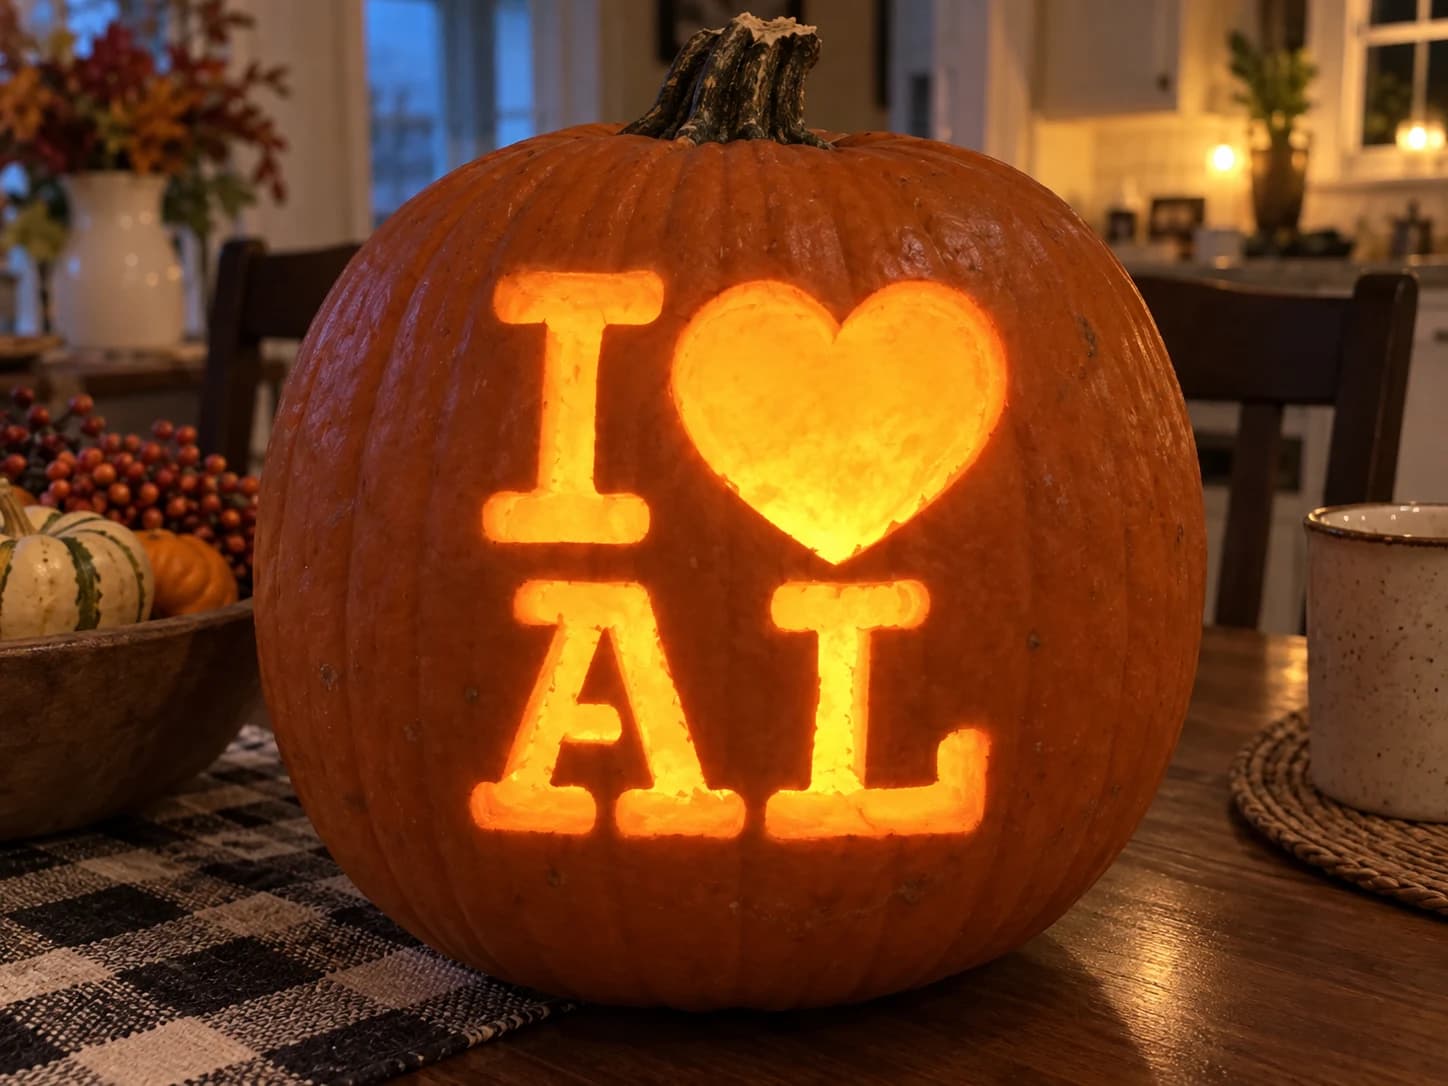
I Love Alabama Pumpkin Stencil
This Alabama pumpkin stencil spells out the classic "I Love" message using a bold block letter I, a large solid heart, and the two-letter state abbreviation AL set in rounded block type. All four shapes are cut through as separate open pieces, so the finished jack-o-lantern shows glowing letters and a bright heart on an orange field. Because the A has a triangular counter at its center, cut around that interior triangle carefully so it stays in place as a solid island that keeps the letter readable.
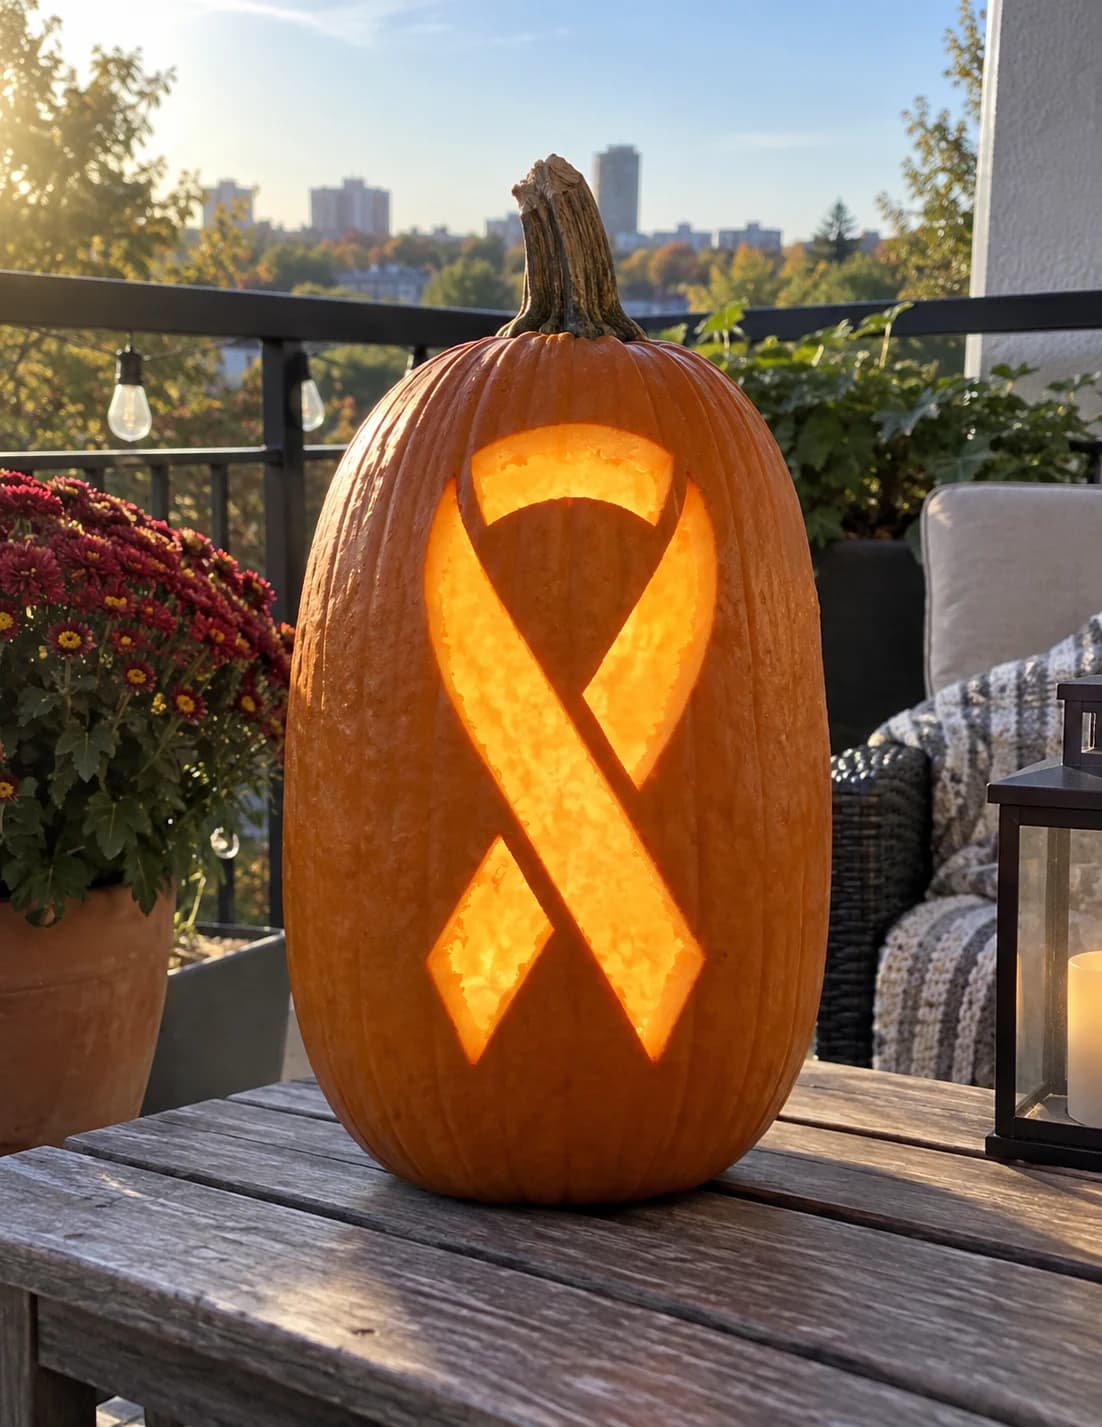
Awareness Ribbon Pumpkin Stencil
An awareness ribbon rendered in clean, rounded-corner shapes: two upper lobes that cross at center and taper to two diamond-pointed tails below. The entire ribbon silhouette is pierced through as three distinct cut pieces, the left lobe, the right lobe, and the lower V-tail, separated by solid pumpkin bridges at the cross-point and the lobe tops. Lit from inside, the ribbon glows as three bright sections with a narrow dark cross at the center. The gap at the ribbon's top center is the most delicate bridge; cut outward from it rather than into it.
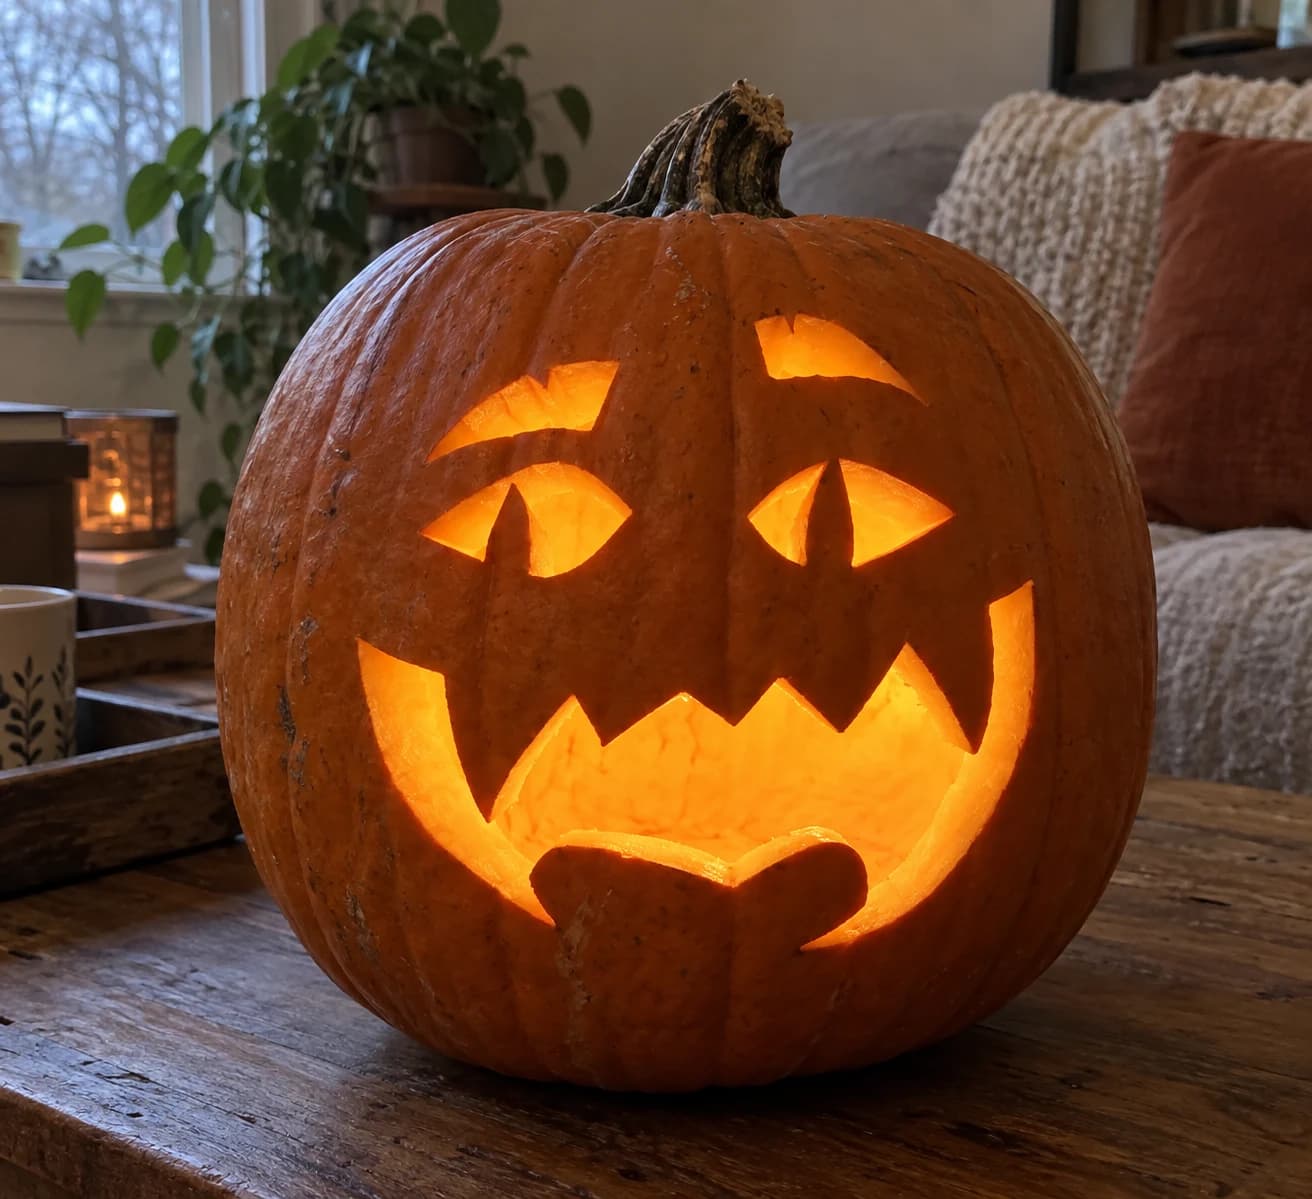
Vampire Jack-o-Lantern Pumpkin Stencil
A classic jack-o-lantern face with a vampire twist fills this pumpkin stencil: arched brows made of two angular patches over each eye, two large irregular triangular eye openings, a small v-shaped nose cutout, and a wide gaping mouth with jagged upper fangs and a rounded lower lip. All features are separate pierced-through shapes, so the candle-lit face shows glowing eyes, nose, and teeth against the solid orange pumpkin skin. Cut the small v-shaped nose notch and the two narrow eyebrow patches first so you can use the surrounding wall for leverage when carving the larger mouth and eye shapes.
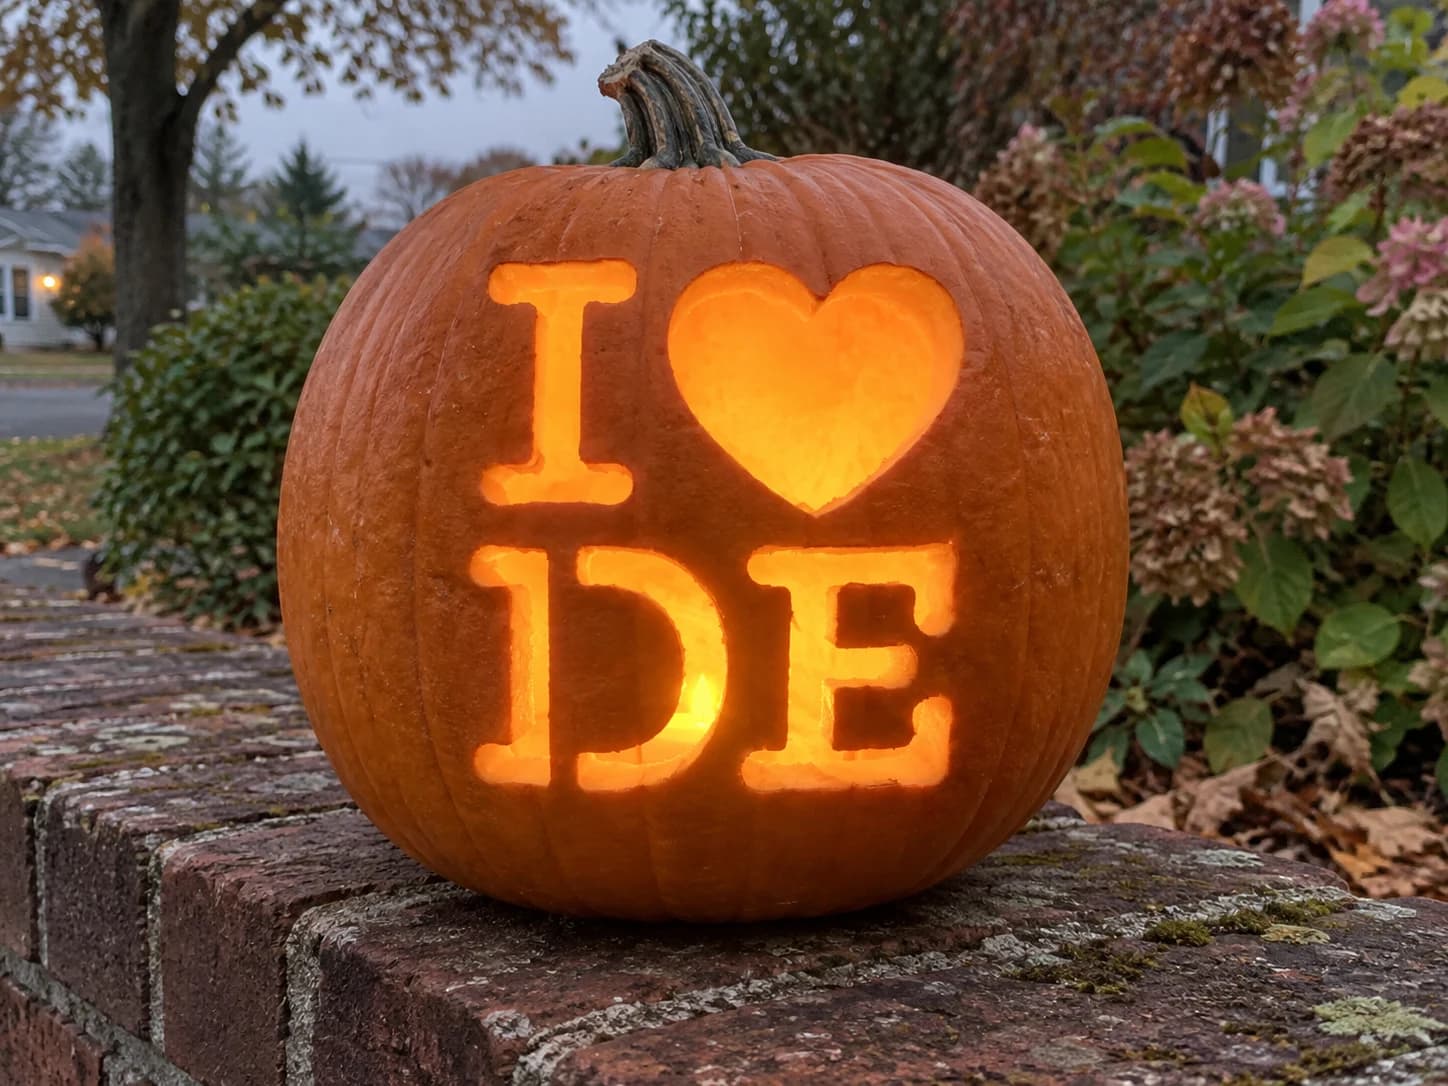
I Love Delaware Pumpkin Stencil
Delaware's stencil displays the four-element "I Love DE" grid: block I, heart, and the letters D and E in squared slab-serif type. The D has a large open interior that cuts away as a single rounded rectangle, while the E has three horizontal teeth that remain as solid bridges within its rectangular frame. Those E teeth are the most structurally delicate part of this carve; cut the three open slots between them with short controlled strokes moving away from the center tooth to avoid widening a gap.
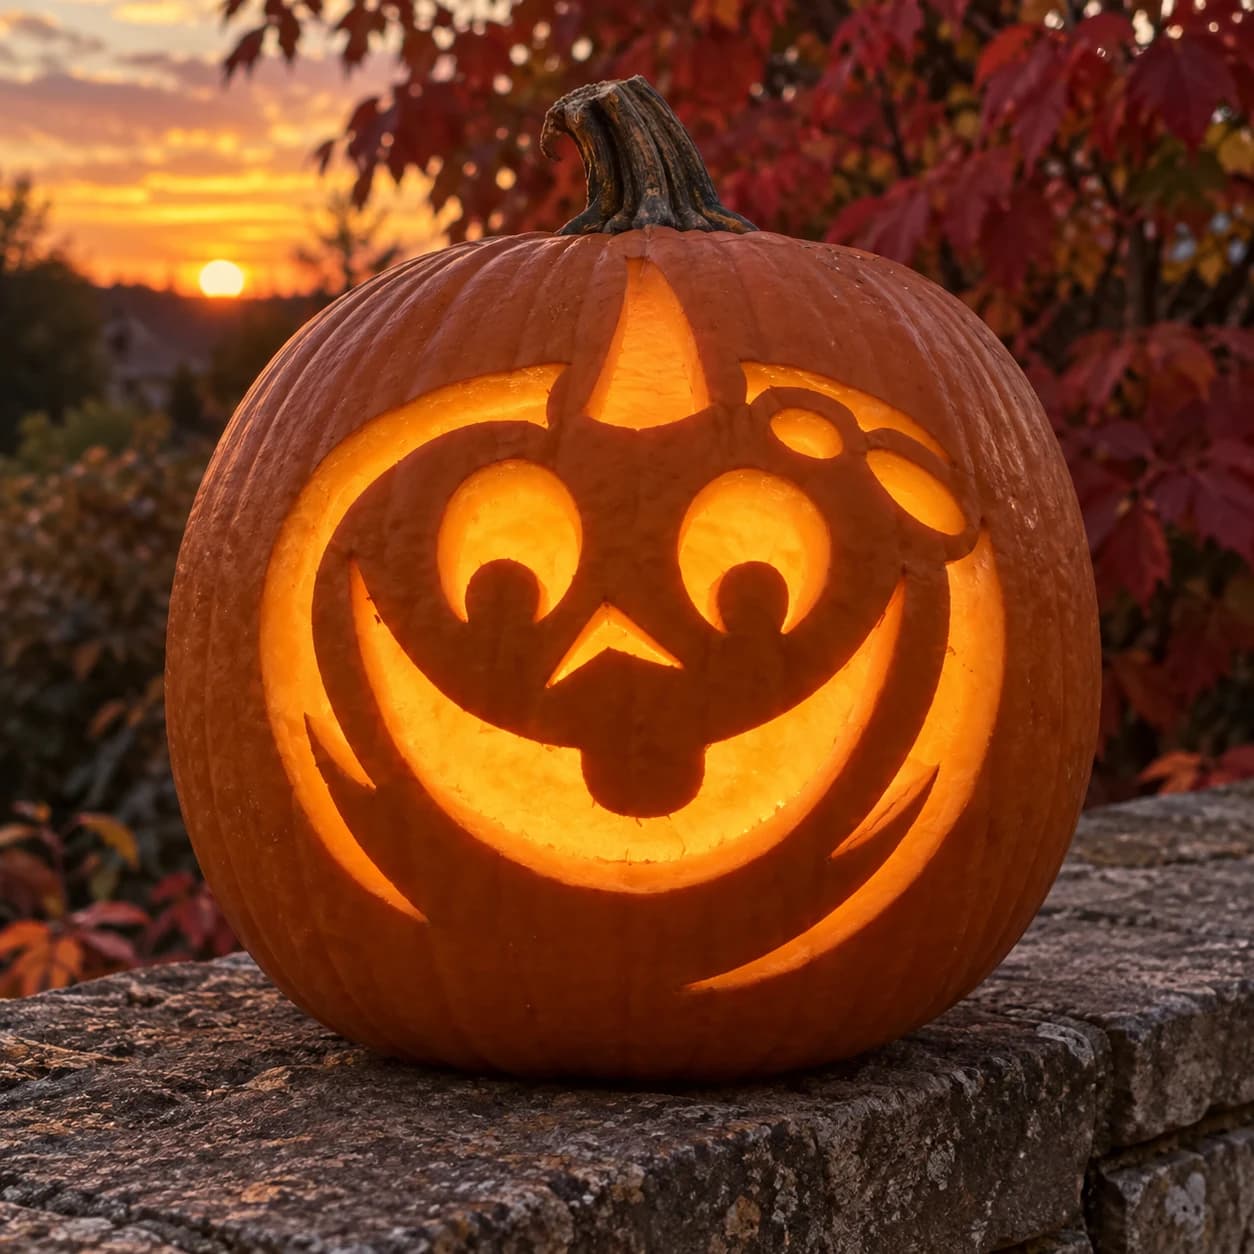
Witch Hat Jack-o-Lantern Pumpkin Stencil
A grinning jack-o-lantern face wearing a small pointed witch hat sits at the center of this easy funny pumpkin stencil. The face features two large crescent-shaped eyes with small round highlight dots inside each, a triangular nose, a wide upward-curving mouth with a center tooth drip, and wispy curl accents at the cheek corners. The hat brim and crown are solid while the eye crescents, nose, and mouth are cut through. Carve the two small round eye-highlight dots before removing the larger crescent eye shapes so those tiny circles stay intact and the eye reads with dimension when lit.
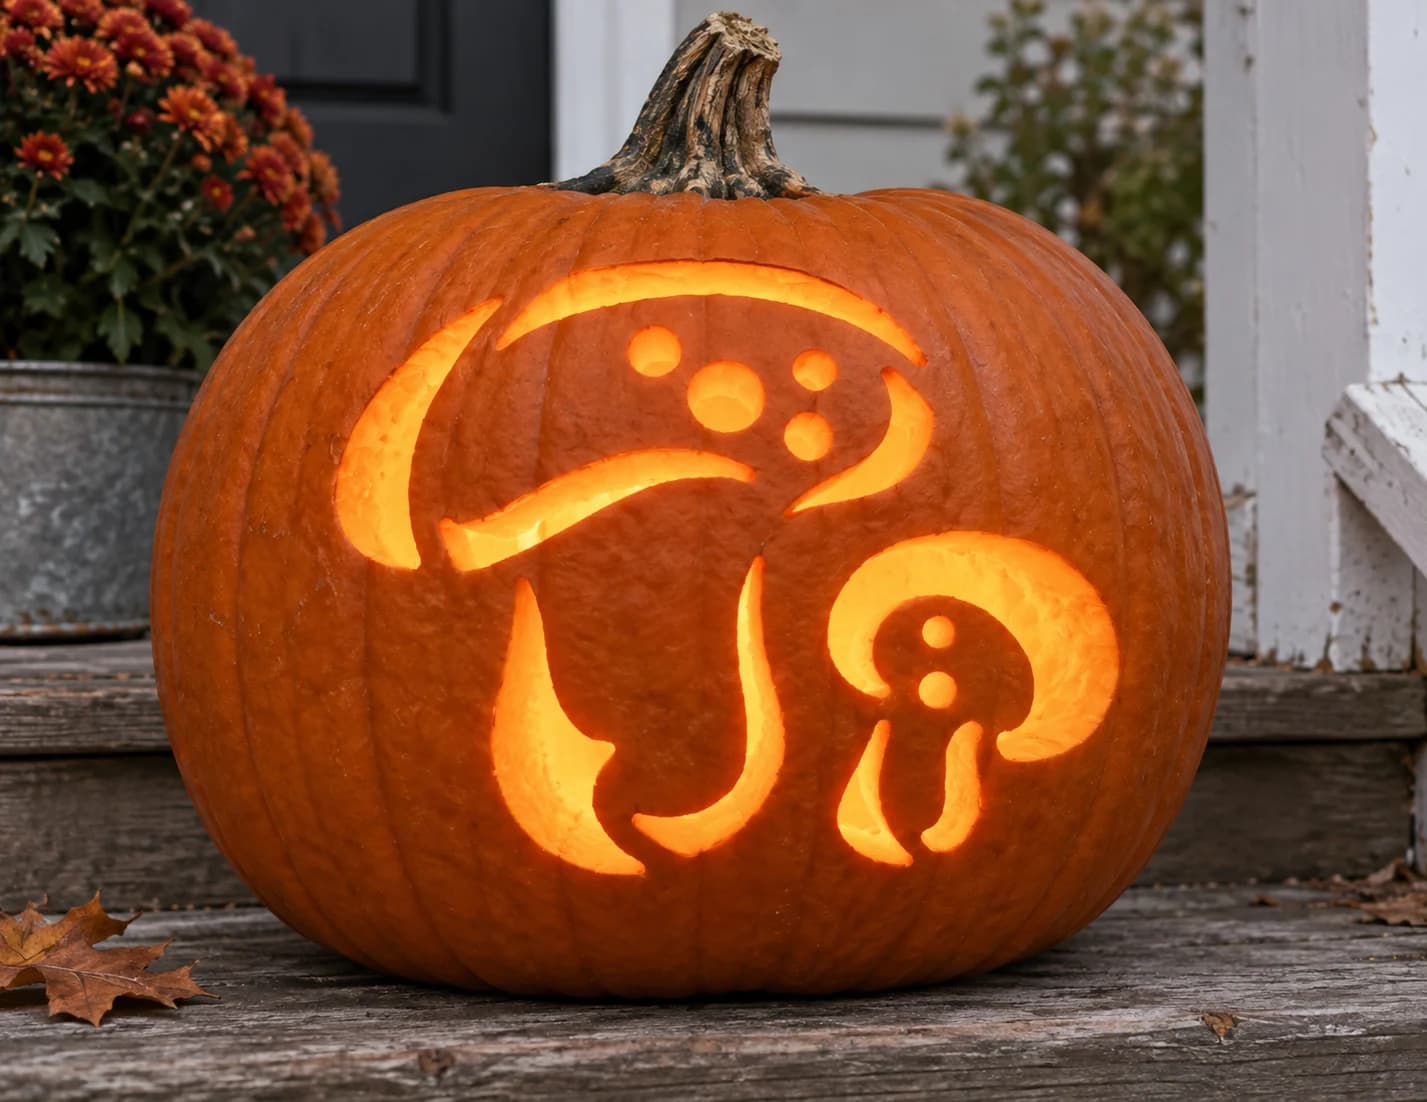
Two Mushrooms Pumpkin Stencil
Two mushrooms fill this easy pumpkin stencil: a large one with a wide rounded cap dotted by three circular spots and two curved gill lines beneath, and a smaller companion mushroom to its right with a dome cap and two dots. Both stems and root tendrils are cut through as open shapes against solid pumpkin wall, giving the lit jack-o-lantern a clean, whimsical forest-floor silhouette. Leave the solid ridgeline that separates the large cap from the gill area intact as a natural bridge, cutting it would cause the gill shapes to fall free.
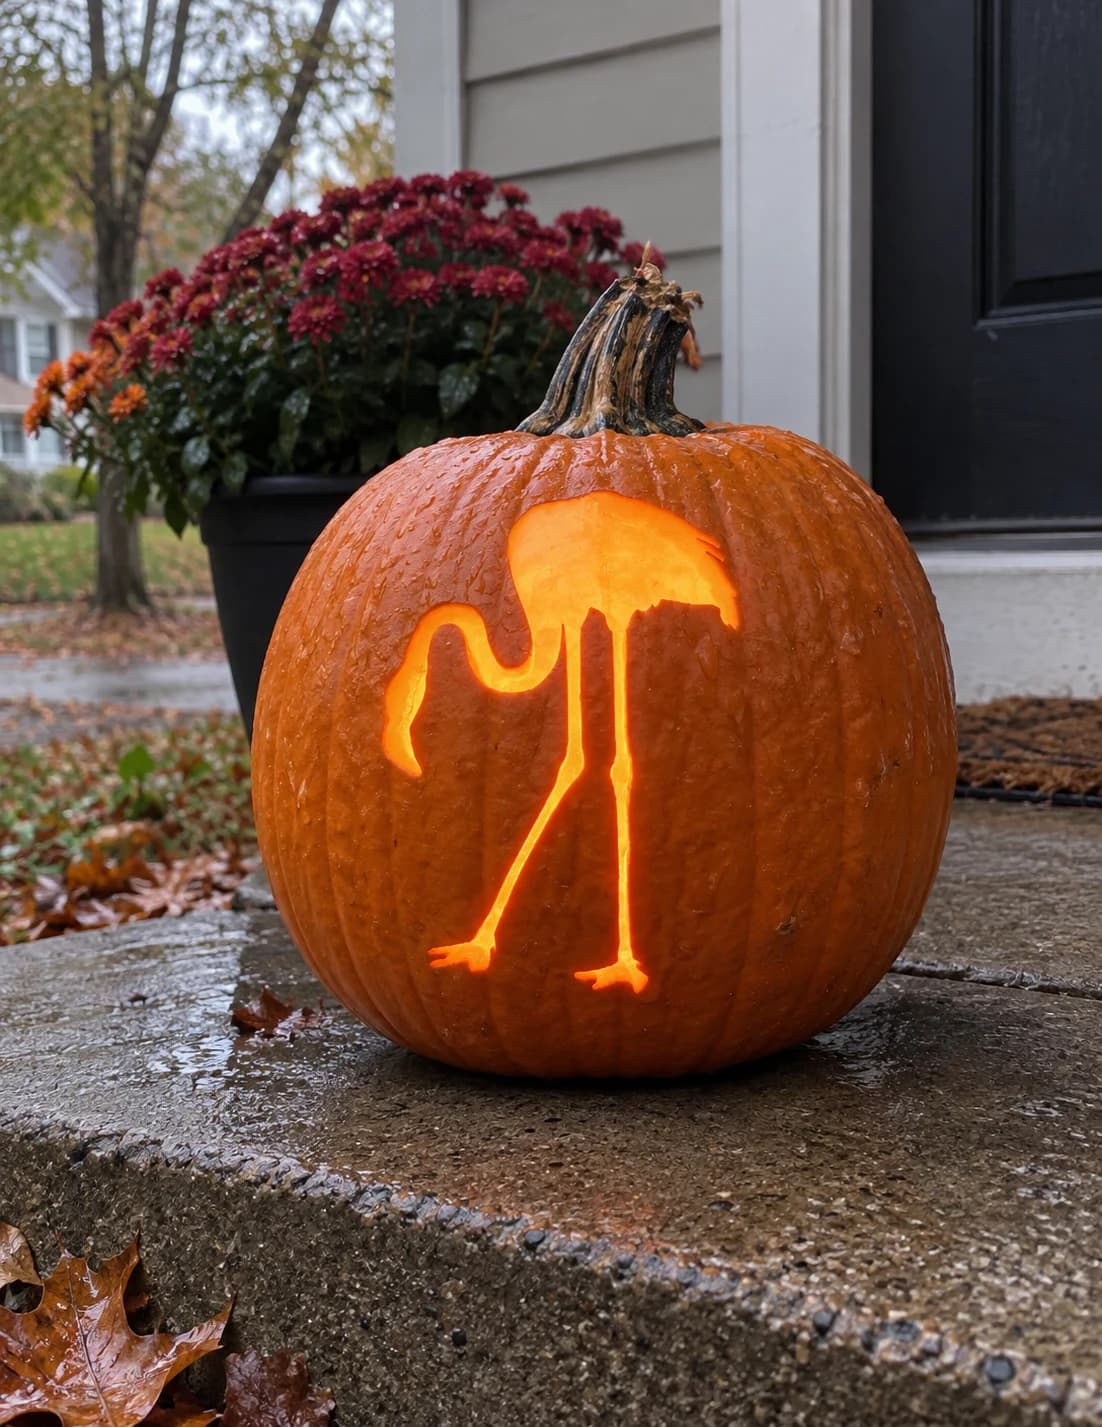
Flamingo Pumpkin Stencil
A flamingo stands with its long neck bent gracefully downward and its head dipped toward its breast on this easy Halloween pumpkin stencil. The entire bird is carved away as a single fluid silhouette revealing the glow within, while the two impossibly thin legs are the critical structural bridges connecting the large body void to the base of the cut. Score along each leg edge with a single controlled pass before removing the neighboring body mass on either side, so the legs don't fracture mid-cut.
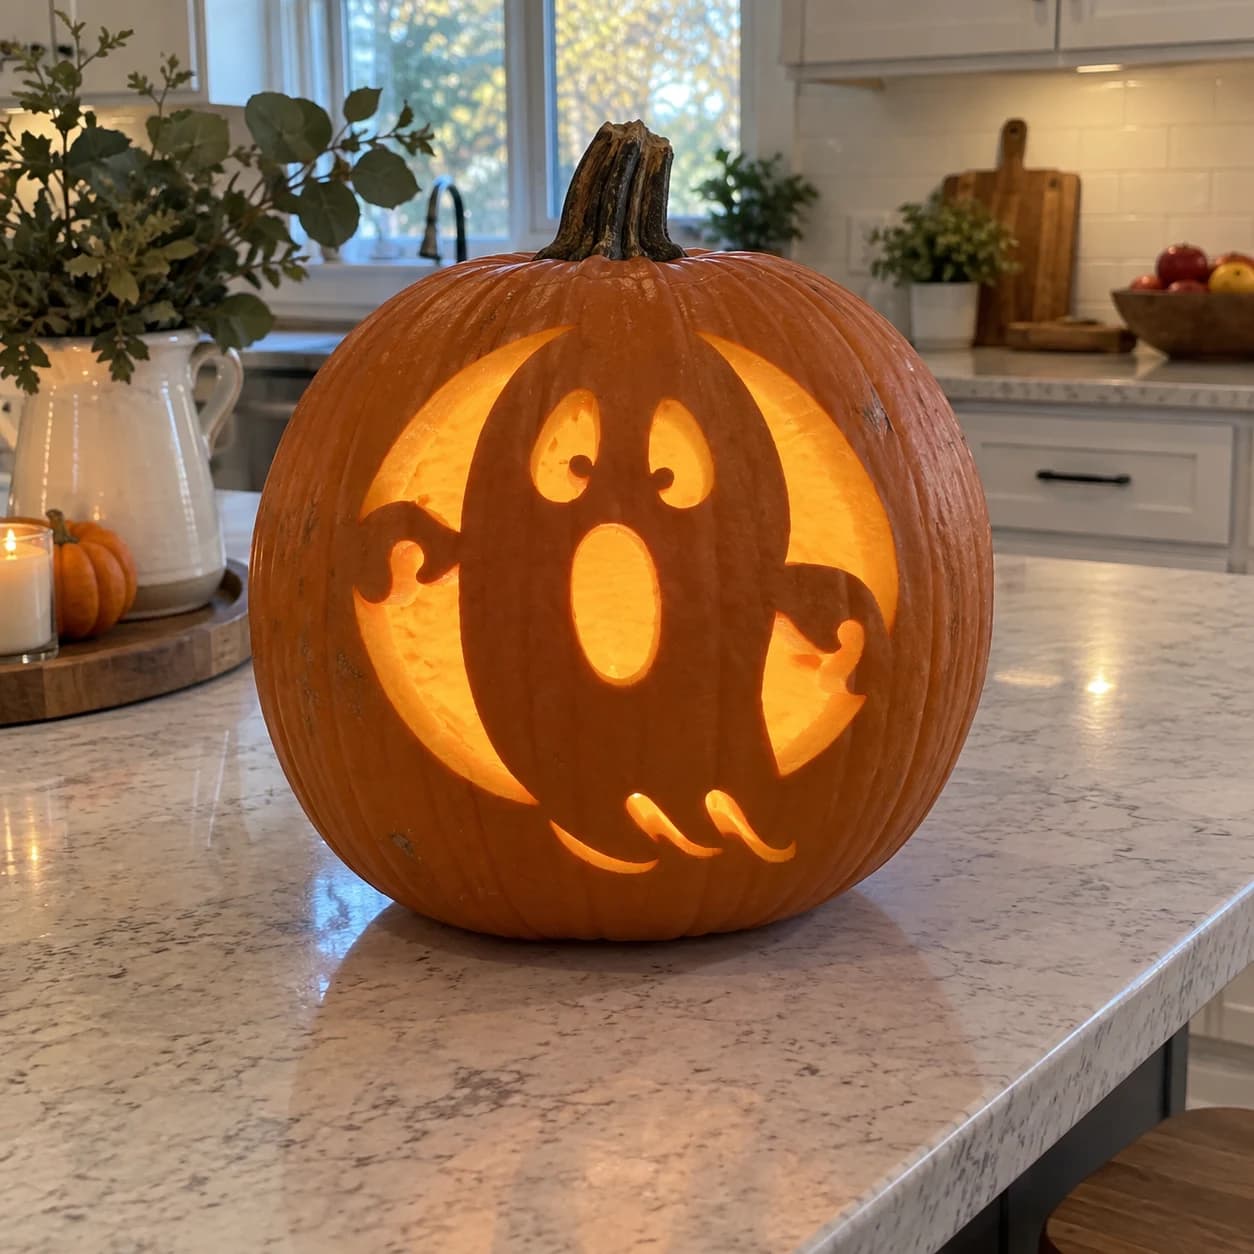
Floating Ghost Pumpkin Stencil
A small ghost floats at the center of a large circular negative-space opening in this easy ghost pumpkin stencil. The ghost has two spiral-curl eyes, an oval open mouth, and small wavy arms extending to each side, all kept solid as islands within the big cut-through circle. The circular border, the ghost's body and details, and the wispy lower tail all remain as intact pumpkin skin while the surrounding area is carved away. Cut the two curl-eye shapes and small arm details before removing the large circular background so the ghost's delicate features stay supported.
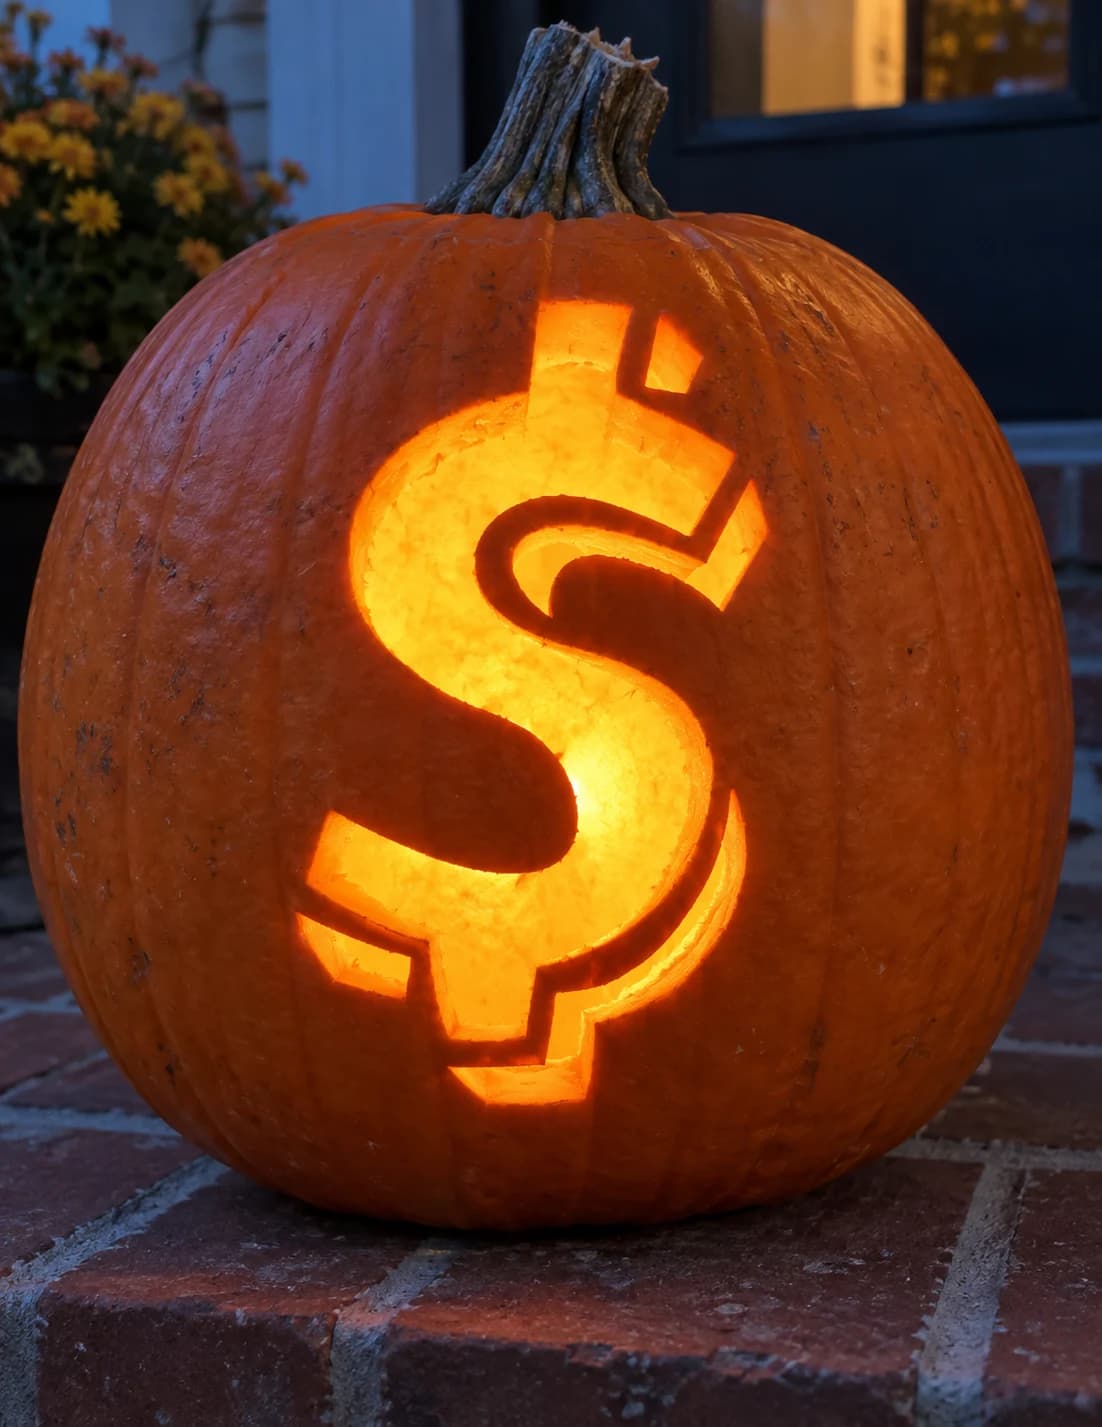
Dollar Sign Pumpkin Stencil
A bold dollar-sign symbol fills the center of this pumpkin stencil, its curved S-shape and two vertical bar segments carved through entirely so candlelight blazes through the open silhouette. The thick outer outline stays solid, holding the shape firmly on the pumpkin wall. Because the two short horizontal bars at top and bottom are separate cut-outs, cut those small pieces first before tackling the large curved body so the surrounding wall stays supported throughout.
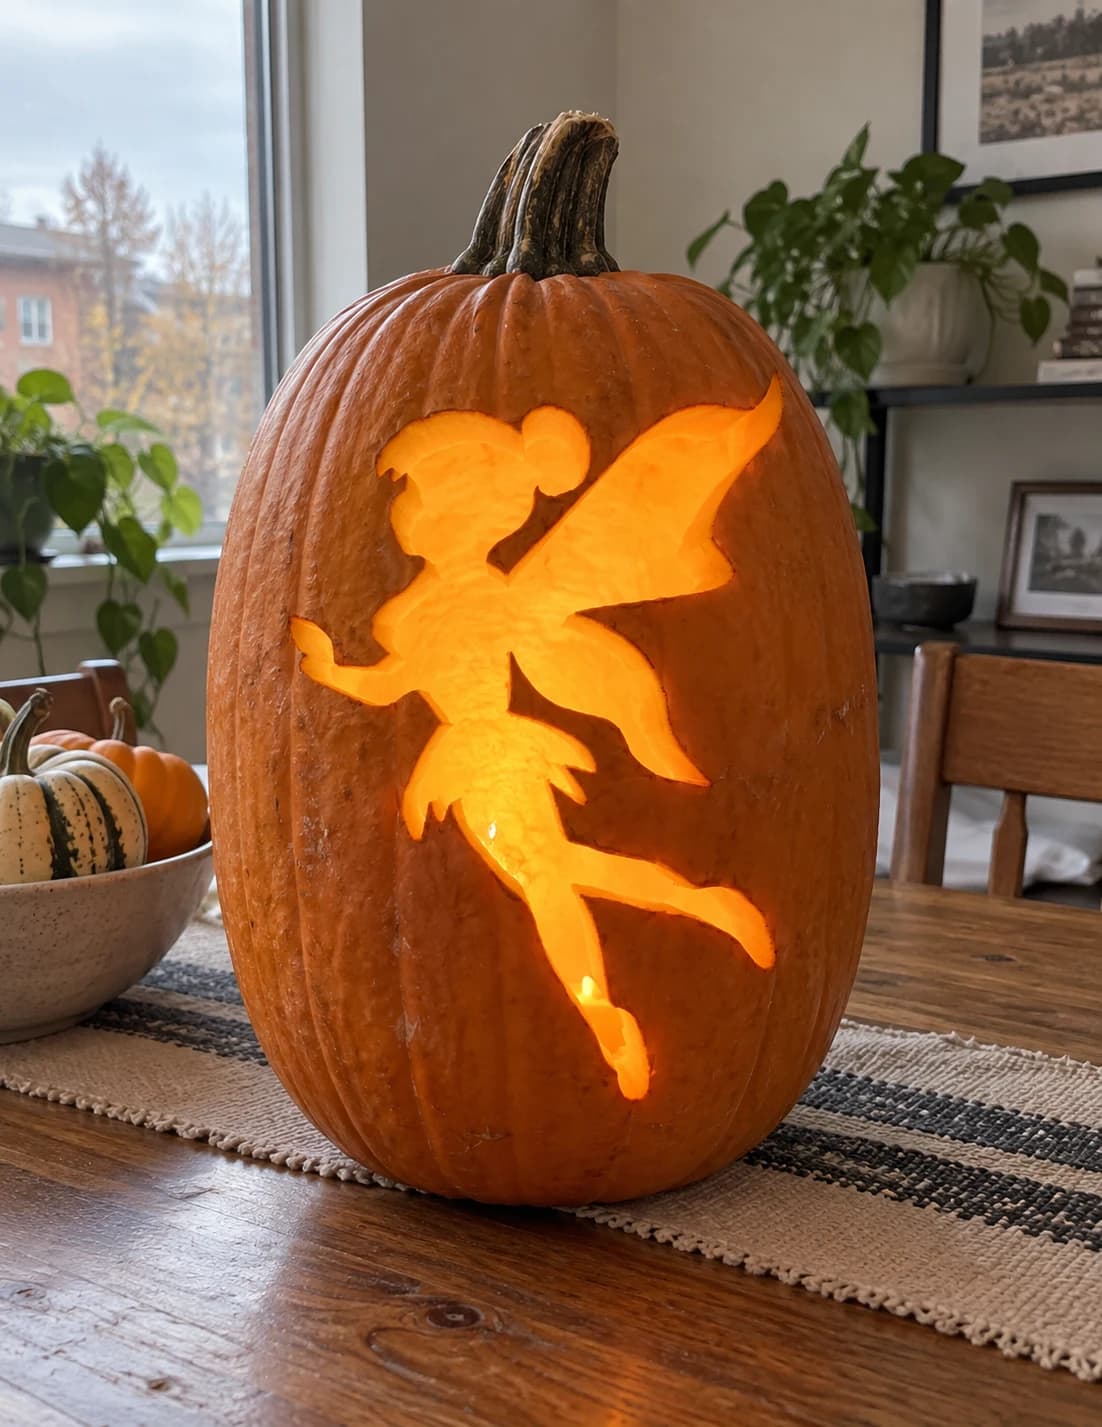
Fairy Silhouette Pumpkin Stencil
A fairy silhouette in mid-flight fills this Halloween pumpkin stencil: wings spread wide, one arm extended forward, legs bent behind her in motion. The entire figure is carved away as a single large negative space, so the fairy appears as a dark void backlit by candle glow against orange pumpkin skin. Because the wing tips and fingertips taper to narrow points, keep the blade perpendicular to the surface and cut those extremities last, after the bulk of the silhouette is already removed.
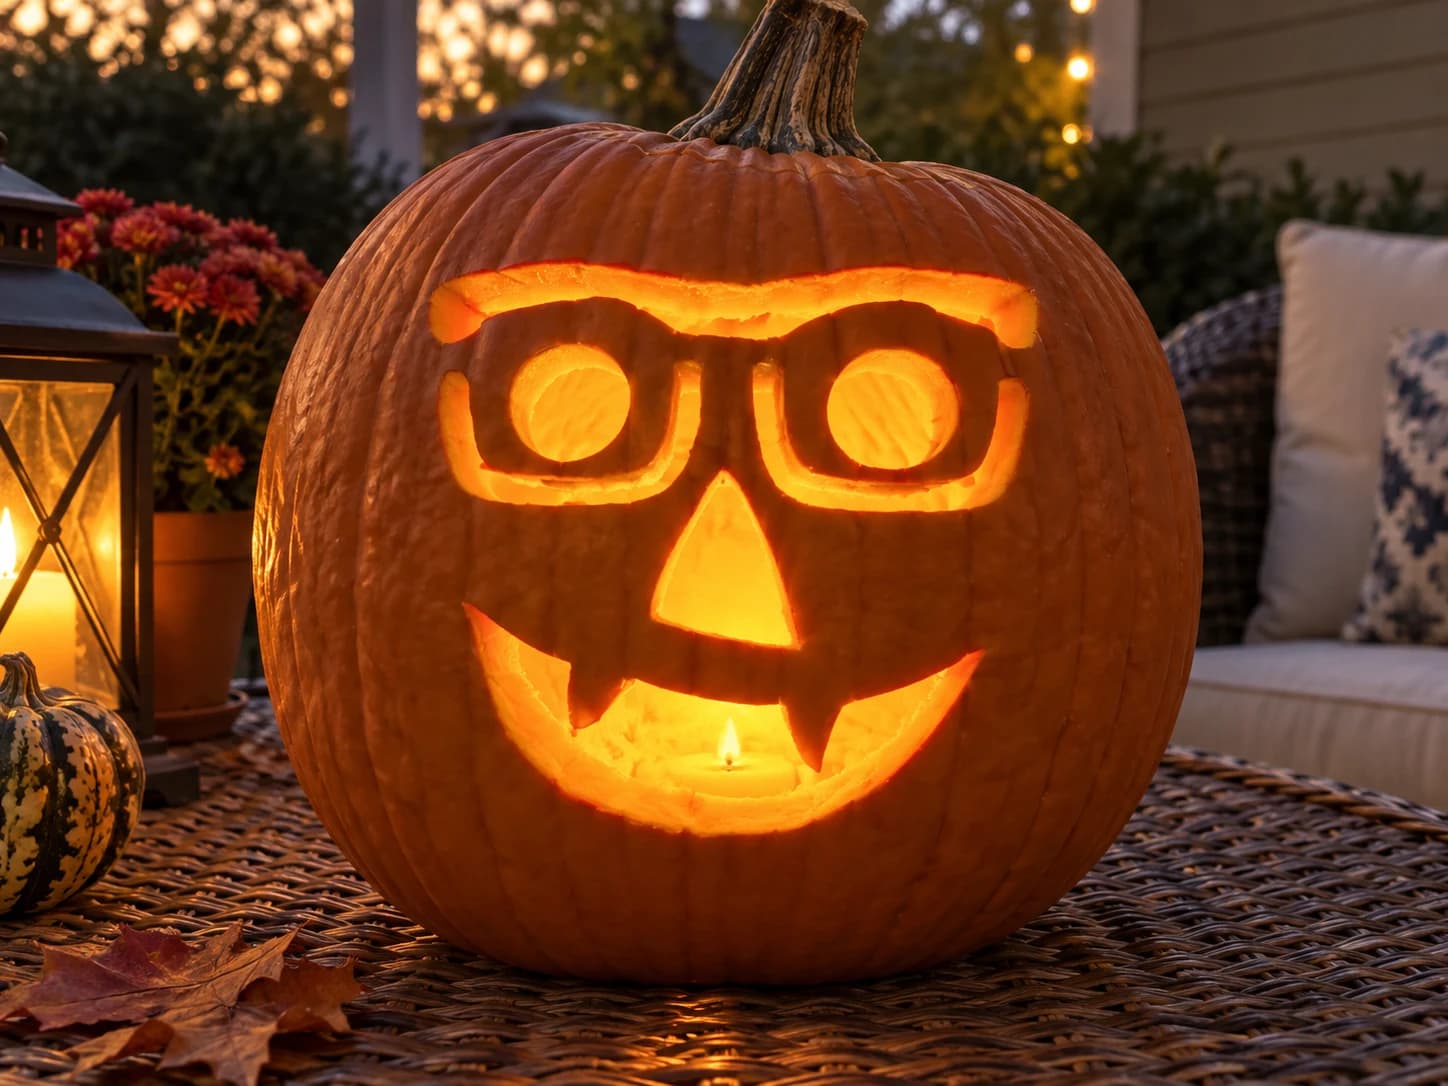
Jack-o-Lantern with Glasses Pumpkin Stencil
A classic jack-o-lantern face wearing oversized rectangular glasses makes up this beginner pumpkin stencil. The eyebrow is a wide arched strip across the top, the glasses frame is a connected pair of rectangular loops each containing a circular lens opening, a triangular nose sits below, and a broad grinning mouth with one dripping fang dominates the lower half. The thick glasses frame and face outlines remain solid while the lens circles, nose triangle, and mouth are cut through. Cut the two circular lens openings inside the glasses before the wide mouth, so the frame bridge between the lenses stays firm.
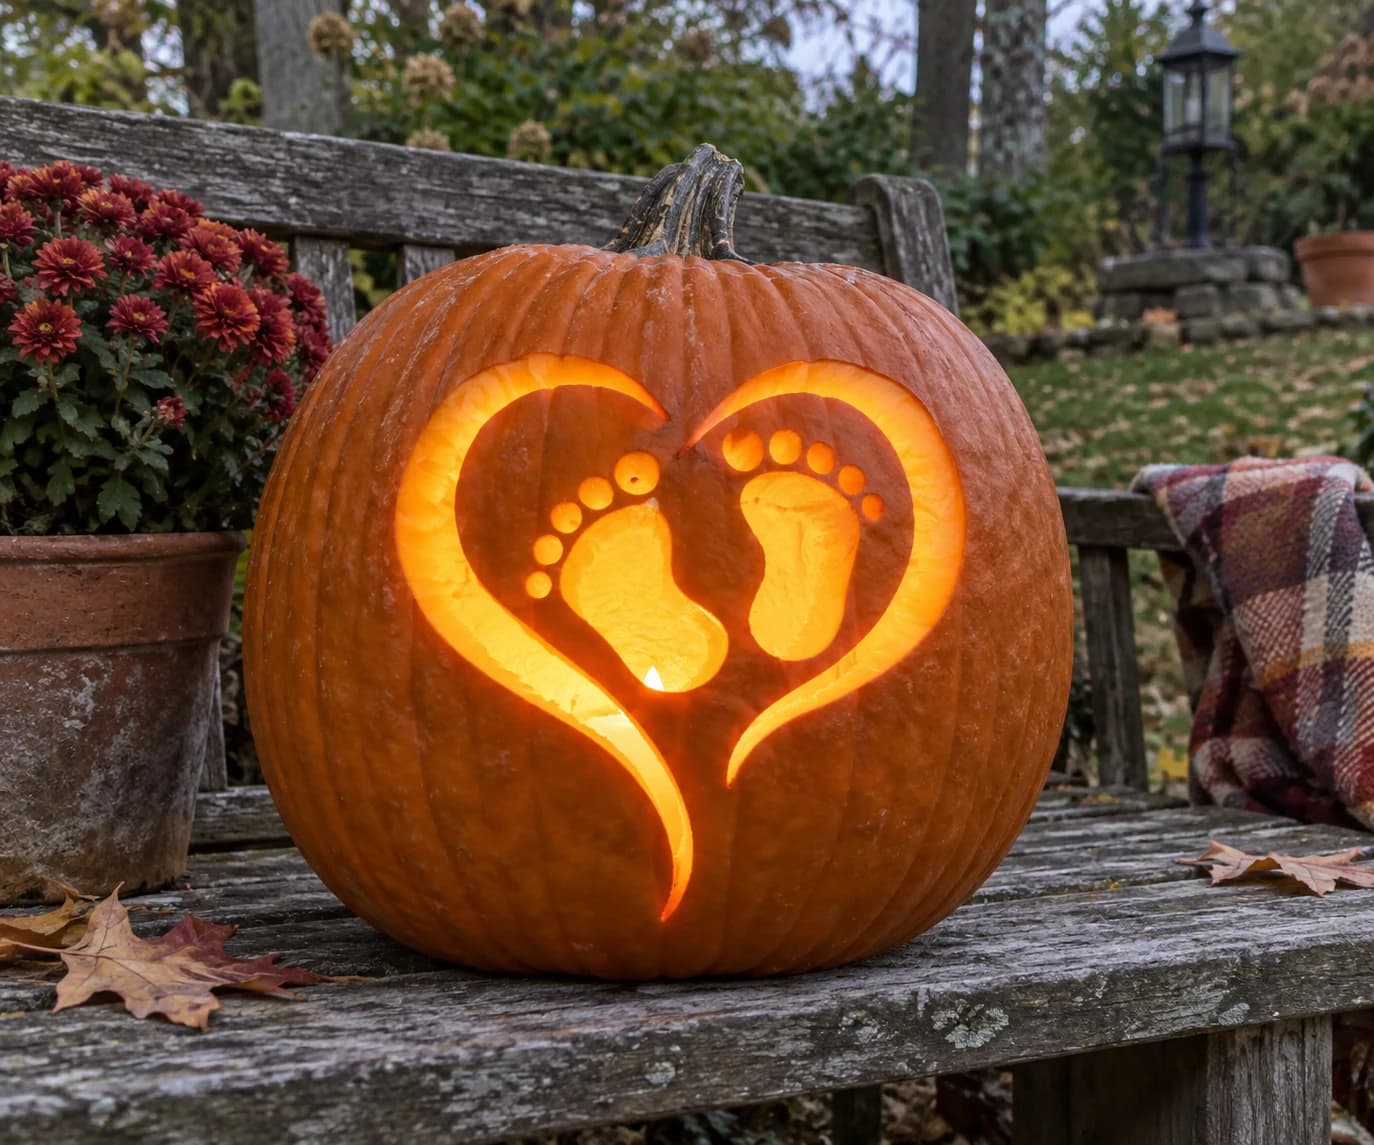
Baby Footprints Pumpkin Stencil
Two tiny baby footprints, complete with individual toe circles, sit inside a gracefully flowing open-line heart on this pumpkin stencil for expecting parents. The footprint soles and toes are all cut away while the elegant swirling heart perimeter stays as a solid pumpkin-skin border. Carve all ten toe circles before cutting the foot soles, since the toe holes are easiest to punch cleanly when the surrounding wall is still undisturbed.
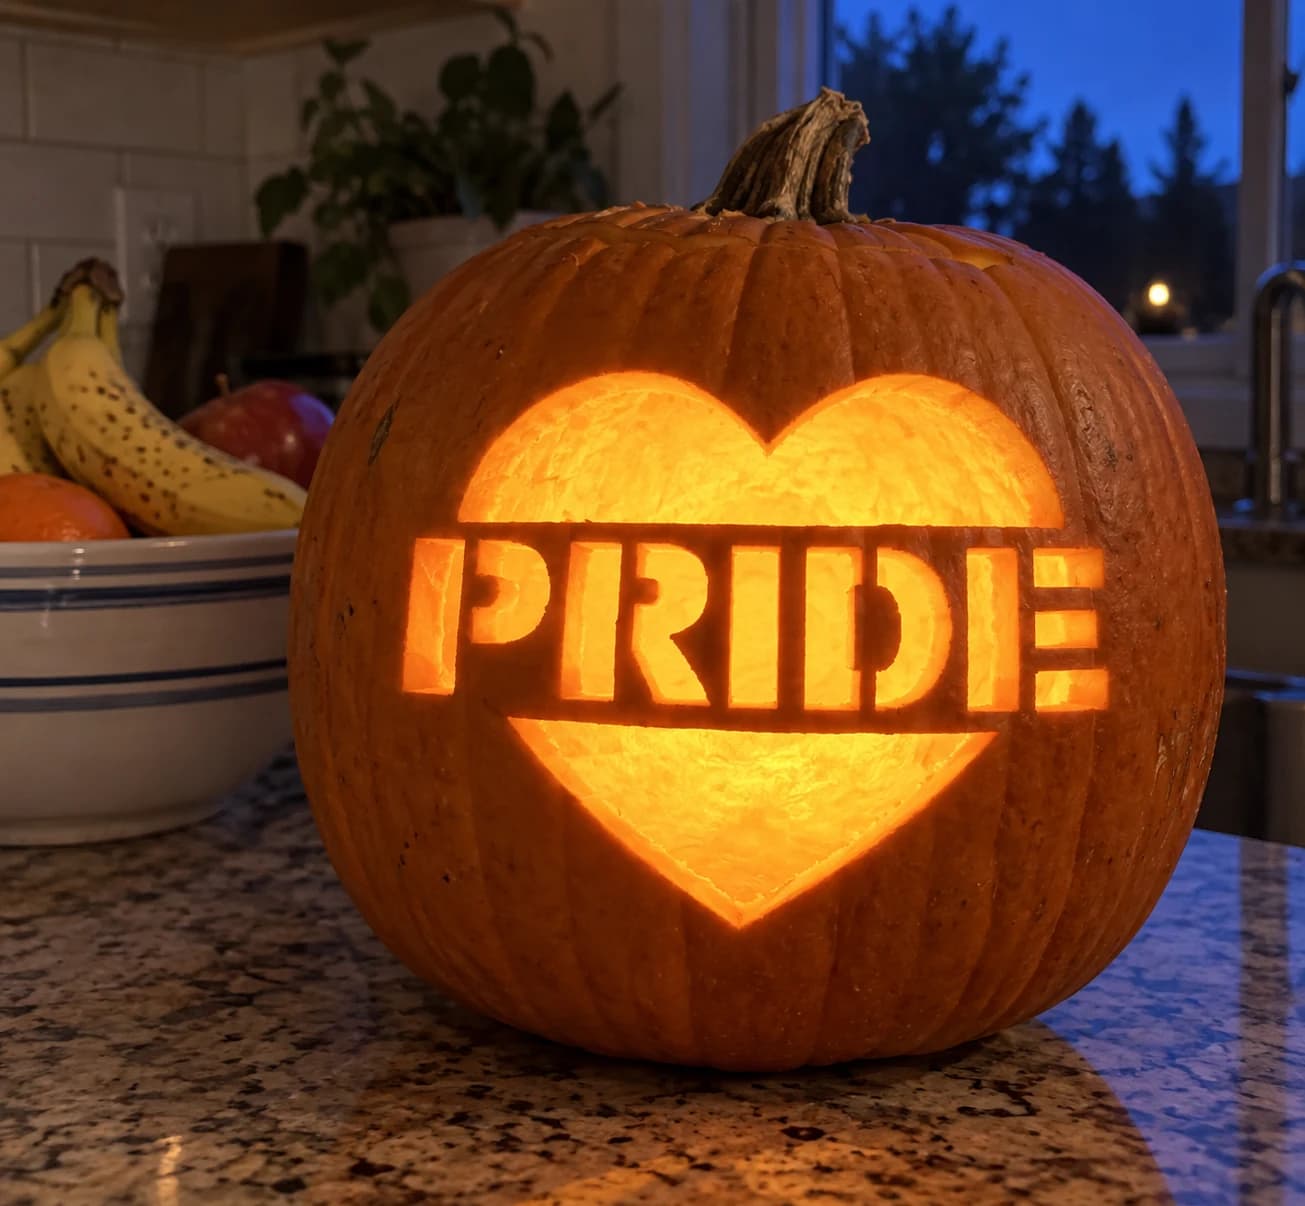
Pride Heart Pumpkin Stencil
A bold heart outline with the word "PRIDE" in wide block letters across its center makes up this easy pumpkin stencil. The heart shape is split horizontally by the text band: the upper heart arch stays solid at the top, the letter counters (the enclosed spaces inside letters like R, D, and I) stay as solid islands, and the large lower heart triangle along with the negative spaces around each letter are pierced through. When lit, the glowing letters read sharply against the dark heart background. Cut the letter interiors first, preserving each letter's counter islands, before removing the large heart body below.
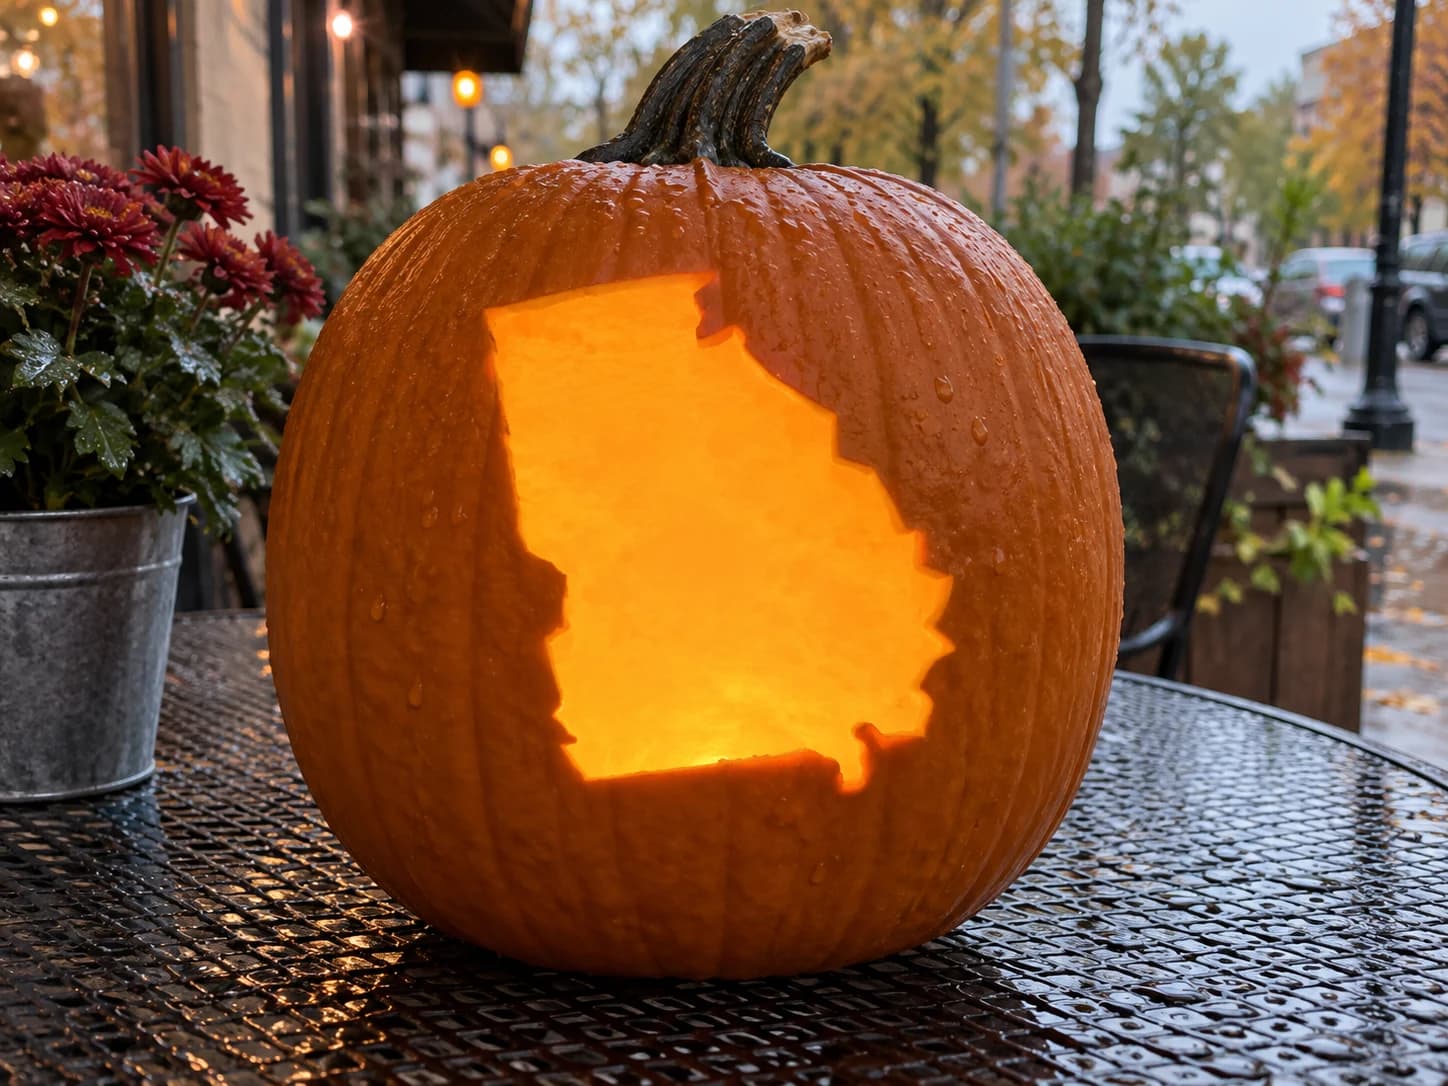
Georgia Pumpkin Stencil
The outline silhouette of the state of Georgia fills this easy pumpkin stencil as a single solid cut-through shape, with its distinctive roughly rectangular form, slightly notched upper-left corner, and irregular eastern and southern coastline edges. When carved, the entire state shape is removed as one piece, leaving a glowing Georgia silhouette in the jack-o-lantern. Score the outer border slowly and follow the subtle coastal indentations closely on the right side to keep the shape recognizable, especially the small southeastern projection at the bottom.
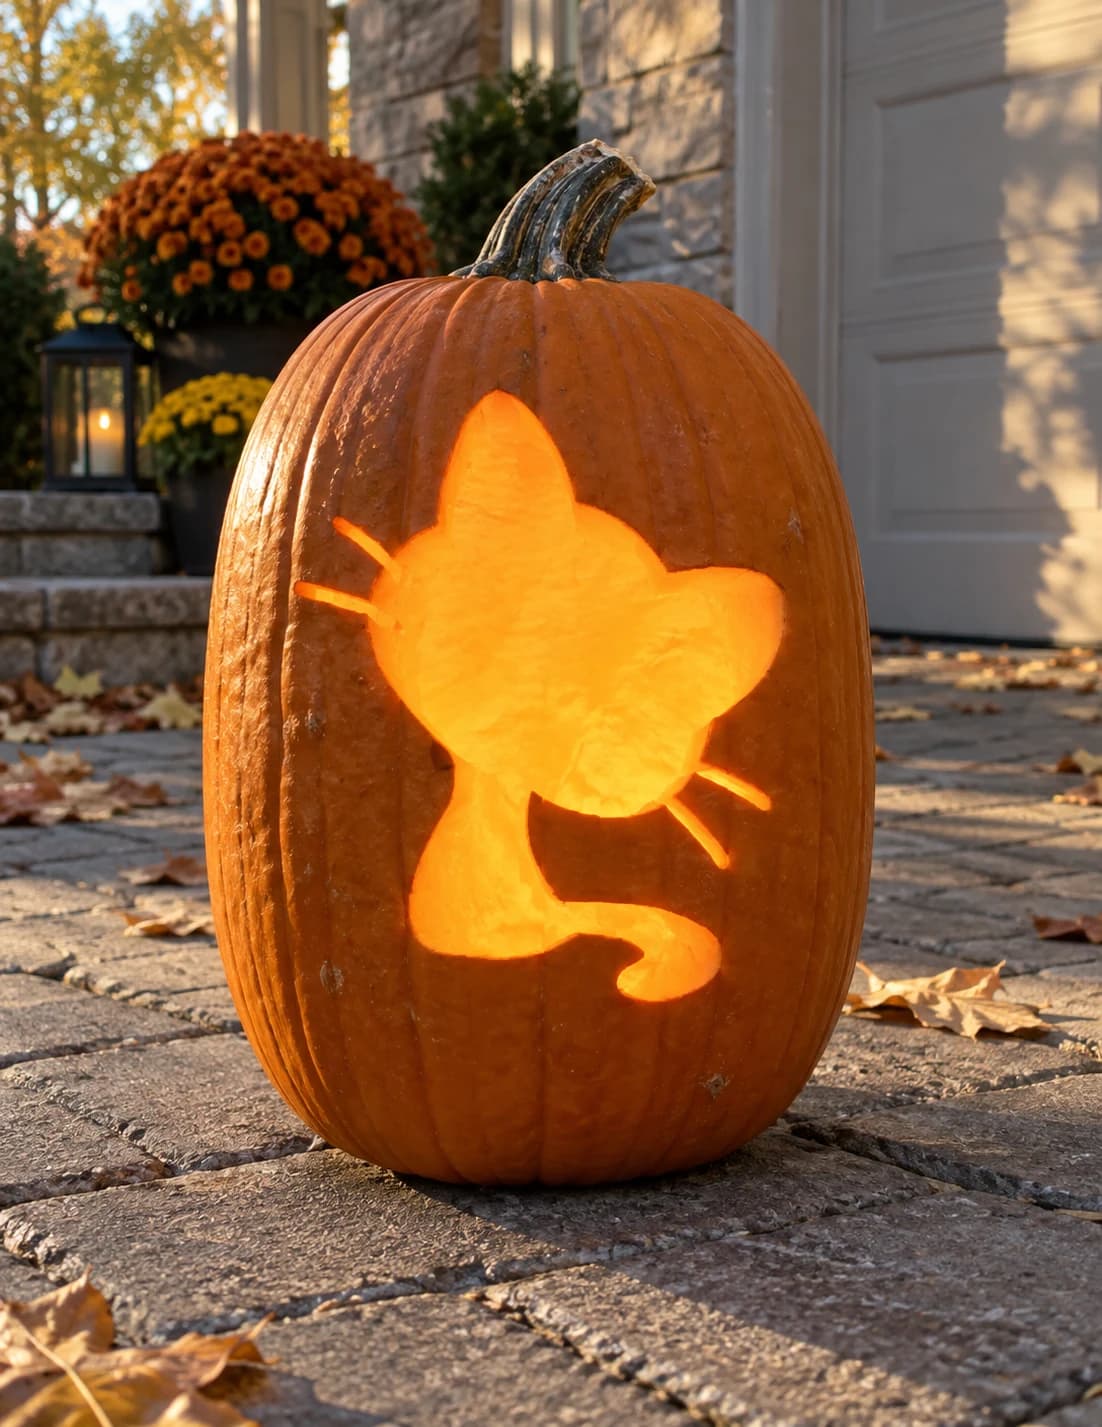
Kitten Pumpkin Stencil
A chubby kitten head in silhouette is the subject of this easy cat pumpkin stencil, showing one ear, a round face, and a small curled tail peeking below, with four delicate whisker lines extending from either side. The main body is cut away as one large opening; the whisker lines are narrow positive strips of pumpkin skin that must not be cut. When carving, leave the whisker lines until you have removed the large body void on each side, then carefully define their outer edges with a single shallow scoring pass.
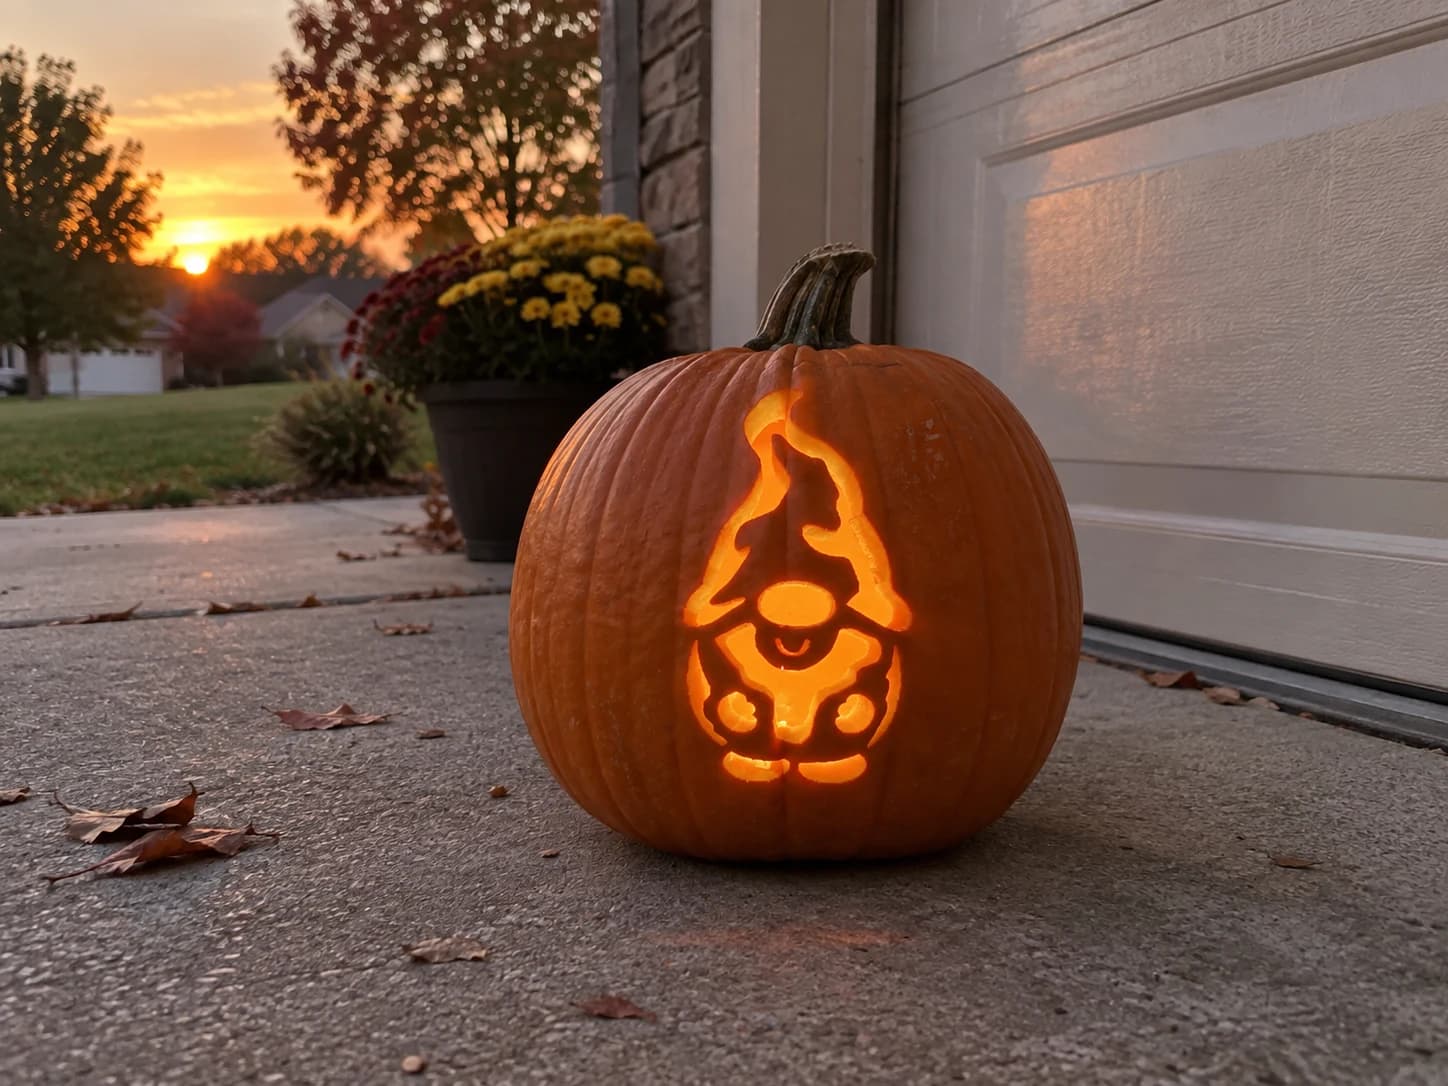
Garden Gnome Pumpkin Stencil
A garden gnome with a tall floppy pointed hat, round rosy cheeks, and a tiny curved smile stands front-facing in this easy pumpkin stencil. The hat brim curls at its tip, the face is framed by a bushy beard rendered as rounded overlapping lobes, and small feet peek out at the base. Cut-through openings define the hat interior, the beard lobes, and the body, while the face circle, hat brim, and outer silhouette stay solid. The small smile curve and cheek details are the most delicate pieces, cut them before opening the large beard sections below.
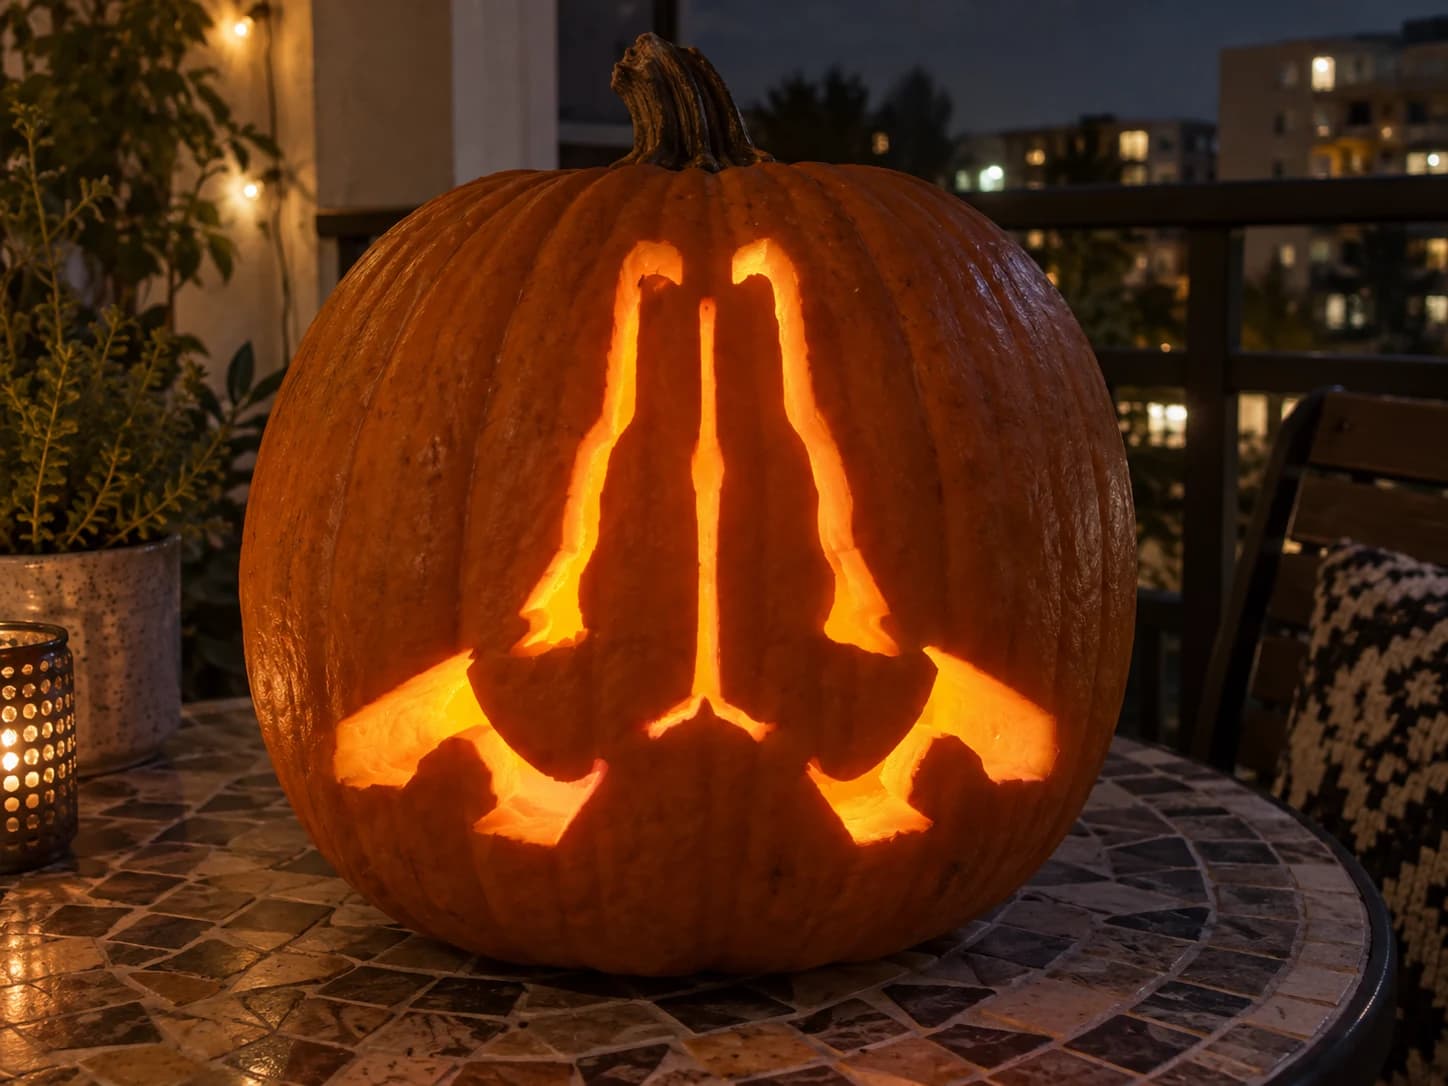
Folded Hands Emoji Pumpkin Stencil
Two hands pressed together in a prayer or namaste gesture, fingers pointing upward, make up this easy emoji pumpkin stencil. The design reads as a symmetrical, vertically oriented void that glows warmly when lit, with the two thumb shapes flanking the base and two outer-palm bumps spreading below. Because the narrow channel running up the center between the pressed palms is the slimmest bridge, keep it solid throughout and cut the two surrounding palm voids on either side independently to maintain the centerline.
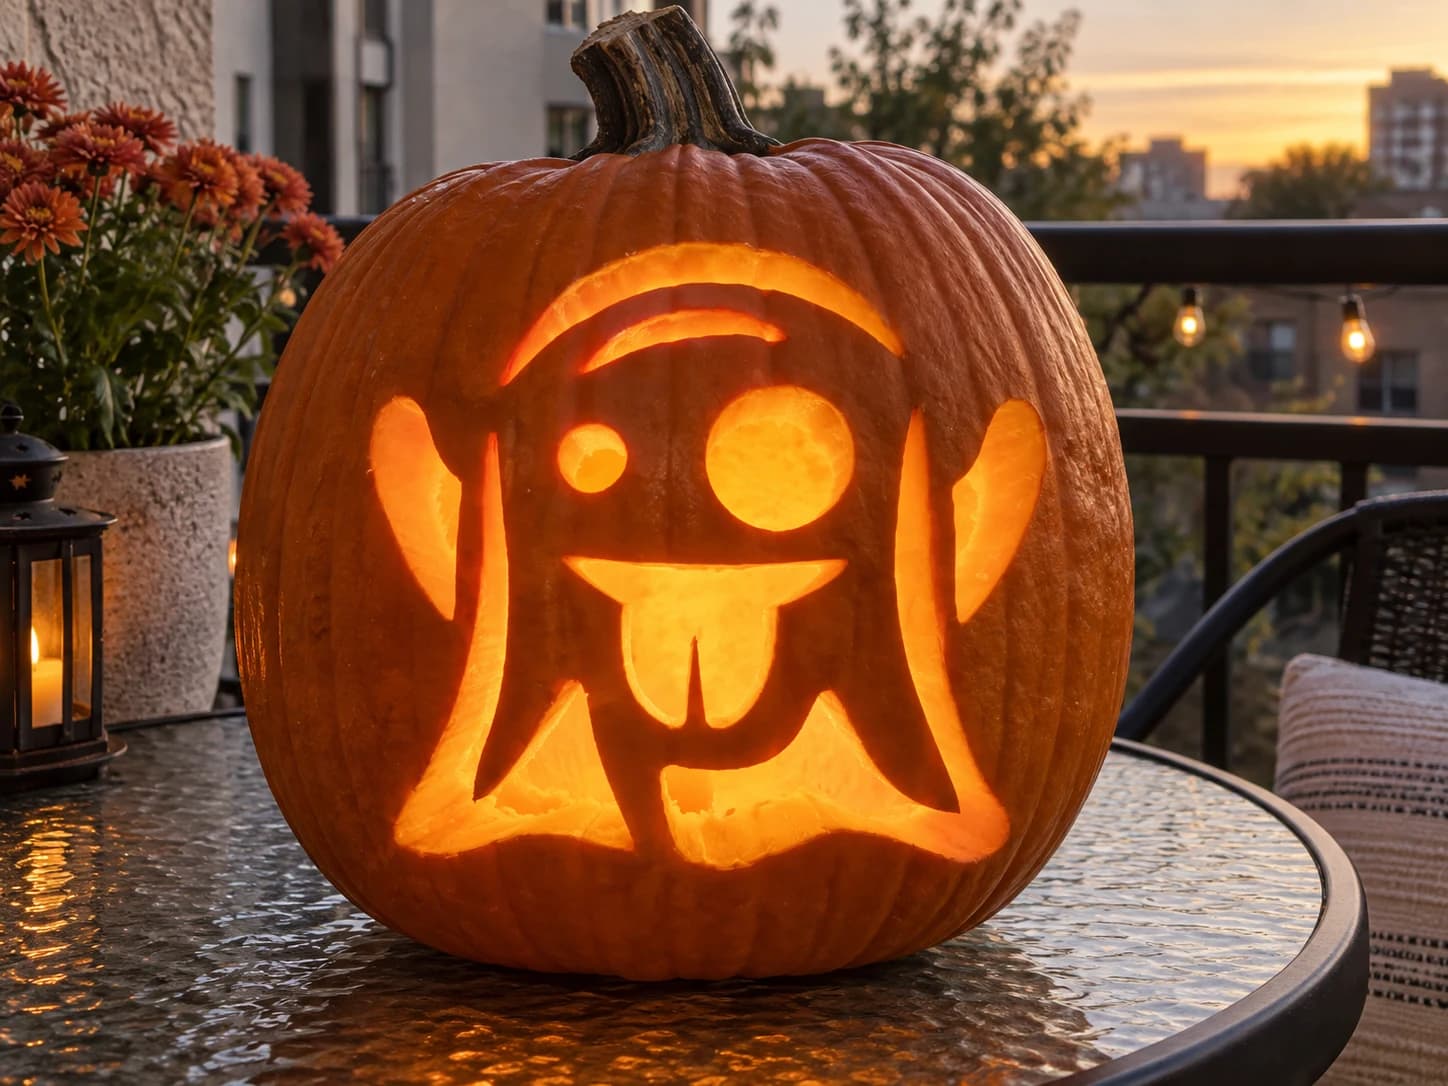
Ghost Emoji Pumpkin Stencil
The ghost emoji comes to life in this beginner pumpkin stencil: a wide-eyed ghost body with one large circular eye and one smaller dot eye, a gap-toothed open mouth with a dangling tongue, two draping arms with pointed tips on each side, and a looping curved tail below. A raised brow arc sits above the eyes. The ghost body outline remains solid while the eyes, brow, mouth, tongue, and tail gaps are cut through. Cut the small eye dot and brow arc first, then the tooth gaps in the mouth before opening the larger arm-side cutouts.
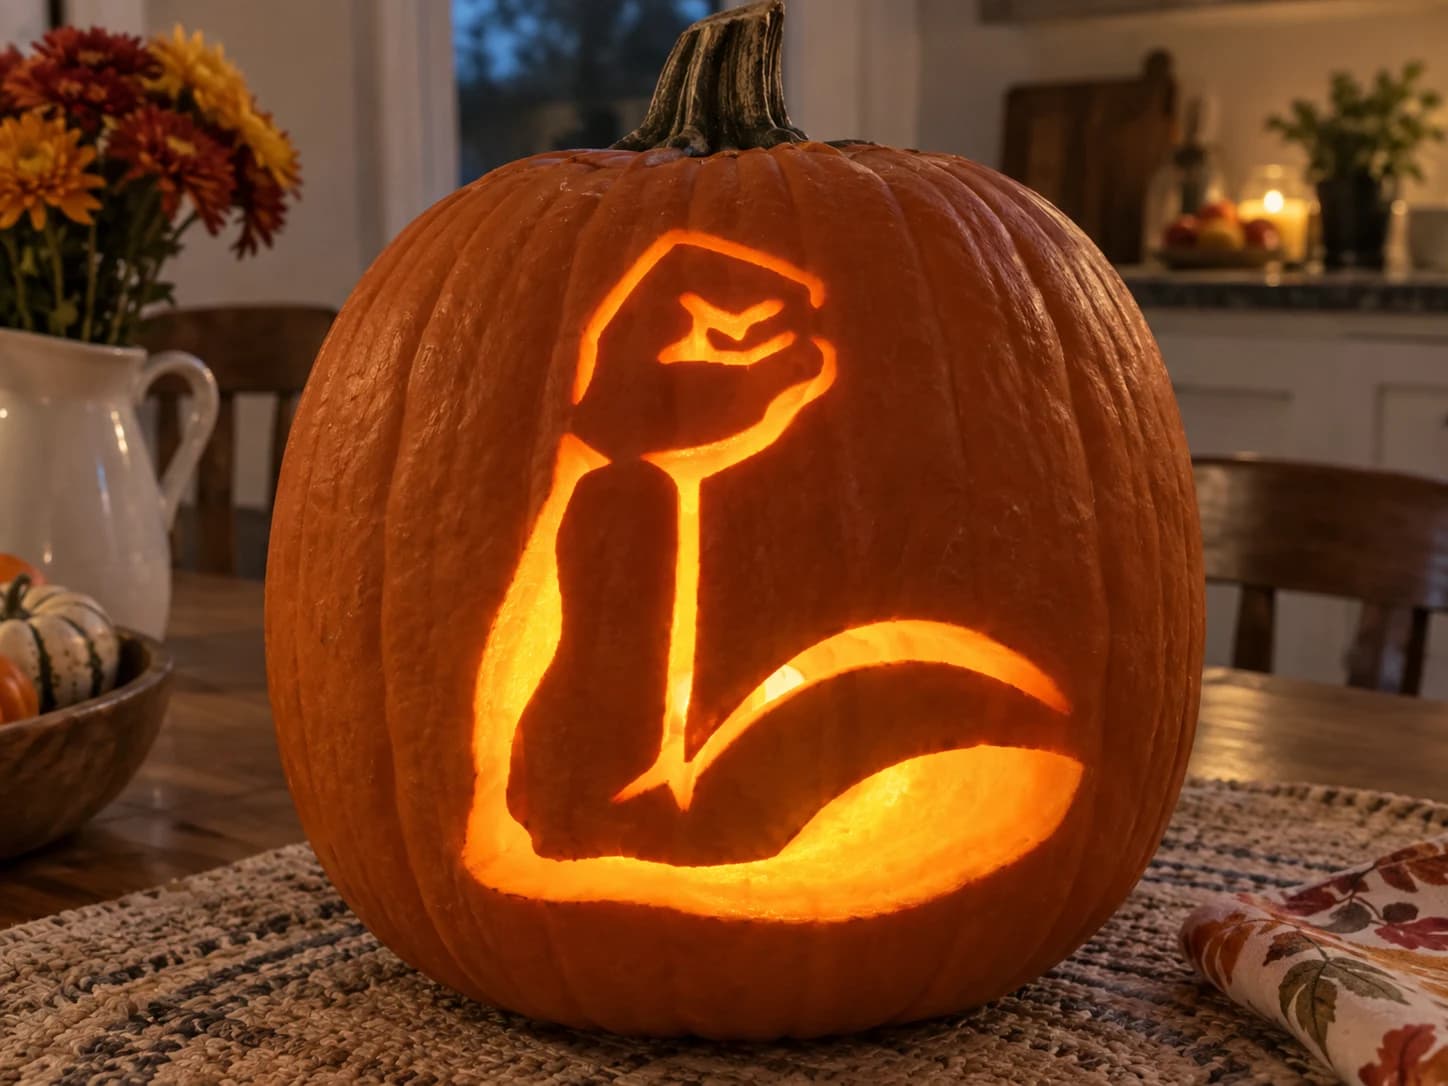
Flexed Bicep Emoji Pumpkin Stencil
A muscular arm bent at the elbow in the classic flexed-bicep emoji pose fills this easy emoji pumpkin stencil, with the large upper arm and forearm cut away as open voids and the thin wrist and elbow-crease lines left as pumpkin-skin bridges. The two sections of the arm void are separated by the elbow-crease bridge, which is the slimmest part of the design. Carve the forearm section below the crease first, then remove the upper arm, so the crease bridge is never cut from two sides at once.
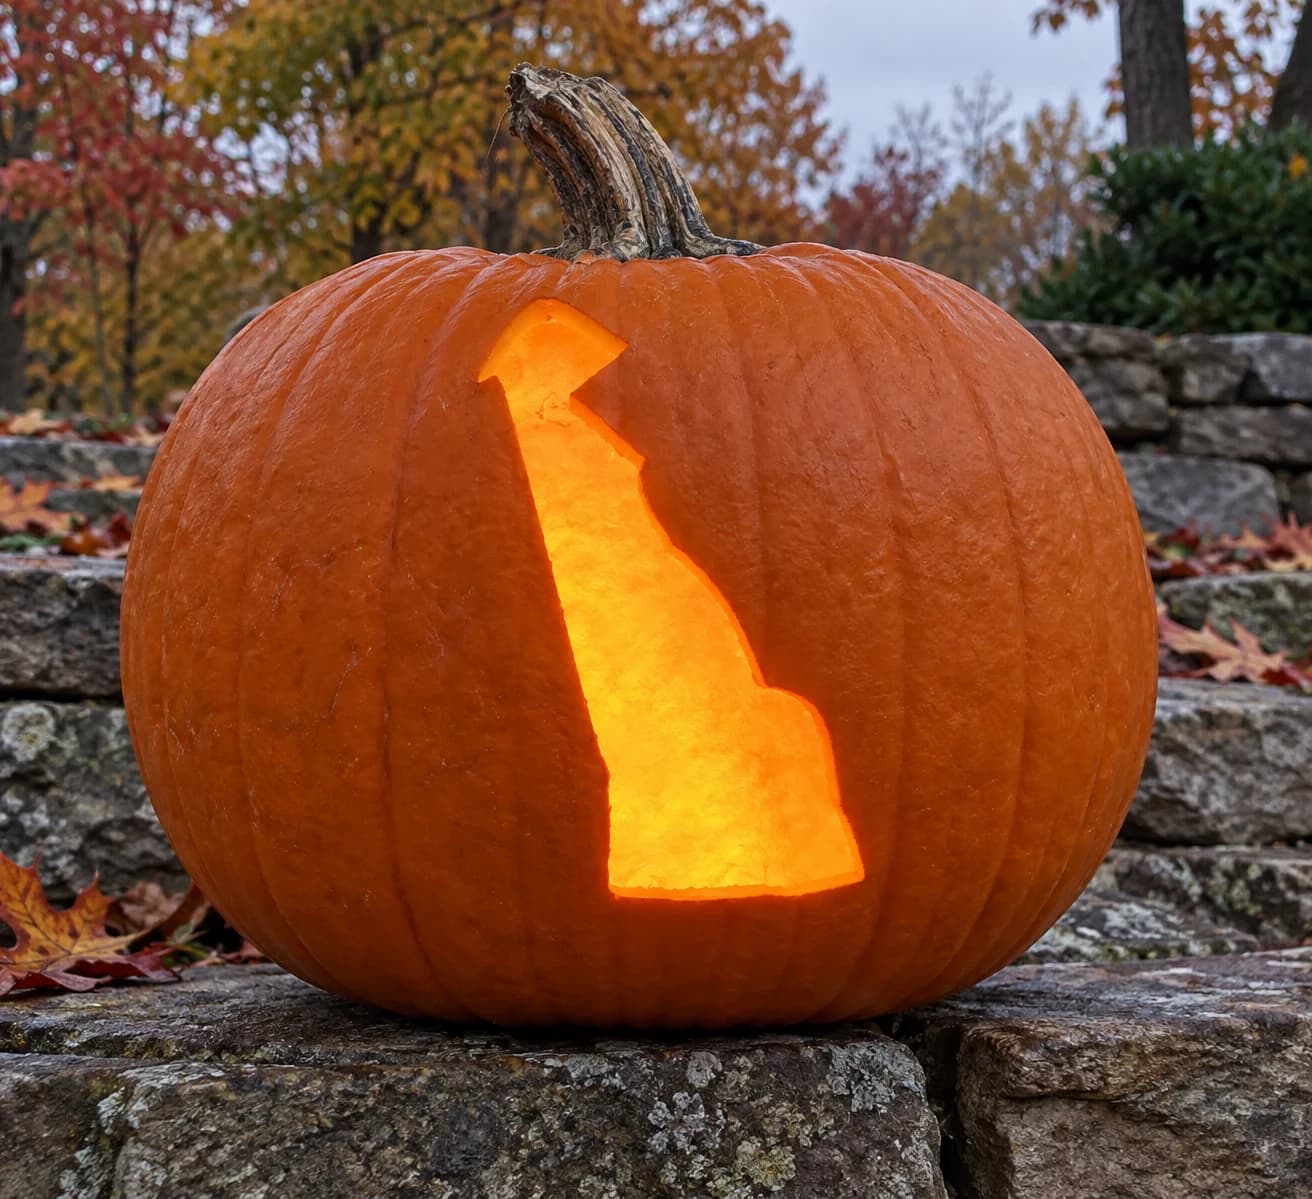
Delaware Pumpkin Stencil
The outline of Delaware is cut through as a single solid-edged silhouette in this state pumpkin stencil, its distinctive narrow rectangular body with the curved northeastern arc at the top rendered cleanly in one piece. When lit, the entire state shape glows as an open window of light. Because this is a single large cut-out with no interior detail, position the shape toward the center of the pumpkin face and use a sharp saw blade to follow the curved northeastern border without tearing.
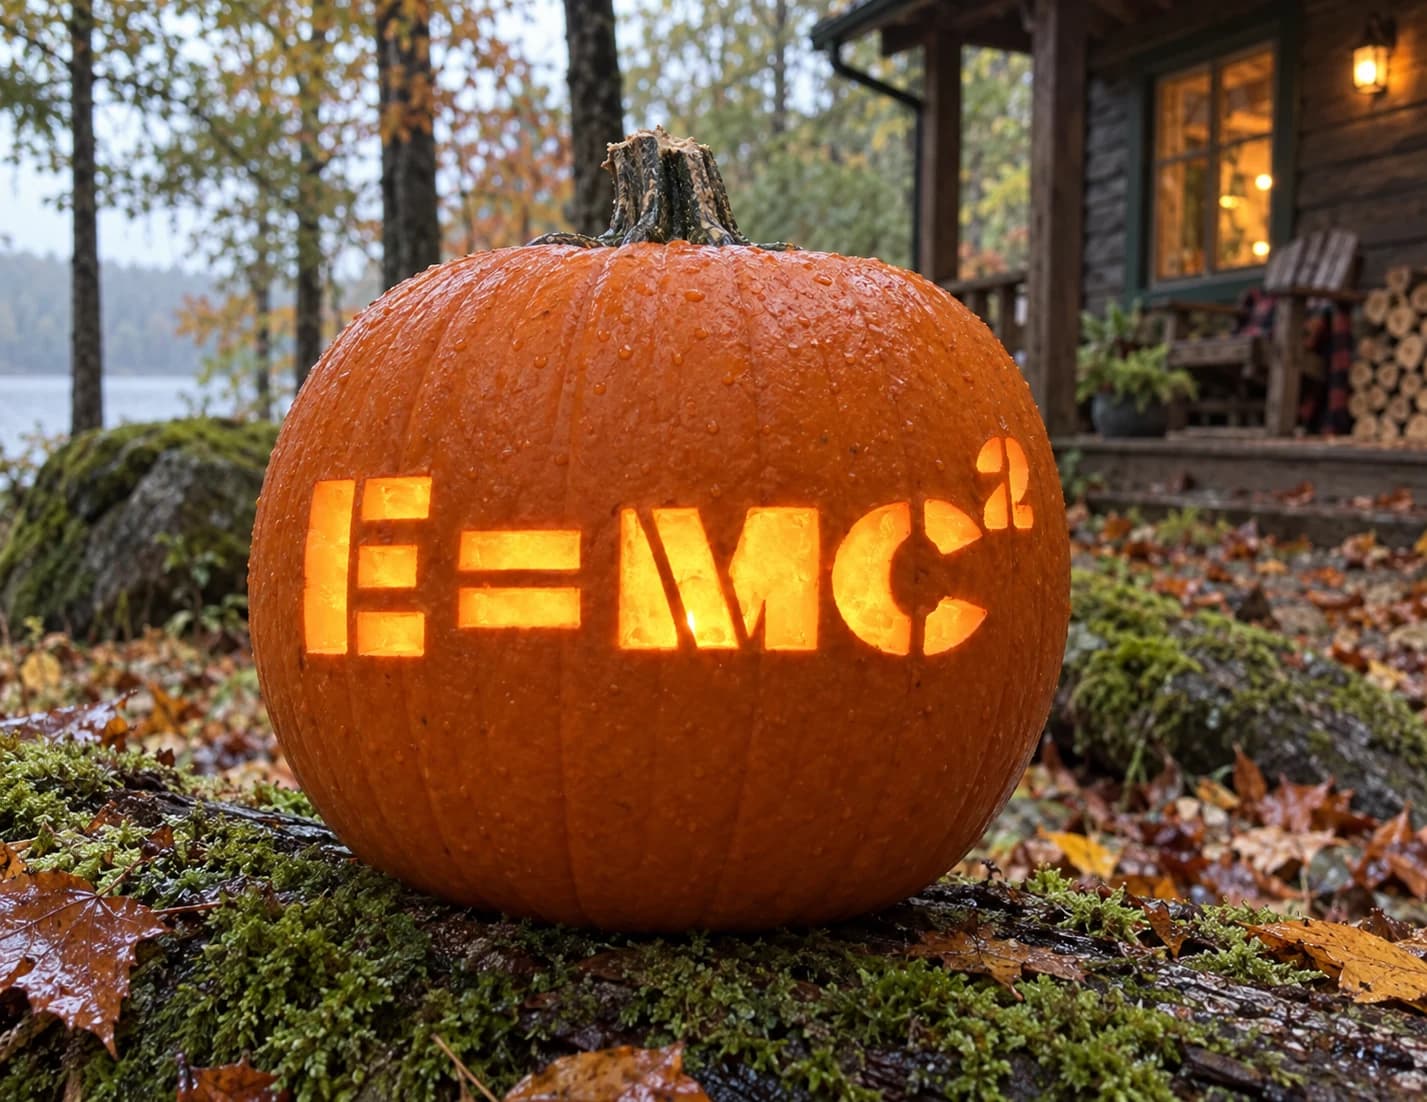
E=MC2 Pumpkin Stencil
Einstein's famous equation is carved as bold block letters spelling E = MC2 across this easy pumpkin stencil, with the superscript "2" rendered in smaller fragments to the upper right of the C. Each letter is a chunky stencil-style cutout with internal bridges holding counter shapes such as the horizontal bars inside the E. The superscript "2" has two small separate island pieces; cut the main letters first and save those two small fragments for last so they don't shift before the surrounding skin is stable.
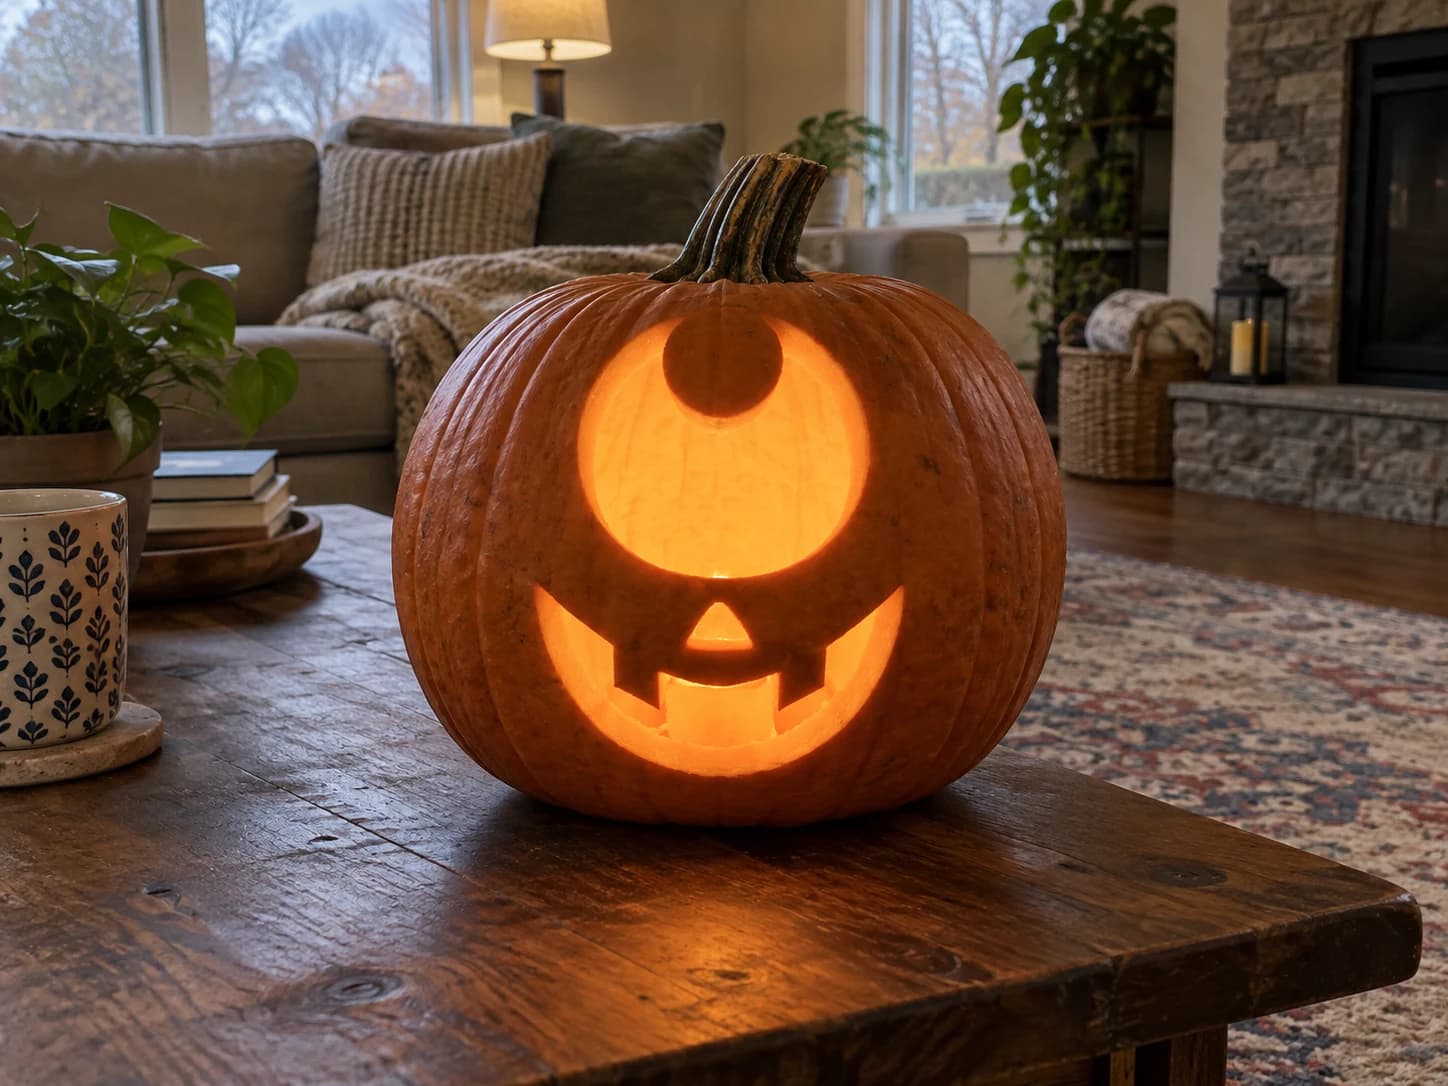
Cyclops Monster Pumpkin Stencil
This one-eyed monster face jack-o-lantern stencil pairs a massive single eye opening at the top, with a crescent of solid orange forming the pupil island, with a lower face panel bearing a triangular nose and a wide blocky grin of square teeth. Both sections are fully cut through, flooding the pumpkin face with light. Keep the thin orange strip separating the upper eye section from the lower mouth panel intact as a structural bridge until the very last cut.
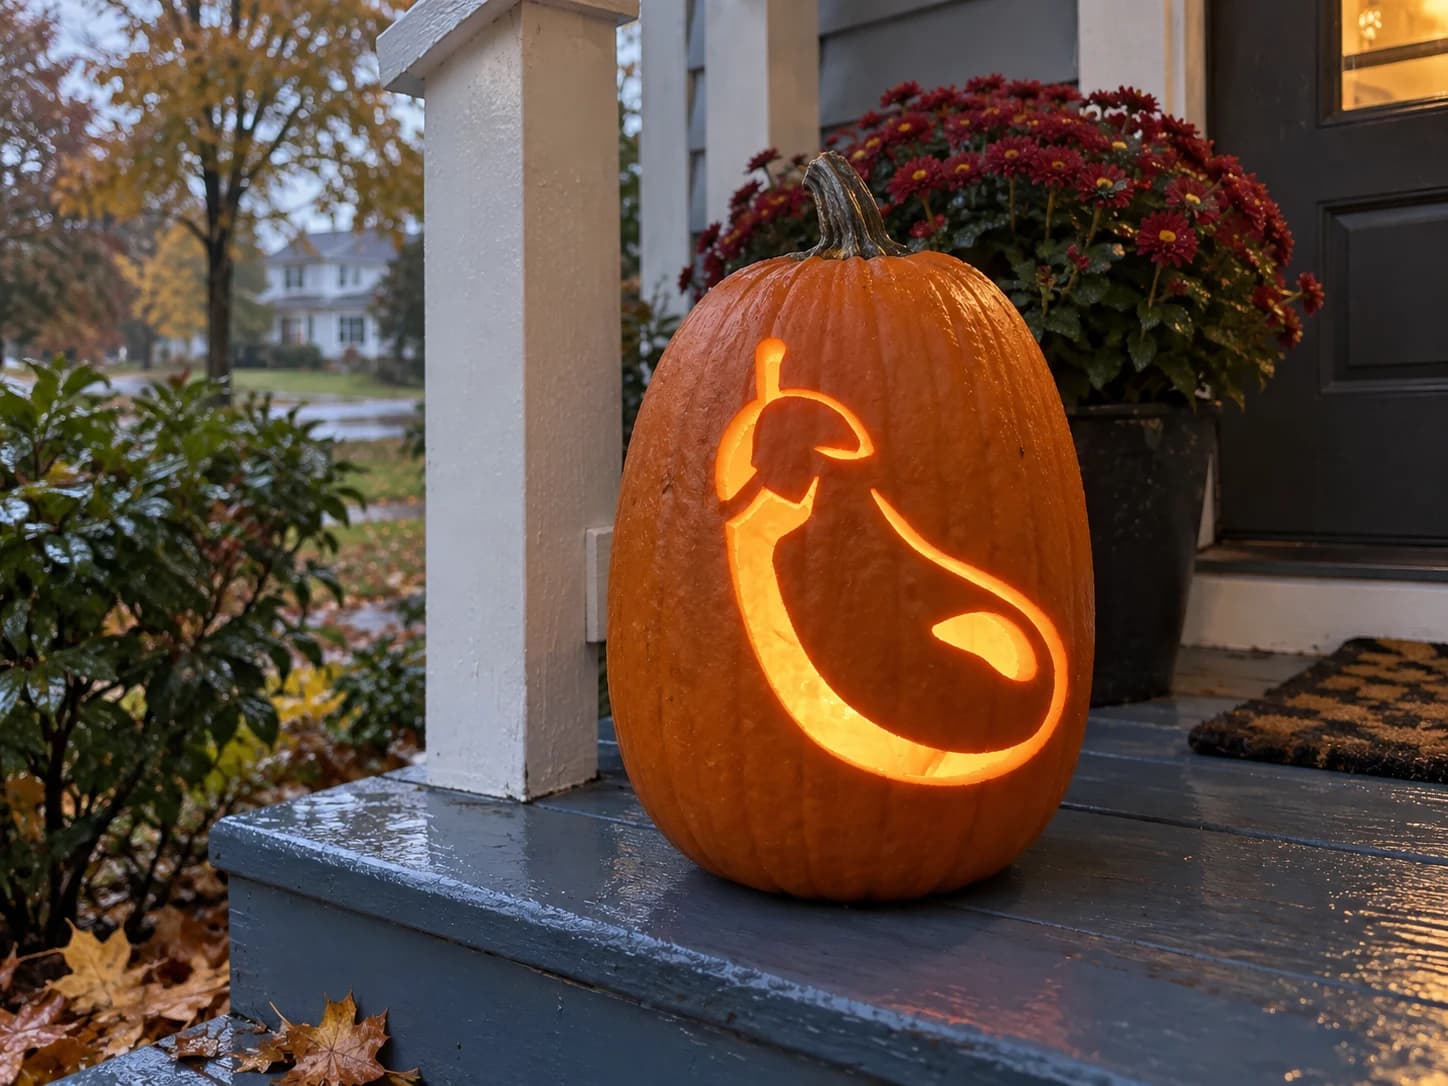
Eggplant Emoji Pumpkin Stencil
The eggplant emoji pumpkin stencil renders the familiar purple vegetable as a bold curving silhouette: a smooth rounded body with a single teardrop highlight cutout near the lower right and a curved stem and leaf cap at the top, where a small swirling leaf is pierced through. The outline is a single connected void that wraps almost the entire pumpkin face. Cut the stem leaf curl first since it is the most intricate isolated shape, then remove the large body outline arc in sections to avoid flex cracking along the narrow top.
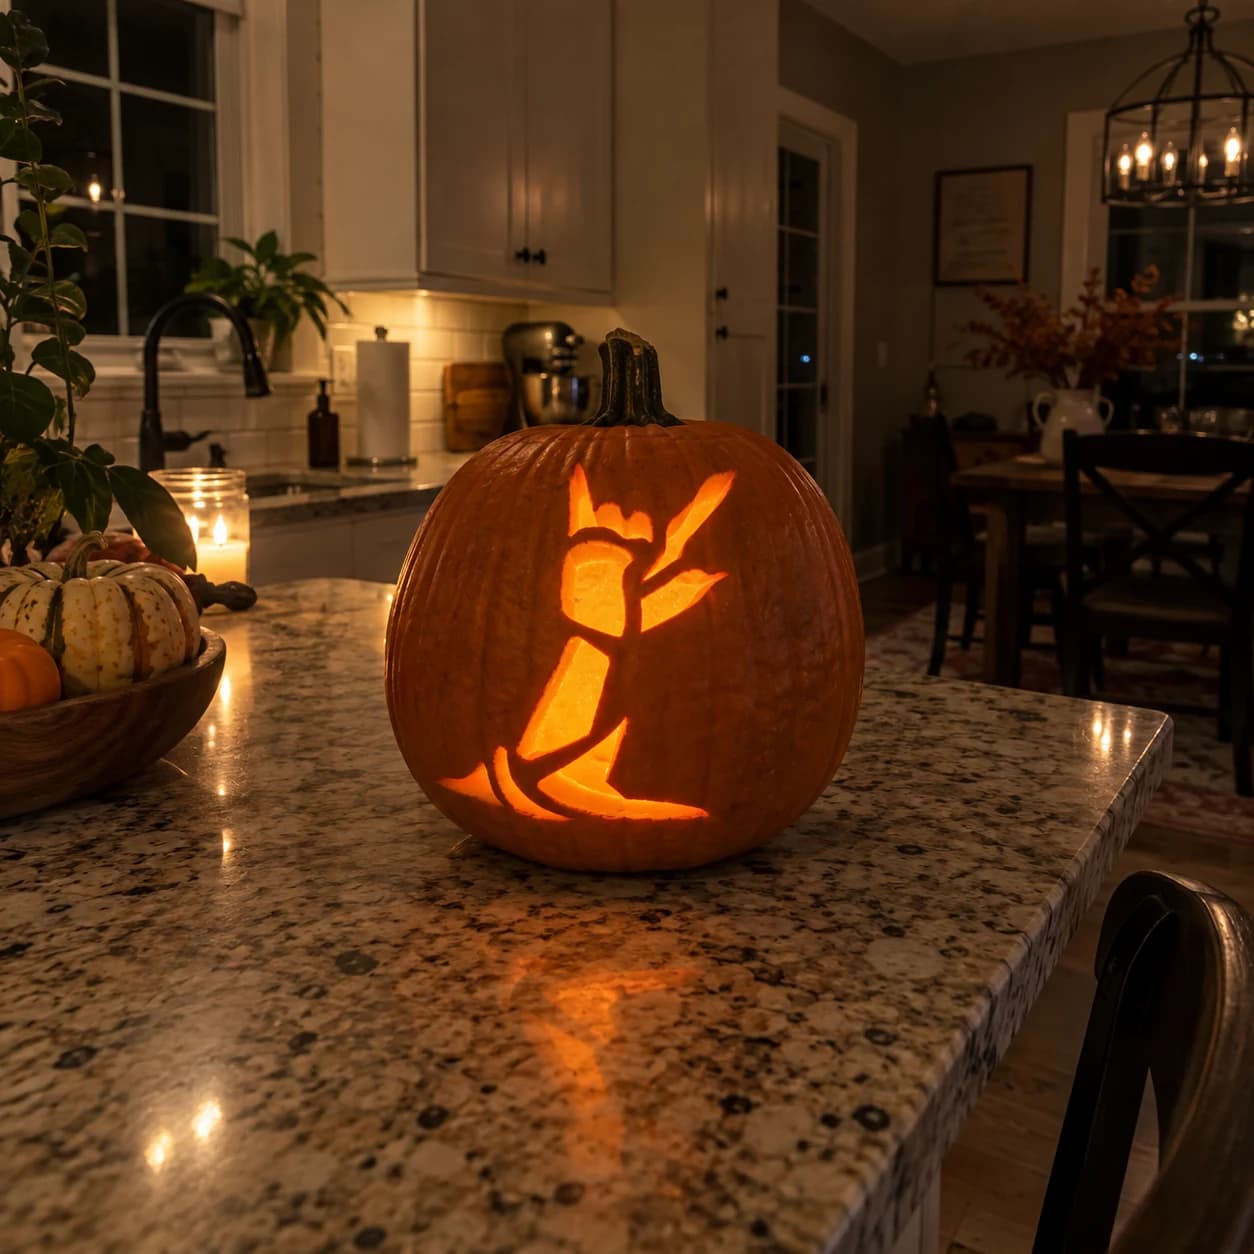
Walking Zombie Pumpkin Stencil
A stick-thin zombie figure lurches forward in mid-stride on this easy pumpkin stencil: arms outstretched and ragged, mouth open, body leaning with one leg lifted and tattered coat hem trailing behind. The silhouette is carved almost entirely as one connected void, with only a few narrow bridges at the coat flaps defining the outline against the solid pumpkin. Because the figure is tall and narrow, center it vertically on the pumpkin face and cut the wide torso section before the spindly arm extensions to avoid flexing the skin.
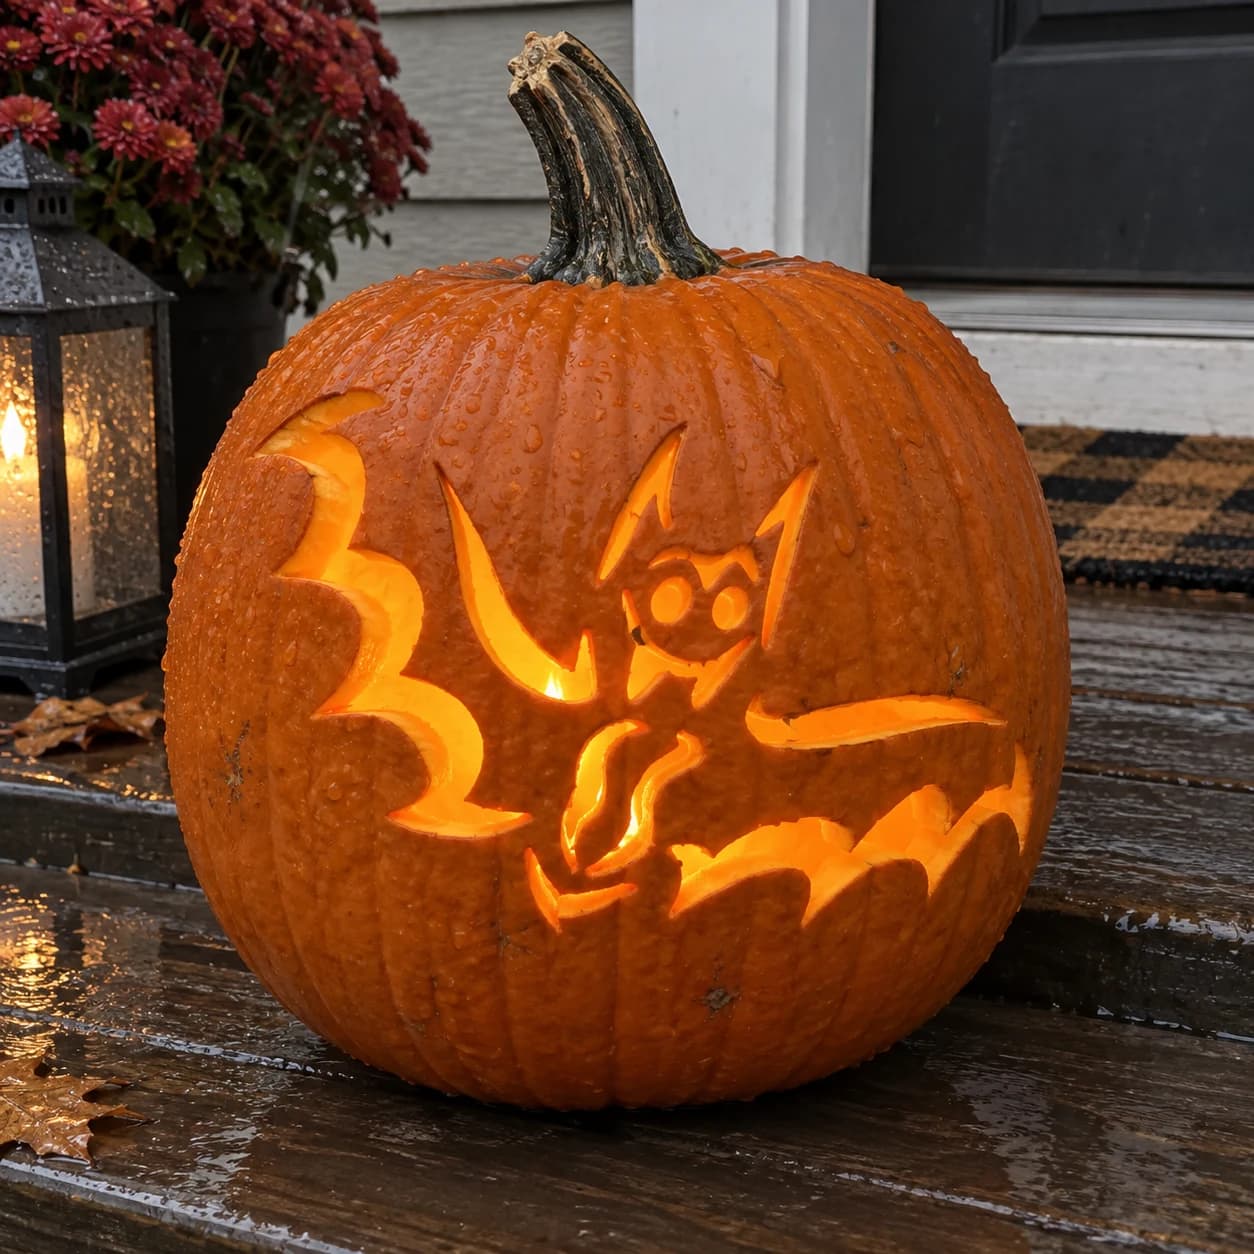
Cartoon Bat Pumpkin Stencil
A cartoon bat with a round face, large round eyes, tiny fangs, and dramatically swept wings stretched wide is caught in mid-flight on this easy bat pumpkin stencil. The wing spans reach almost to the pumpkin's edges and are cut through as large open areas, while the small round face with its eye circles and a smile-line grin stays solid at the center. Cut the big left wing first, then the right, before tackling the face ring; this order keeps the face island stable until the very end.
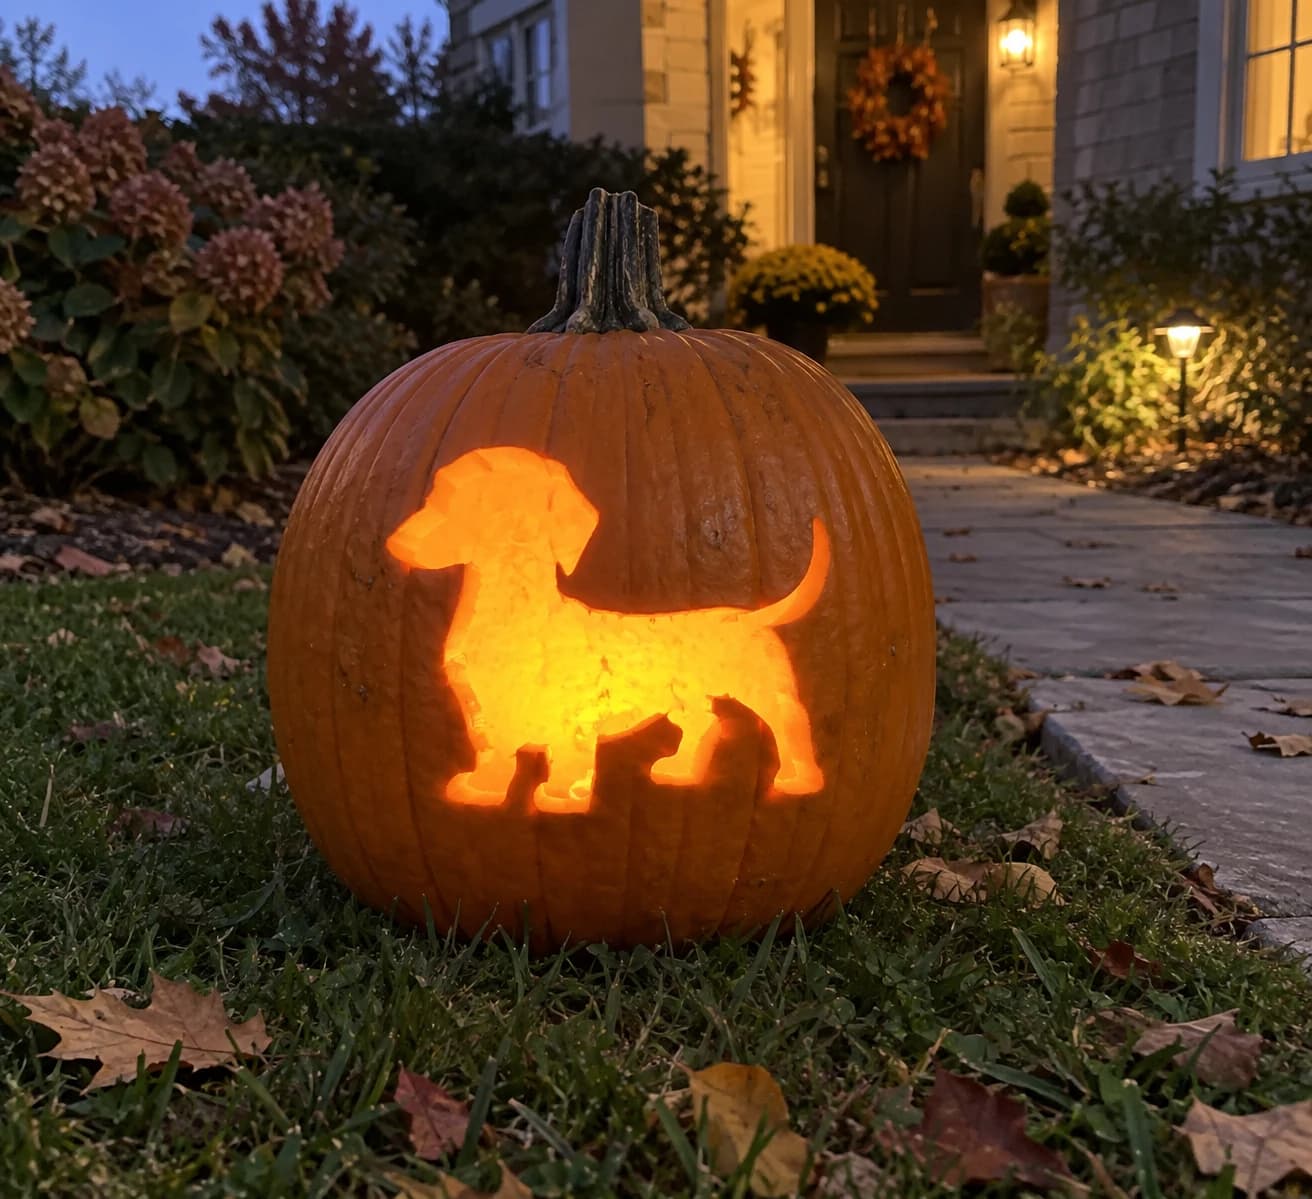
Dachshund Pumpkin Stencil
A plump dachshund puppy stands in profile in this dog pumpkin stencil, its low-slung long body, droopy ears, and upturned tail captured as a single solid silhouette cut entirely through the pumpkin wall. Lit from within, the whole shape glows as a warm, simple dog outline. Because the design is one unbroken cutout, start at the ear tip and work the blade continuously along the outline to avoid restarting cuts that could create visible notches in the smooth edge.
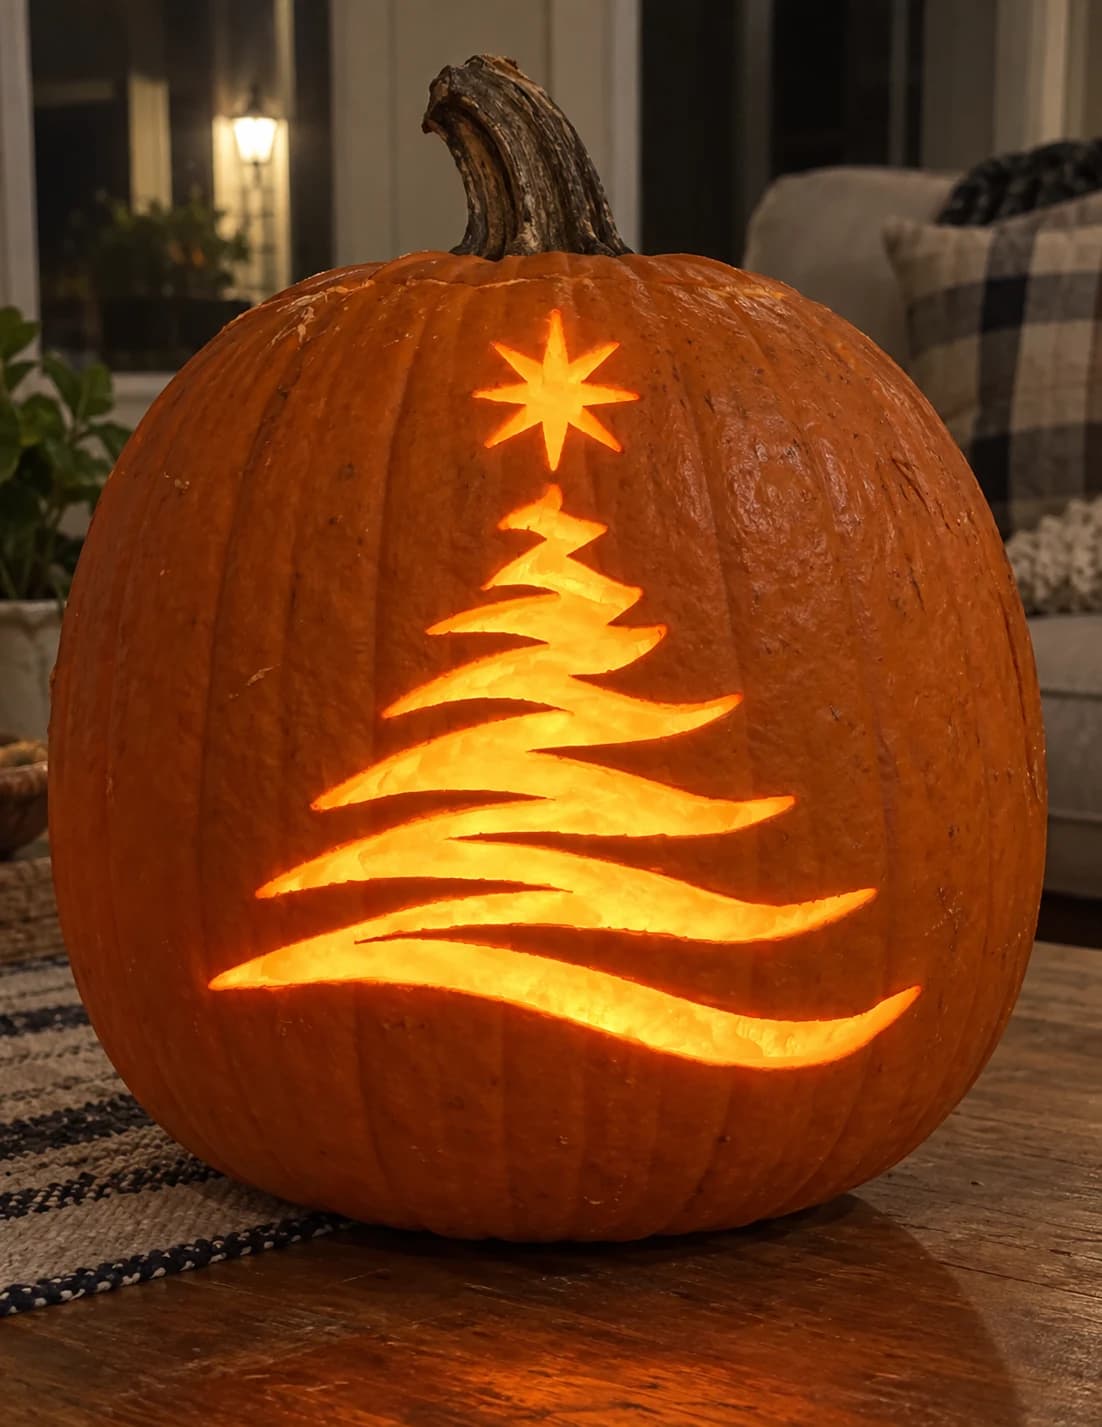
Christmas Tree Pumpkin Stencil
A stylized Christmas tree built from sweeping, wave-like branch layers fills this seasonal pumpkin stencil, its ribboning boughs stacked vertically and topped by an eight-pointed star cut-out. The flowing branch shapes are pierced through, glowing warmly when lit, while the narrow gaps between layers stay solid and define the tree's form. Carve the star tip-by-tip before cutting the large branch sweeps, so the fragile star points have the full pumpkin wall behind them for support.
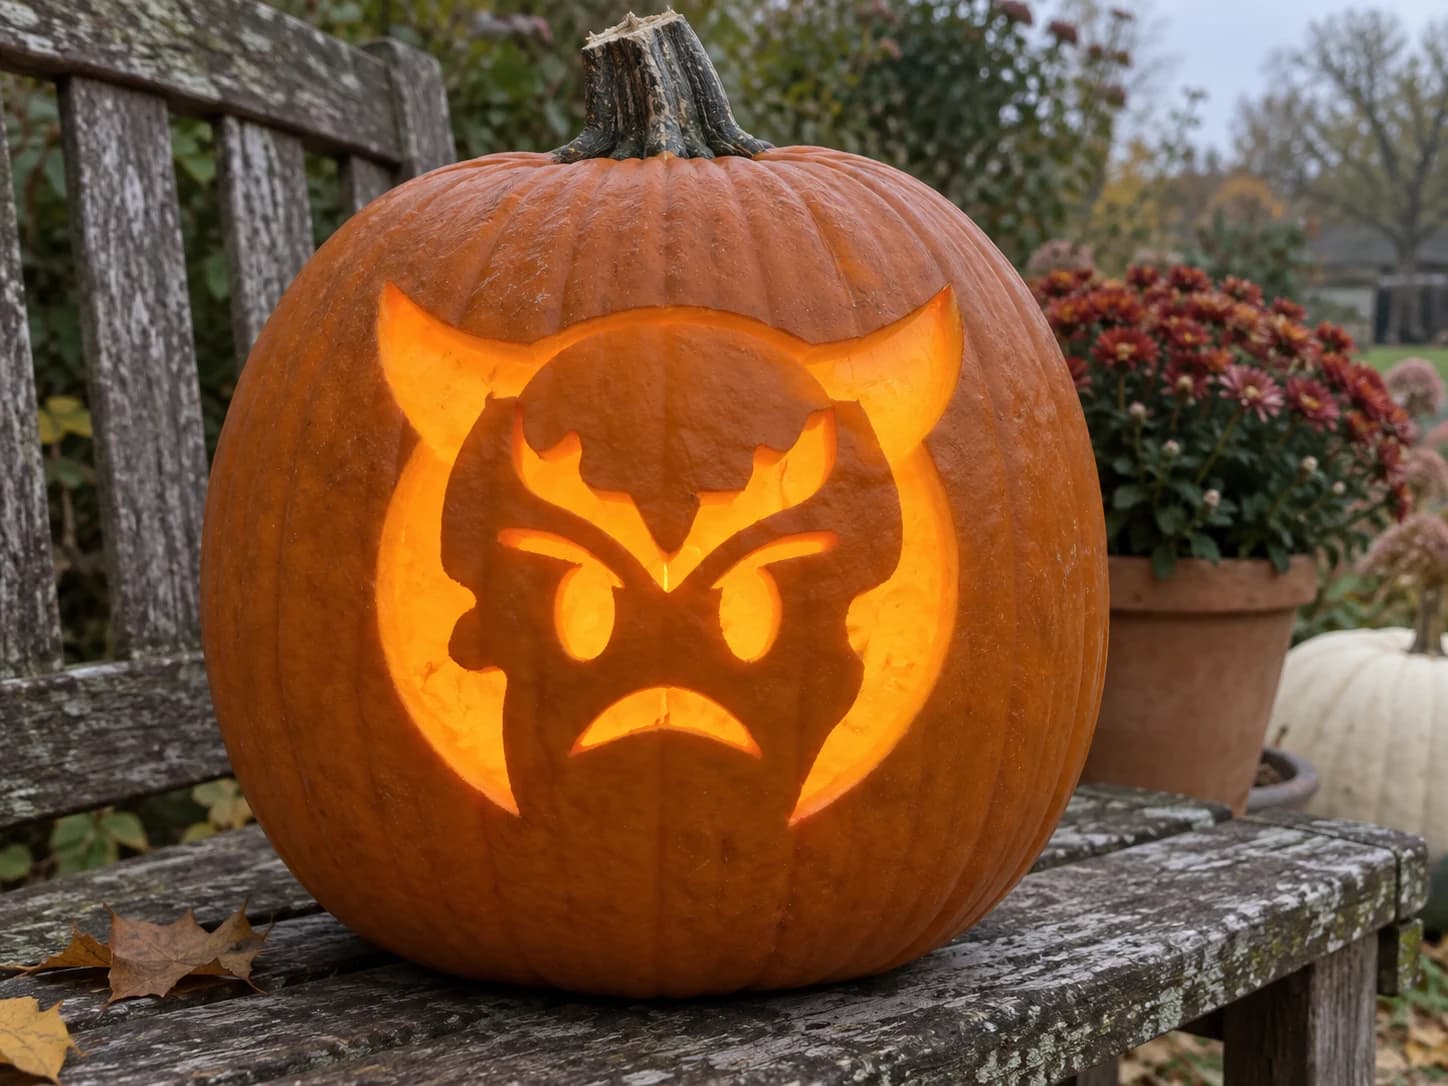
Devil Emoji Pumpkin Stencil
A devil emoji face stares from this pumpkin stencil: a broad rounded head with two sharp upright horns and jagged scalp flames forms the outer solid shape, while two pill-shaped furrowed-brow pieces, two oval eye cut-outs, and a downturned mouth arc are all pierced through the face below. The large open face area between the feature cuts lets candlelight spill broadly across the design. Cut the small eyebrow ovals first since they sit closest to the top of the face and are easiest to control before the surrounding area is opened.
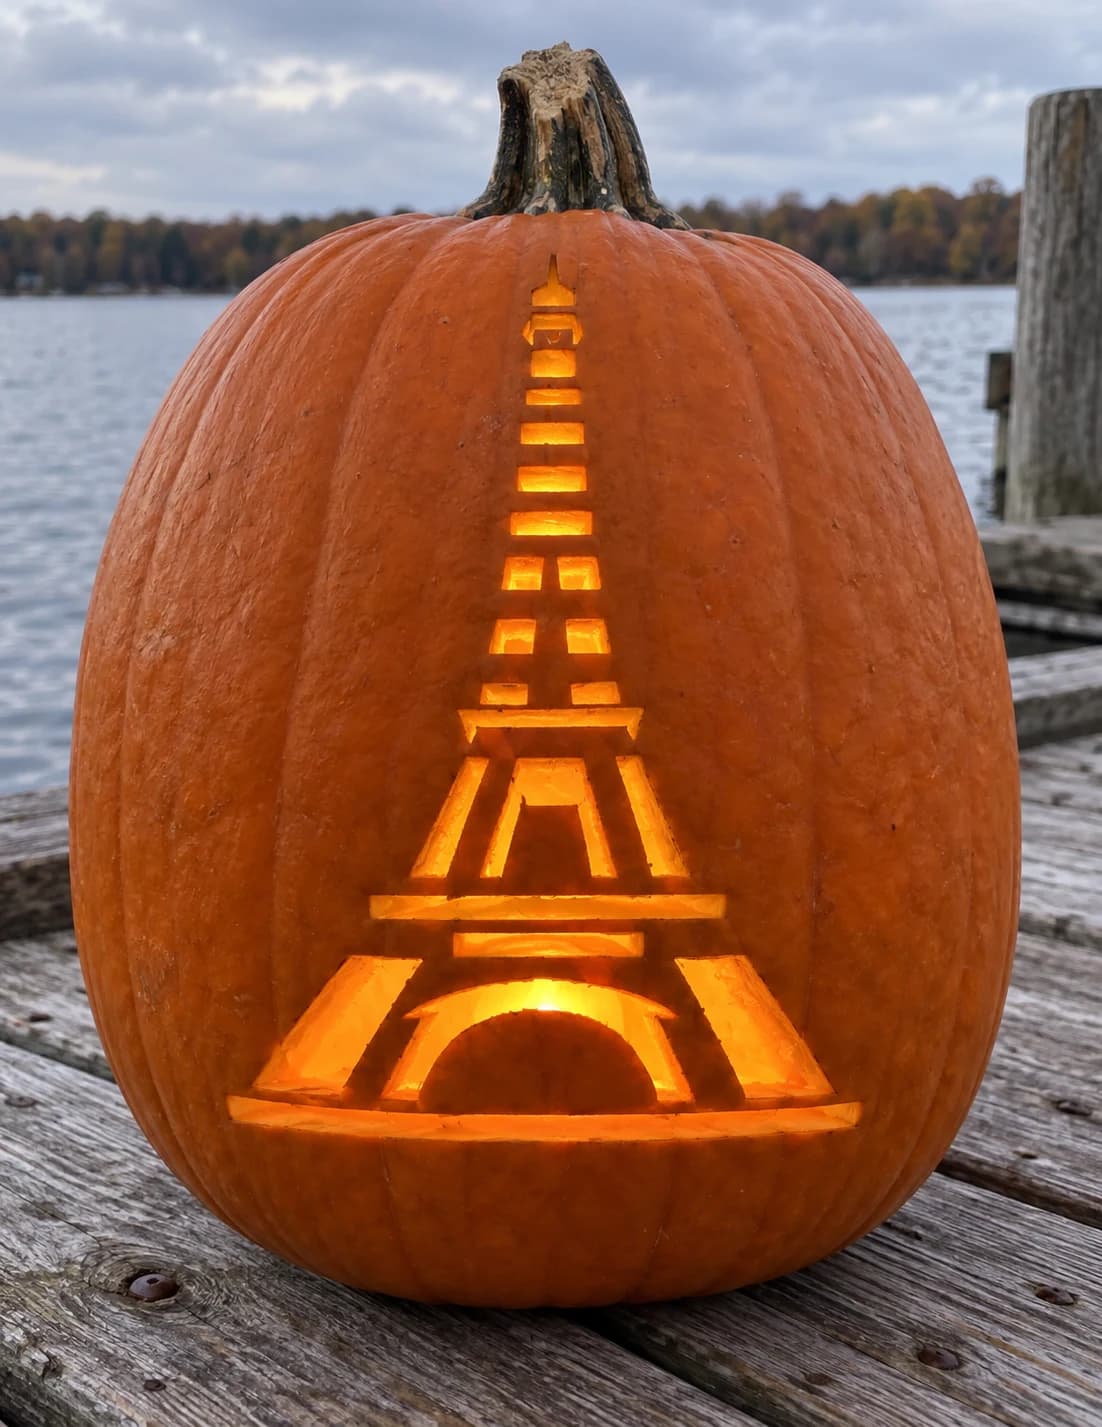
Eiffel Tower Pumpkin Stencil
The Eiffel Tower fills this easy pumpkin stencil as a symmetrical stack of horizontal rectangular cutouts that grow wider toward the base, with a pointed antenna tip at the top, paired diagonal leg sections, and a large arched base opening at the bottom. All the horizontal bars and the arch are pierced through while the thin vertical struts between them remain solid. Work from the antenna tip downward, cutting each horizontal bar in turn, so the struts stay braced by the surrounding uncut skin until the very last base arch is removed.
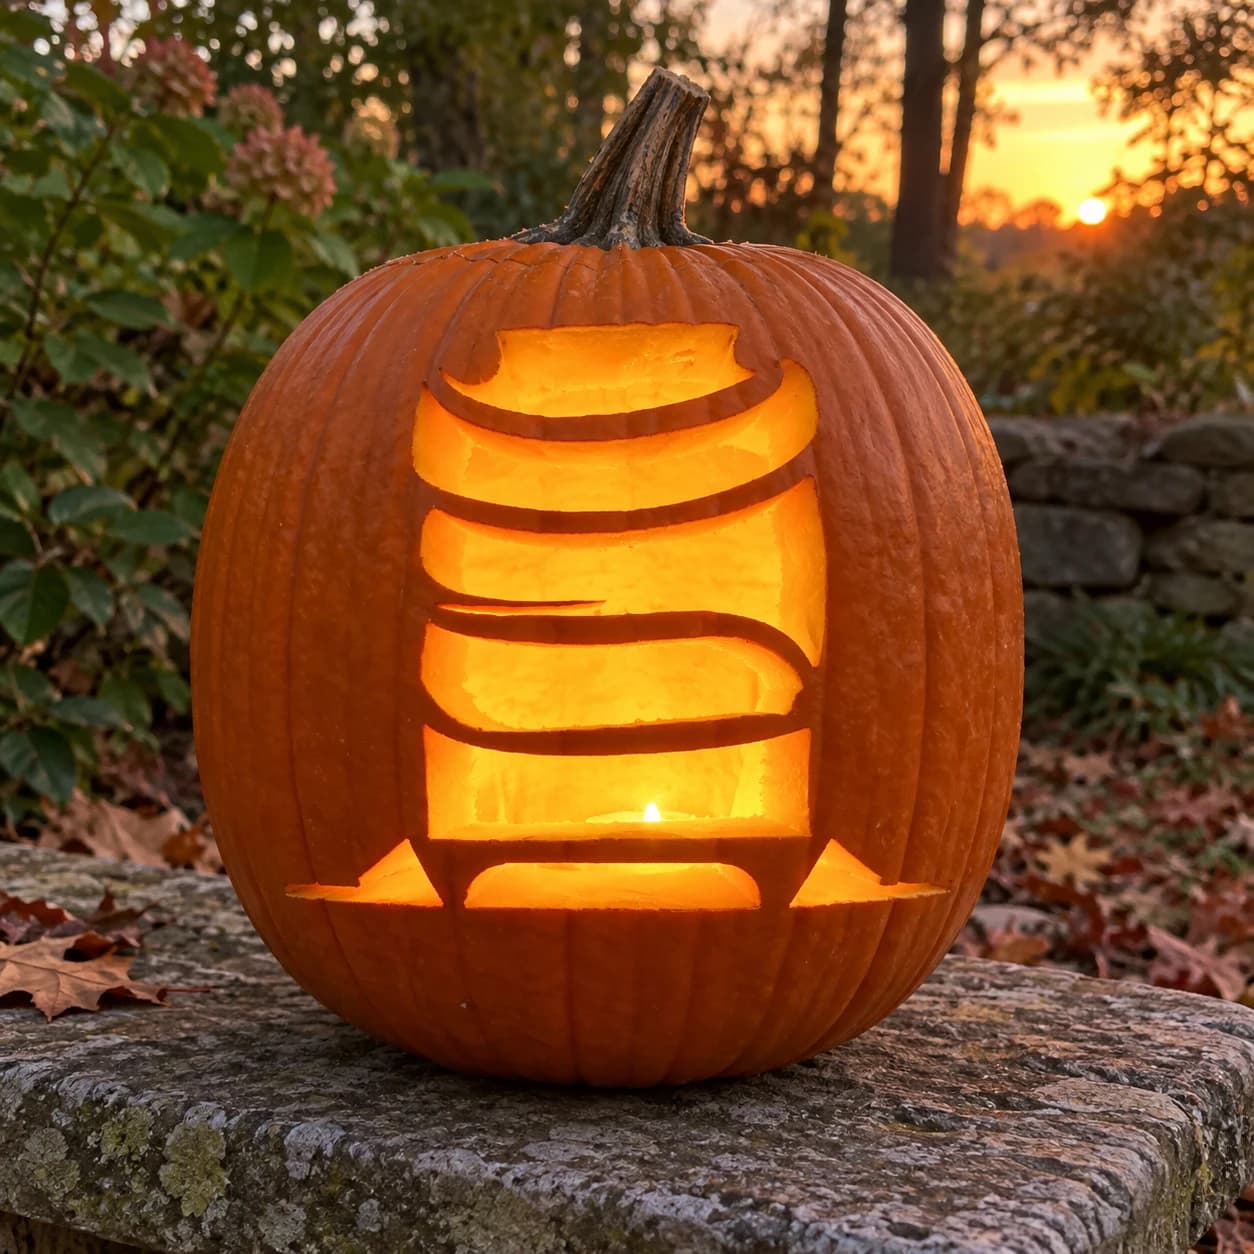
Tombstone Pumpkin Stencil
A stacked tombstone silhouette fills this graveyard pumpkin stencil, with three wide horizontal bands separated by curved white gaps that read as the stone's chiseled lines when lit. The large cut-out sections glow boldly, making this one of the most open, lantern-like designs in the graveyard category. Because the horizontal bands are each an independent floating piece, carve the bottom base strip first and work upward so the upper segments stay supported while you cut.
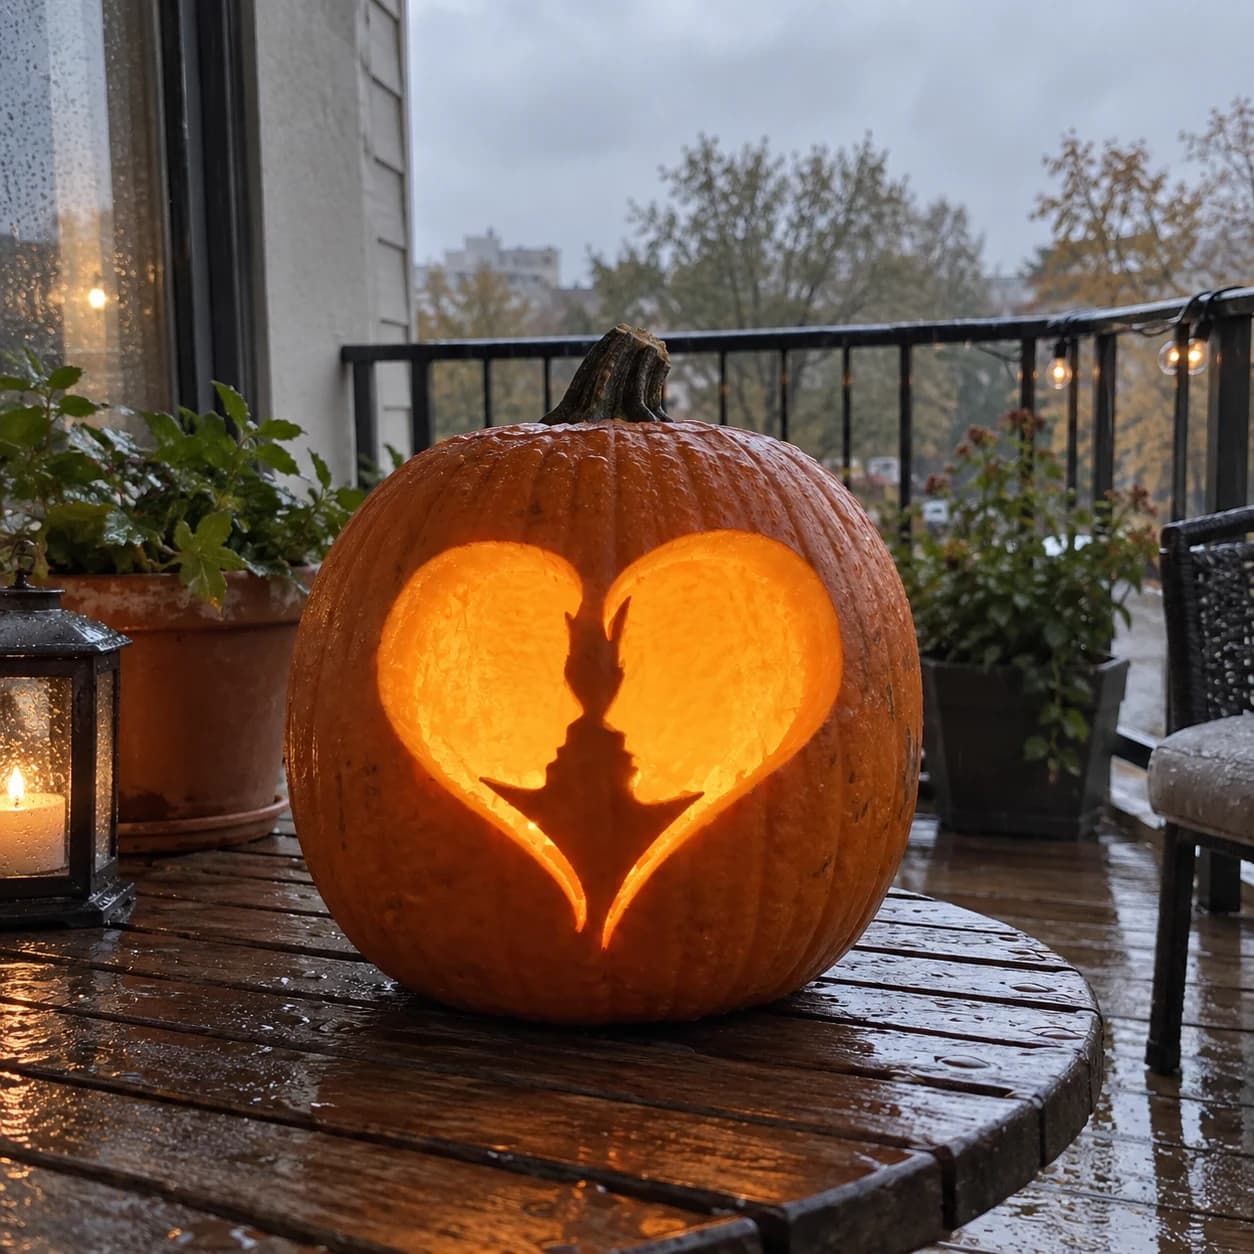
Couple Silhouette Heart Pumpkin Stencil
Two facing human profiles, one with short-cropped hair and one with a pointed ear detail, are arranged nose-to-nose inside a heart shape so their silhouettes form both the couple and the lobes of the heart on this easy romantic pumpkin stencil. The large heart interior is cut away entirely on each side of the profiles, while the facing figures remain as solid dividers. The narrow chin-to-chest strip between the two faces is the key bridge; run your blade along each profile edge independently rather than trying to cut the gap in a single pass.
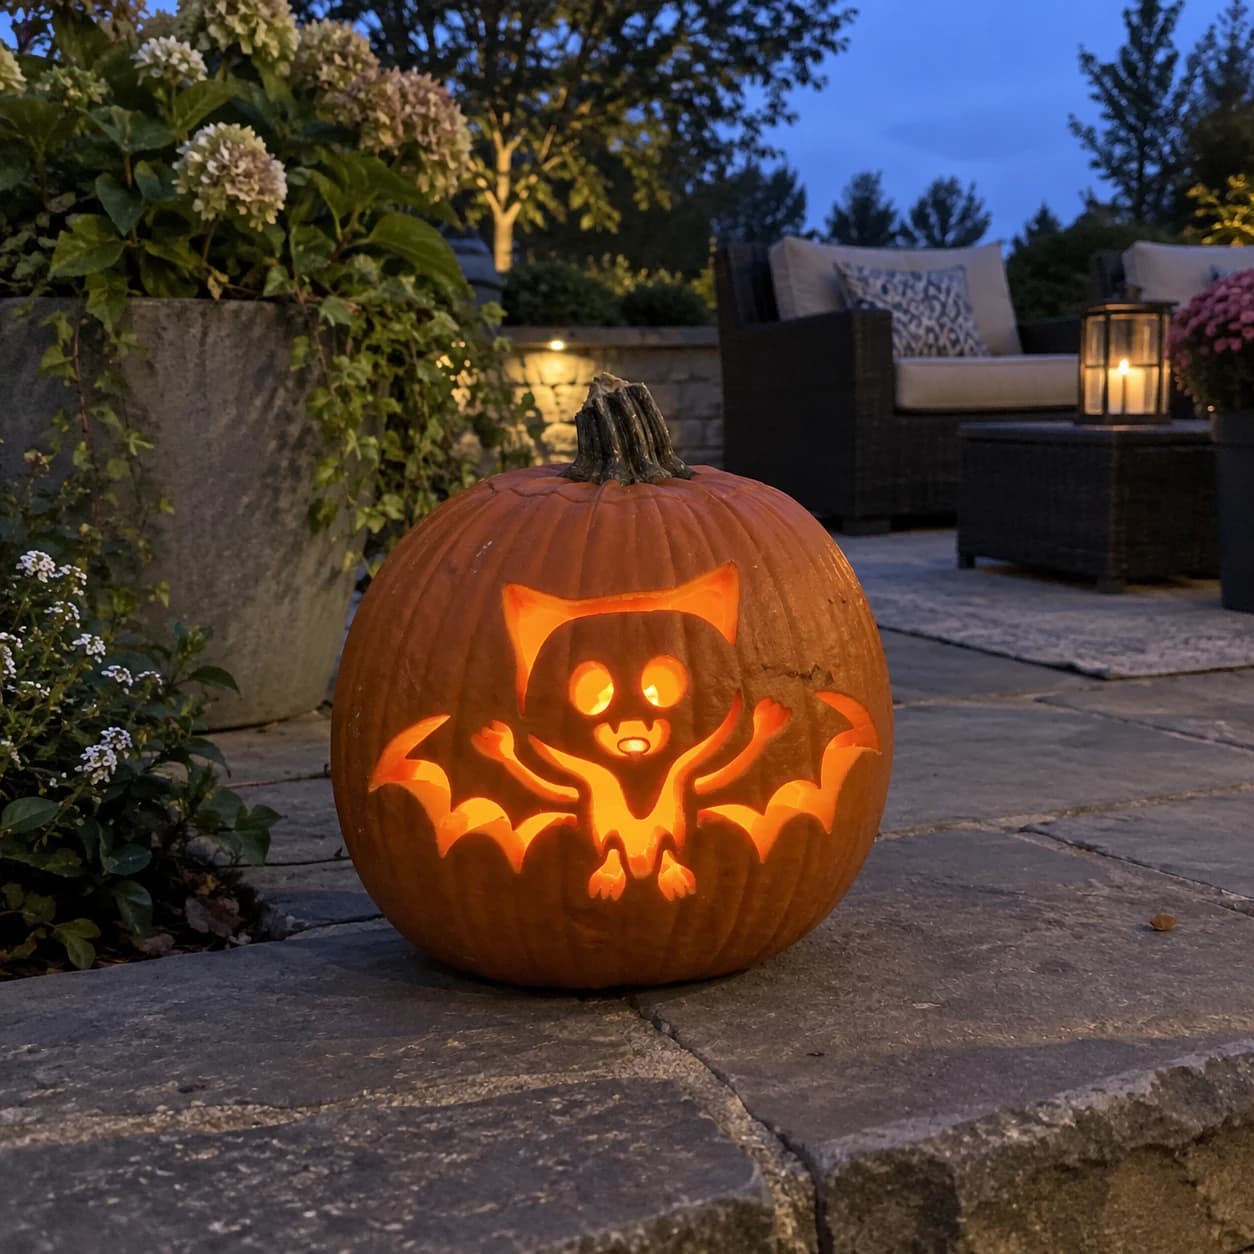
Cute Bat Pumpkin Stencil
A chubby cartoon bat with pointed ears, large round hollow eyes, a small open mouth with two fangs, and wide jagged wings spread in a V-shape makes up this friendly easy bat pumpkin stencil. The wings, eyes, and mouth are all pierced through, leaving the round body as a solid center island held by the wing-edge bridges. To keep the central body from drooping inward once the wings are cut, carve each wing in two halves and leave a thin skin tab at the wingtip notches until the very last cut.
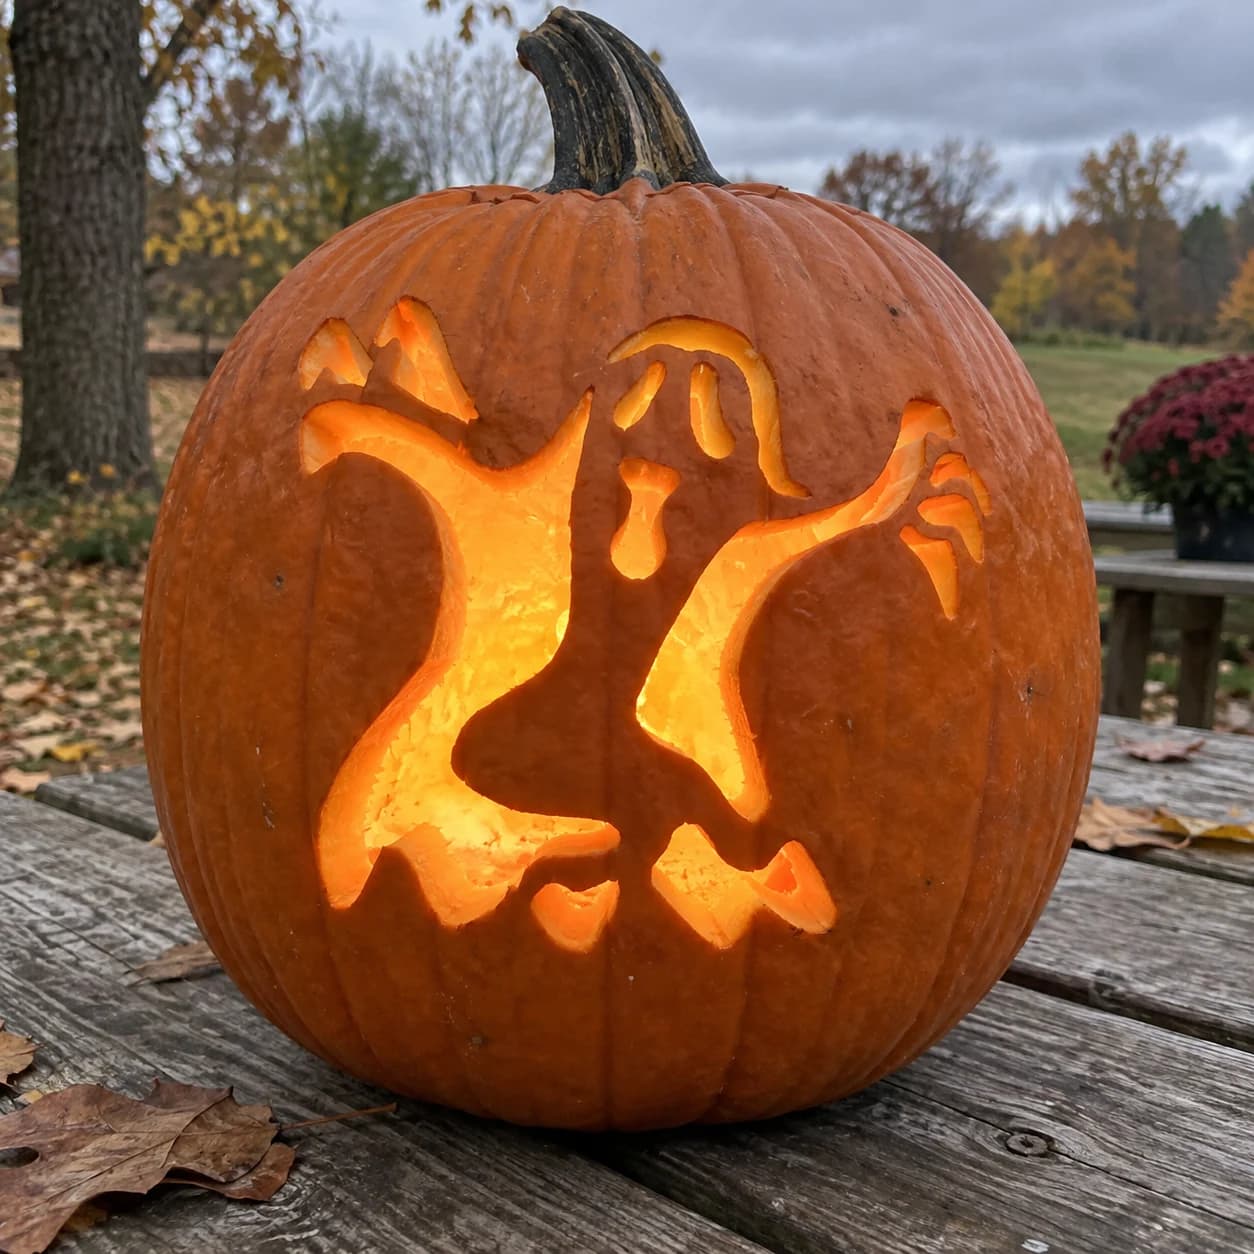
Twin Ghosts Pumpkin Stencil
Two translucent ghost figures overlap and reach upward together, their wispy forms open-armed and sheet-like, with hollow oval eye sockets and open screaming mouths pierced through on this easy ghost pumpkin stencil. The ghosts share a large connected negative space, so most of the design is carved away, leaving only the thin outlines and facial voids as glowing channels. Keep the narrow strip of solid skin separating the two ghosts intact by cutting each figure's outline from the outside edge inward rather than running the blade down the shared center seam.
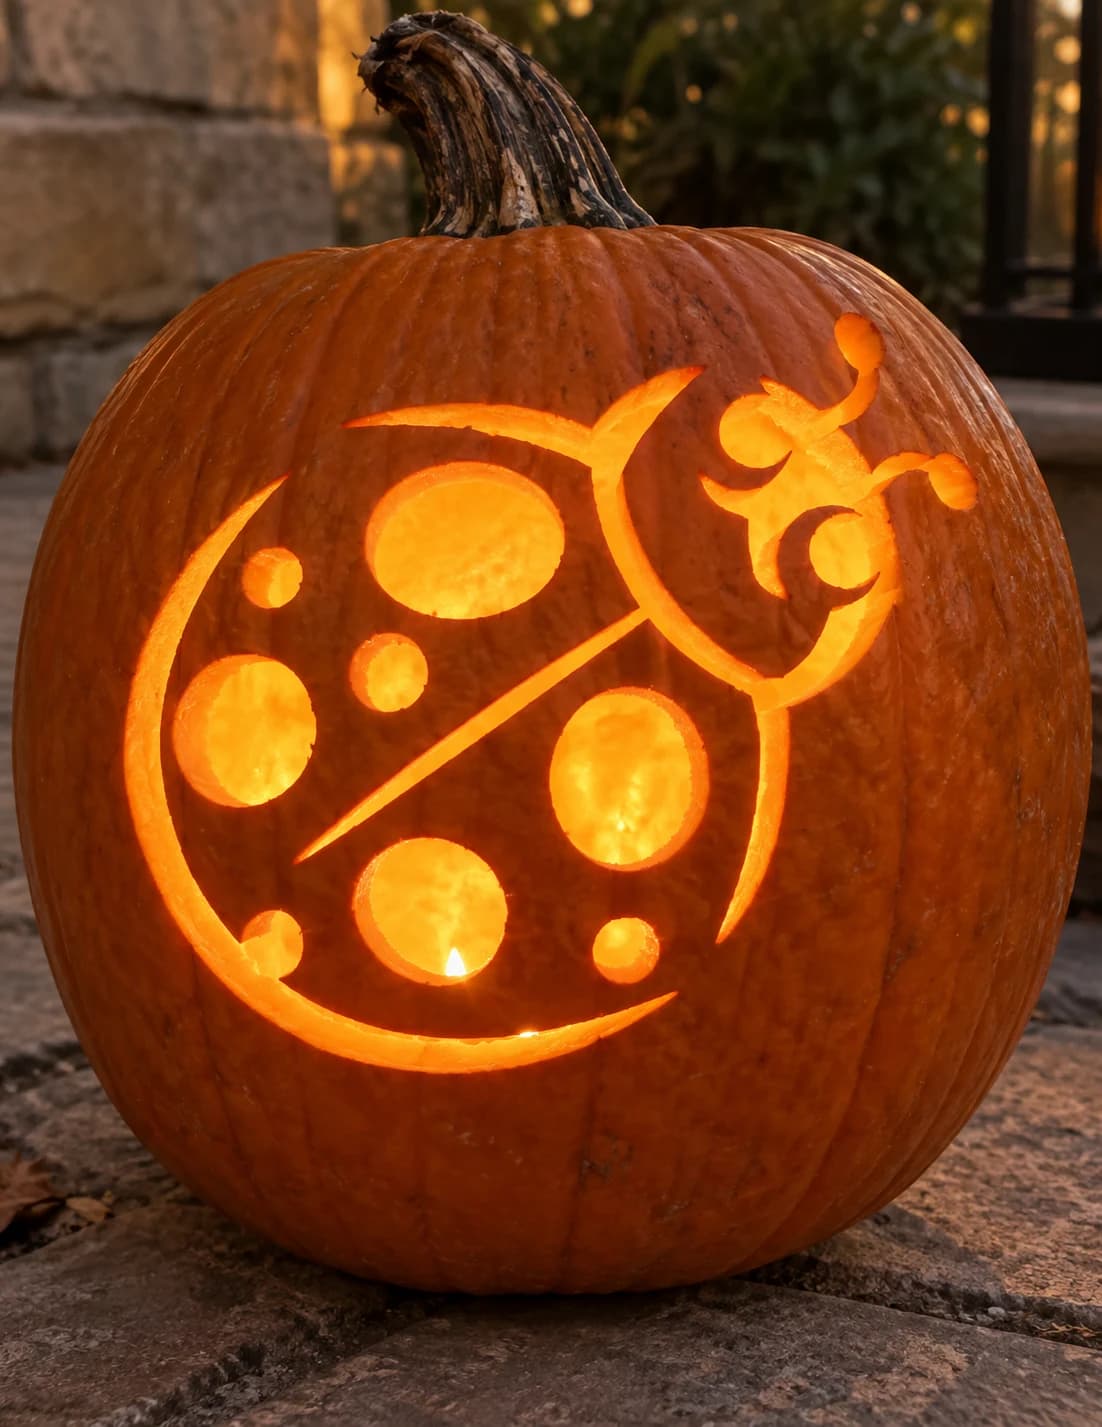
Ladybug Pumpkin Stencil
A plump ladybug viewed from above fills this cheerful pumpkin stencil, its round spotted body divided by a center-line ridge and ringed by a curved outline, while a decorative curling head with antennae sits at upper right. The circular spots are the cut-through elements that blaze as glowing dots; the outer body outline and dividing ridge stay solid. To keep the smaller spots from cracking inward, cut the largest center spot first, then work outward to the progressively smaller ones.
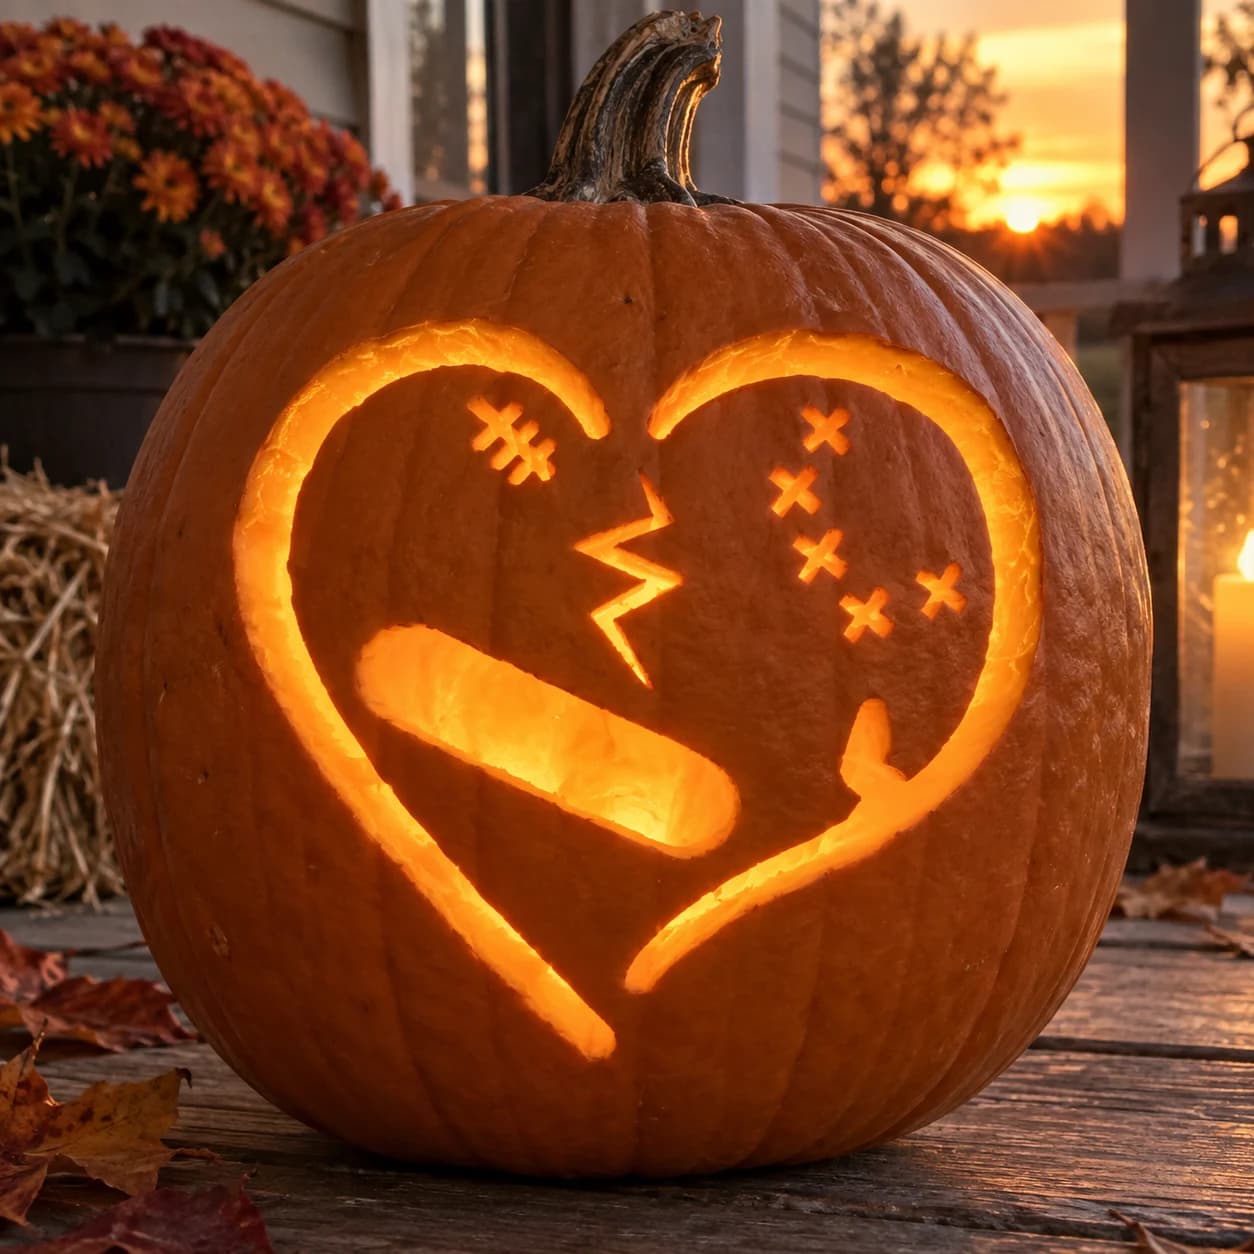
Baby Footprints Heart Pumpkin Stencil
Two cartoon baby footprints sit side by side inside a swirling open-line heart outline on this easy hearts pumpkin stencil. The footprints are pierced through entirely, while the thin looping heart border and the zigzag crack detail beneath are left as solid bridges of pumpkin skin. The ten small toe circles are the trickiest cuts: carve them with a small round detail bit or the tip of a narrow blade, and do them before removing the larger foot cutouts so the surrounding wall stays rigid.
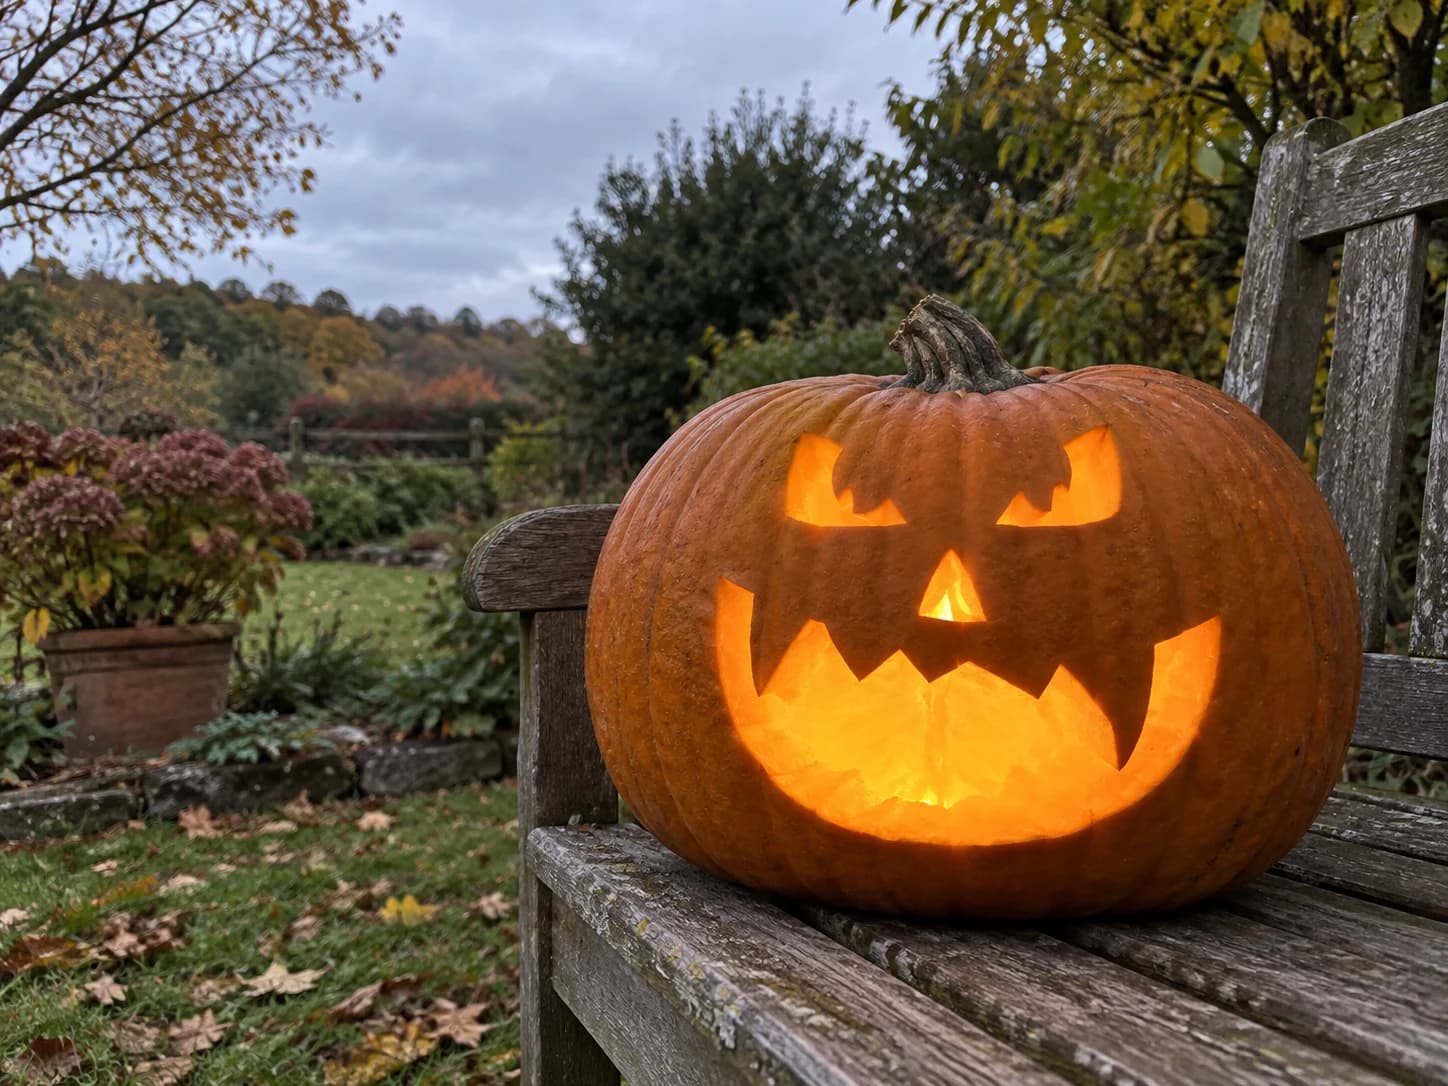
Dracula Pumpkin Stencil
This easy vampire pumpkin stencil shows a classic jack-o-lantern face with two arched, angry eyes sporting jagged inner cuts, a small triangular nose, and a wide curved mouth lined with sharp teeth including prominent fangs at each corner. All the facial elements are carved through as open voids, leaving the surrounding face solid. The wide-open mouth is the largest single cut; take it in two or three sections, pausing at each tooth point, to keep the thin tooth tips from snapping off.
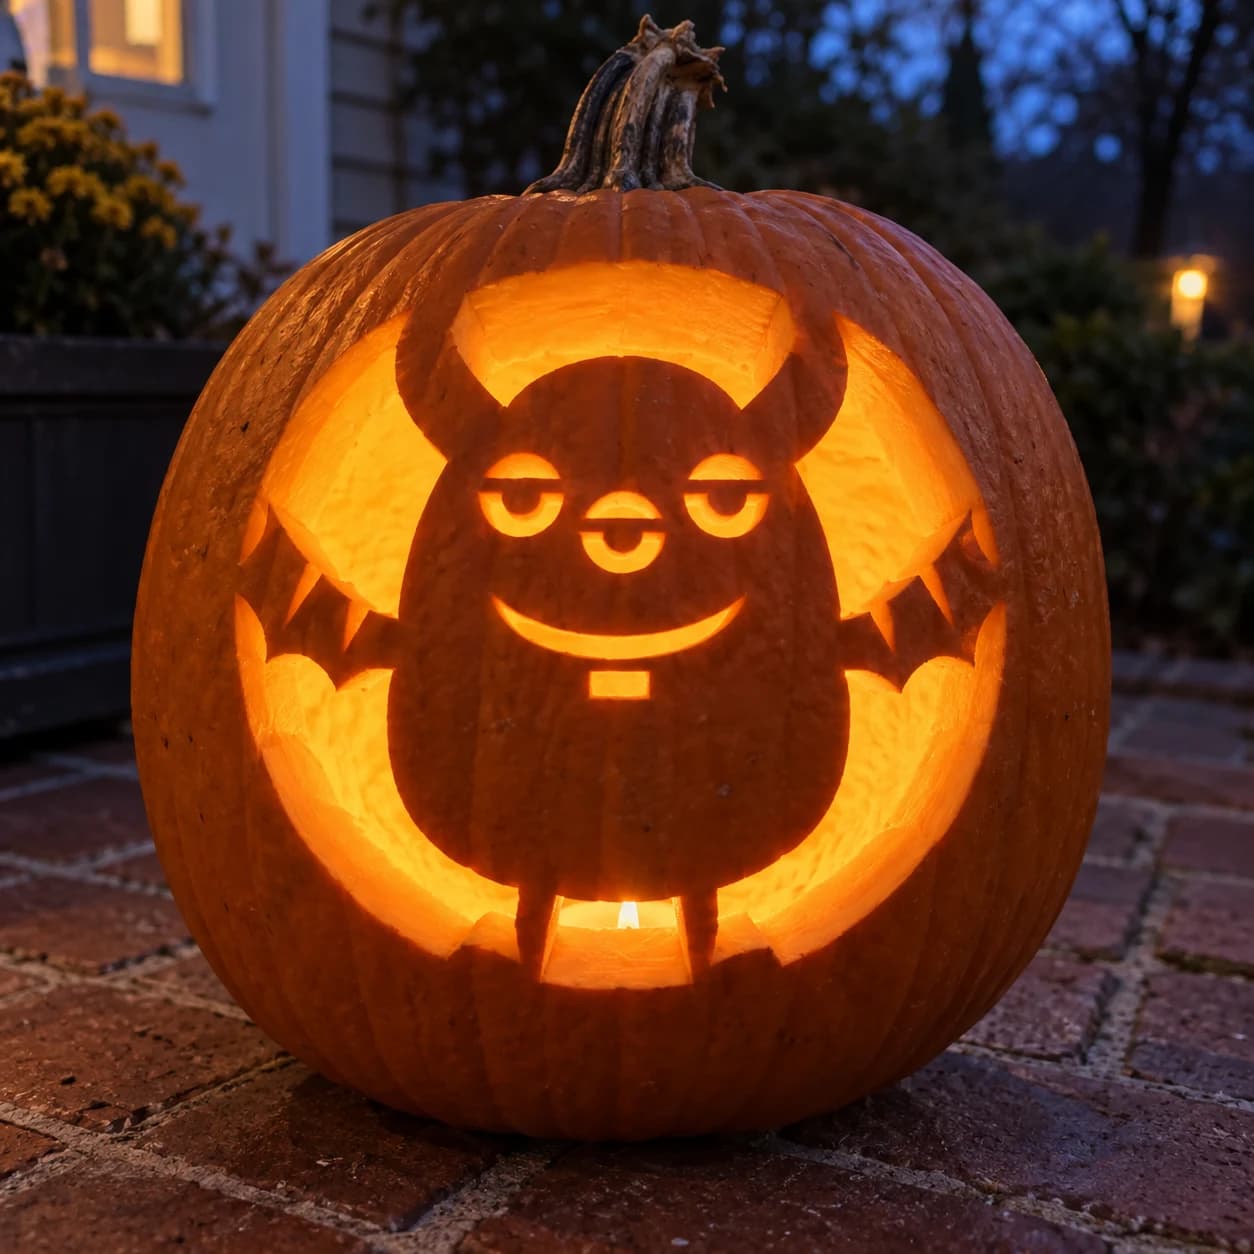
Cute Horned Monster Pumpkin Stencil
A chubby, wide-eyed cartoon monster with curved horns, small bat-like wings spread to either side, a smiling mouth, and stubby feet sits inside a large circular opening on this easy pumpkin stencil. The circular background and small body details are pierced through, leaving the round monster figure itself as a solid silhouette at the center. Because the circular outer ring is cut away entirely, score and remove it in segments rather than one piece to keep control of the blade near the wing tips.
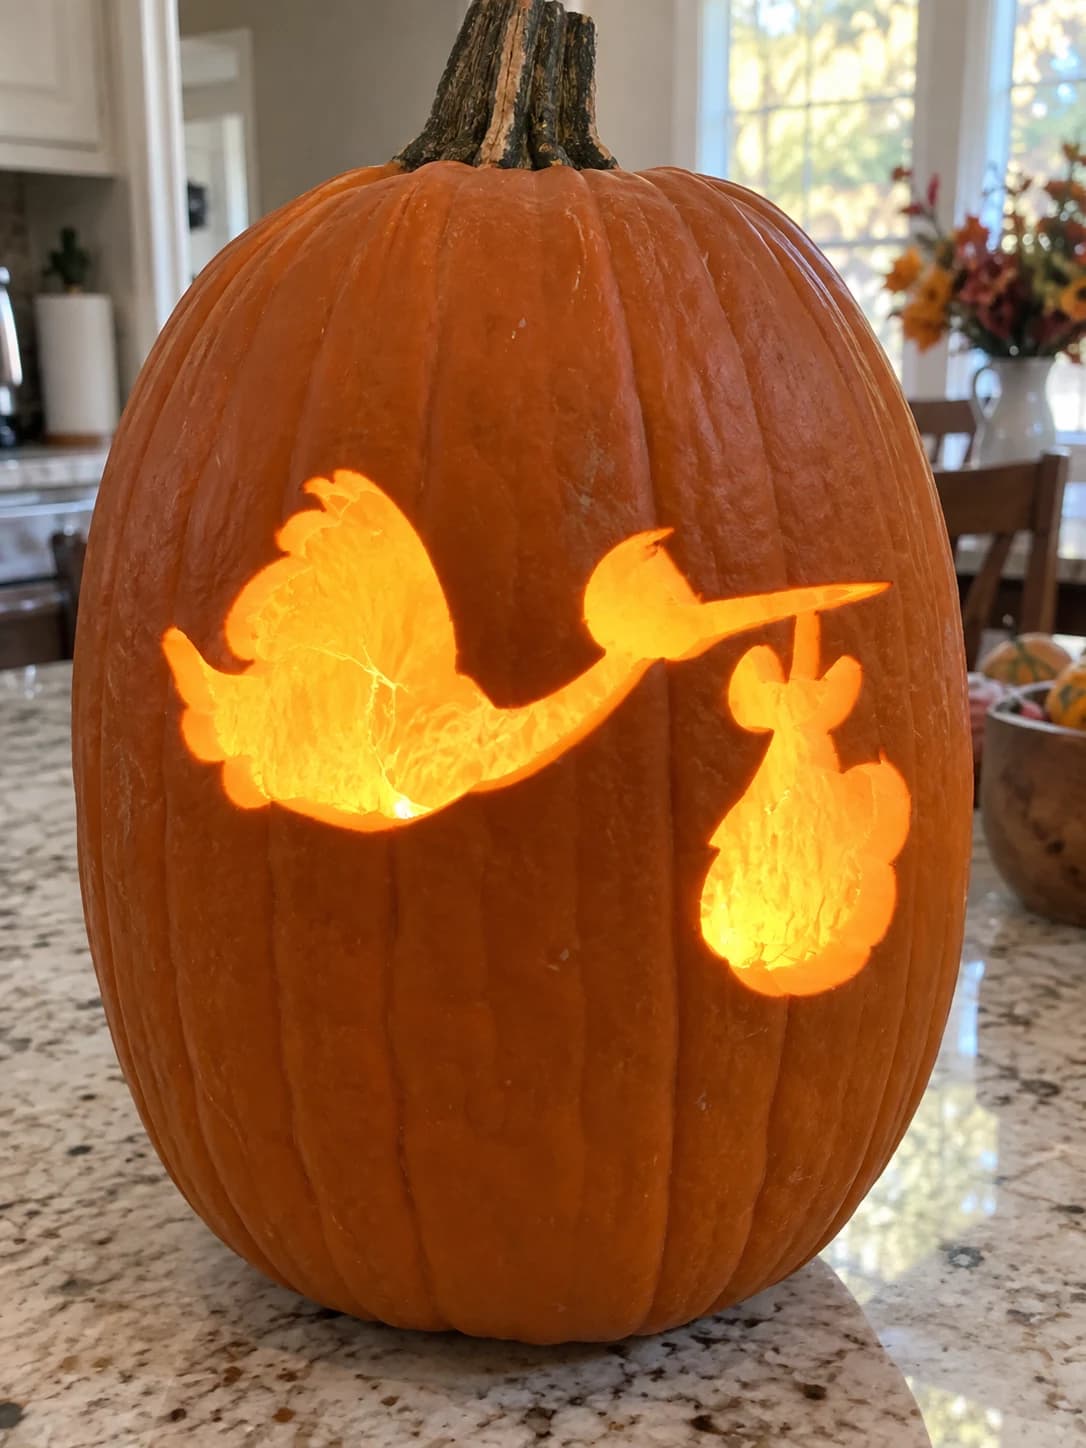
Stork with Baby Pumpkin Stencil
A flying stork carries a bundled newborn in its beak in this cheerful pumpkin stencil, the whole scene rendered as a single horizontal silhouette cut entirely through the pumpkin wall. The stork's body, outstretched wings, long bill, and the round swaddled baby bundle are all connected in one flowing outline. Because the bird's bill is the narrowest point in the silhouette, carve it last and approach the tip from the beak base rather than from the pointed end to avoid snapping.
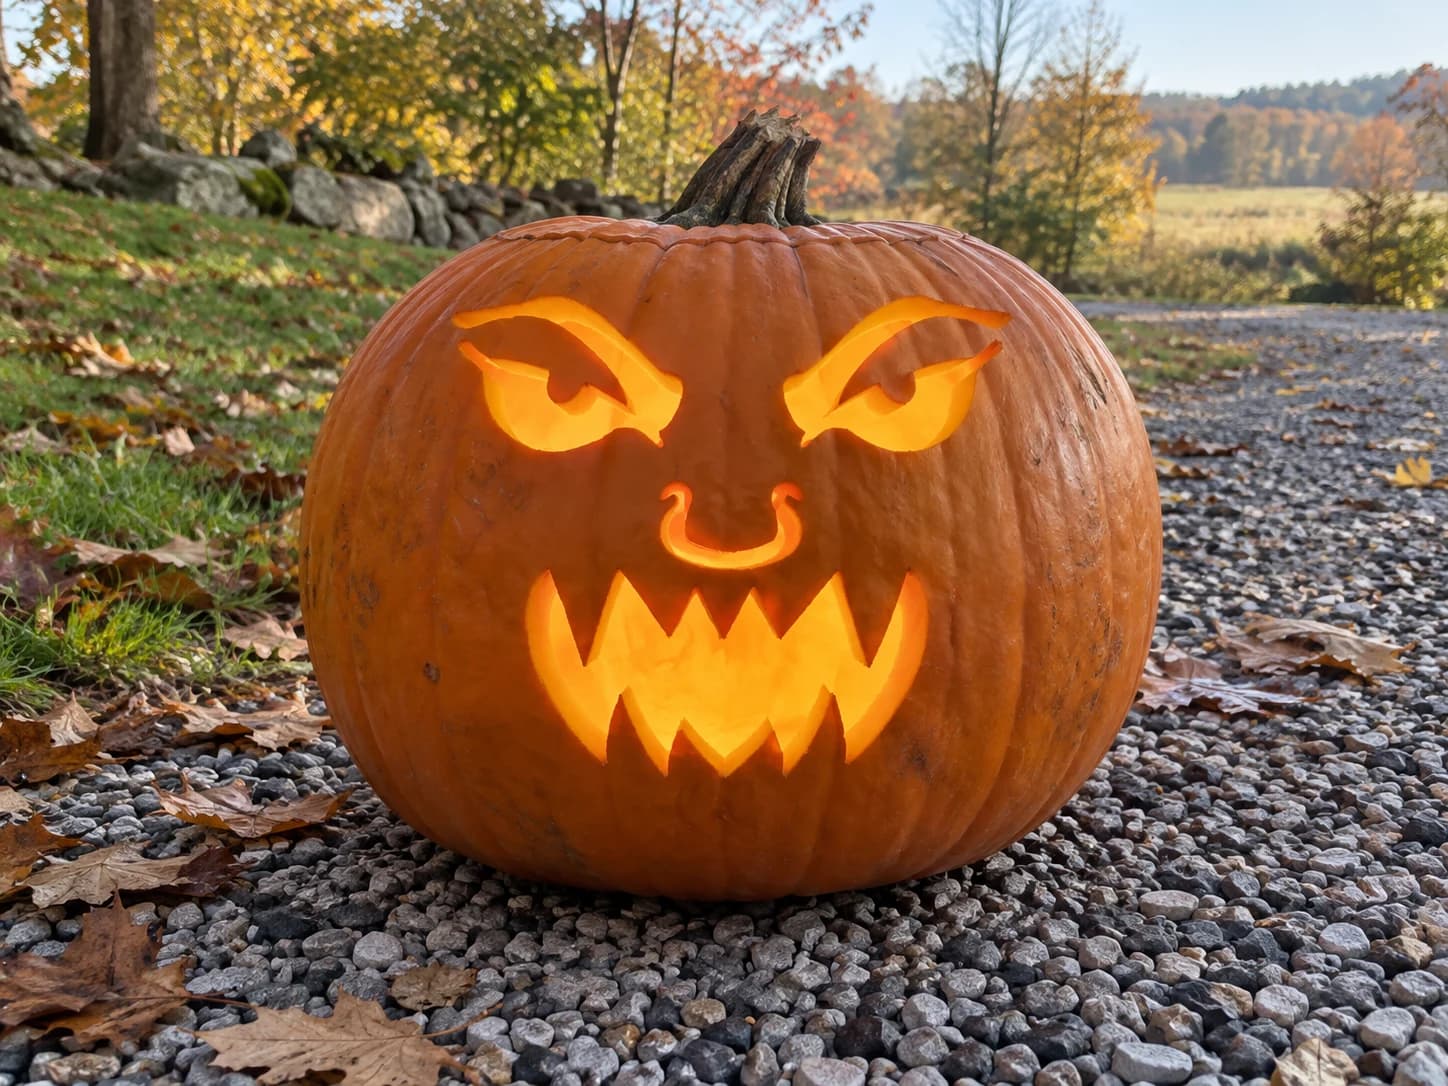
Demon Face Pumpkin Stencil
An angry demon jack-o-lantern face glares from this pumpkin stencil, its two sweeping brow-and-eye shapes angled sharply inward above a small curved nose and a wide jagged mouth bristling with pointed fangs. All five elements are cut through individually against the solid pumpkin face. Carve the two large brow-eye pieces before the mouth so the face stays rigid while you navigate the fine inward angles of each brow's inner corner.
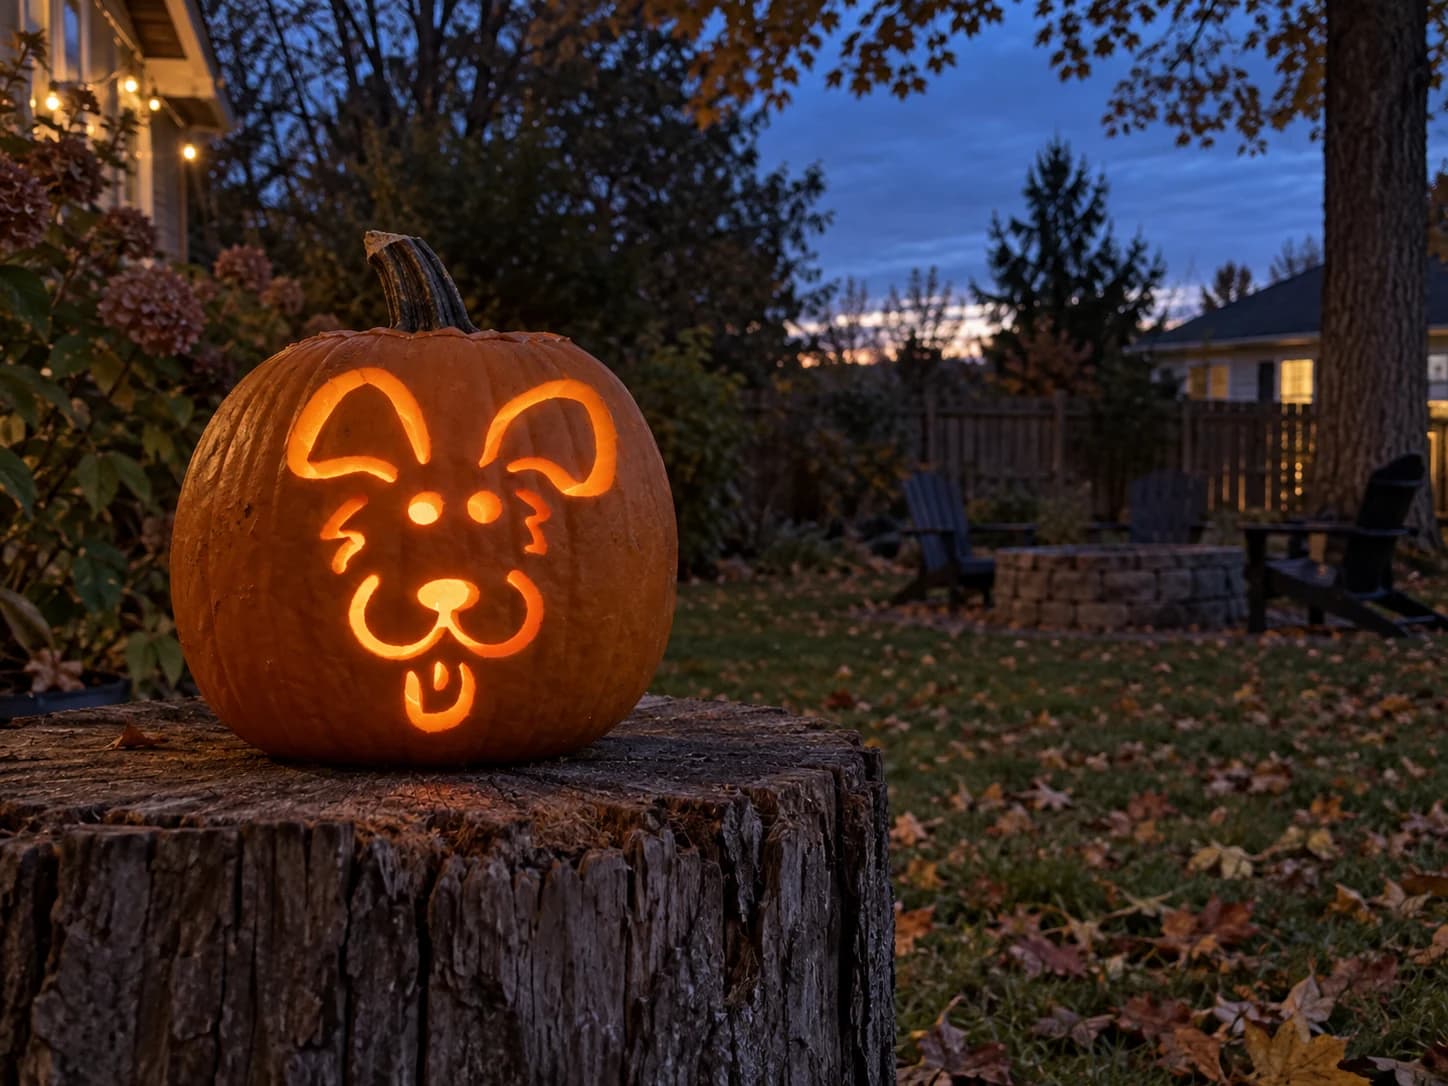
Cartoon Dog Face Pumpkin Stencil
A cartoon dog face looks straight out in this pumpkin stencil, with two floppy rounded ears, a pair of round nose dots, fur-tuft accents on the cheeks, a wide muzzle shape, and a dangling curved tongue all rendered as separate cut-through pieces against an open face background. The design reads as an expressive puppy portrait when candlelit. Cut the small cheek fur tufts and nostril dots first while the surrounding pumpkin wall is still firm, then open the larger ear and muzzle sections afterward.
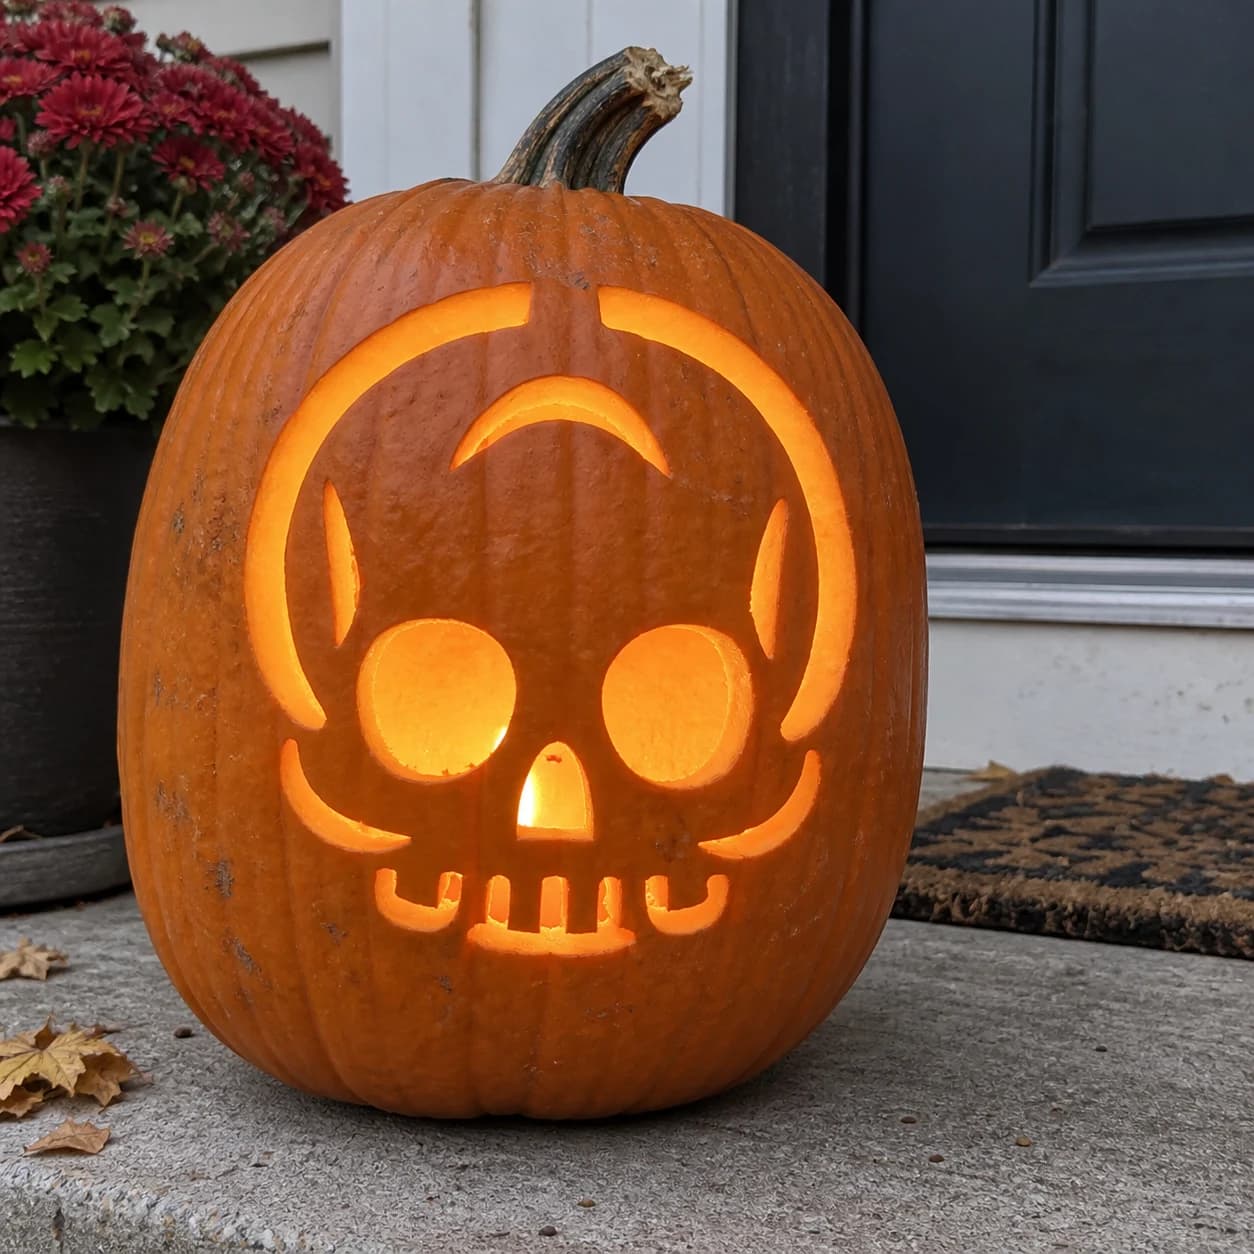
Cute Skull Pumpkin Stencil
A cute, stylized skull face looks straight out of this beginner pumpkin stencil, with two large round eye sockets and a small triangular nose cut through, all enclosed in a rounded skull outline broken into arc segments. The lower jaw shows four chunky teeth separated by gaps, and small curved cheekbone accents frame the face. Because the skull outline is split into separate arcs rather than one continuous ring, carve each arc segment individually so the gaps between them stay crisp.
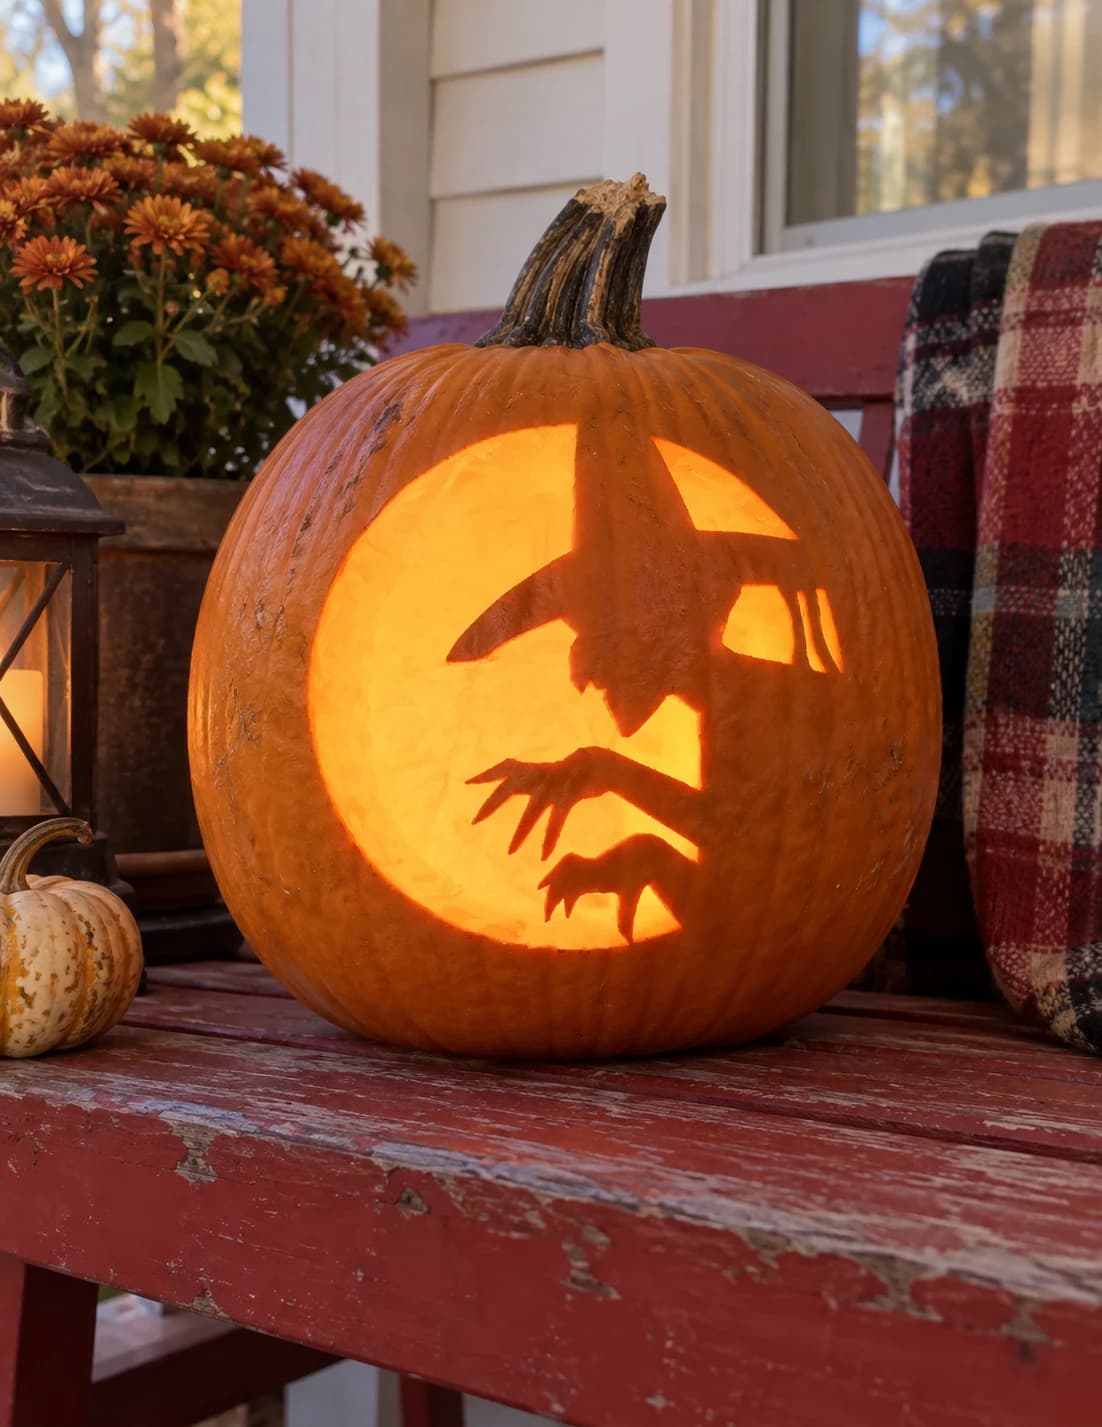
Witch on Moon Pumpkin Stencil
A large crescent moon shape is carved away to create a sweeping dark arc on this easy Halloween pumpkin stencil, and within that negative space a witch's profile appears in silhouette: a pointed hat, hooked nose, and grasping claw-like fingers reaching downward. A cluster of three small rectangular slots and a jagged hat-brim notch provide the only additional cut elements. The cropped hat top is a floating island; secure it with a toothpick before you make the final crescent arc cut so it doesn't drop and crack the brim.
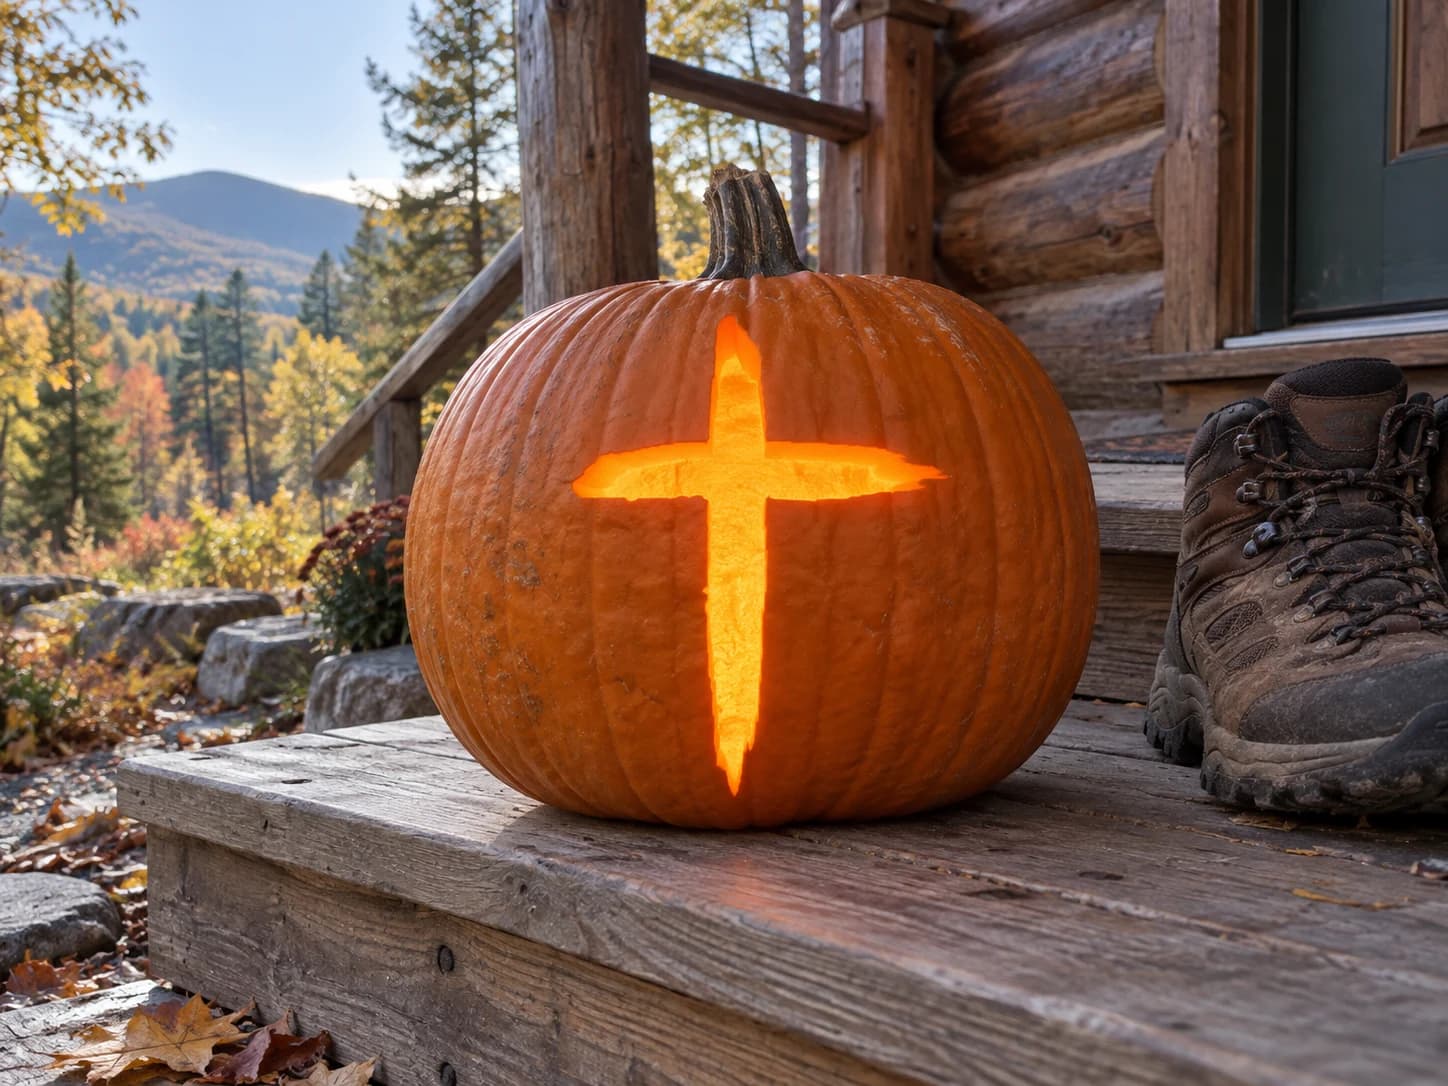
Cross Pumpkin Stencil
A large rugged cross pumpkin stencil with slightly tapered arms and a weathered, hand-drawn outline that gives it an organic, aged character rather than a rigid geometric look. The entire cross shape cuts through as a single opening, and because the arms are wide, the resulting jack-o-lantern casts a bold cross-shaped beam of light. A cross this size removes a substantial amount of shell, so thin the interior pumpkin wall to about half an inch before carving to reduce the risk of the outer edges cracking under the weight of the cut.
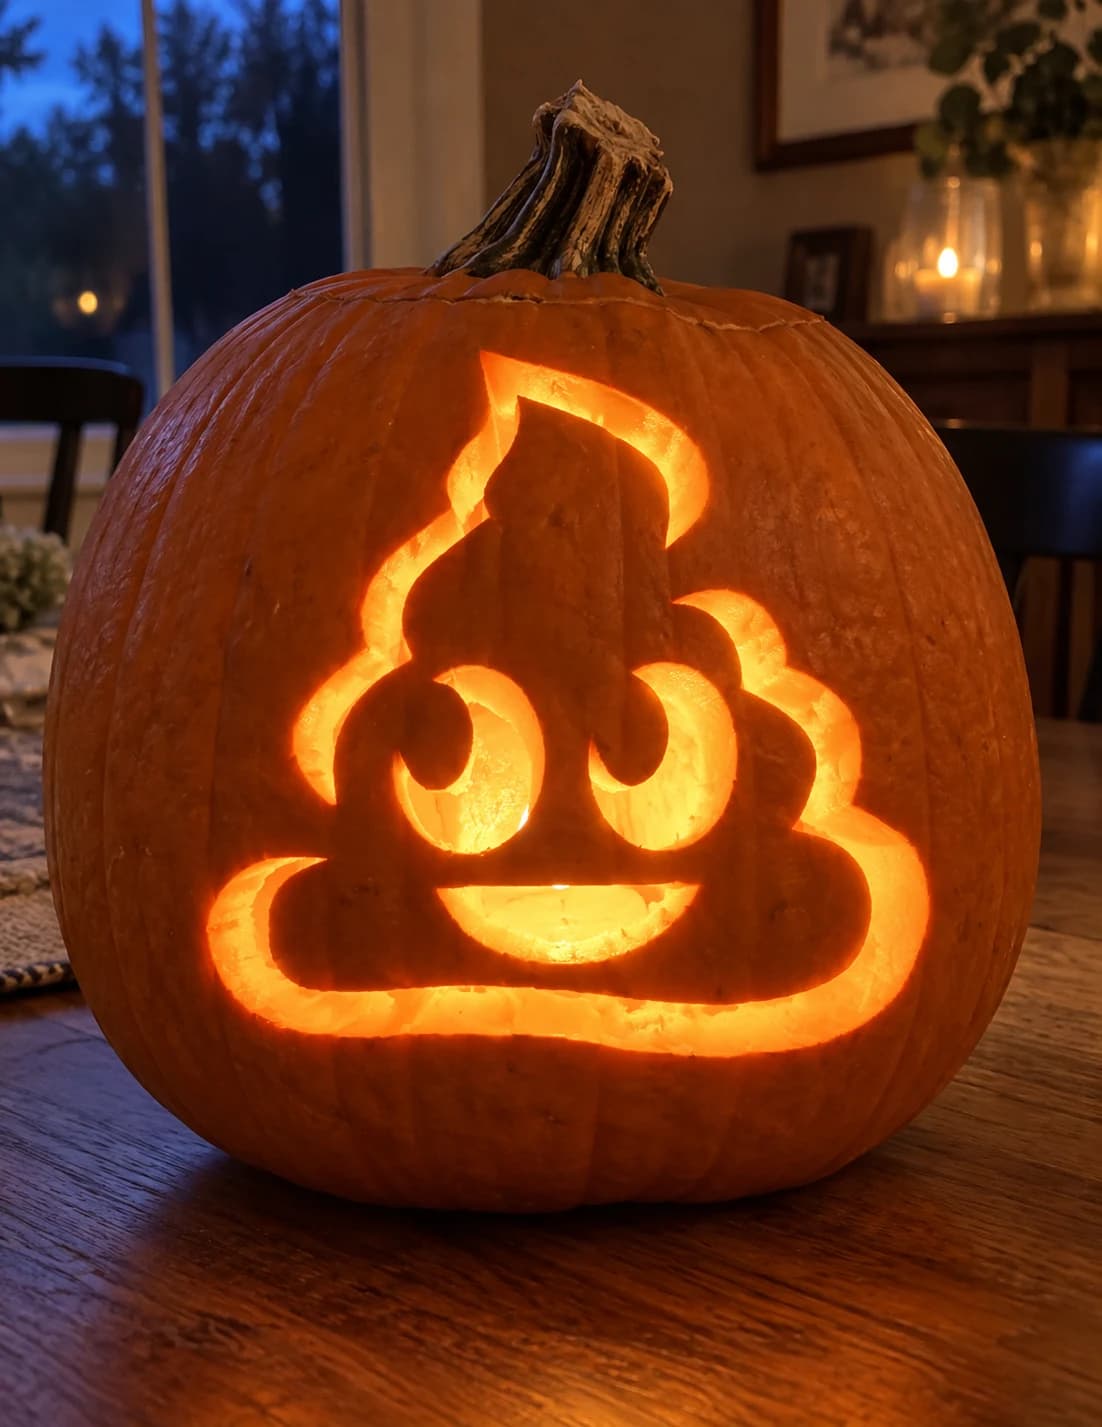
Poop Emoji Pumpkin Stencil
The classic poop emoji, a three-tiered swirl with two crescent eyes and a small curved smile, is rendered as a bold outline stencil in this easy funny pumpkin stencil, with the outer swirl shape and facial features all carved as open channels that leave the interior swirl body as solid glowing pumpkin skin. The two crescent eyes and the smile are the smallest cuts; carve them before outlining the full swirl body so you have a stable surface to press against. A candle inside makes the whole swirl glow warmly with the eyes and smile as darker recesses within the lit shape.
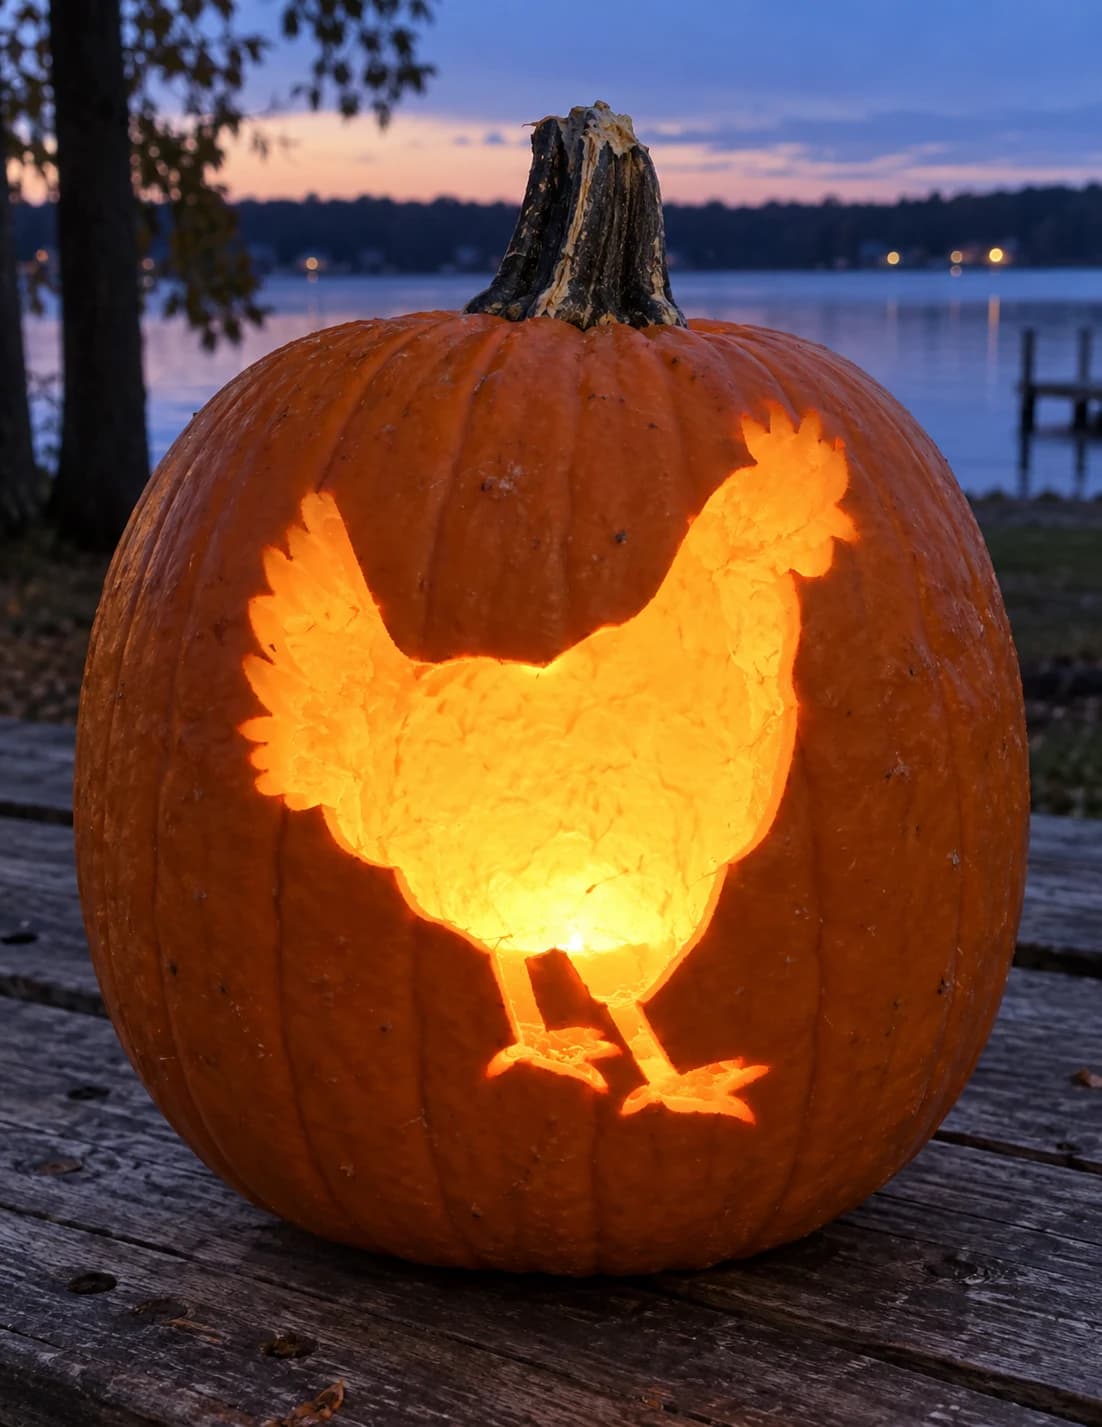
Farmyard Hen Pumpkin Stencil
A plump farmyard hen in three-quarter profile fills this easy pumpkin stencil, its silhouette showing a small comb and wattle, a rounded body with layered wing and tail feathers, and two stick-like legs with splayed claws. The entire chicken outline is one solid cutout with the background carved away, producing a dark hen silhouette against glowing orange when backlit. The thin leg shafts and the claw toes are the most fragile sections, so carve the body first and save the legs for the very end, taking care at each claw tip.
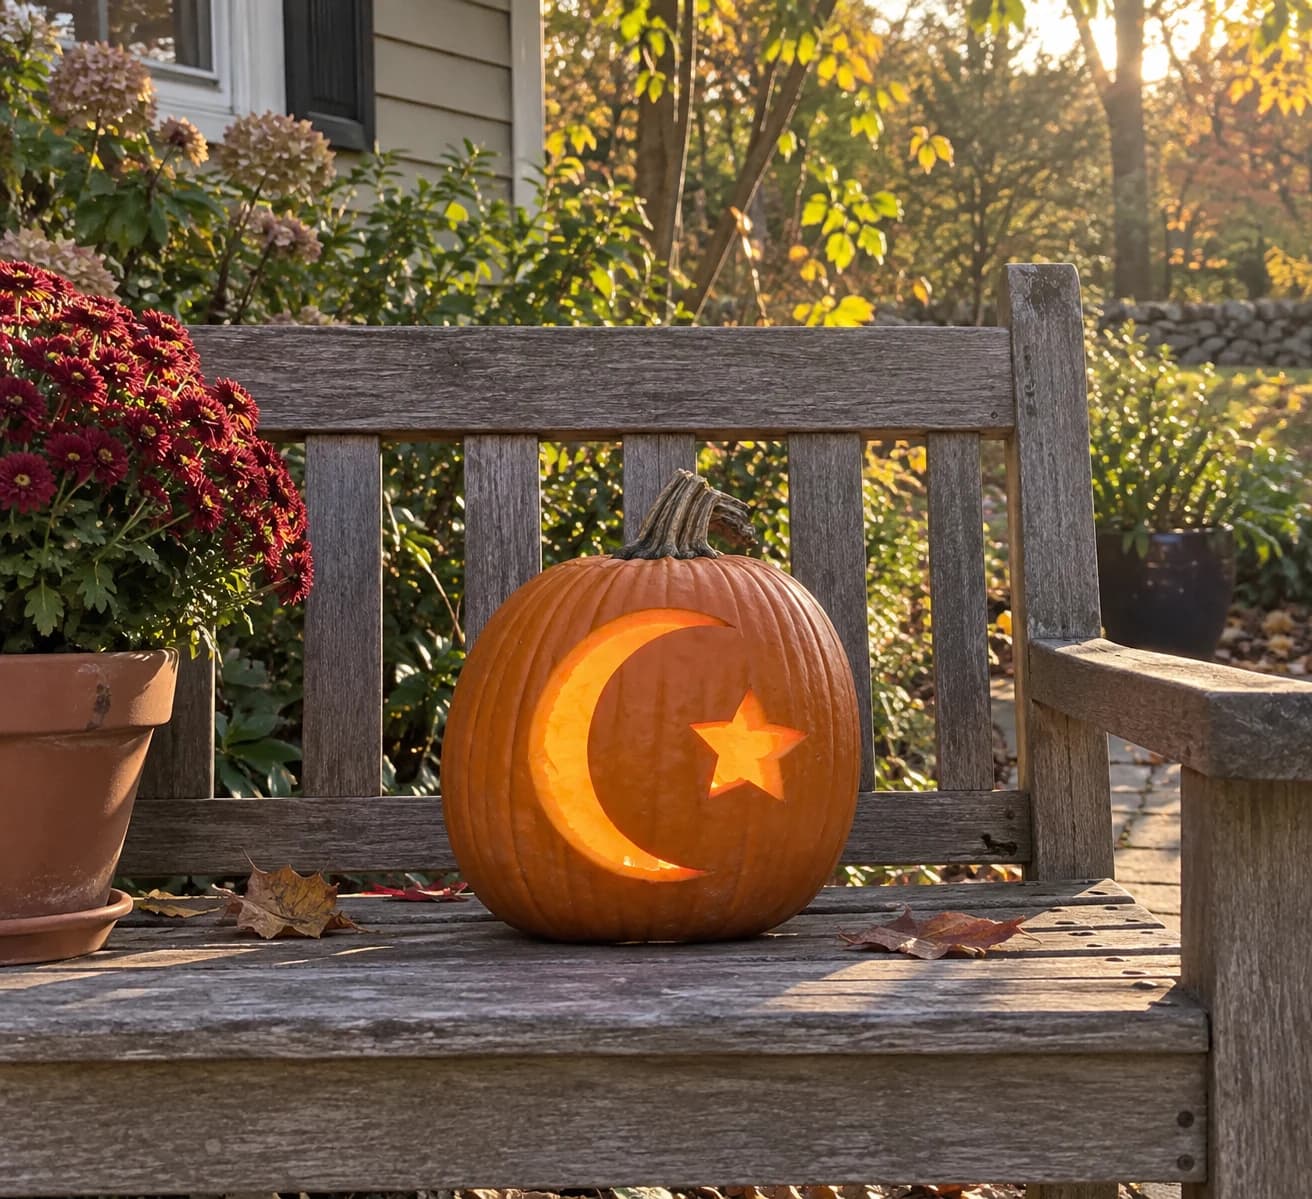
Crescent Moon and Star Pumpkin Stencil
A large crescent moon curves across most of the design while a single five-pointed star sits nestled in the open interior of the crescent in this easy space pumpkin stencil, both shapes carved as open silhouettes. The crescent is a large single cut, and the small star inside it is a separate isolated piece that must be removed independently. Cut the star's five points with precise plunge cuts at each tip before slicing the connecting straight sides, then remove the star before carving the surrounding crescent so your hand has room to maneuver.
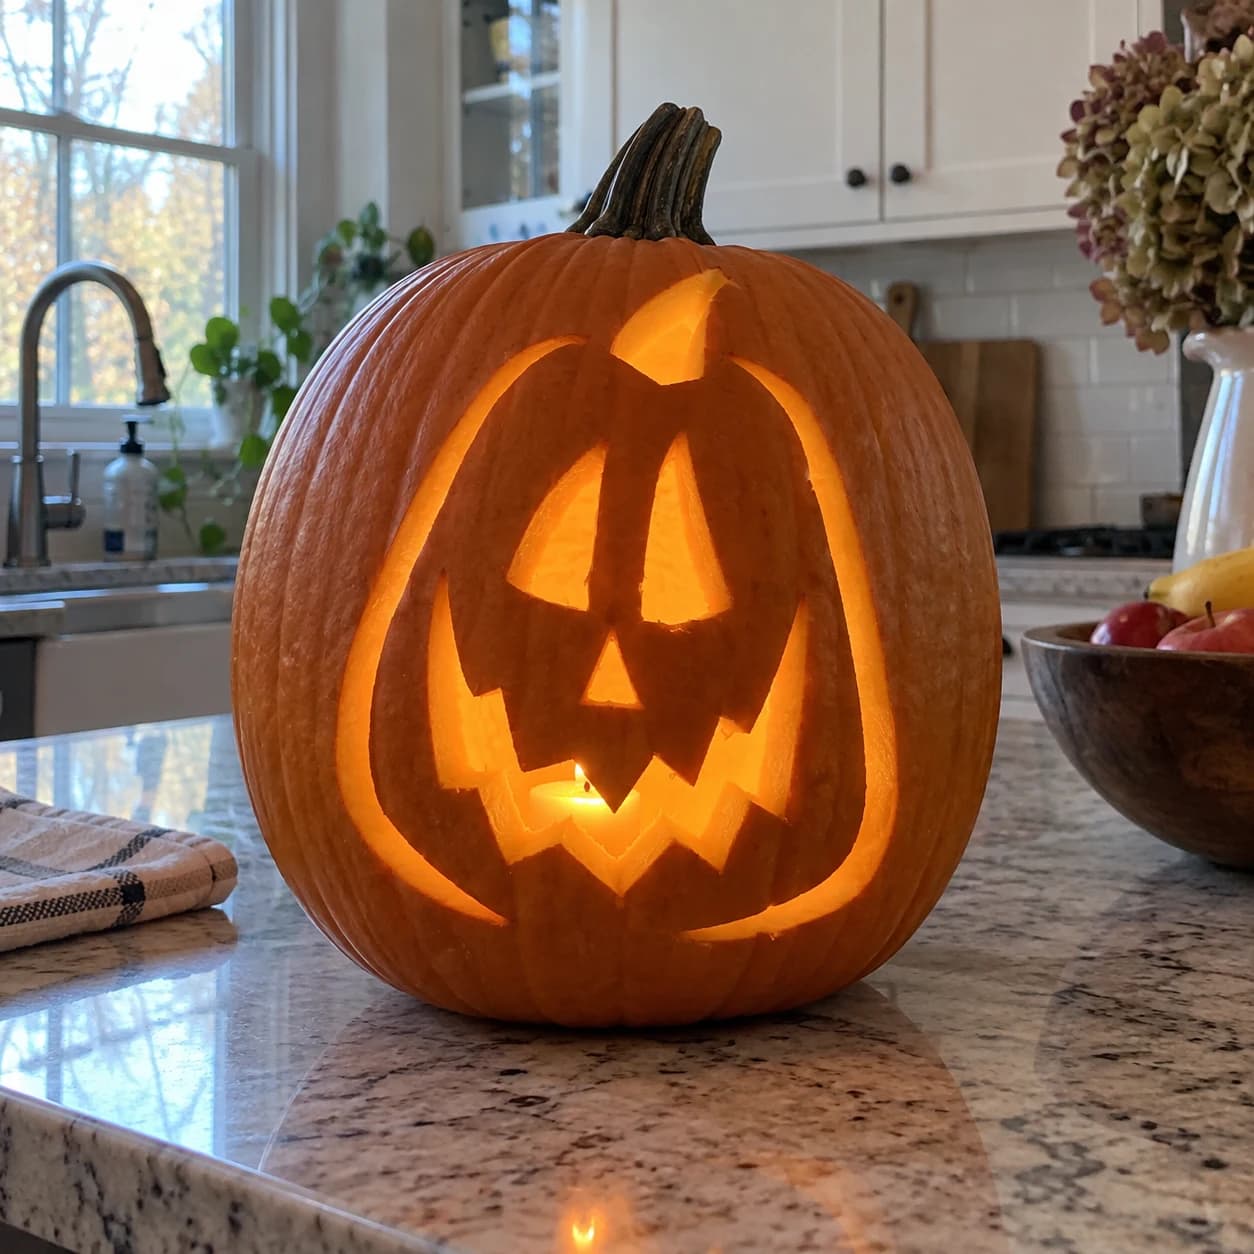
Classic Jack-o-Lantern Face Pumpkin Stencil
A tall, narrow jack-o-lantern face with a small witch-hat-style stem forms this easy pumpkin stencil, featuring two mismatched triangular eyes of slightly different sizes, a small triangle nose, and a wide mouth with uneven rectangular teeth below. The entire face outline tapers toward the bottom and the drooping curved tendrils at each lower corner add a melted look. All five facial openings cut cleanly through, letting candlelight pour out in a simple, instantly recognizable jack-o-lantern pattern. Carve the eyes first so you have reference points for spacing the mouth cuts.
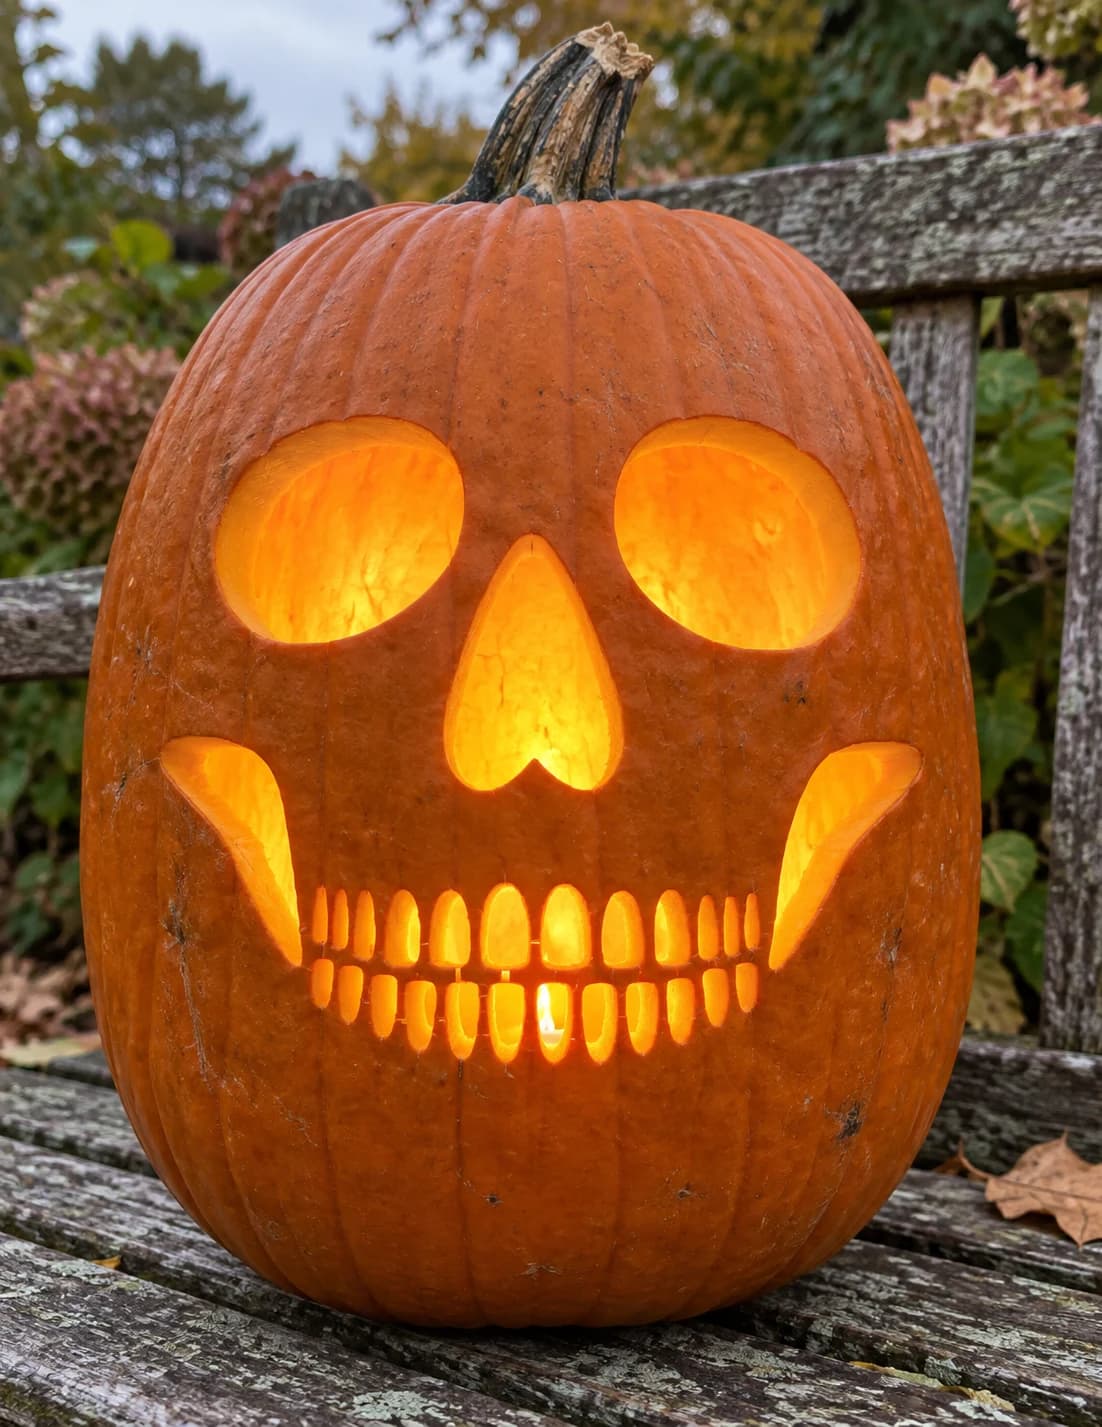
Skull Face Pumpkin Stencil
A skull face pumpkin stencil built from two large circular eye sockets, a heart-shaped nasal cavity, two angled cheekbone tabs, and two rows of individual oval teeth lining an open jaw. All the white areas cut through, so the finished jack-o-lantern reads unmistakably as a skeleton against the dark. The two rows of closely packed oval teeth are the trickiest part: cut each tooth individually rather than scooping the whole jaw at once, and leave the tiny bridges between them for last so none tip inward.
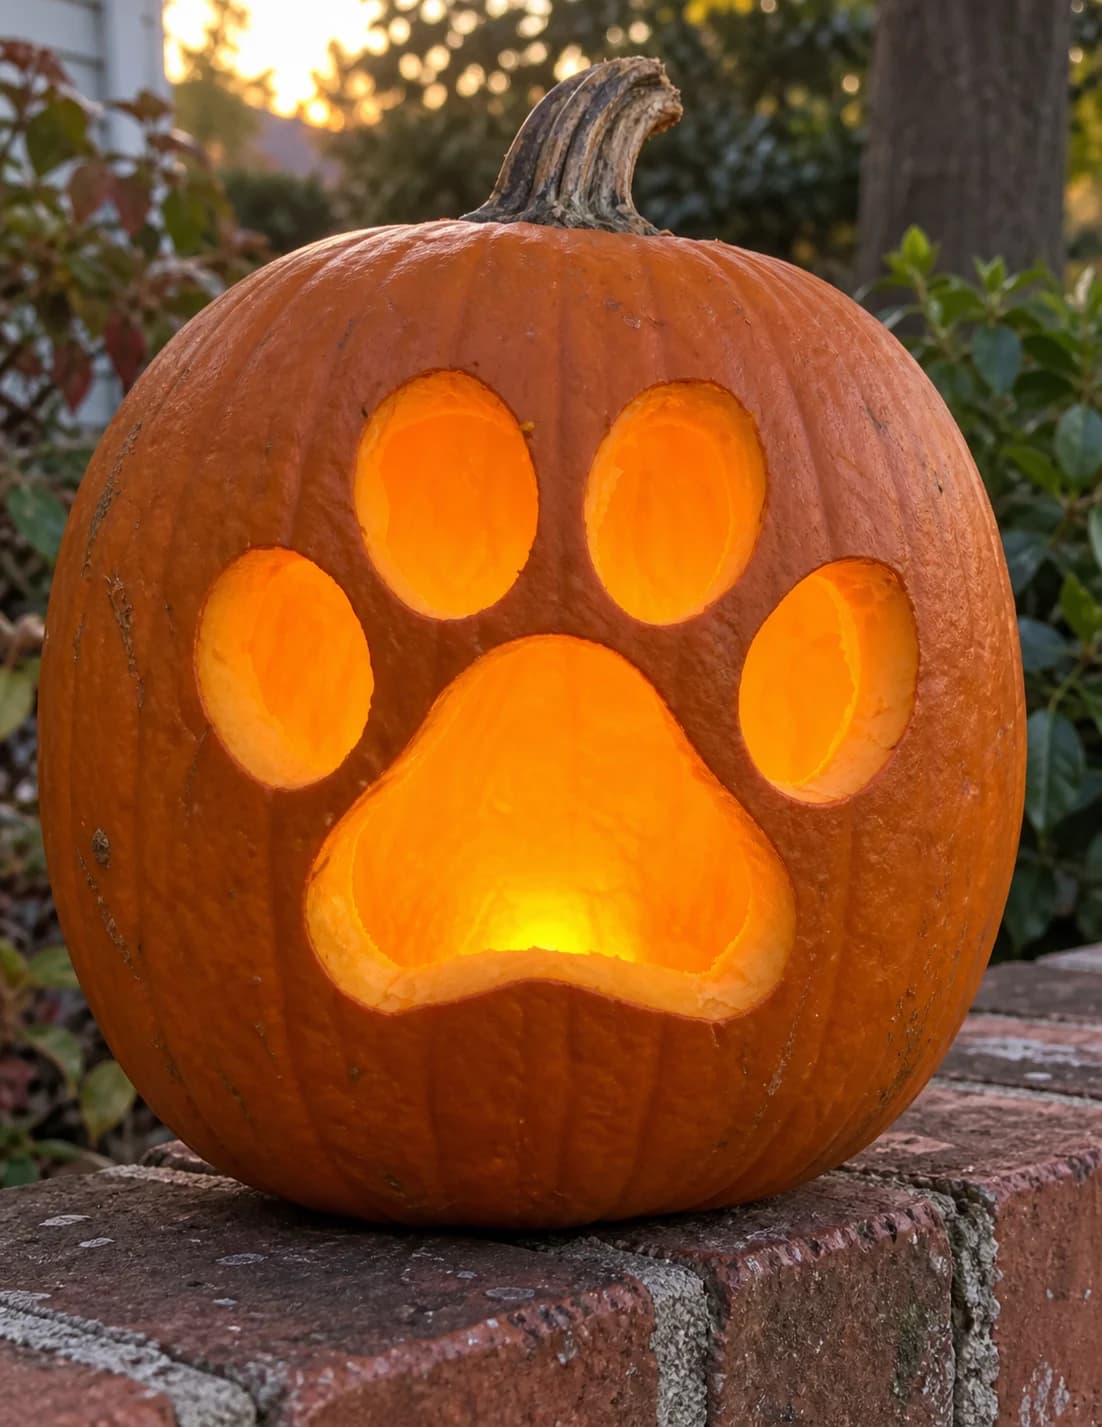
Dog Paw Print Pumpkin Stencil
A large dog paw print with one big main pad and four oval toe pads arranged above it fills this easy dog pumpkin stencil, all five shapes carved as separate open pieces that glow independently when lit. The pumpkin-skin gaps between the toe pads and the main pad are narrow but uniform, creating a clean, recognizable print. Cut the four toe pads first from top to bottom, then remove the large main pad last, since it is the biggest single cut and easier to control once the smaller surrounding shapes are already out.
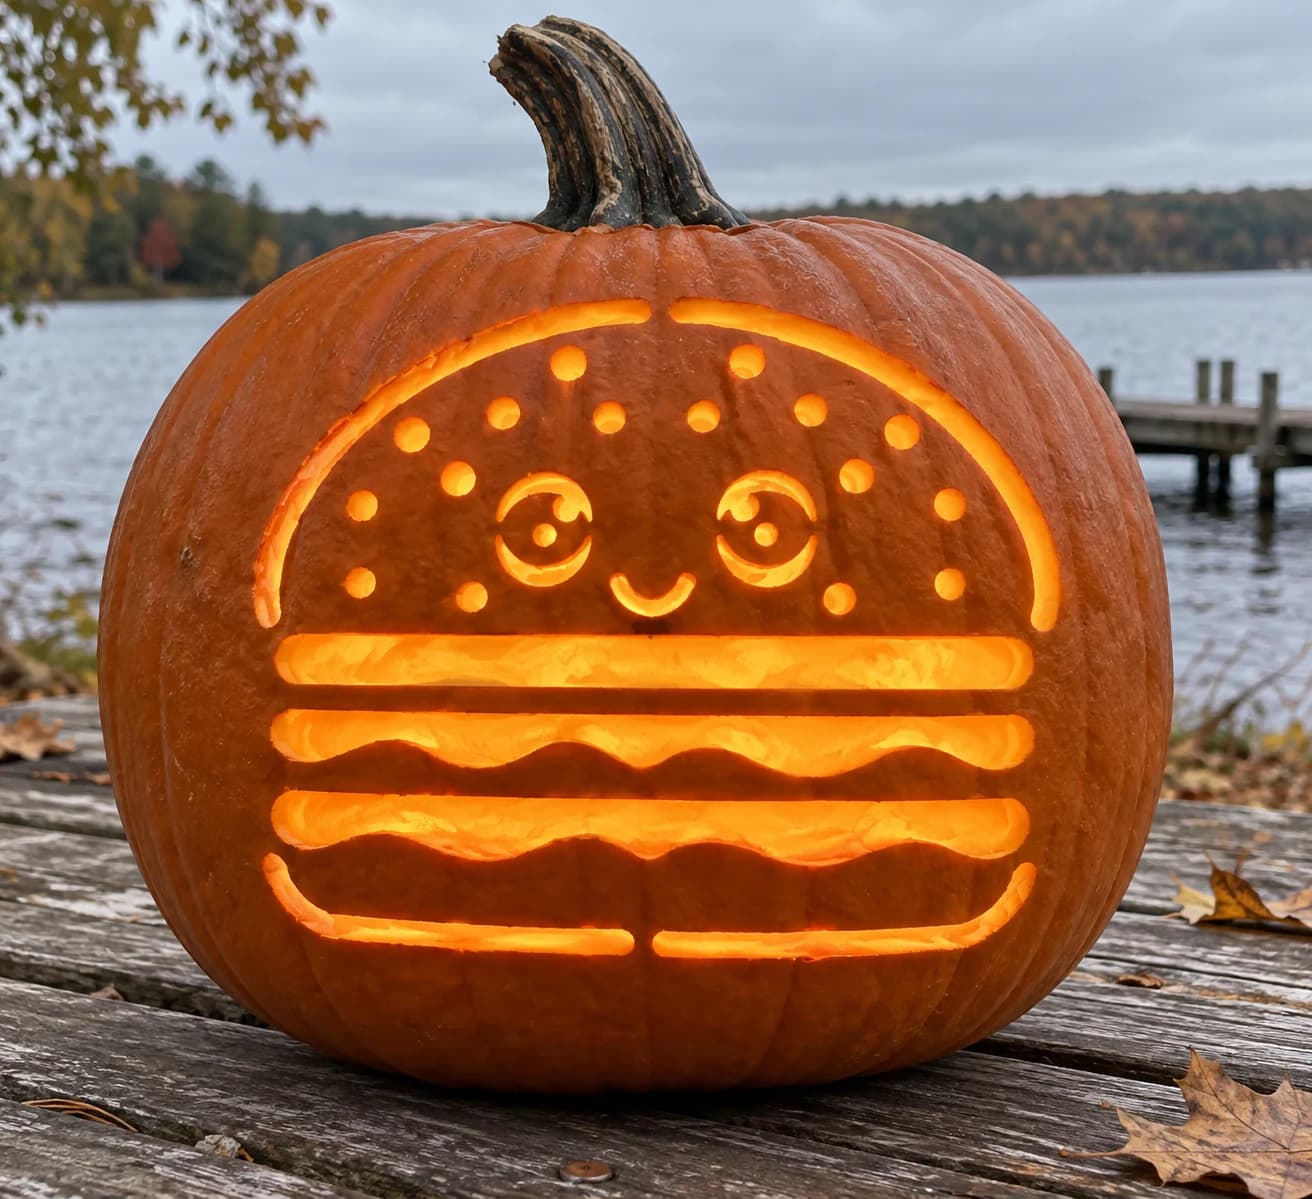
Kawaii Burger Pumpkin Stencil
A kawaii-style cheeseburger with a sesame-seed bun, two wavy patty layers, and a smiling face with spiral eyes fills this easy food pumpkin stencil, its stacked layers translated into a series of bold horizontal cuts separated by solid pumpkin-skin ridges. The round sesame seeds on the bun are punched as individual small circles, and the curly eyes and smile arc are cut as open shapes inside the bun half. Punch all the seed holes first with a small drill bit or apple-corer tip before cutting the long horizontal bun and patty slots, so the surrounding wall stays firm while you place those precise dots.
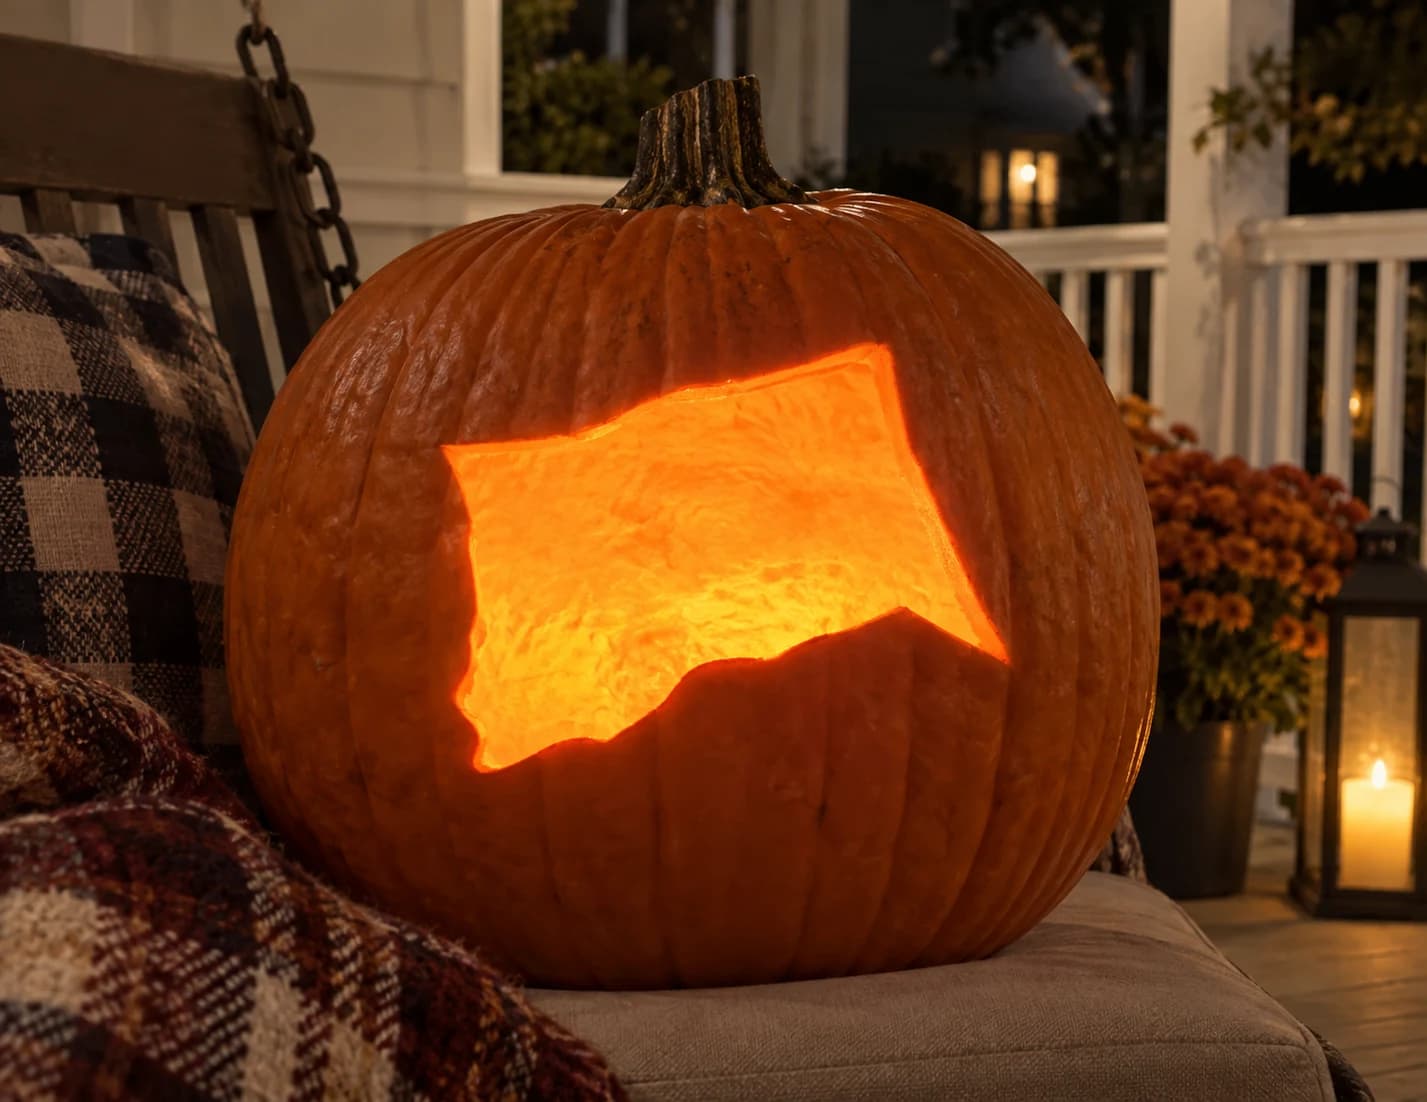
Connecticut Pumpkin Stencil
Connecticut's compact, slightly irregular state outline fills this easy pumpkin stencil: a roughly rectangular silhouette with a gentle concave nick at the lower-right corner and subtly wavy edges that trace the actual border contours. The entire shape cuts out as a single piece, glowing in isolation against the uncut orange pumpkin skin. Because the outline has no interior detail, the challenge is keeping the thin shell border even, so use a small detail saw and rotate the pumpkin rather than repositioning your hand at the tight lower-right corner.
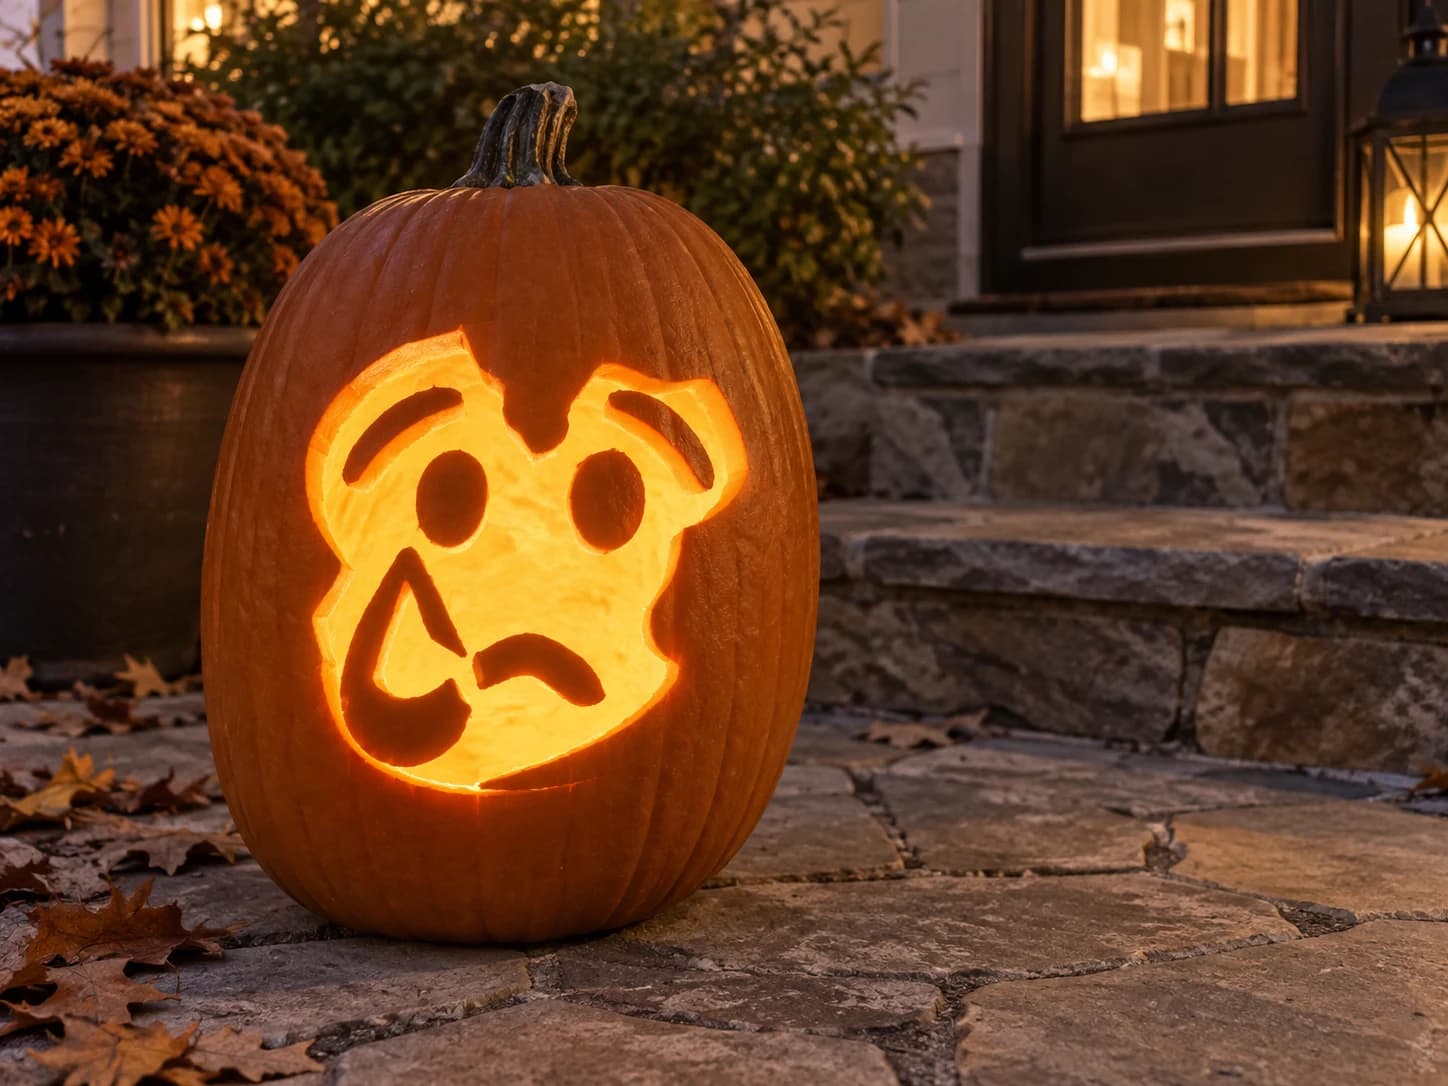
Crying Emoji Pumpkin Stencil
A round emoji pumpkin stencil depicting the loudly crying face: a circular head with a wrinkled brow, two oval eyes, a large open mouth turned sharply downward, and a dramatic flood of tears pouring from both eyes that bleeds into the surrounding circular border. The tear streams are wide and bold, merging with the outer ring cutout to form one large continuous opening at the bottom of the circle. The small raised brow wrinkle between the eyes is a thin floating island; anchor it with petroleum jelly on the inner wall before cutting the surrounding face away.
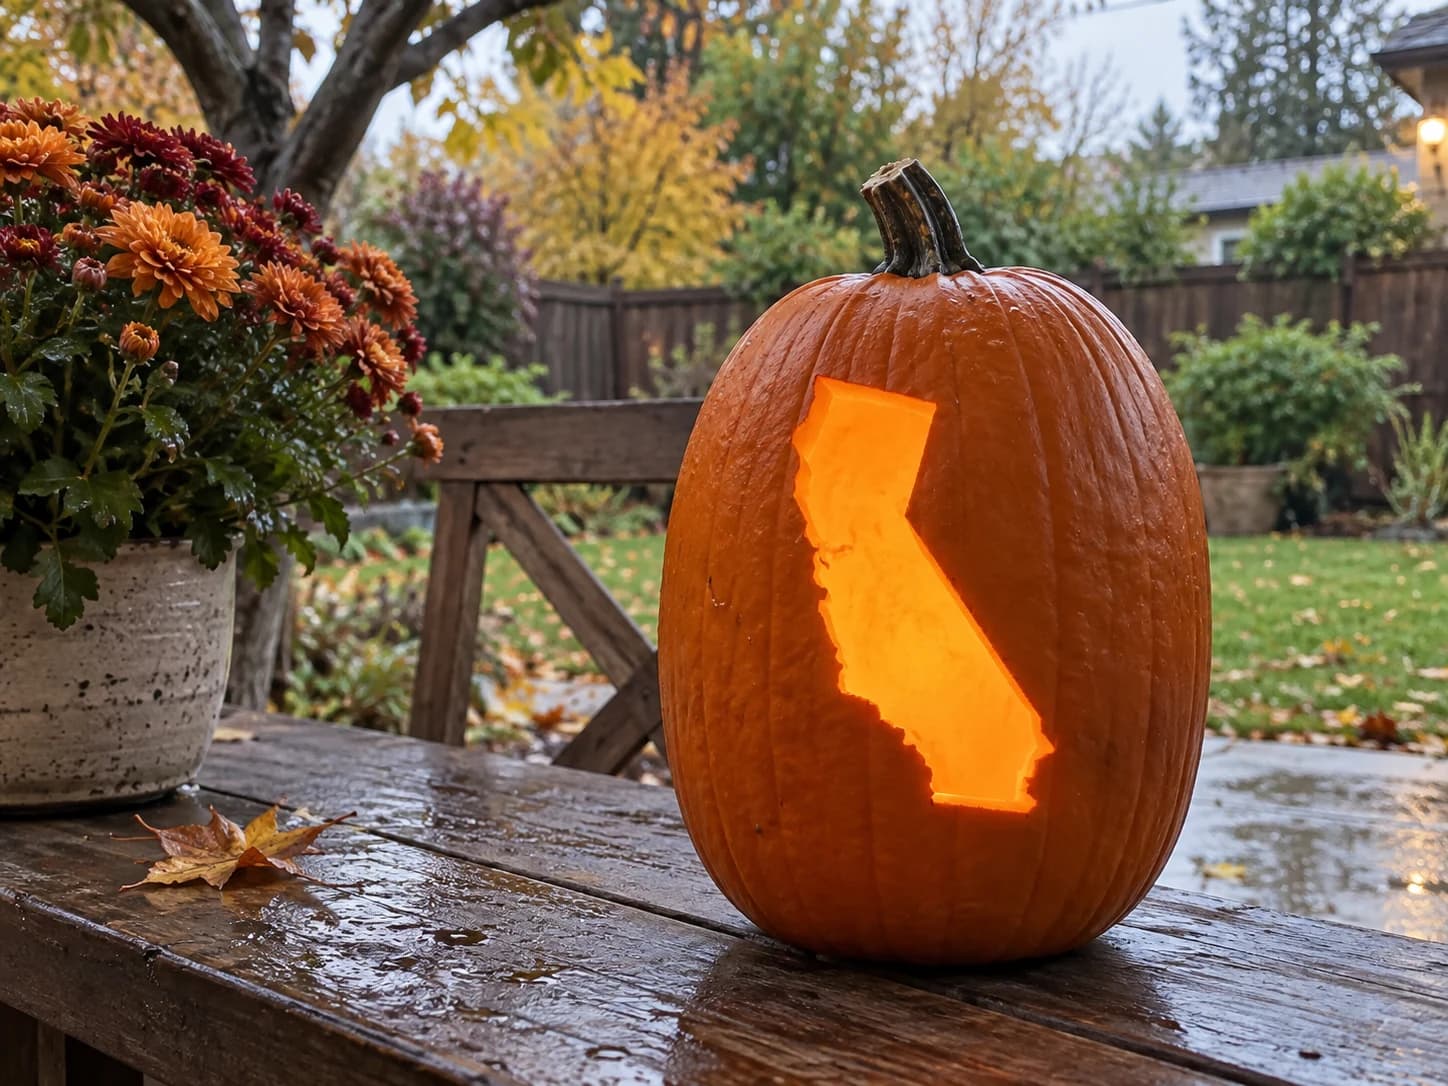
California Pumpkin Stencil
The distinctive outline of California is carved as a single open silhouette in this states pumpkin stencil, its long jagged Pacific coastline on the left and the straighter inland borders on the right clearly recognizable when lit. The narrow northern tip near the Oregon border and the small notch at Lake Tahoe are the two tightest points in the outline; cut those corners with the tip of your blade at a near-vertical angle rather than dragging the knife sideways, which prevents tearing the thin points.
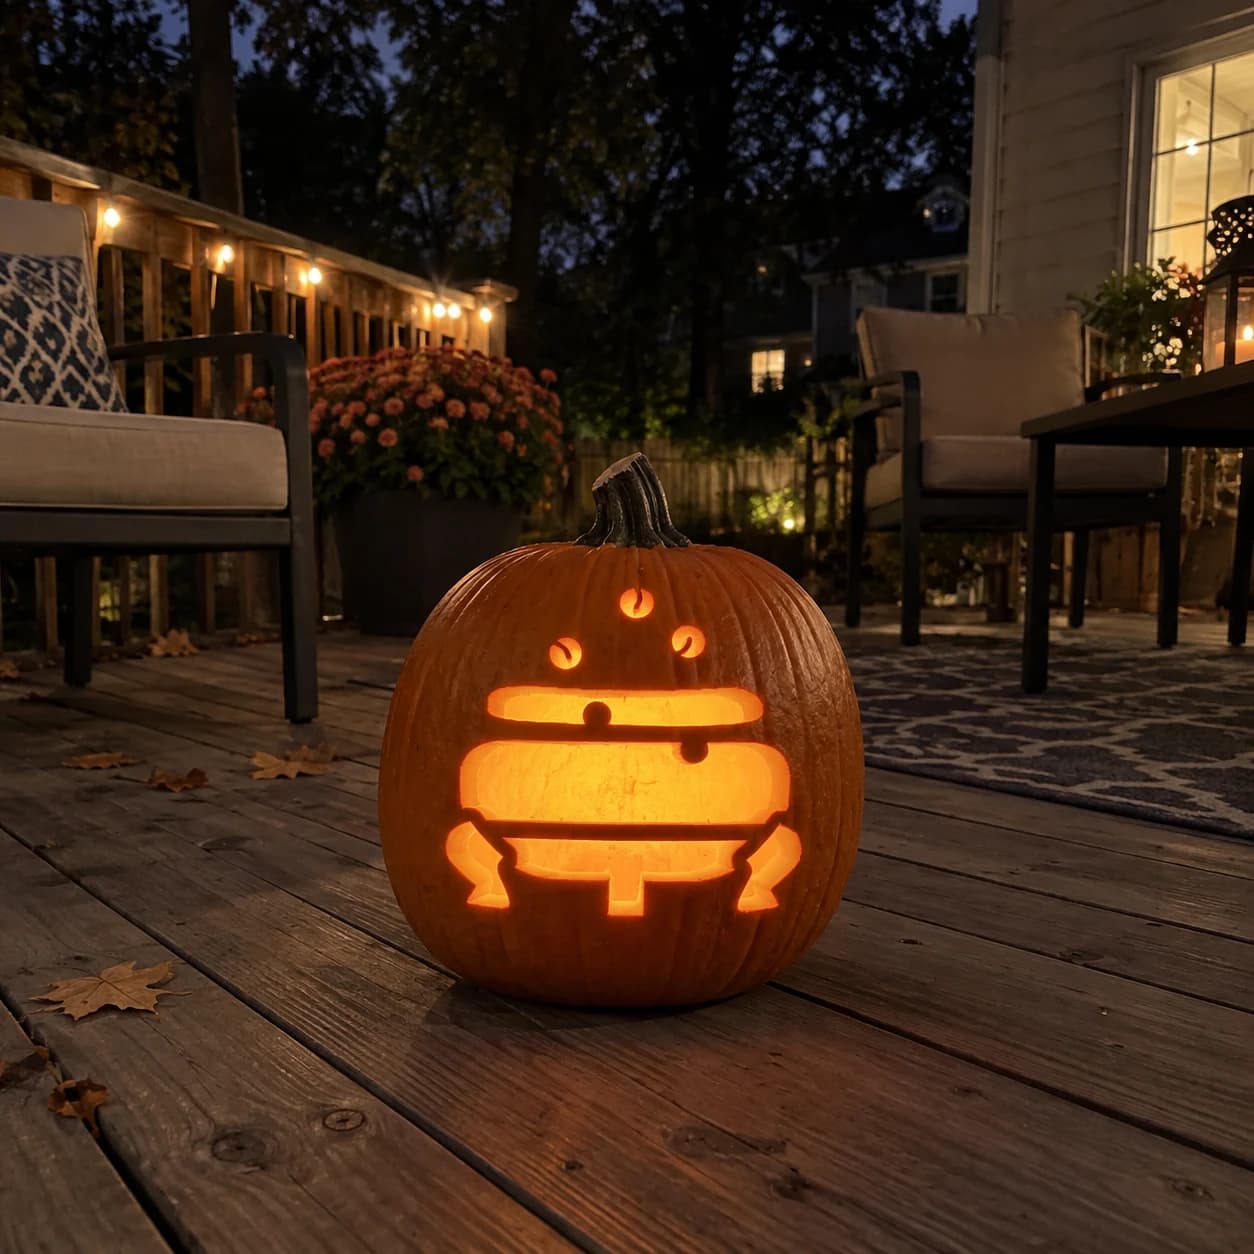
Witch Cauldron Pumpkin Stencil
A witch's cauldron viewed straight on forms this easy witch pumpkin stencil, with three bubble circles floating above the pot, a wide rectangular opening for the cauldron mouth, a thick rim strip, and two claw-footed legs flanking a centered spout at the base. All the shapes are cut through as separate open pieces, glowing independently when lit to suggest a bubbling brew. Cut the three small bubble circles near the top of the design first, since they sit in isolation and are easiest to control before the larger cuts below loosen the wall.
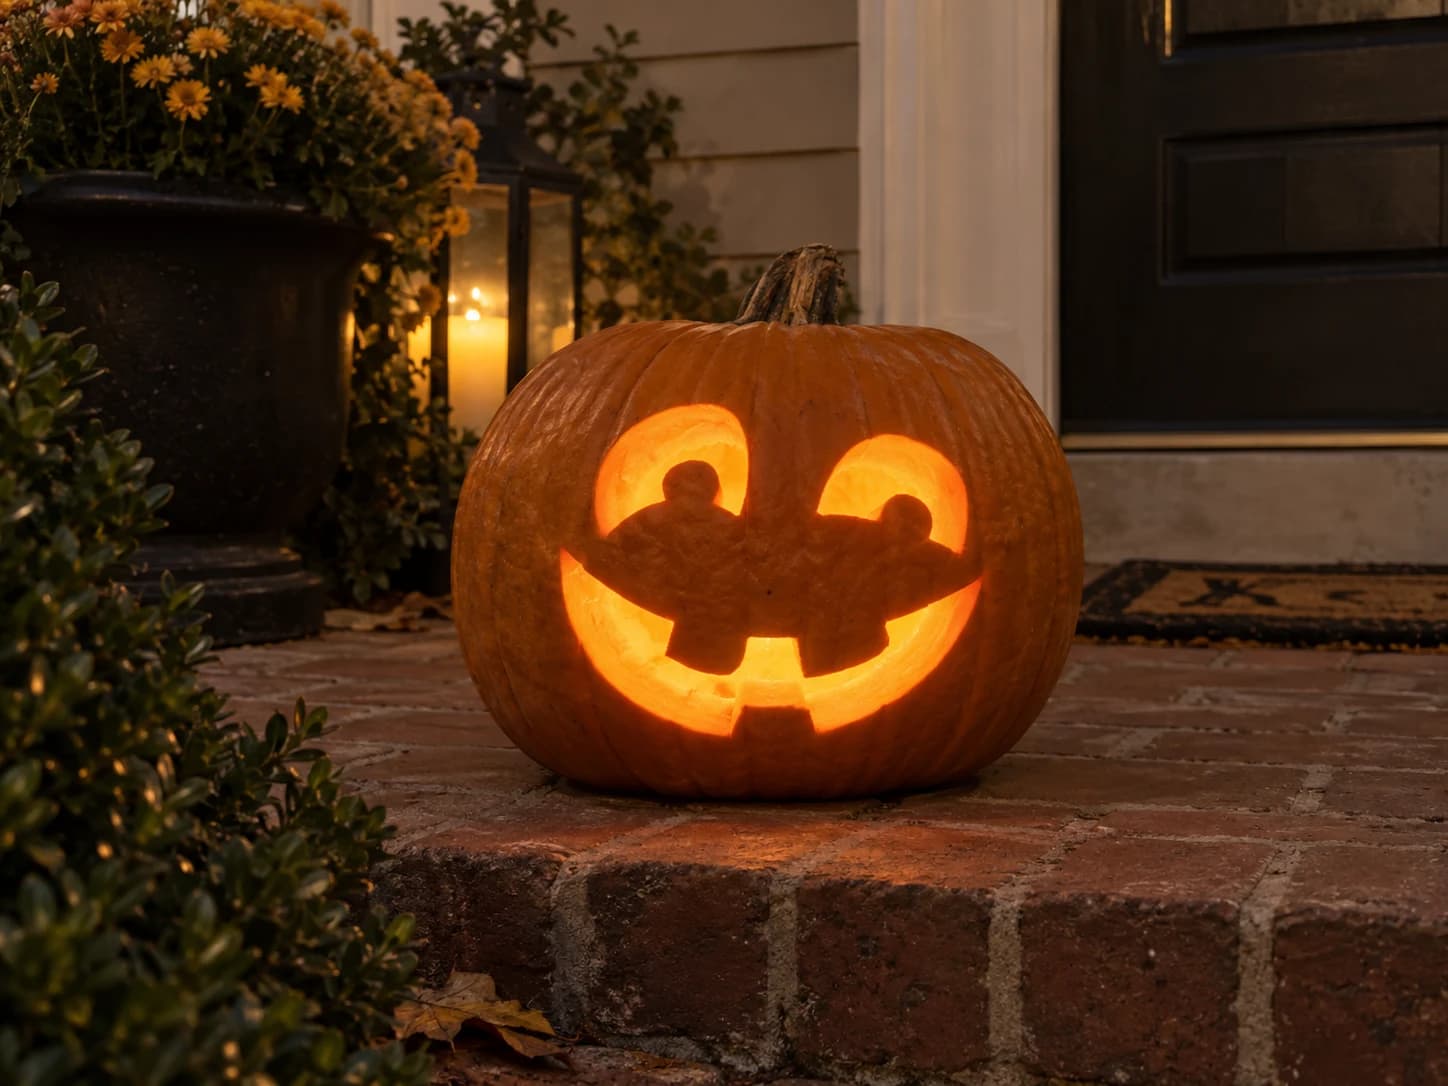
Friendly Jack-o-Lantern Pumpkin Stencil
Two rounded horseshoe-arch eyes, each with a small bump notched from the bottom to suggest eyebrows, and a broad curved mouth split by two square bottom teeth define this easy pumpkin stencil. The asymmetry between the left eye (fuller arch) and the right eye (slightly smaller, offset notch) gives the face a winking or quizzical personality. All cut-outs are generous and smooth, making this a good pumpkin stencil for carvers who want a friendly face without tiny fiddly pieces. Leave the two small inner-eye notches for last so the arch stays rigid while you cut the mouth.
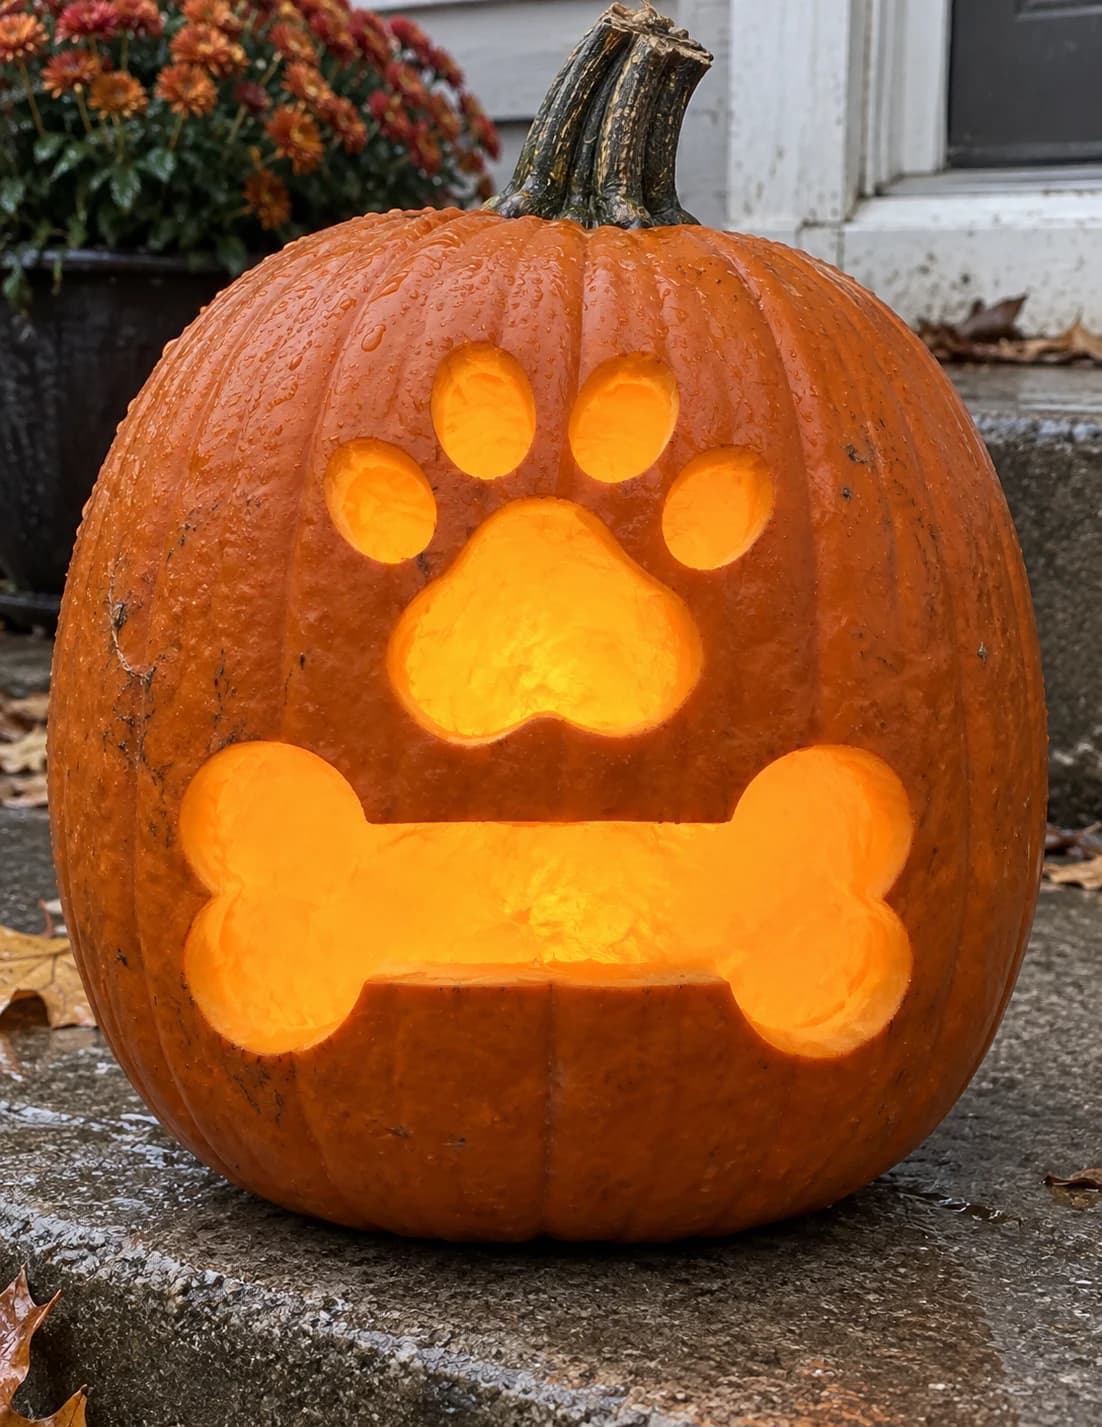
Paw Print and Bone Pumpkin Stencil
A dog paw print stacked above a classic dog bone forms this two-element dog pumpkin stencil, with the paw showing one main pad and four oval toe pads, and the horizontal bone below featuring two knobbed ends and a straight shaft. Both shapes are carved as separate open silhouettes that glow on the finished jack-o-lantern, the paw sitting centered above the bone with a clear gap of skin between them. Cut the paw toe pads and main pad first, then carve the bone, so any flexing of the pumpkin wall during the lower cut does not disturb the already-removed paw above.
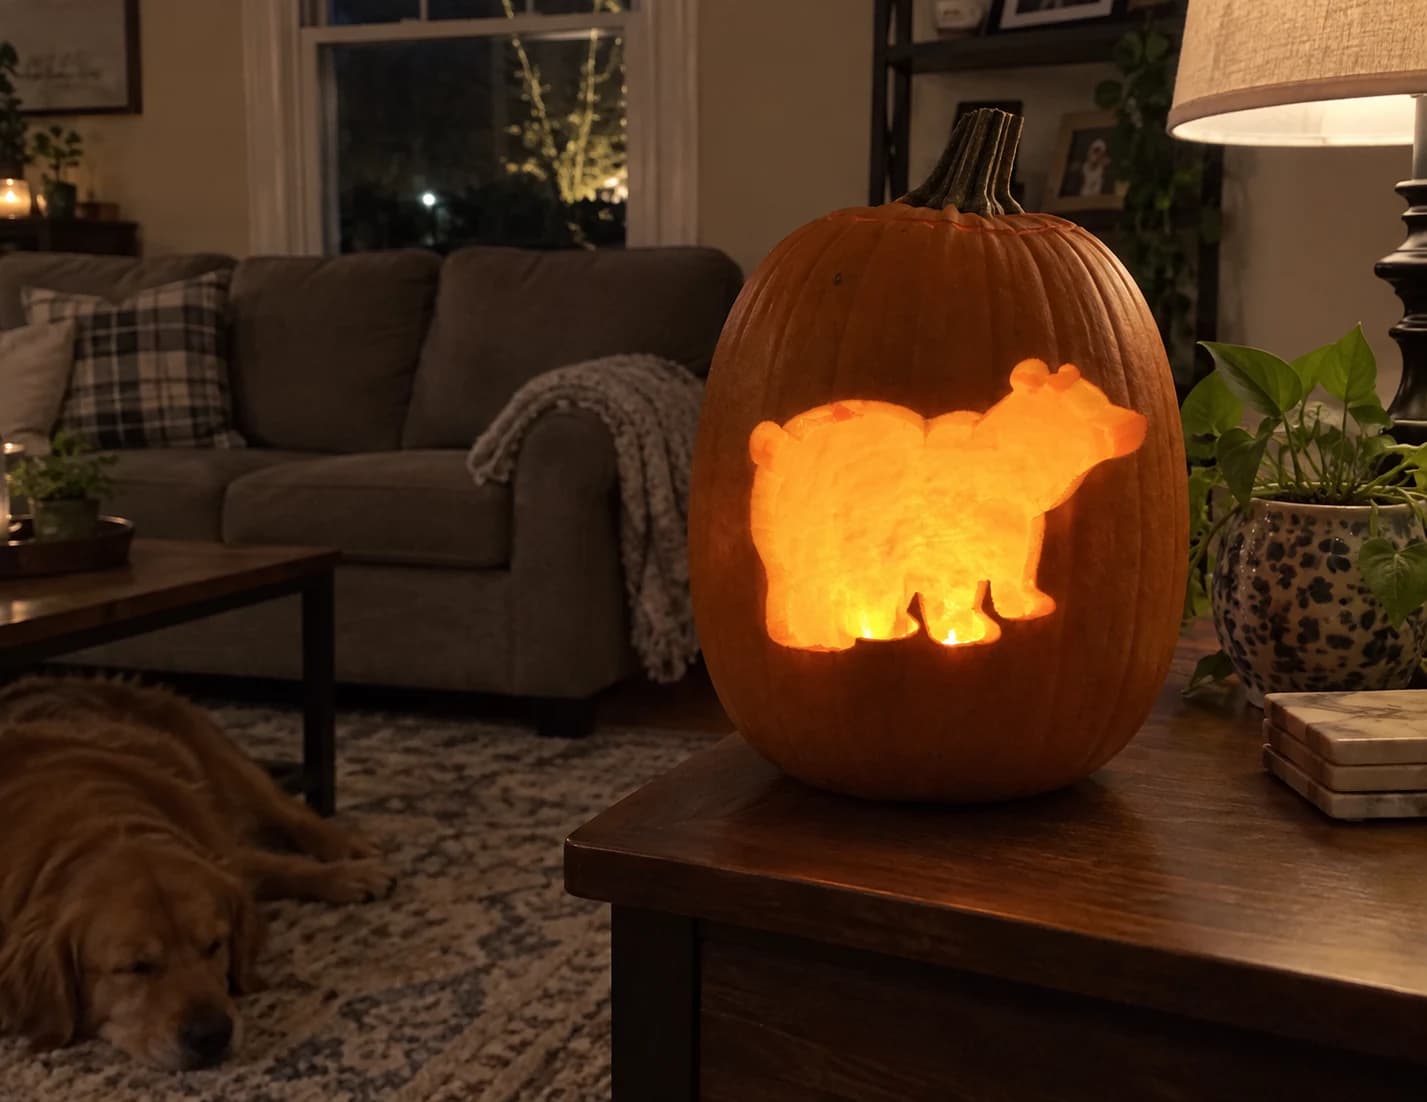
Bear Silhouette Pumpkin Stencil
A stocky bear strides to the right in pure silhouette for this easy animal pumpkin stencil, with a broad humped back, small rounded ears, and four stubby legs all merged into one solid cutout shape. The entire figure is carved open, so candlelight pours through the outline and throws a bear-shaped shadow behind the jack-o-lantern. When scoring the outline, cut the concave gap between the front and rear legs first so the blade has a clean starting point before you trace the longer body curves.
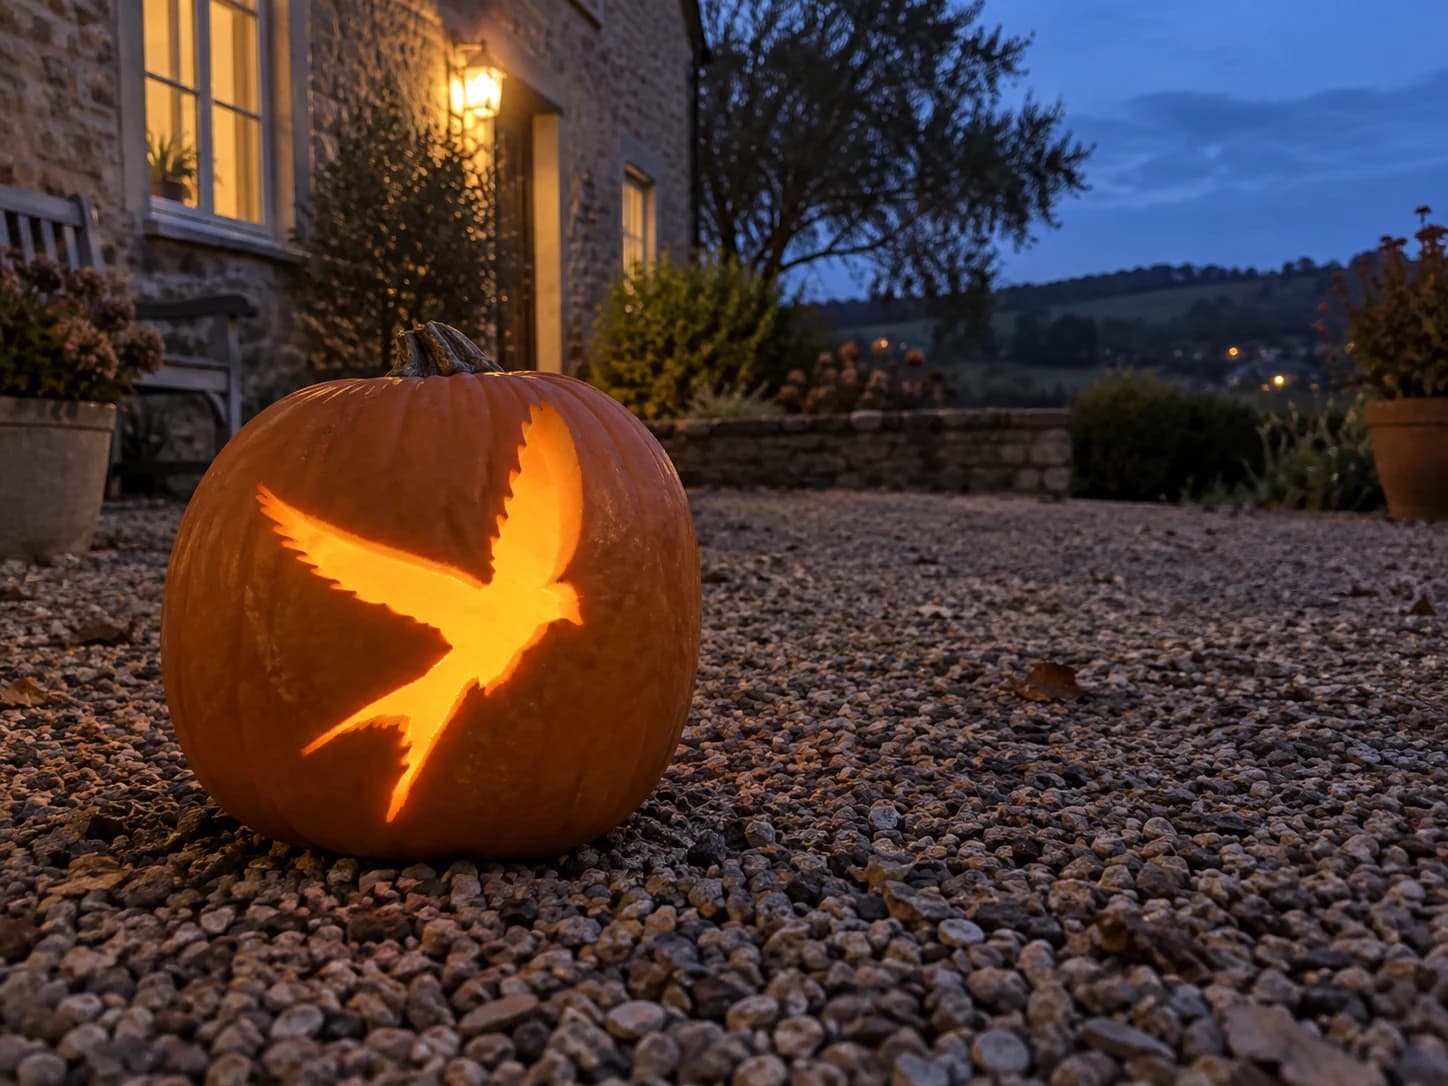
Swift in Flight Pumpkin Stencil
A swift in full dive displays wide-spread wings and a deeply forked tail in this bird pumpkin stencil, its entire silhouette carved as one large open shape. The wing tips show a ragged, feathered edge that gives the design energy when lit; that serrated border is the most fragile detail. Score those feathered wingtip notches with short, shallow plunge cuts before removing the main wing mass, so the delicate points separate cleanly rather than tearing.
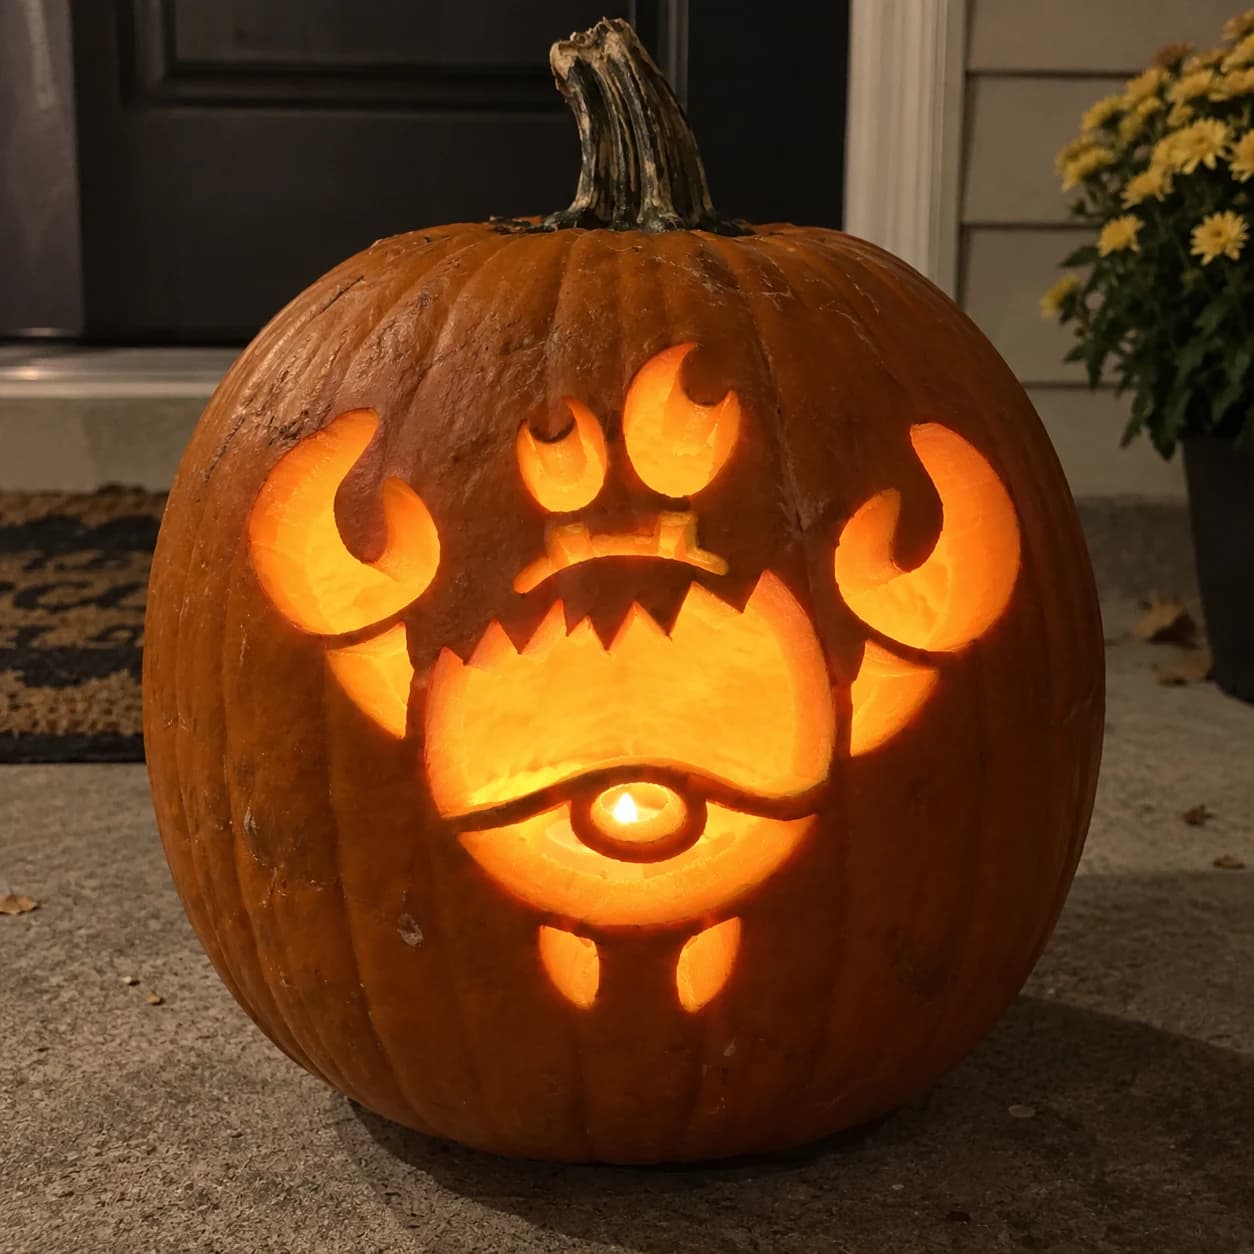
Cartoon Crab Pumpkin Stencil
A cartoon crab pumpkin stencil with two large curved pincer claws spread wide on each side, two flame-shaped claws raised overhead, a round body edged with jagged serrations, a circular belly, and small stubby legs at the bottom. The solid crab body and claw shapes remain as orange pumpkin skin while the surrounding background and the gaps between the pincers are cut away, creating a silhouette that glows from the outer edges. Keep the narrow connectors between each claw and the body intact until the final cut so the arms stay anchored.
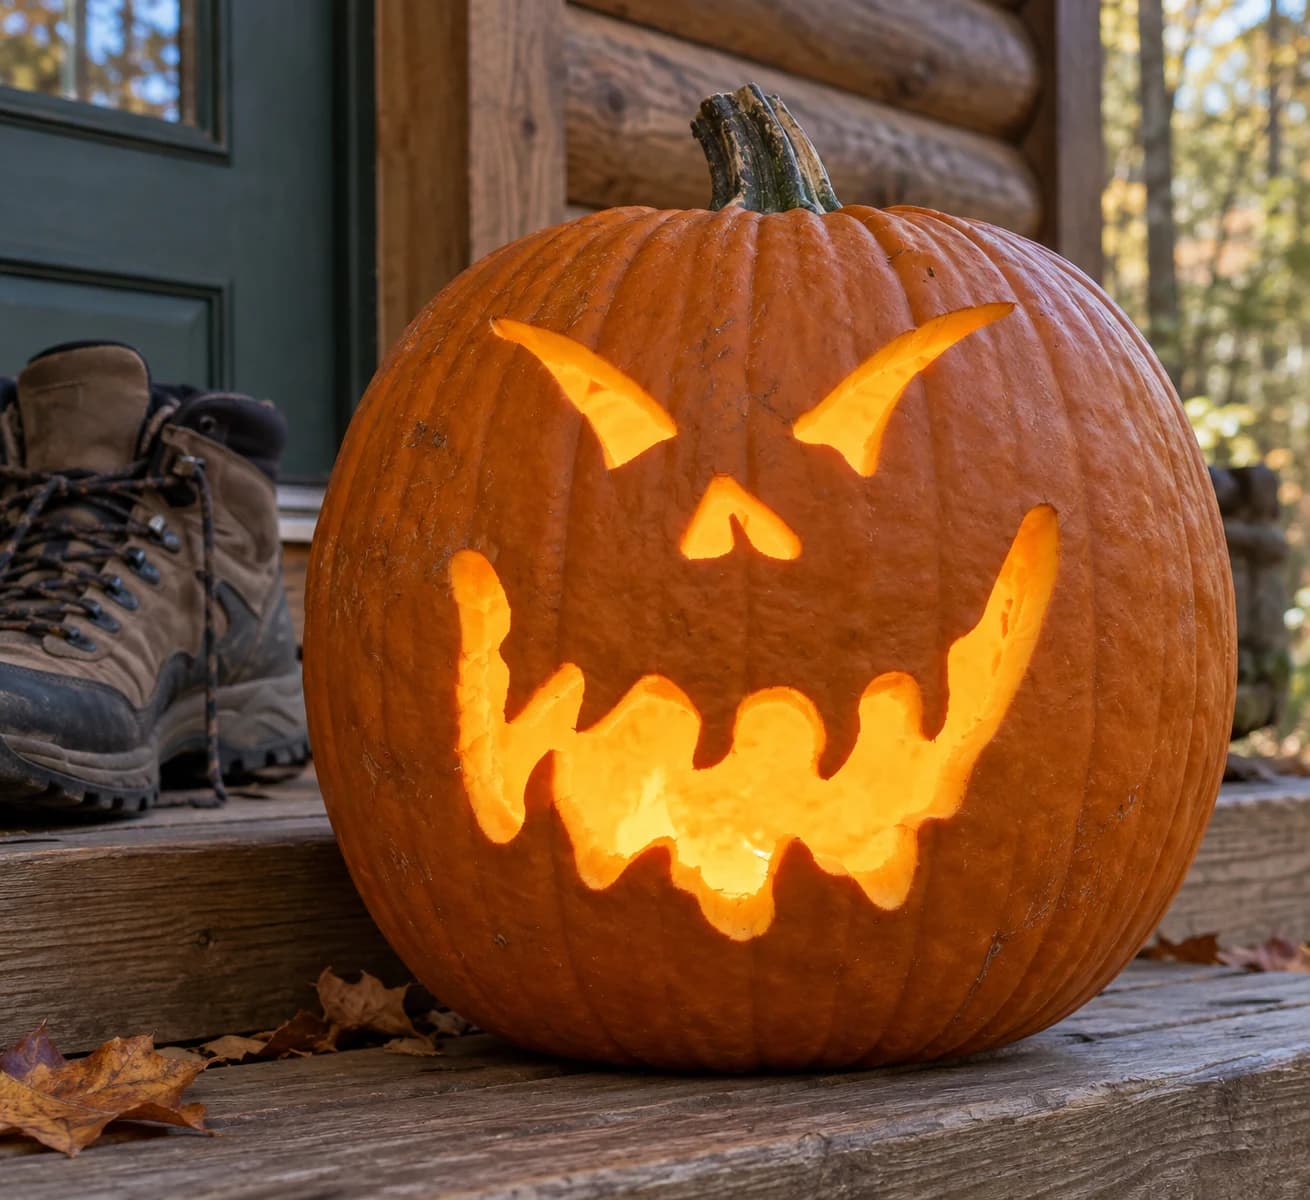
Creepy Ghost Face Pumpkin Stencil
A menacing ghost-inspired pumpkin face built from two sharp curved horn-like eyebrows, a small V-shaped nose opening, and a huge ragged melting mouth that takes up nearly the bottom half of the stencil, with dripping irregular edges that sag downward like ectoplasm. The eyebrows and nose are compact cuts while the massive mouth is one sweeping asymmetric opening with wavy drip points. The drip tips along the mouth's lower edge are the most fragile detail, so cut the straight upper mouth border first, then work down each drip from its widest point toward the tip.
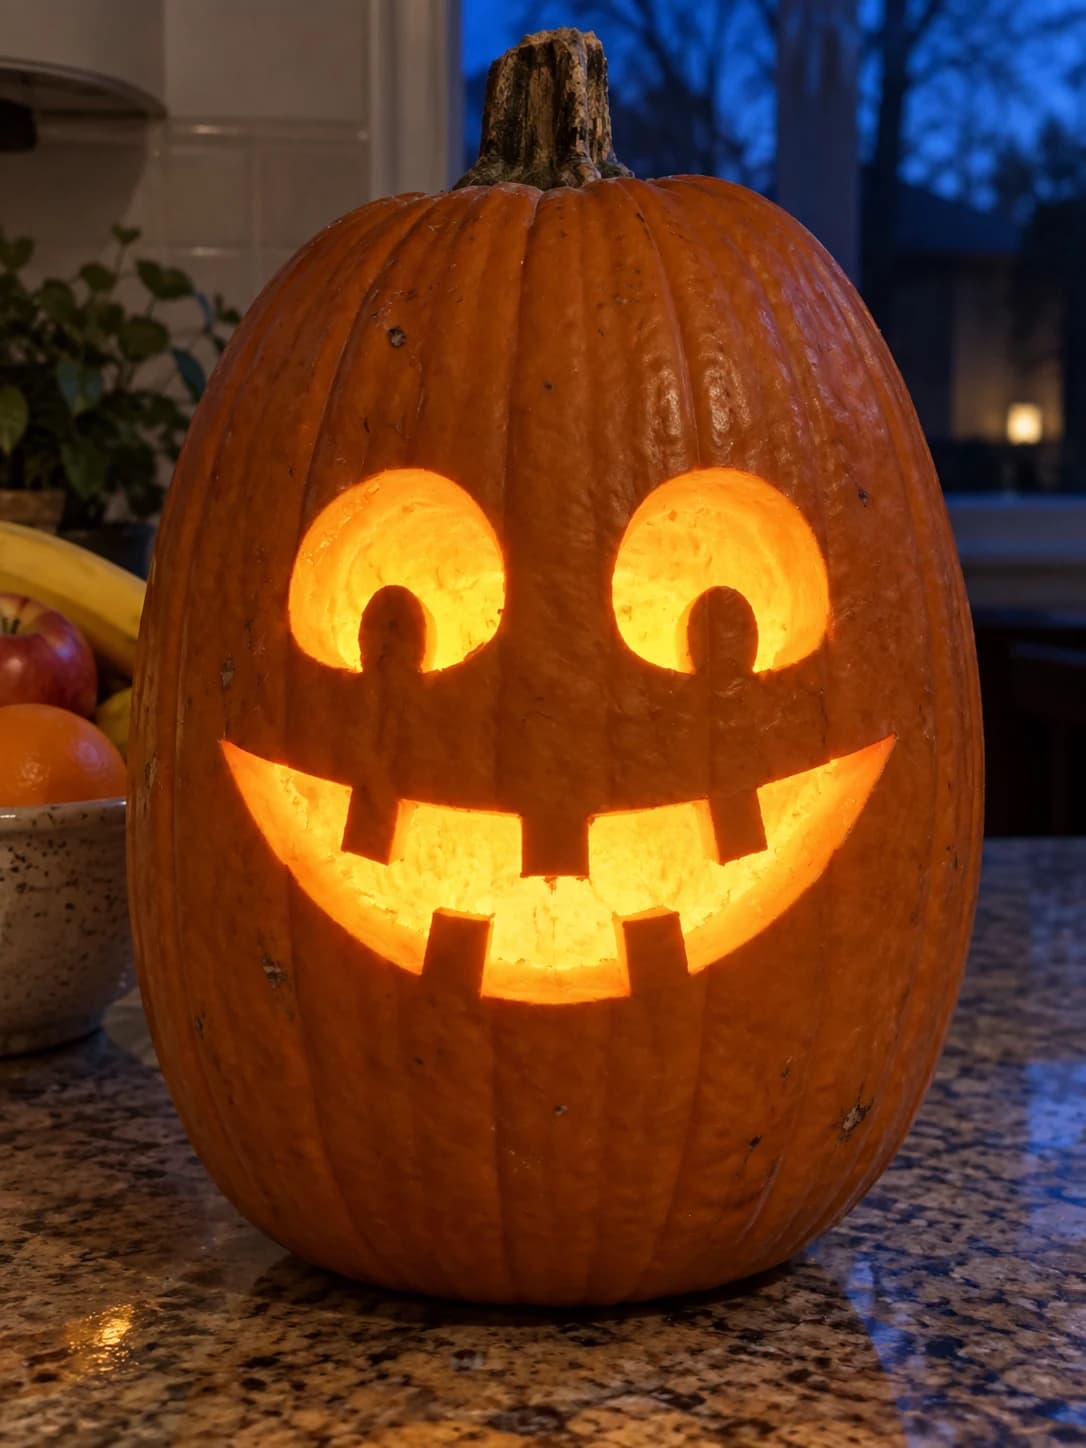
Smiley Jack-o-Lantern Pumpkin Stencil
Two large rounded arch eyes, each with a small notch cut from the bottom edge, sit above a wide U-shaped grin lined with four evenly spaced rectangular teeth in this easy pumpkin stencil. The result is a cheerful, friendly face rather than a sinister one, and when lit the broad open eyes and blocky smile radiate warmth across the porch. The small notches at the base of each eye are the only detail that can break off if carved too aggressively, so score those notch curves gently with the tip of your blade before removing the eye sections.
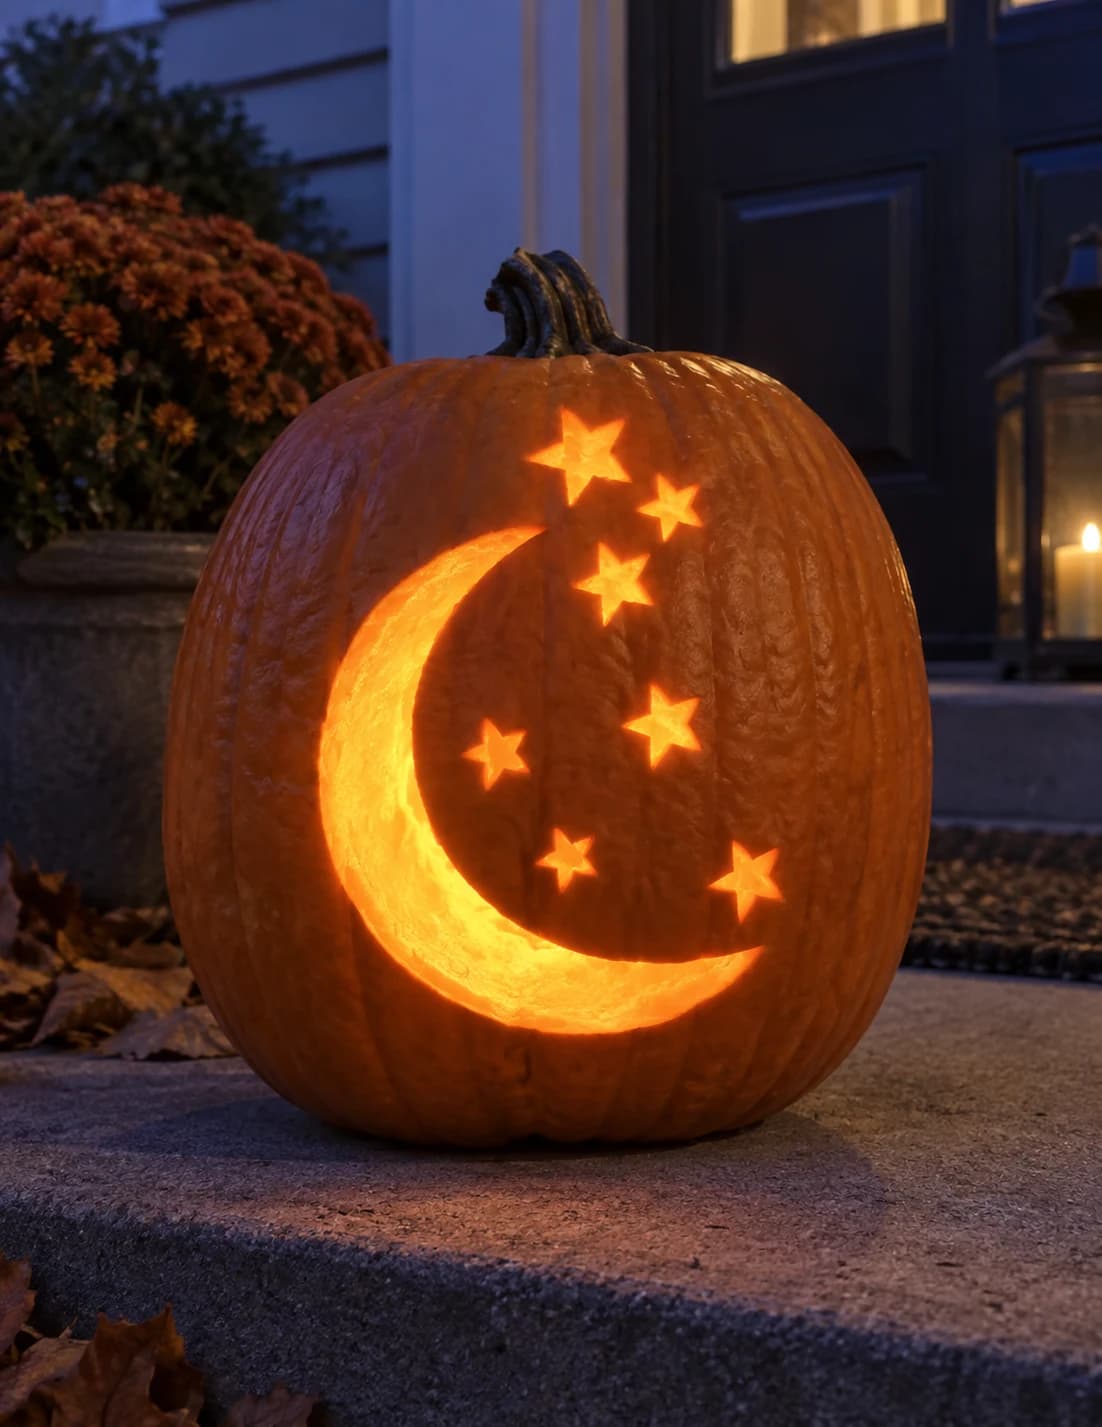
Moon and Stars Pumpkin Stencil
A slim crescent moon curves on the left side of this space pumpkin stencil while seven five-pointed stars of varying sizes are scattered across the open field to its right, all shapes cut through as separate glowing elements. The smallest stars are only an inch or so across and sit as isolated islands on the pumpkin face; carve those tiny stars first with a craft knife tip or small saw while the wall is at full stiffness, then remove the larger crescent and remaining stars in order from smallest to largest.
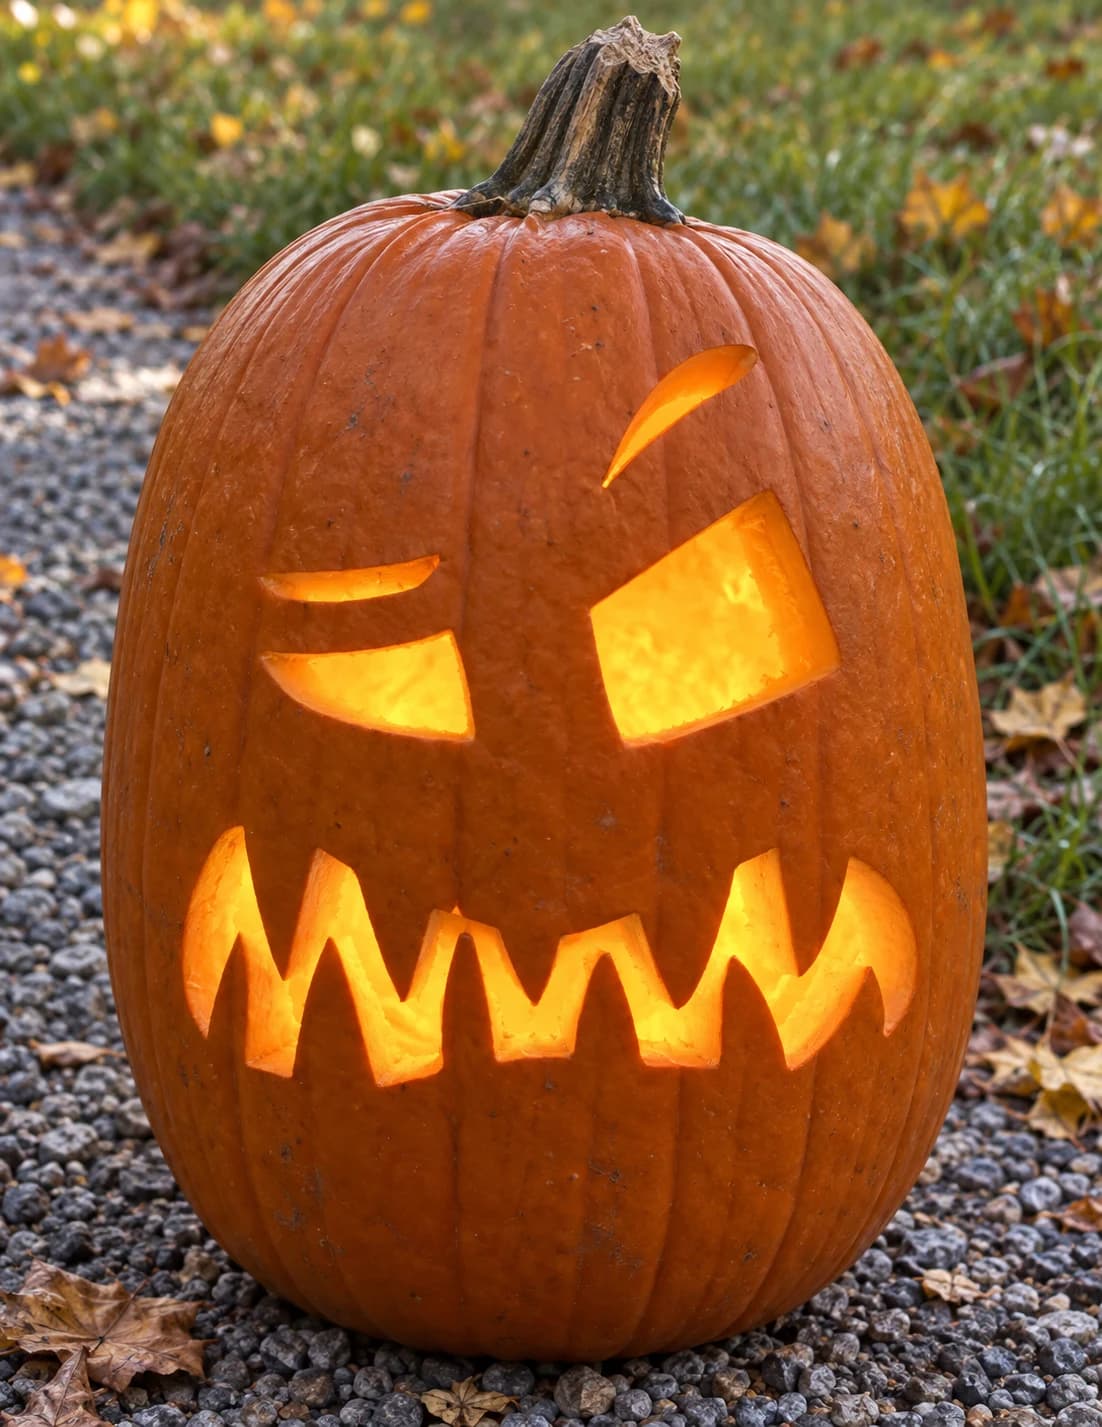
Confused Jack-o-Lantern Pumpkin Stencil
A crooked, puzzled face expression built from two unequal eyes and a wide zigzag mouth forms this easy pumpkin stencil. The left eye is a narrow horizontal slit while the right eye is a large irregular quadrilateral, and both sit below a single small tapered eyebrow. The mouth is a long jagged zigzag cut with peaks and valleys of different heights, giving the whole face a bewildered, off-kilter look. When lit, the mismatched eyes and frantic zigzag line are immediately readable across the yard. Cut the zigzag mouth with short, angled plunge cuts at each peak rather than one long sweeping stroke to keep each point crisp.
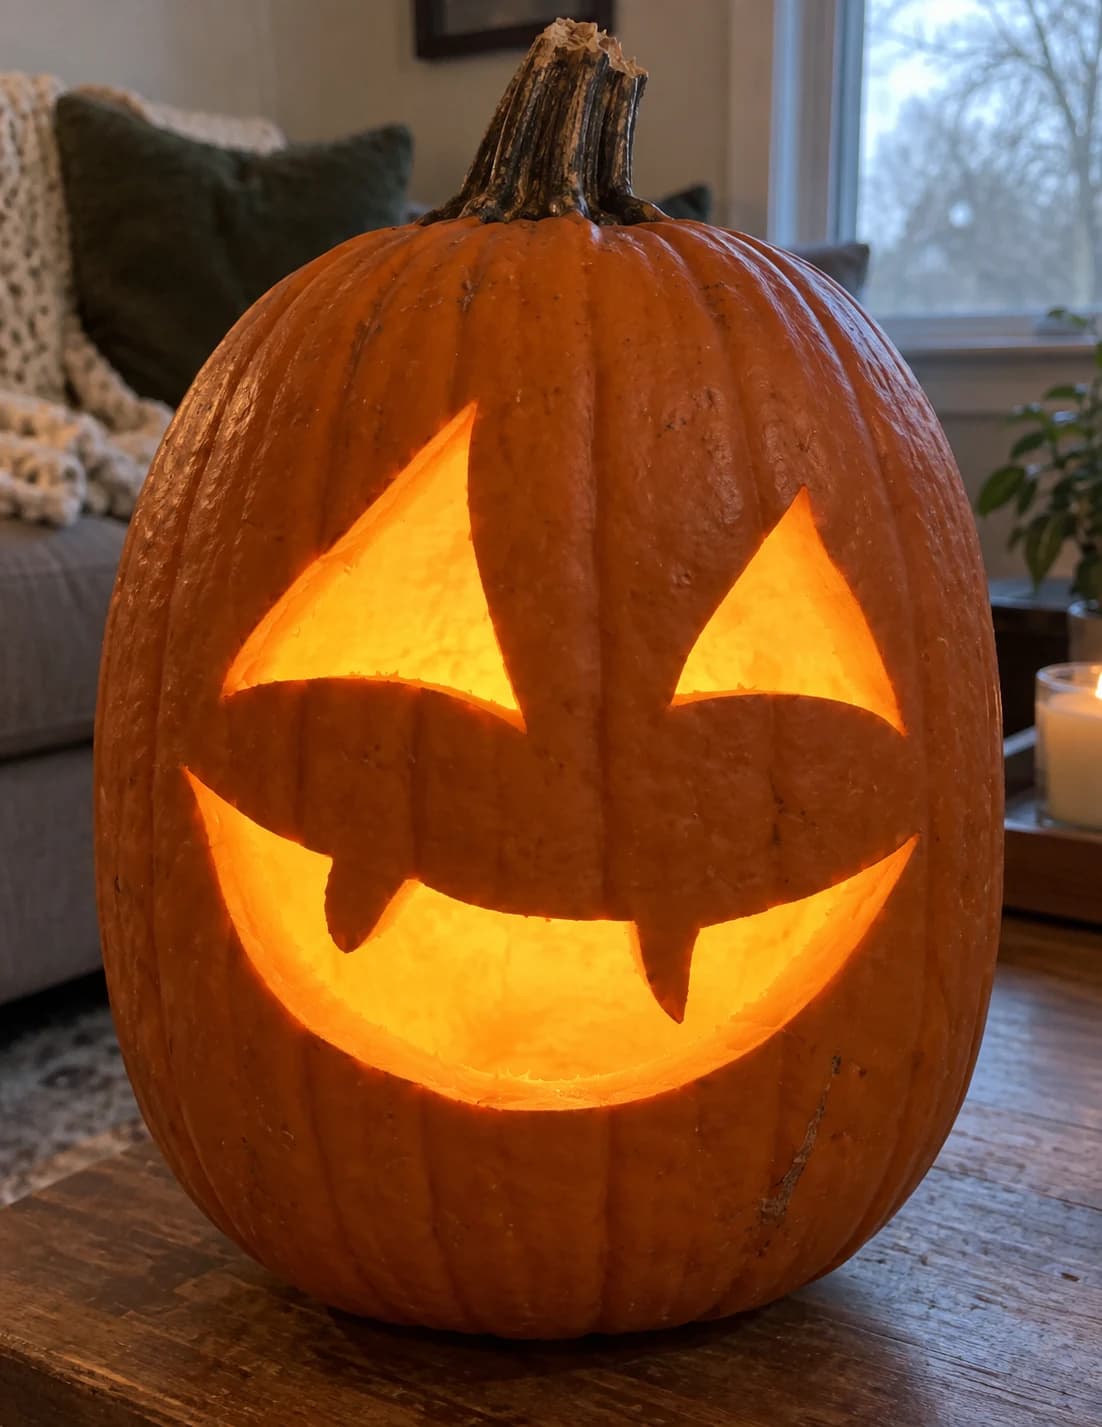
Vampire Fangs Pumpkin Stencil
Three simple shapes make up this easy vampire pumpkin stencil: two large angular eye cuts that taper to sharp inner corners and a wide crescent grin with two pointed fangs hanging from the upper lip. The design is spare and confident, leaving most of the pumpkin surface solid, so the three glowing openings read as a sinister smirk from a distance. When lit, the fang tips glow brightest; cut the fangs from the inside of the mouth outward so your blade exits the shell cleanly without cracking the narrow points.
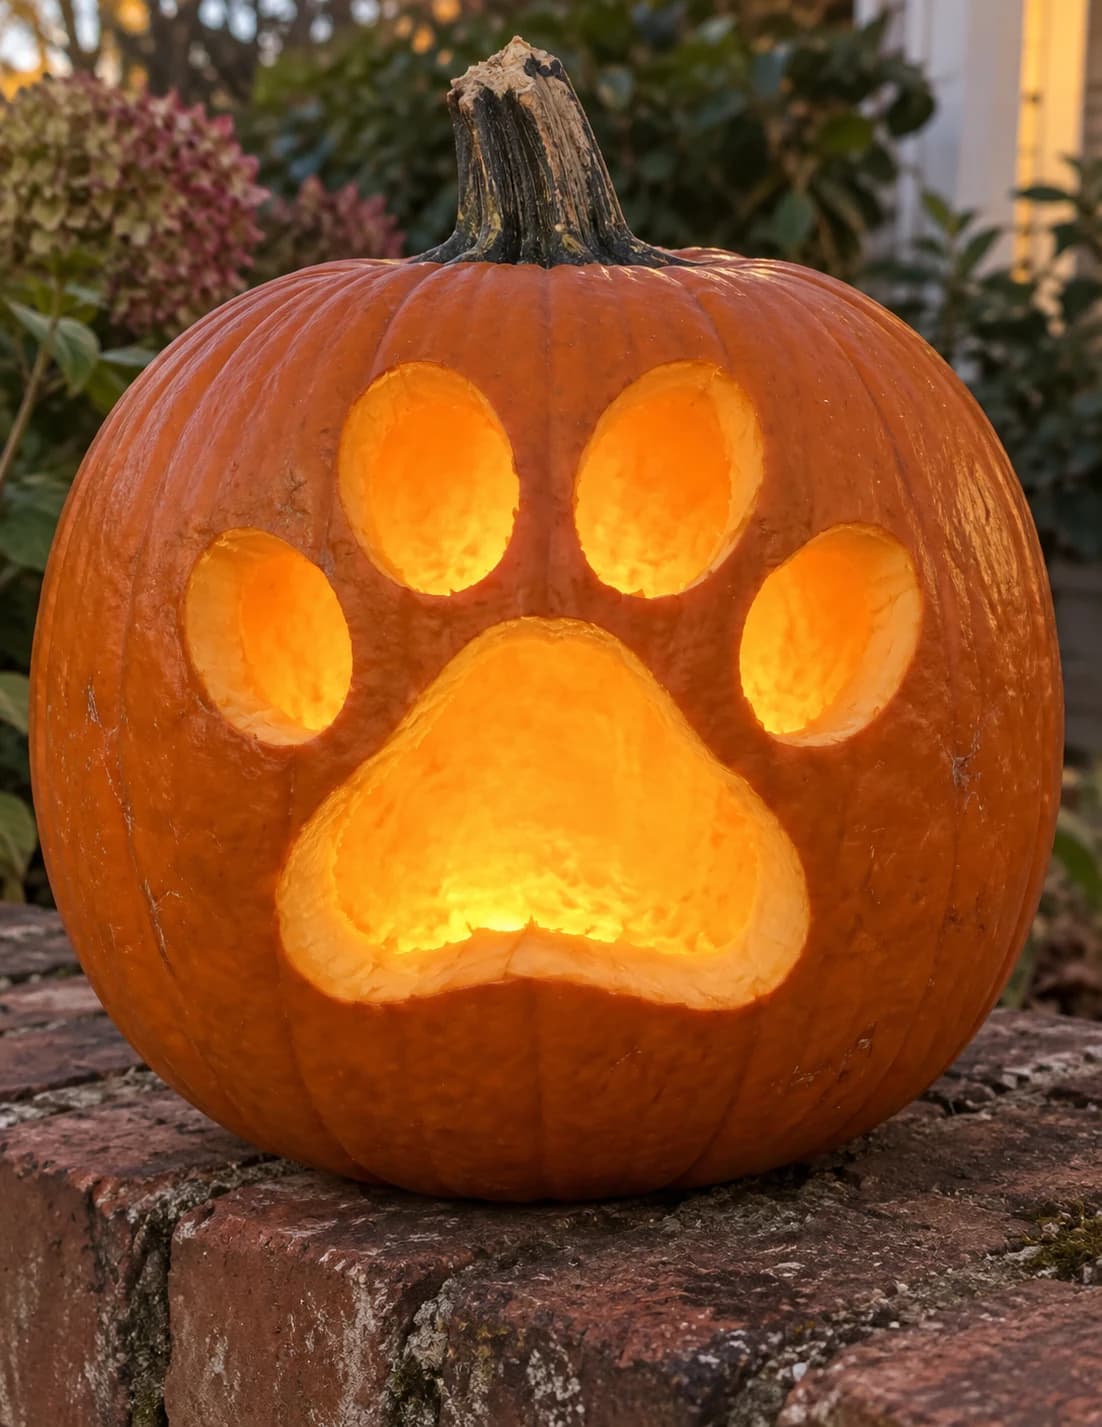
Dog Paw Print Pumpkin Stencil
Another large dog paw print with one wide main pad and four rounded toe pads arranged above it makes up this easy dog pumpkin stencil, very similar in composition to other paw designs but with slightly wider spacing between the pads and a broader main pad shape. All five elements are cut through as open shapes that glow when lit, the gaps between them forming the defining lines of the print. Carve the two center toe pads first rather than starting at the edges, since the inner cuts require more maneuvering room before the outer pieces are removed.
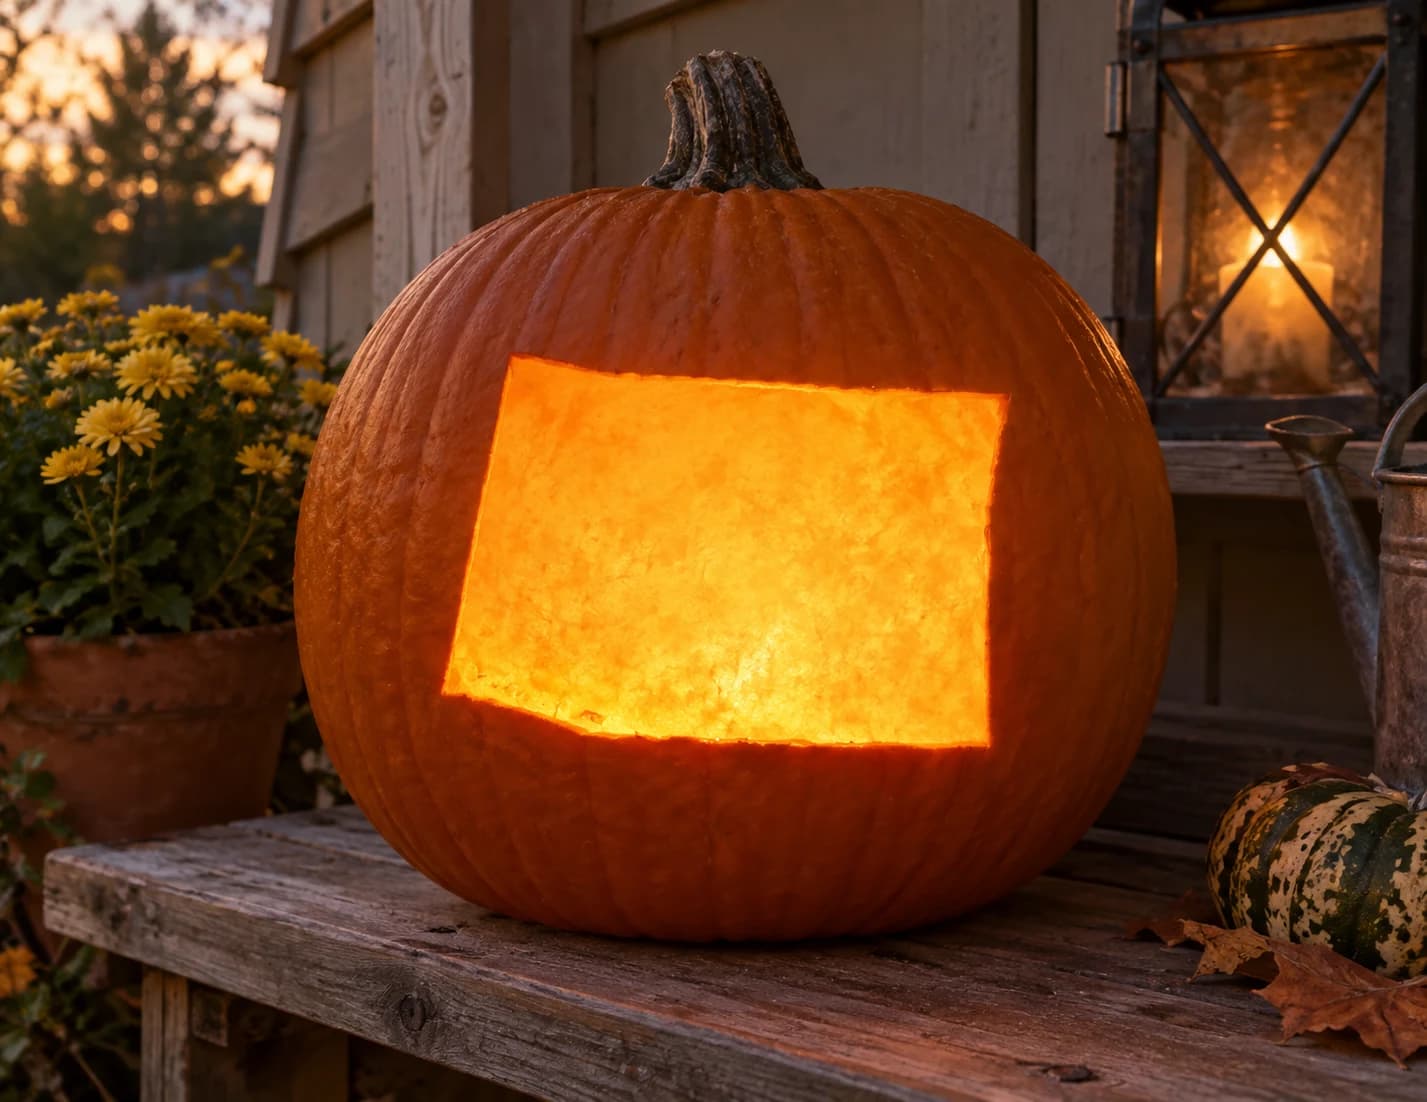
Colorado Pumpkin Stencil
Colorado's nearly rectangular state outline, with its straight top and sides and the slight irregular notch at the lower-left corner, is the entire design of this easy pumpkin stencil. The silhouette cuts out as one large solid piece, leaving the surrounding pumpkin skin intact, so the glowing state shape is the focal point. Because the cutout is large and the border thin, carve slowly along the bottom edge where the curve of the pumpkin is tightest to prevent the shell from cracking under pressure.
Maple Leaf Pumpkin Stencil
A single large maple leaf fills most of the stencil, tilted slightly to the right with its stem curving down and left. The leaf has seven pointed lobes with gently serrated edges and a central vein ridge left solid, creating a two-section open cut on each side of the midrib. Lit from inside, the two halves of the leaf glow symmetrically while the narrow central vein remains as an unlit orange line. Keeping that vein bridge intact is the key structural challenge: cut the left lobe section completely before moving to the right so you're never cutting beside an already-open neighbor.
100 Emoji Pumpkin Stencil
Three bold, brushstroke numerals spell out "100" in rounded, hand-lettered script, with two sweeping underlines below in the classic emoji style. The entire design is a single solid cut-out: all five shapes (the numeral strokes and both underlines) are pierced through so the candle glow outlines each curved form against the dark interior. Because the two underline bars are slender and float independently, cut them last so the surrounding pumpkin wall keeps them supported during the rest of the carve.
Two Maple Leaves Pumpkin Stencil
Two maple leaves are shown on the same stencil sheet, stacked vertically: the upper leaf faces right with its stem pointing up, the lower leaf faces left with its stem trailing down. Both are cut as single solid silhouettes with the pointed maple-lobe edges forming the outline. Lit from inside, the two glowing leaf shapes overlap slightly at center, giving the pumpkin a layered, scattered-leaves feel. Carve the upper leaf first and fully remove it before starting the lower leaf so the two openings don't inadvertently merge along their closest edges.
Goldfish Pumpkin Stencil
A plump goldfish shown in profile swims to the right: a rounded body, a large flowing tail fin swept back dramatically, a smaller dorsal fin on top, and a single pectoral fin near the belly. A small negative-space teardrop inside the body suggests the gill line. The whole fish is a single connected cut-out, so the lit pumpkin casts one glowing fish silhouette against the dark wall. Keep the narrow pectoral fin intact as long as possible and cut it free only after the main body is removed.
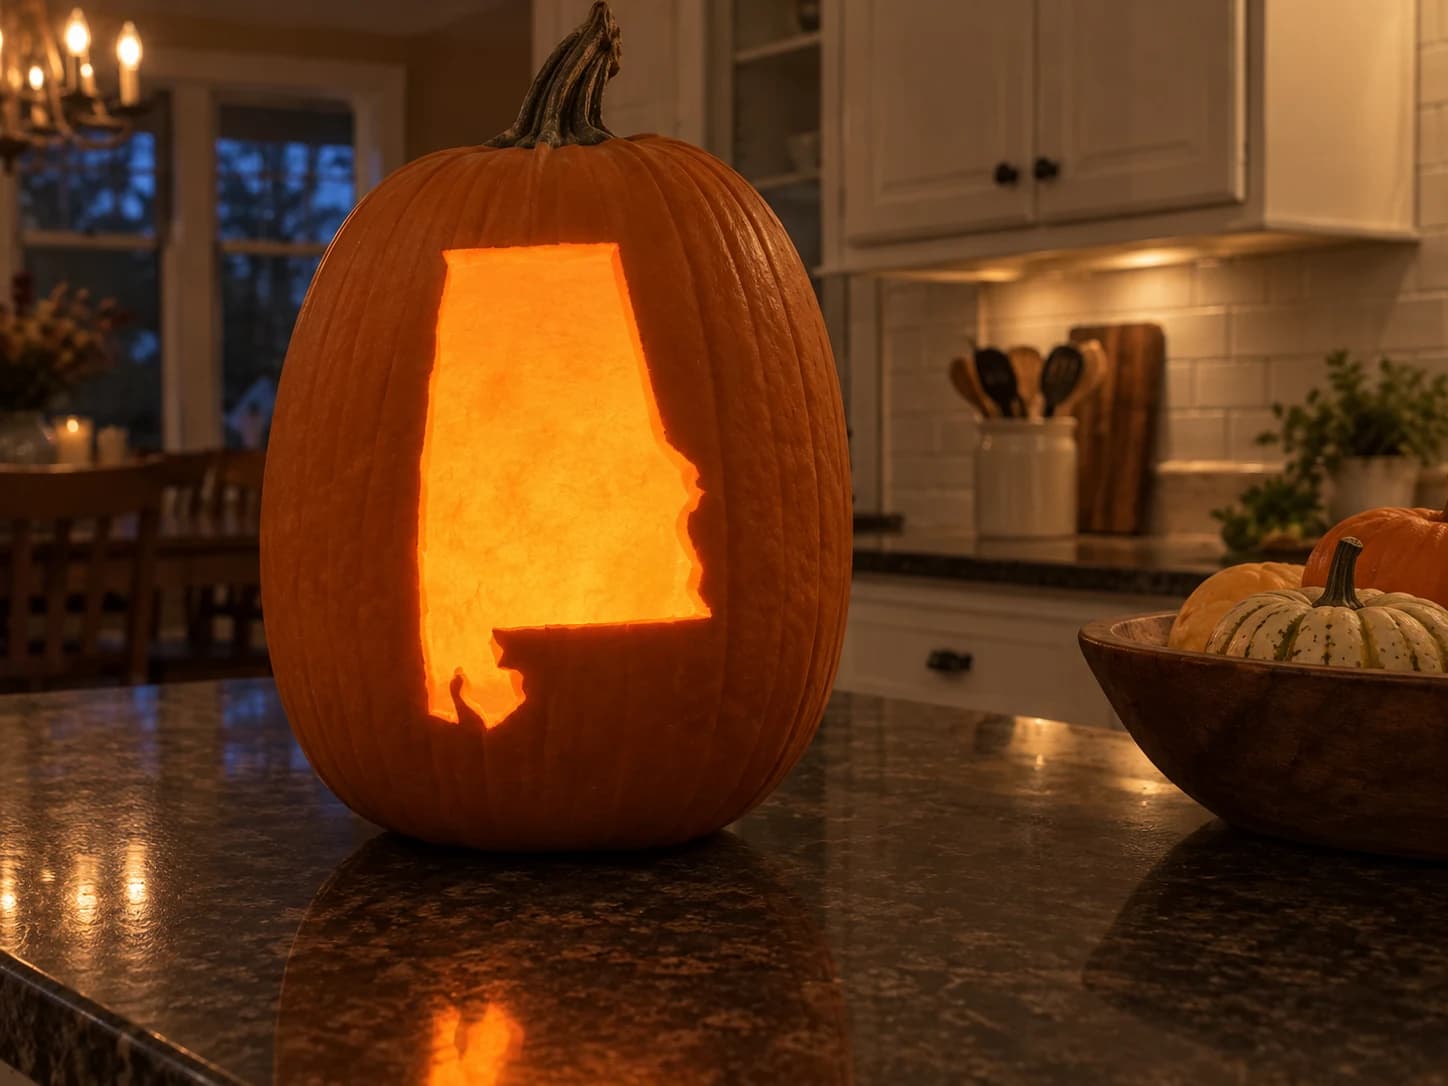
Alabama Pumpkin Stencil
Alabama's state outline is rendered as a single solid cut-out shape: the mostly rectangular form with a distinctive notched bottom corner for the Gulf Coast panhandle and a small stepped indentation along the right side for the Tombigbee River border. Carving it removes the whole interior in one piece, leaving a glowing state-shaped window in the pumpkin wall. Thin your pumpkin wall to about a half-inch before tracing so the notched lower-left detail at the coast cuts cleanly without cracking.
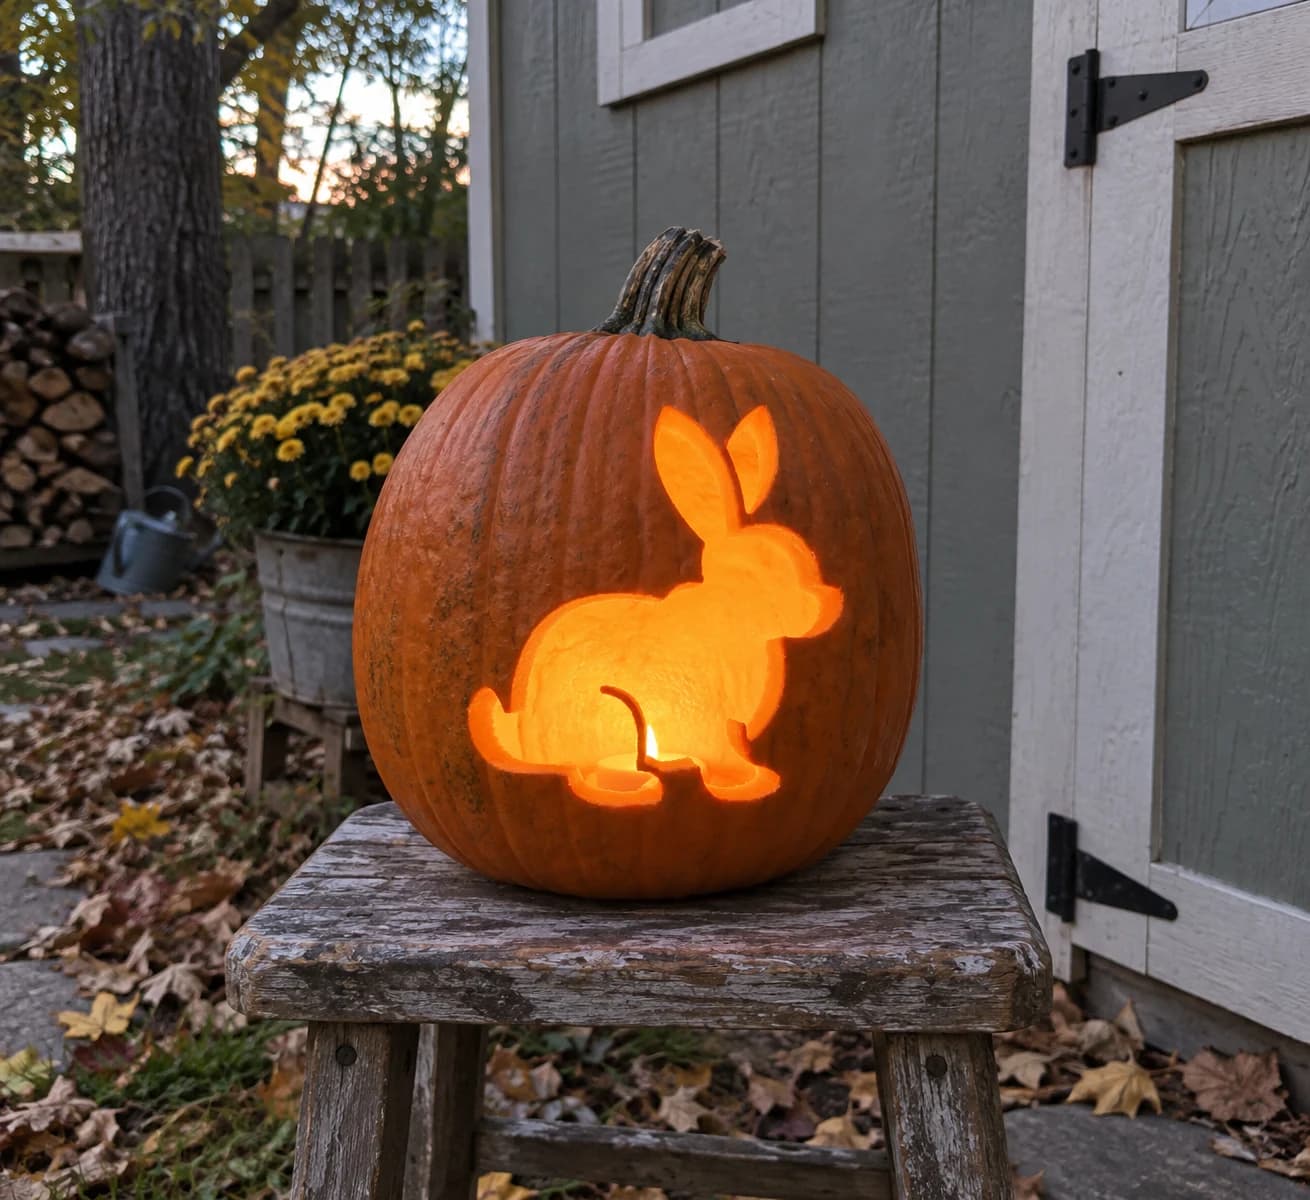
Sitting Bunny Pumpkin Stencil
A plump, sitting rabbit faces left in clean silhouette for this beginner-friendly pumpkin stencil, with two tall ears, a rounded body, and chunky hind feet all carved as a single open shape. The entire figure is pierced through, so the warm glow of a candle outlines the bunny against the night. Because the ears are connected only at the base, cut them last to avoid accidentally snapping the narrow junction before the rest of the design is secure.
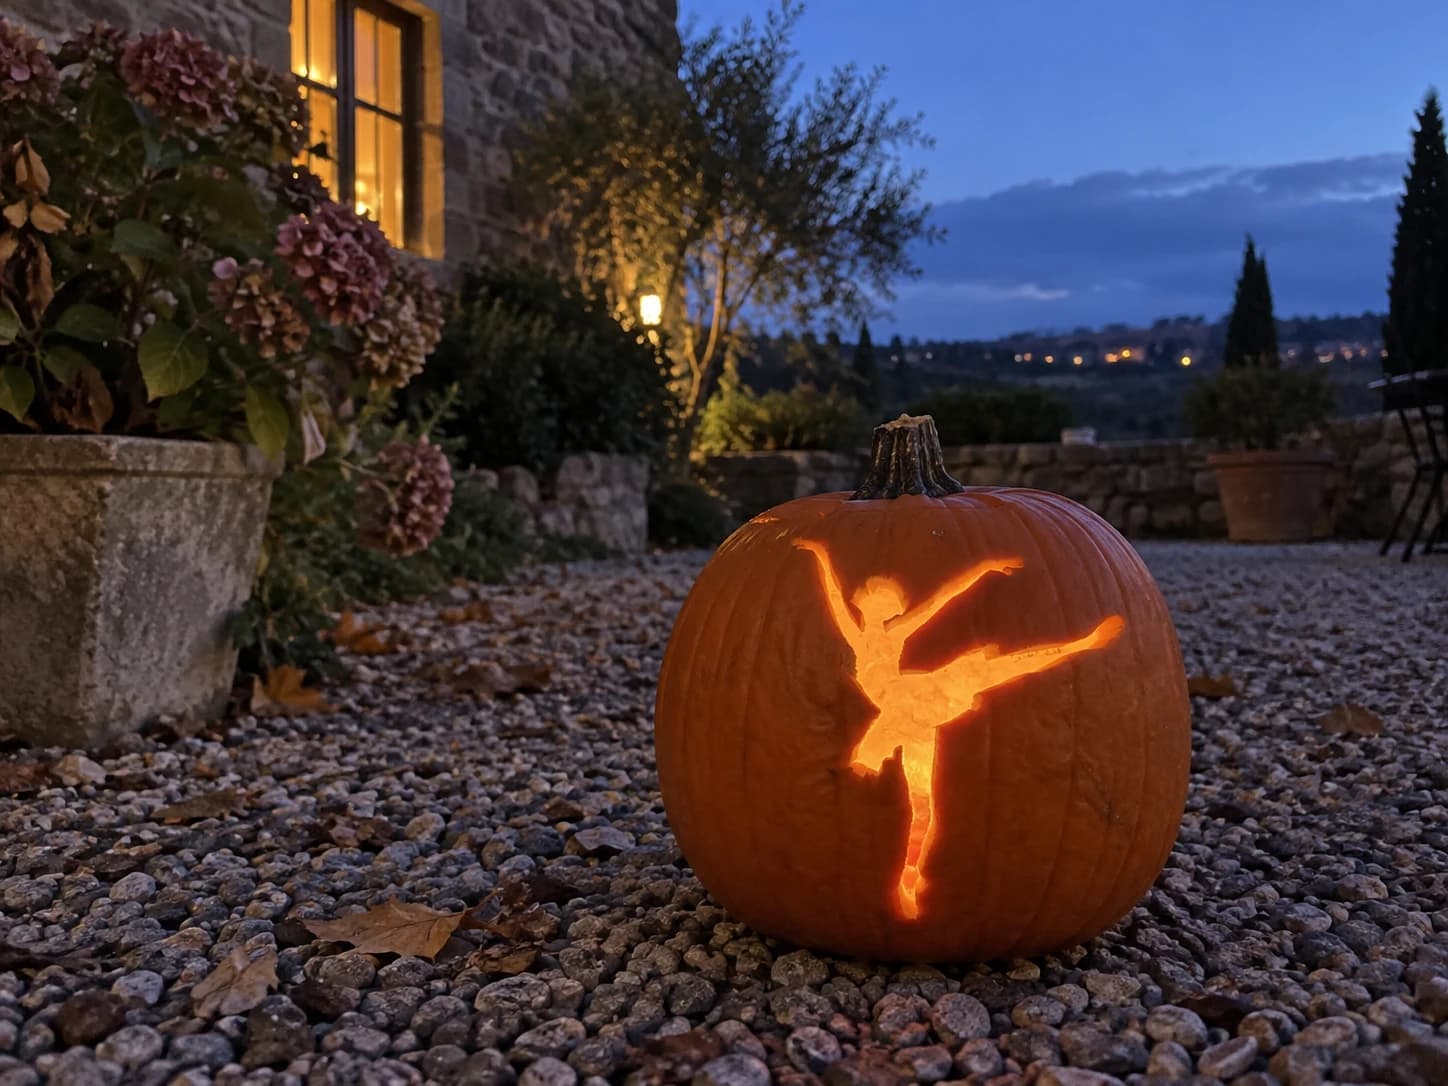
Ballerina Pumpkin Stencil
A ballerina in a lateral leg extension is shown as a clean solid silhouette: one leg planted on pointe, the other raised and extended out to the side at hip height, one arm arching overhead and the other sweeping forward, and a short tutu skirt visible at the waist. The entire figure is one connected cut-out with no interior detail lines, so the lit pumpkin casts a crisp dancer outline. The extended side leg and arching arm reach close to the stencil edges, so place the figure centered on the pumpkin and score the outstretched limb tips last to avoid accidental tears.
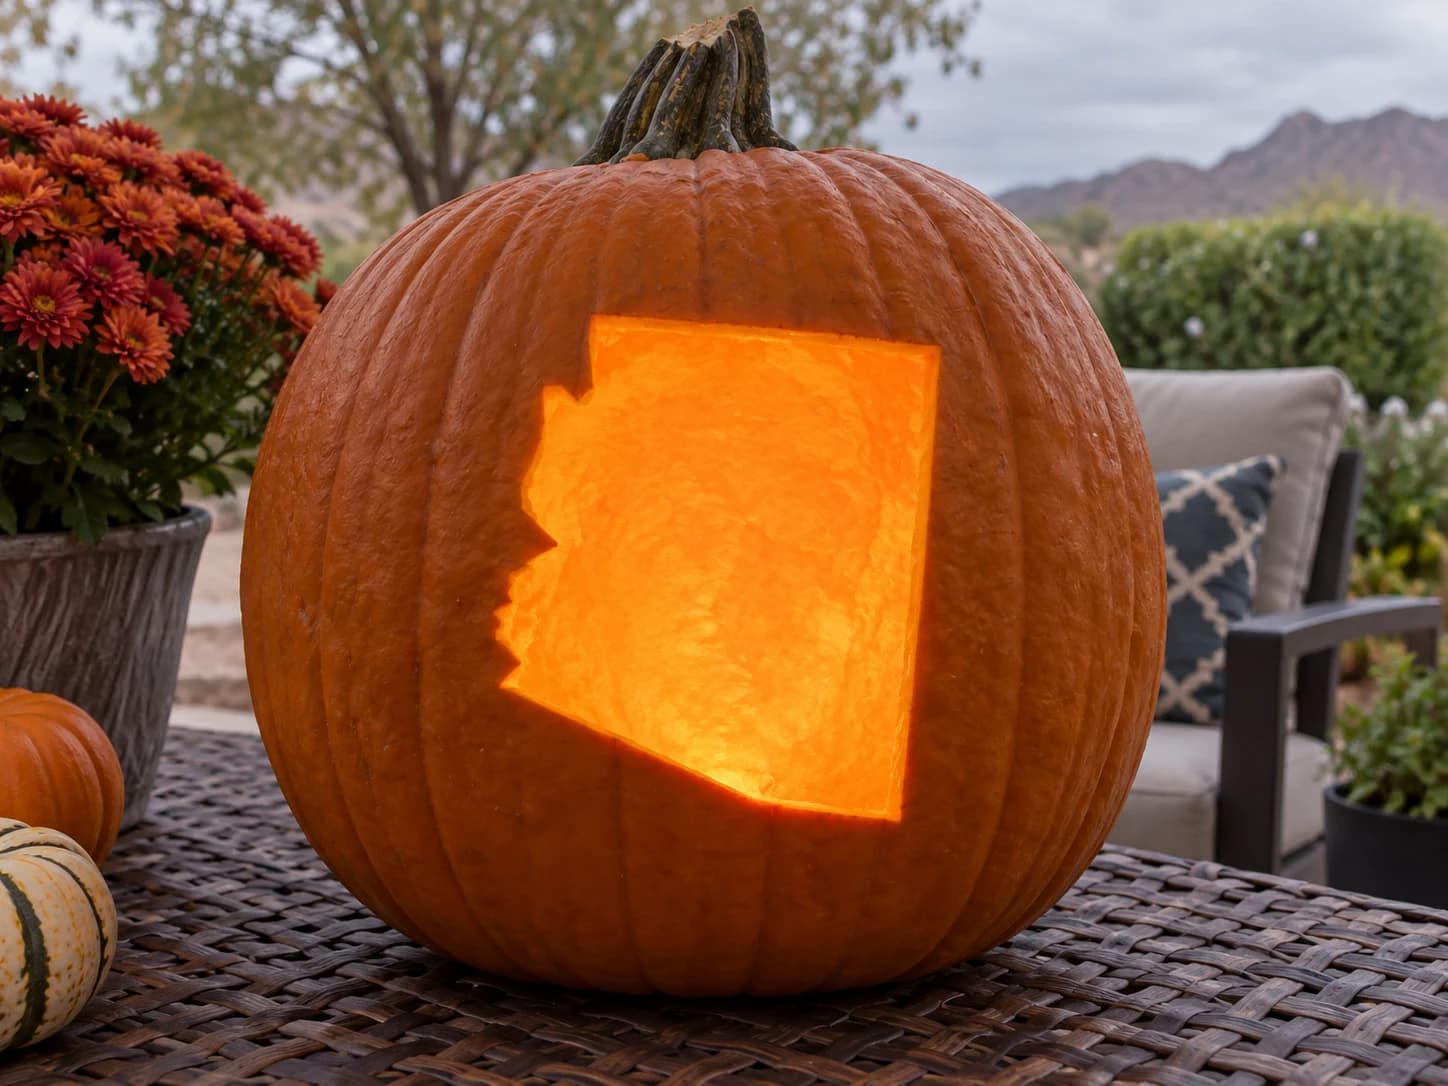
Arizona Pumpkin Stencil
Arizona's outline is a study in near-perfect geometry: a large rectangle dominates the upper three-quarters, then the lower-left corner steps inward twice to form the staircase silhouette of the Colorado River border with California and Nevada. The right side is a clean vertical drop. The whole shape is removed as a single piece, casting a bold rectangular-with-steps glow on the pumpkin interior. Before cutting, score the two short horizontal notch lines on the lower left last, as those tight inside corners are prone to tearing if the blade drifts.
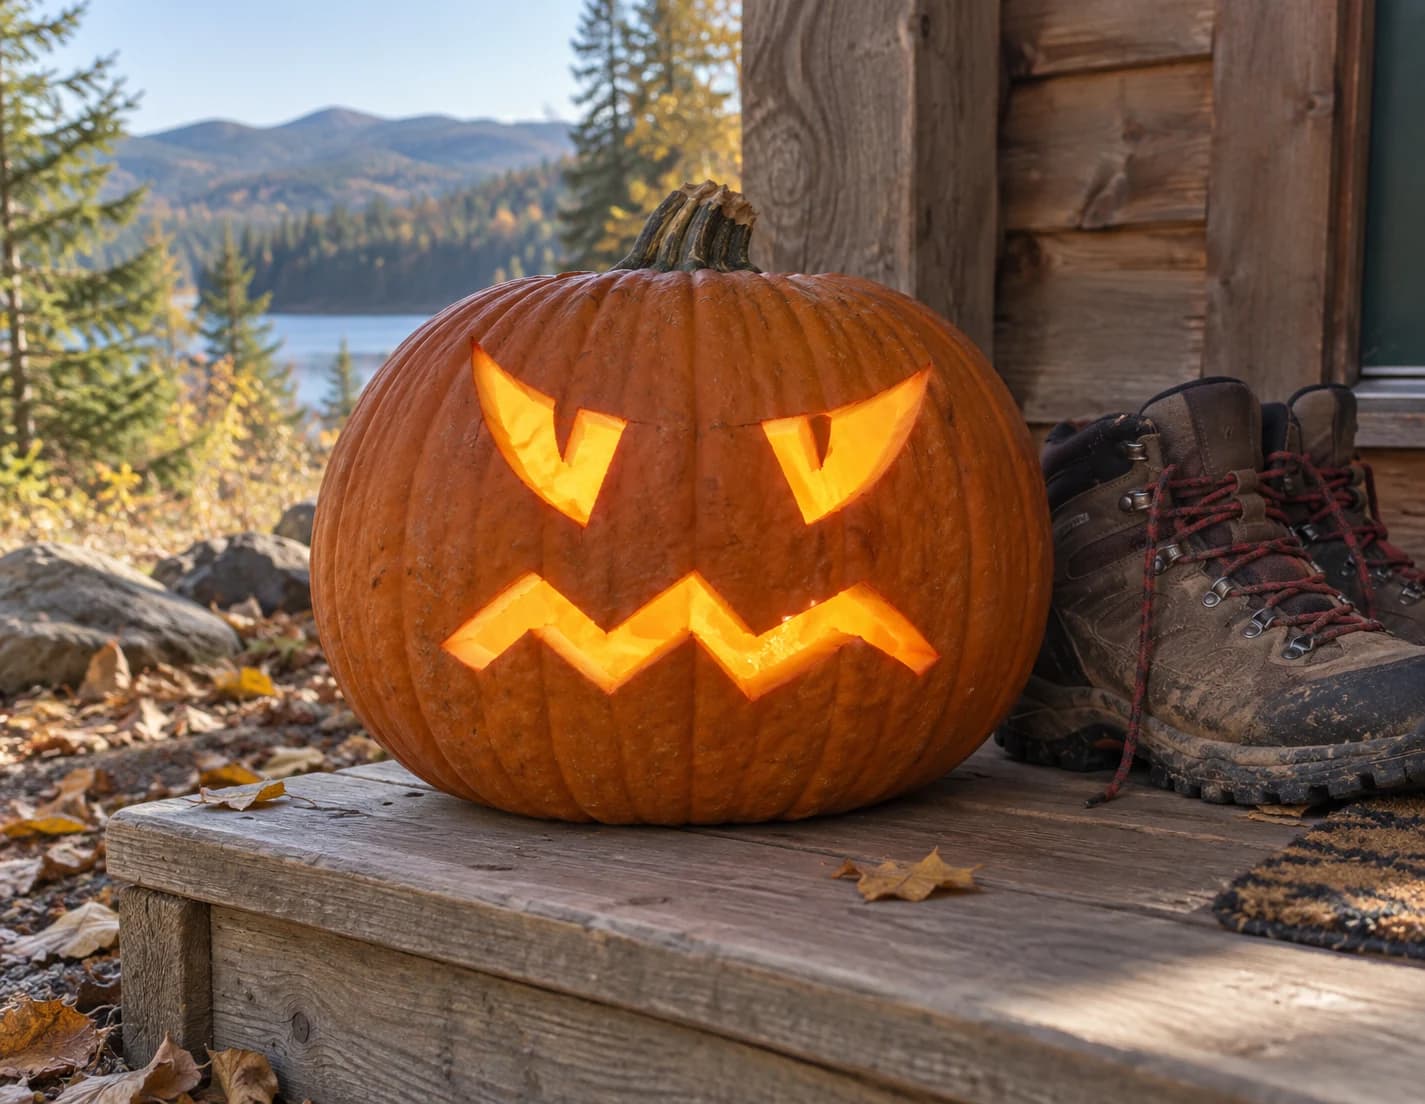
Angry Pumpkin Face Pumpkin Stencil
Two swept, blade-like eye shapes angle sharply inward with small notch cutouts at their inner corners, giving the jack-o-lantern an intense furious glare. Below them, a wide zigzag mouth with four sharp points runs the full width of the face. All five pieces are large and open, making this a fast, beginner-friendly carve where the lit pumpkin reads as pure aggression. Cut the two eye shapes before the mouth so you can judge the spacing while the lower pumpkin wall is still fully solid.
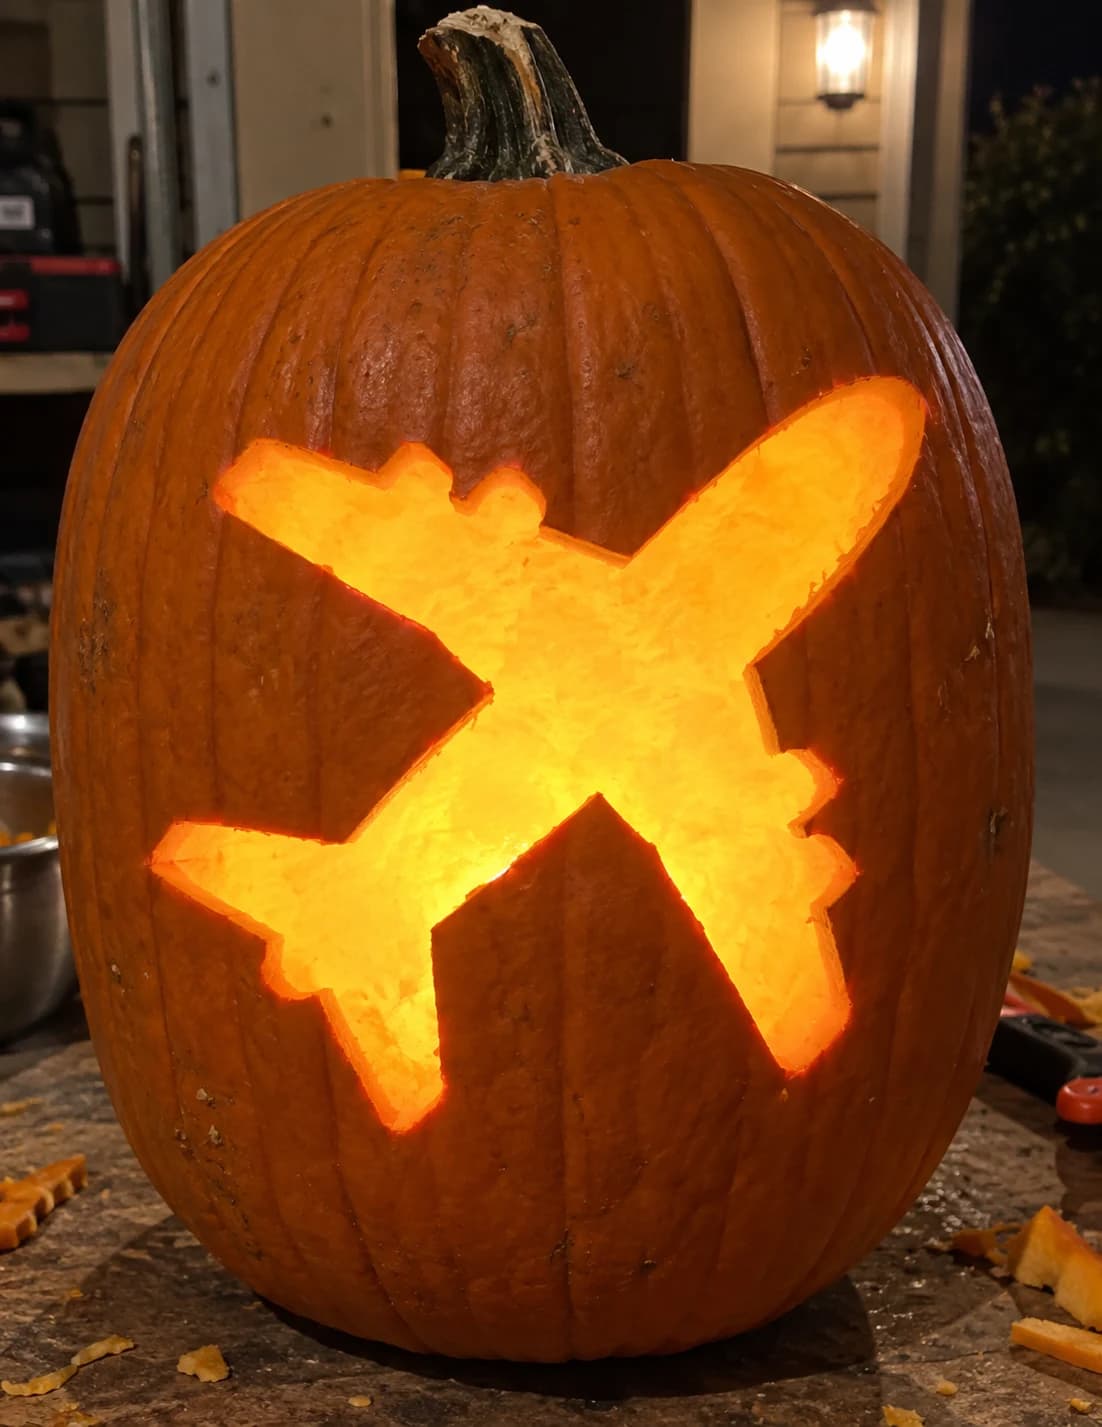
Airplane Pumpkin Stencil
A commercial jet airliner shown from a three-quarter overhead angle is rendered as one clean silhouette: swept wings, twin engines under each wing, a small T-tail, and a stubby nose all read instantly when lit. The entire plane shape is carved away as a single large negative space, so the pumpkin wall forms a crisp orange outline around the aircraft. Because the wingtip points are narrow and fragile, score those corners last and use a fresh blade to keep the tips from tearing.
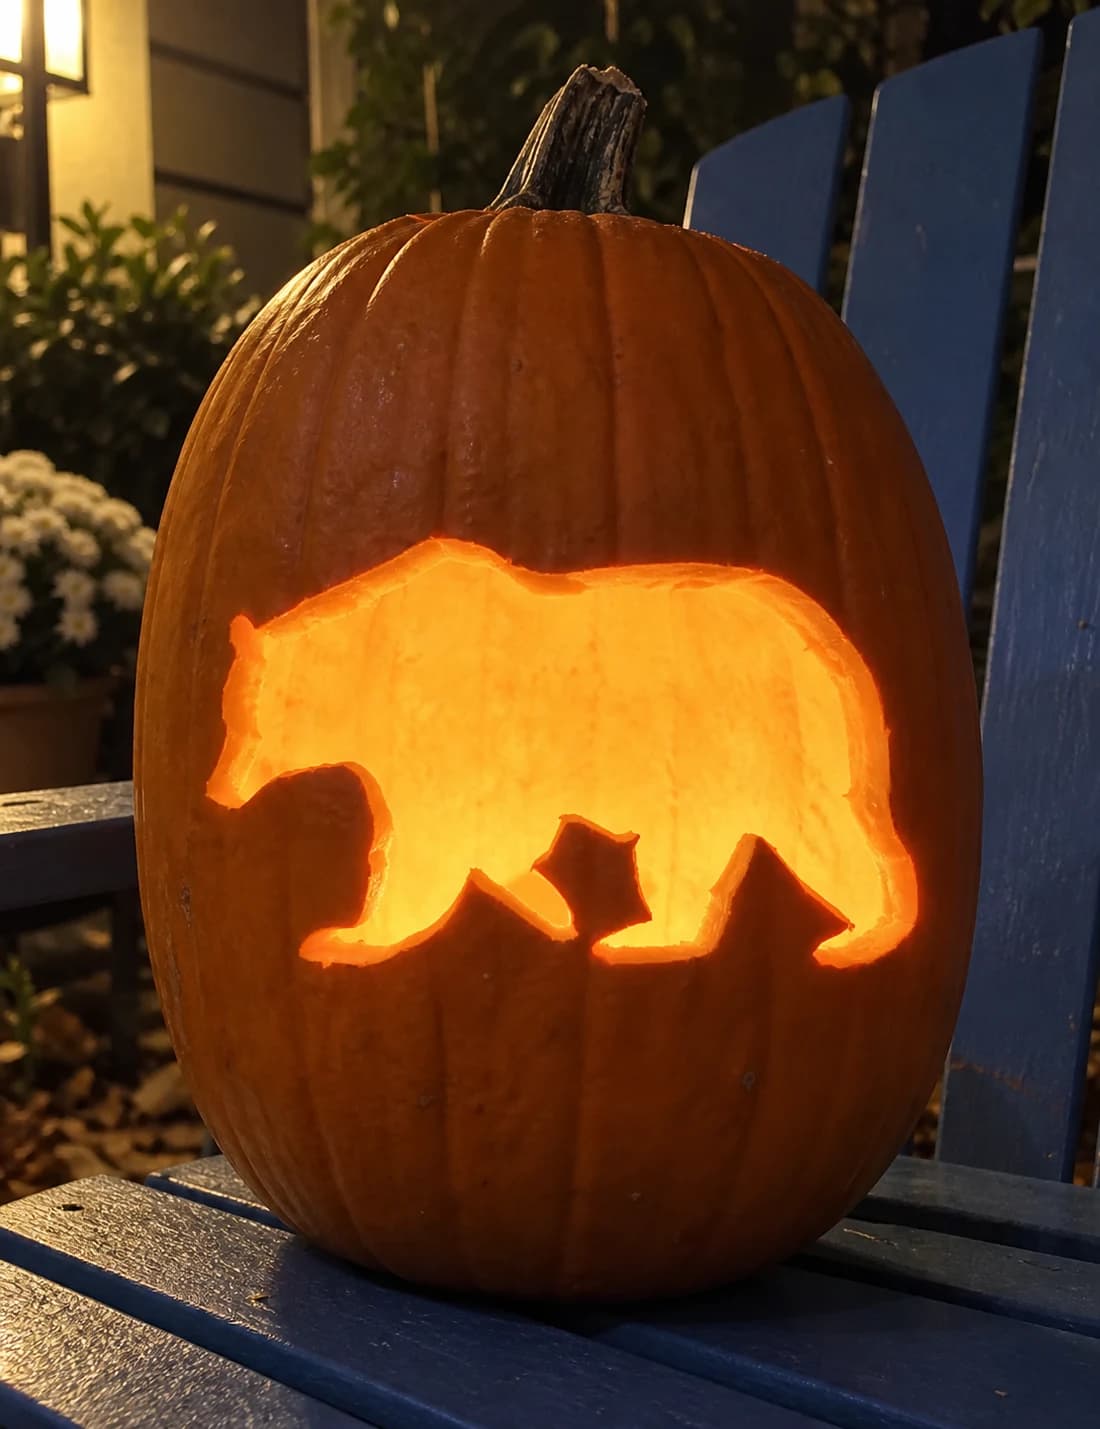
Bear and Cub Pumpkin Stencil
A bear silhouette pumpkin stencil showing a large adult bear in full profile stride, head slightly lowered, four legs planted mid-walk, with a small bear cub silhouette tucked between two of the adult's legs. Both figures are carved through as a single connected cut-out that glows solidly when lit. The narrow gap between the cub and the adult bear's belly is the most delicate section; cut around the cub's outline with a thin blade before opening the larger bear body to avoid accidentally removing the cub when you pull out the big piece.
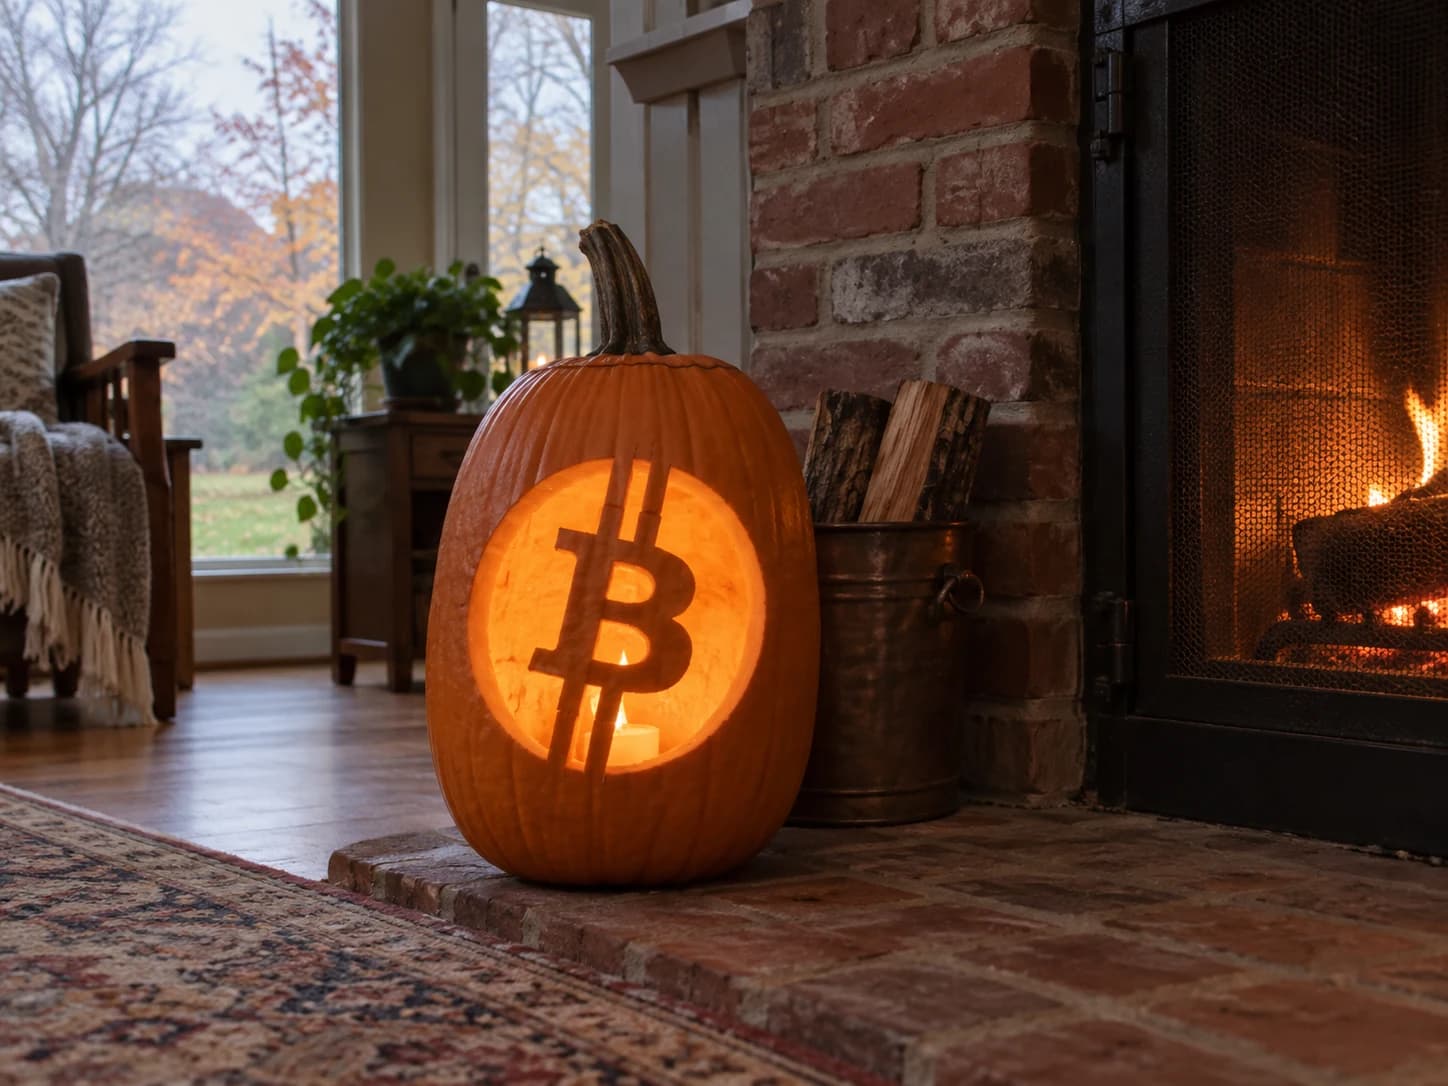
Bitcoin Symbol Pumpkin Stencil
A cryptocurrency pumpkin stencil featuring the Bitcoin symbol: a large solid circle with the bold B letter and its two vertical strokes carved through as the glowing foreground, while the surrounding ring of the coin is also cut away, creating a framed logo effect. The B's counters, the two enclosed oval spaces inside the letter, remain as small solid orange islands. Carve the outer ring of the circle first to establish the coin frame, then carefully cut around both B counter islands from the outside in to keep them anchored.
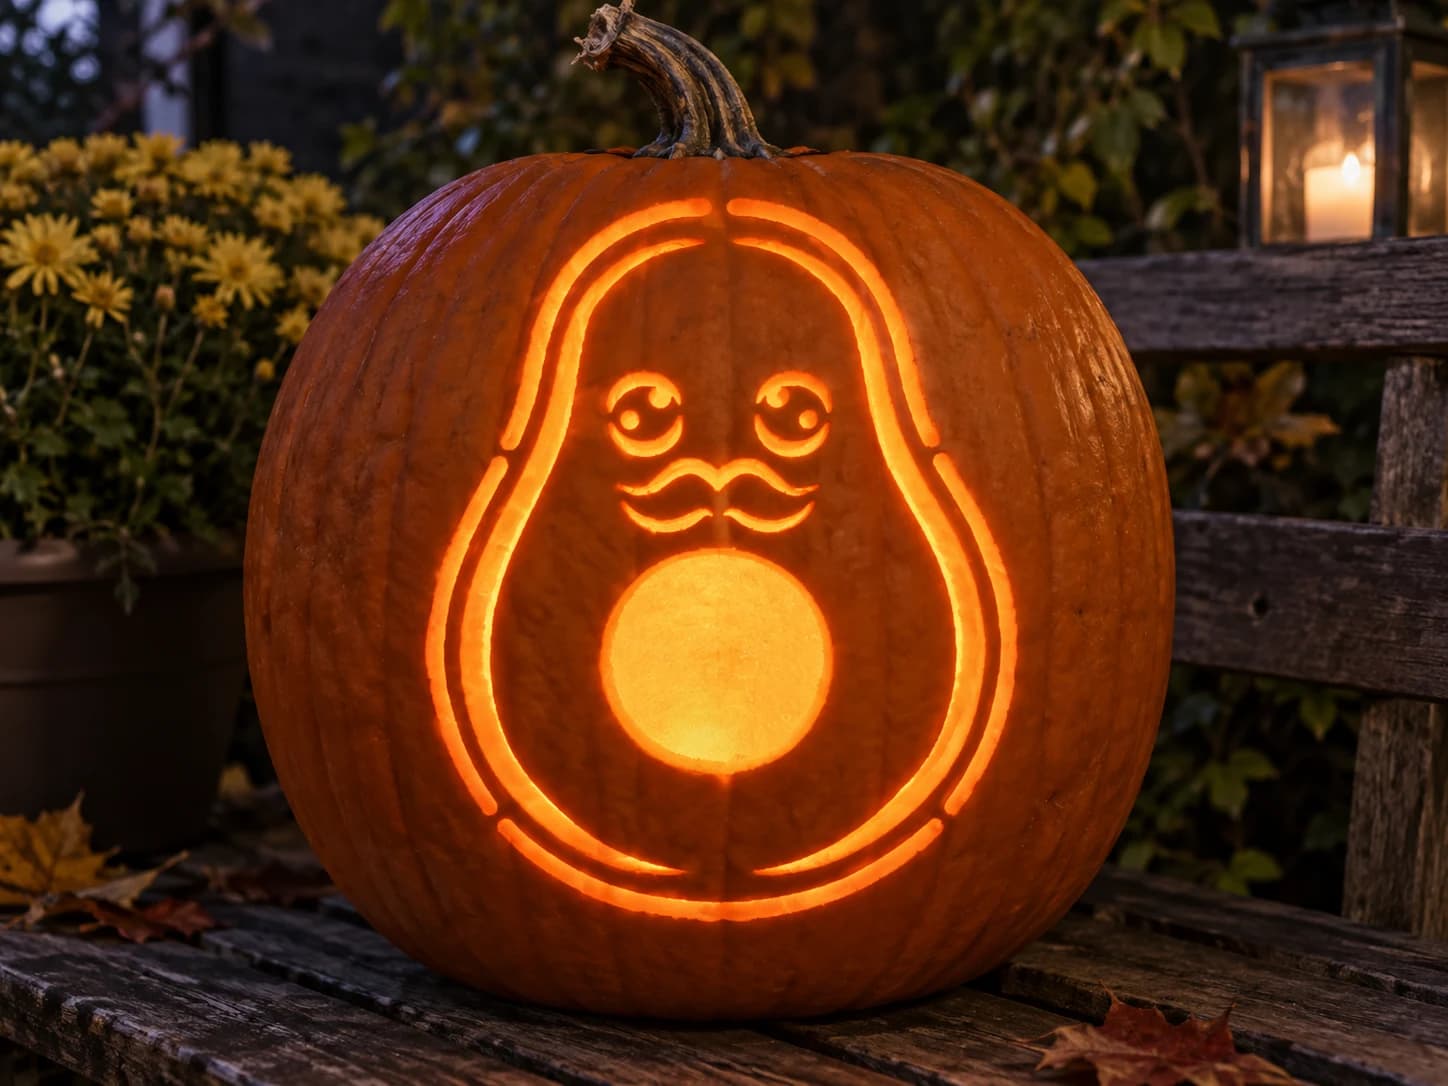
Avocado Face Pumpkin Stencil
An avocado half shown face-on has been given a funny mustachioed face: two swirled C-shaped eyes with circular pupils above, a double-curve mustache beneath them, and the large round pit as a center circle below the face. The outer pear-shape of the avocado is defined by two curved parallel lines (the skin edge), and the pit and face elements are all pierced through while the skin-line borders remain solid. Lit from within, the pit glows as the brightest element and the curly mustache reads as a warm squiggle above it. Carve the small circular mustache curves before removing the large pit circle, since the pit's large opening would otherwise flex the surrounding area.
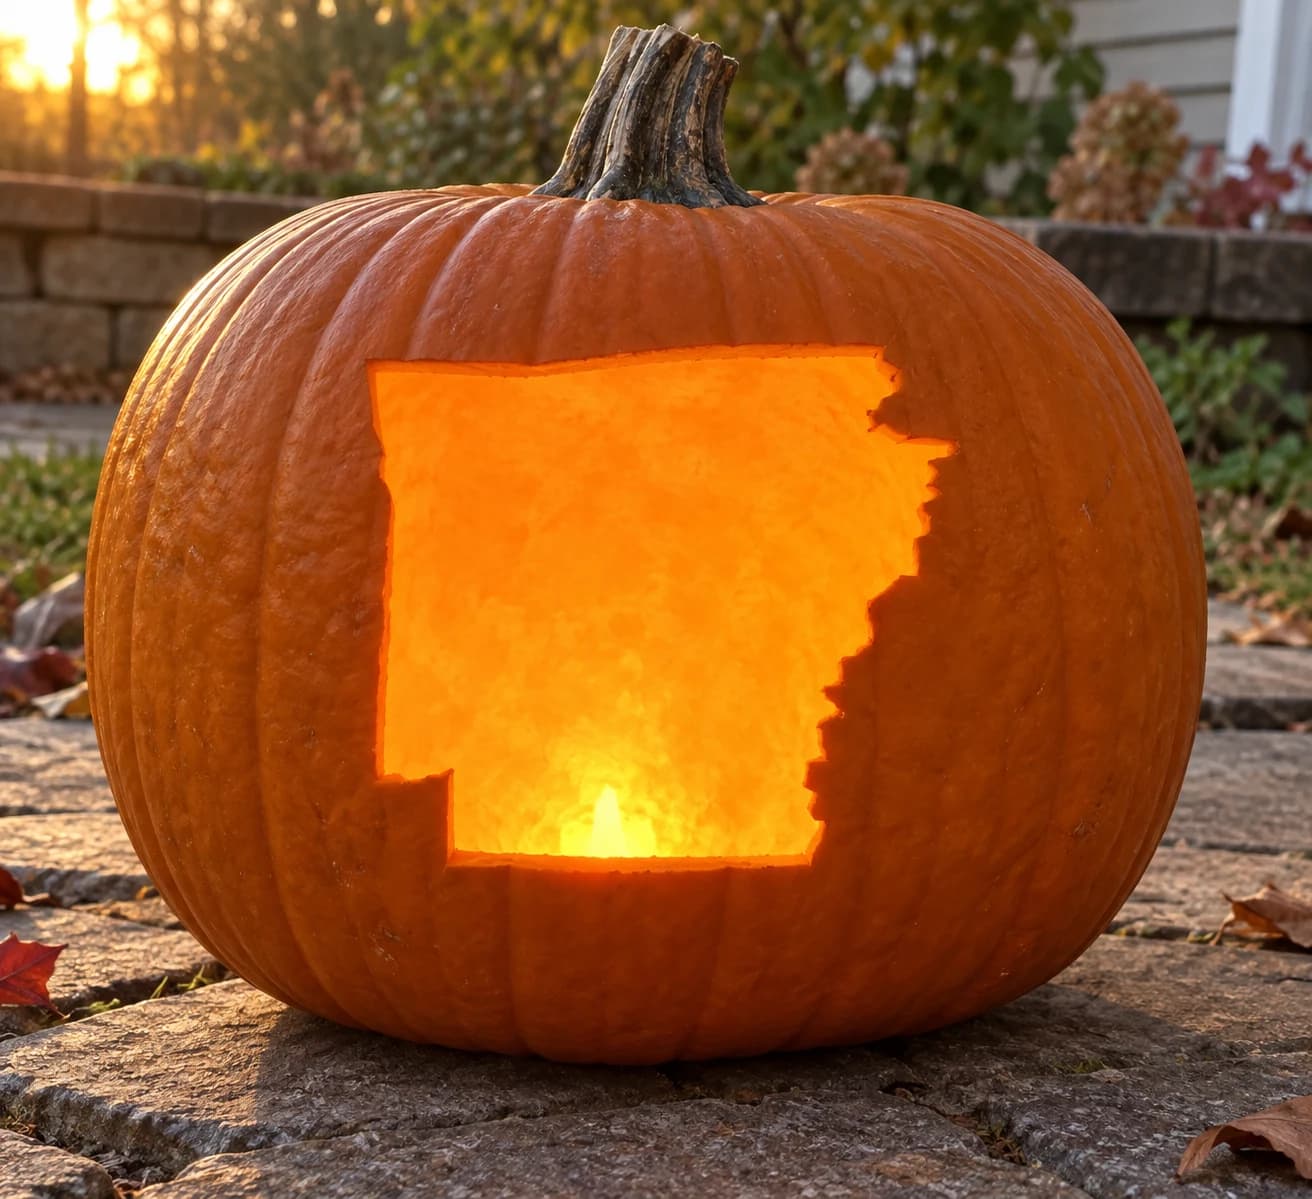
Arkansas Pumpkin Stencil
Arkansas's outline has a wide rectangular top with a slightly irregular northern border, then the right side descends in a stair-step pattern where the Mississippi River traces a series of small notches and jogs down to the southeast corner. The bottom edge is straight and the lower-left corner drops into a narrow rectangular peninsula. Carved as a single open shape, the lit pumpkin glows with the complete state silhouette including every river-notch detail. Use a thin saw blade along the right-side Mississippi notches and make each step cut in one clean pass to avoid jagged edges.
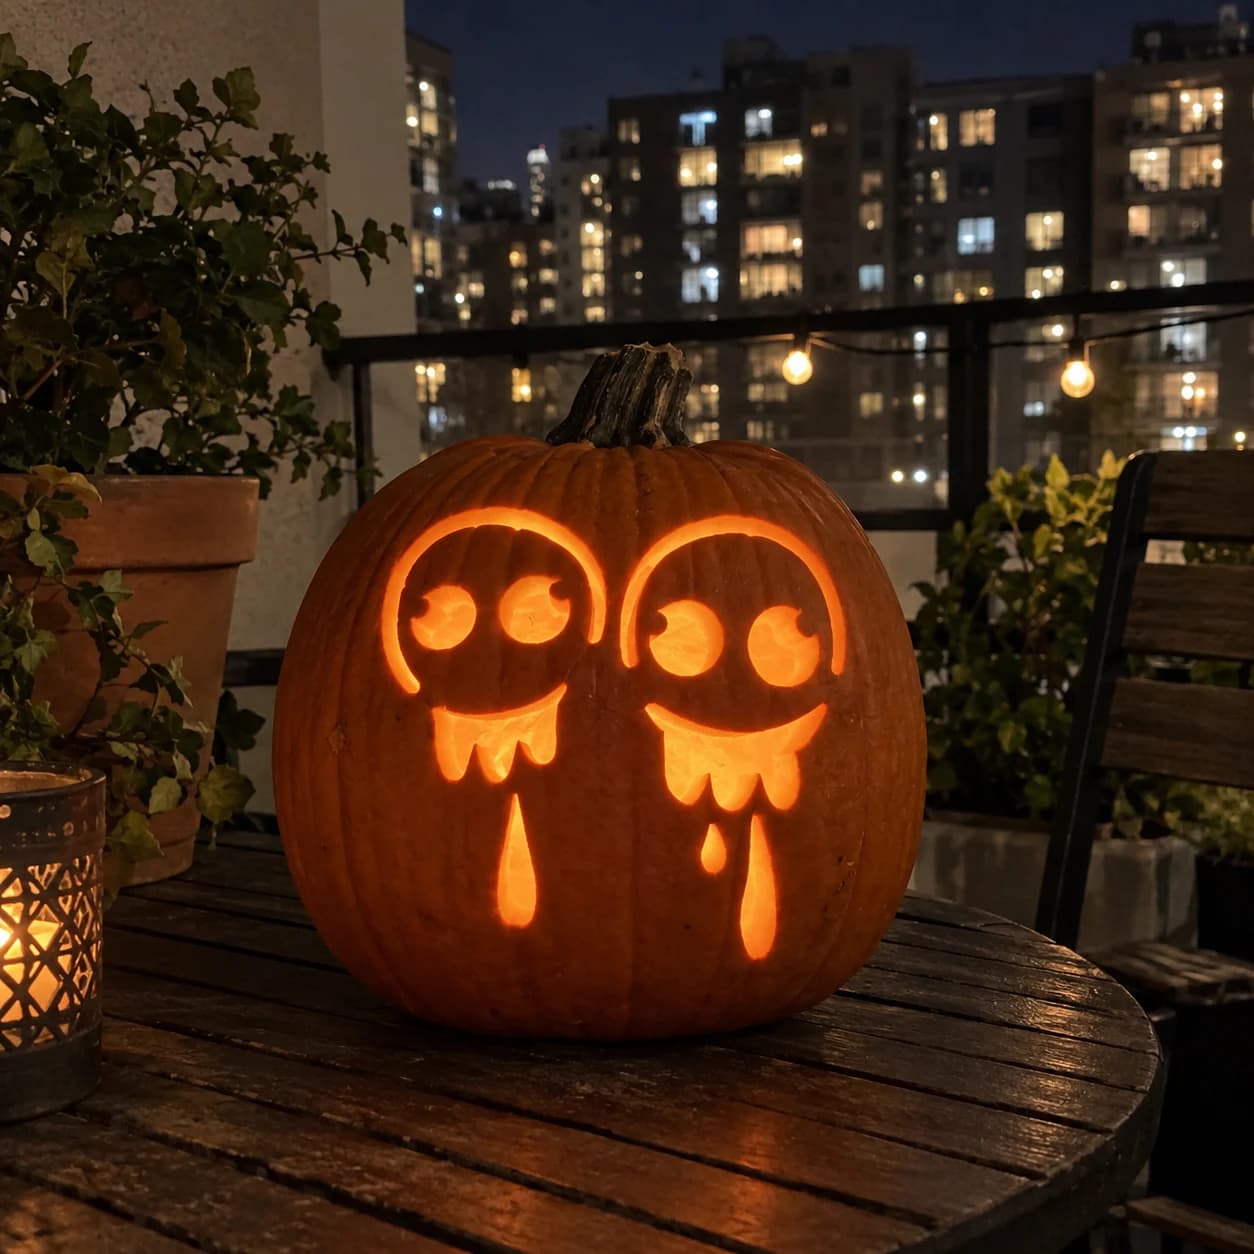
Double Ghost Pumpkin Stencil
Two matching ghost faces sit side by side on the same stencil, each with a rounded dome head, two large round eye holes with small bite-shaped cutouts at their edges, a dripping blob mouth, and a single elongated teardrop hanging below. Every element is cut through: the paired layout means the lit pumpkin shows two ghostly visages at once, each dripping in unison. Cut all the eye circles before the mouth drips, as the drip shapes point downward and a firm uncut lower wall keeps them from buckling while you work.
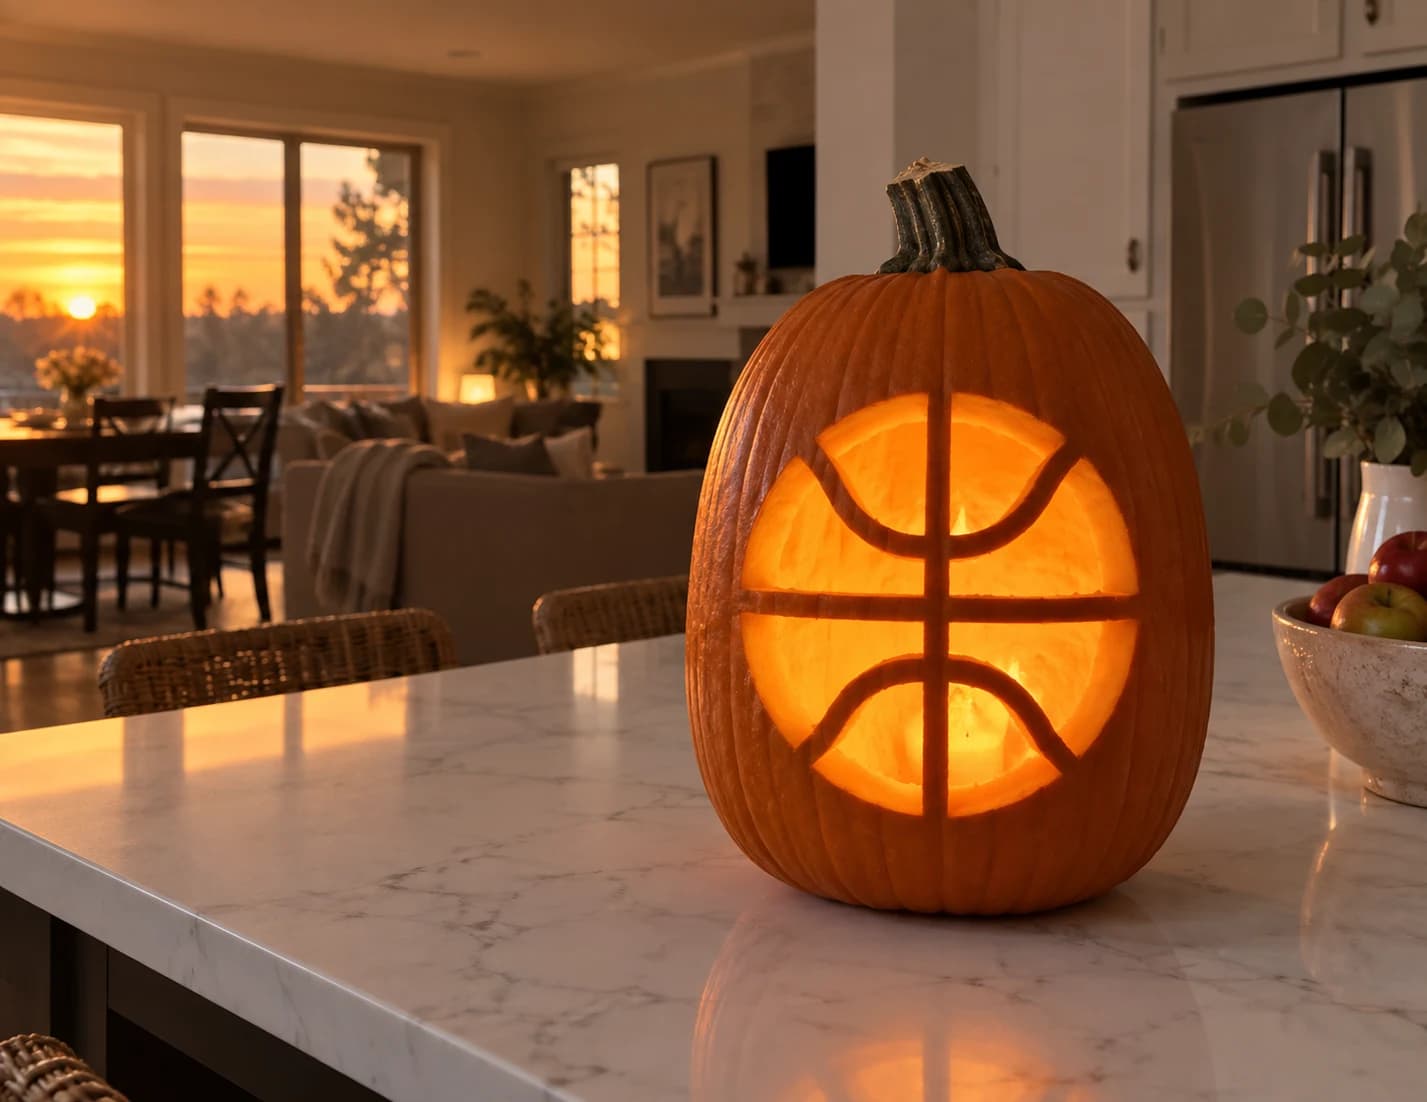
Basketball Pumpkin Stencil
A basketball pumpkin stencil showing the ball as a large circle divided by one vertical center line and two curving seam arcs, creating four large curved panel segments that are carved through as open glowing quarters. The vertical and curved seam lines remain solid, producing the classic basketball court-line pattern when lit. Because this is an easy design with only four large pieces to cut, keep the blade on the outer circle first, then trace each interior seam line precisely to maintain even-width bridge strips between the panels.
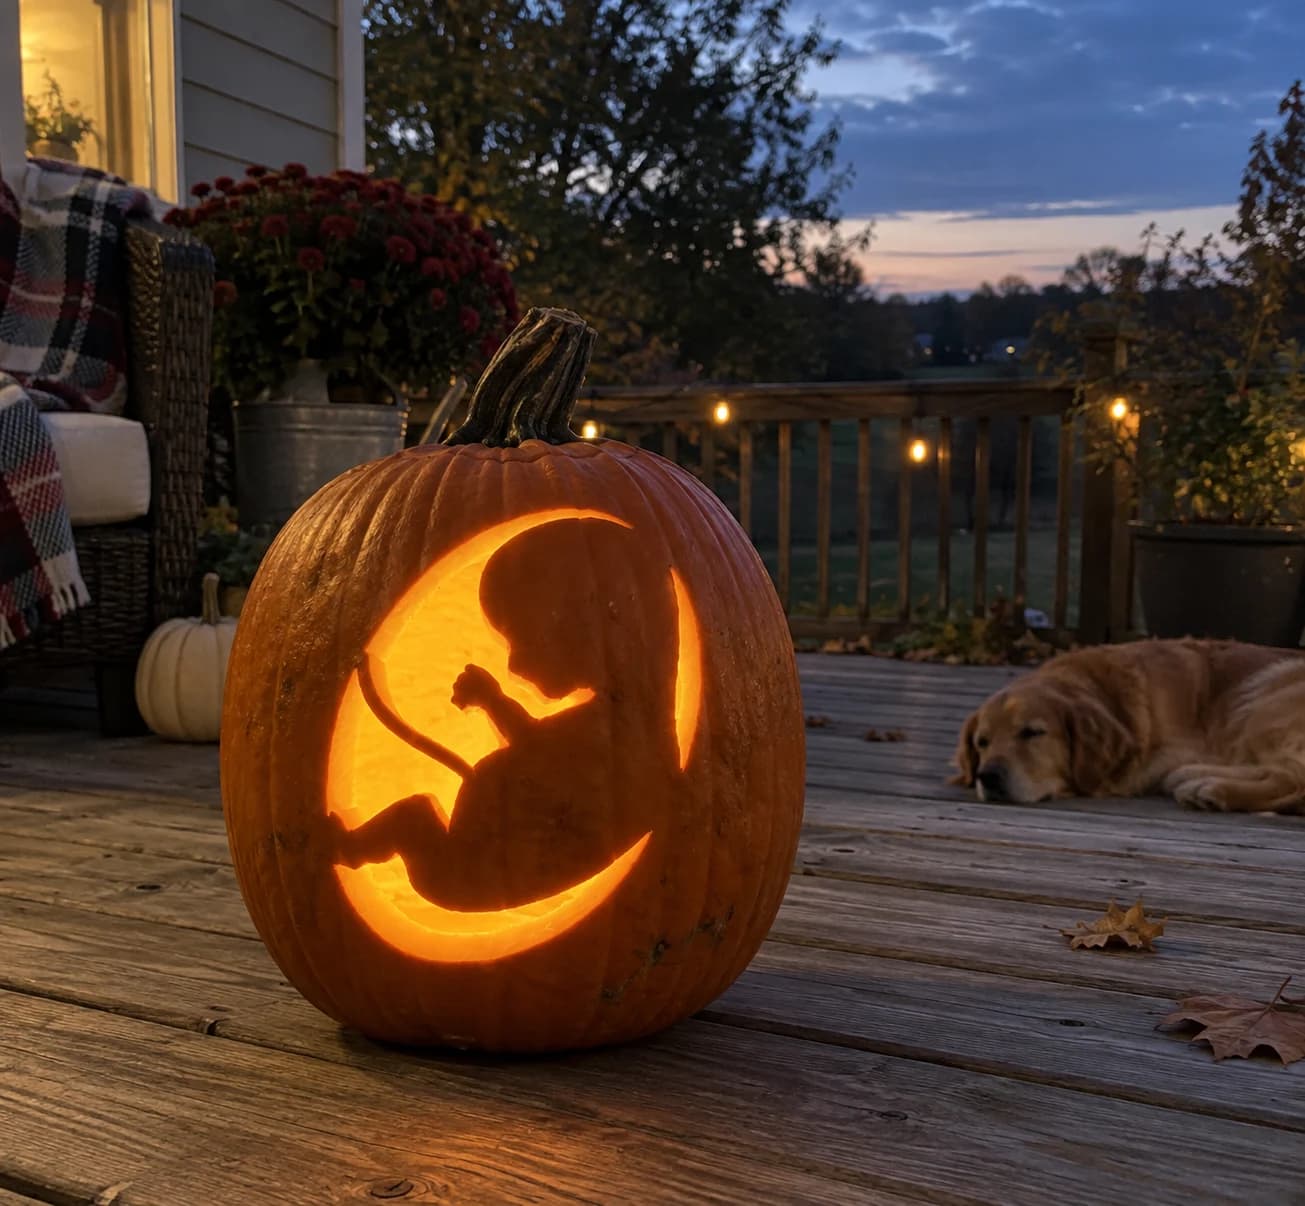
Fetus in Womb Pumpkin Stencil
A fetus-in-womb pumpkin stencil showing a curled embryo silhouette floating inside a large circular womb shape, with a crescent arc cut above it and a curved base piece below, suggesting the rounded cavity of the uterus. The fetus itself remains solid orange with detail cut-outs defining tiny clenched fists and a rounded head, while the surrounding womb sections are pierced to glow. Cut the large curved womb sections first, then the small fetal detail cuts, leaving the fragile umbilical cord line as the very last cut.
Frequently asked
- Do I need special tools to carve these?
- A basic carving kit with a serrated saw, a poker, and a scoop covers 95% of pumpkin carving patterns. Detailed designs benefit from an X-Acto knife.
- Can kids use these pumpkin carving patterns?
- Designs marked Easy or Kids are great for younger carvers with adult supervision. Plastic carving tools are safest.
- Are these pumpkin carving patterns free to download?
- Yes — every pumpkin carving pattern on this page is free. Click the preview to download the PDF.